Restarting 32-bit macOS Applications Using VirtualBox
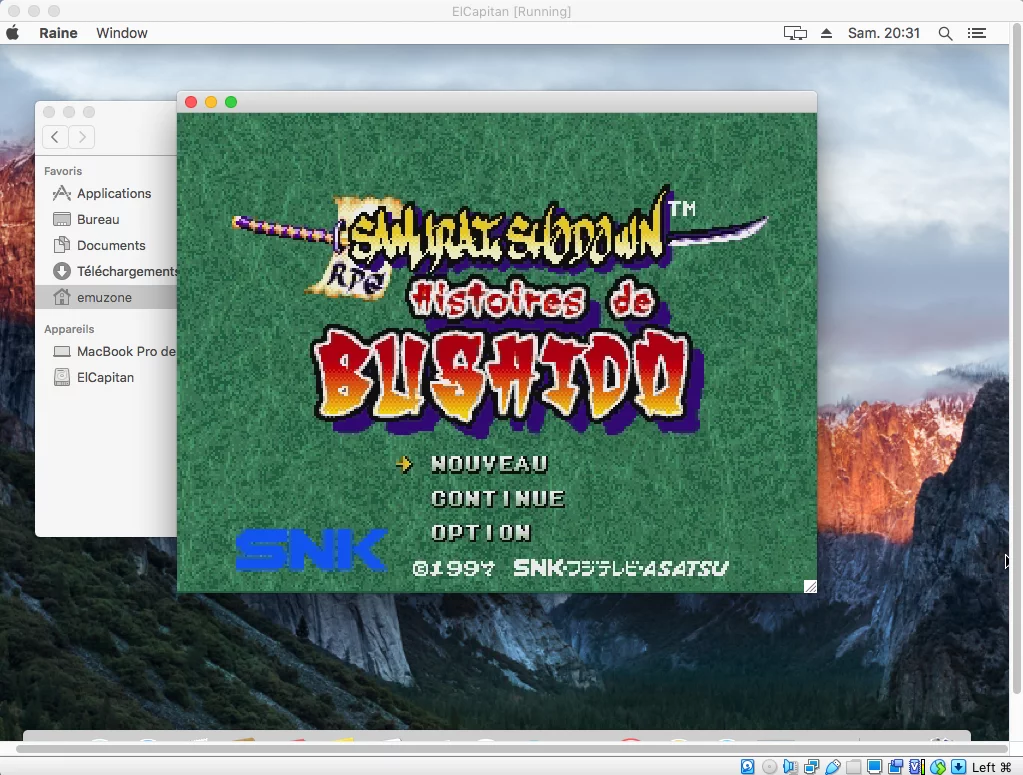
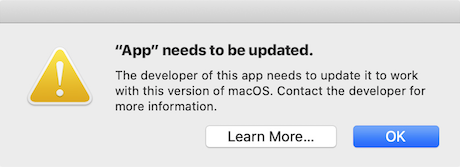
The solution, if it does not require 3D acceleration or other hardware-specific features, could once again come from VirtualBox (used here for its free availability, although Parallels Desktop and VMware Fusion, both paid, are also capable).
We had already seen how to use this software to install an old Windows or an older macOS in order to run PowerPC applications via Rosetta (see our dossiers on SheepShaver for so-called Classic applications). Here, we will try to install a more recent macOS version in the hope of benefiting from its 32-bit support.
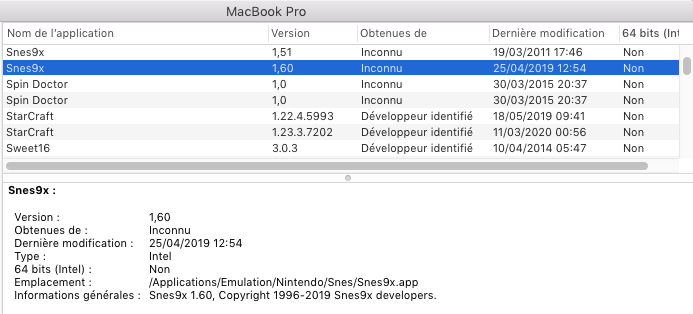
If you are familiar with our dossiers and have already used those dealing with VirtualBox, this should not pose too much of a problem, except that... You will need an installation disk image of your macOS, and on the Apple Store, only applications are available.
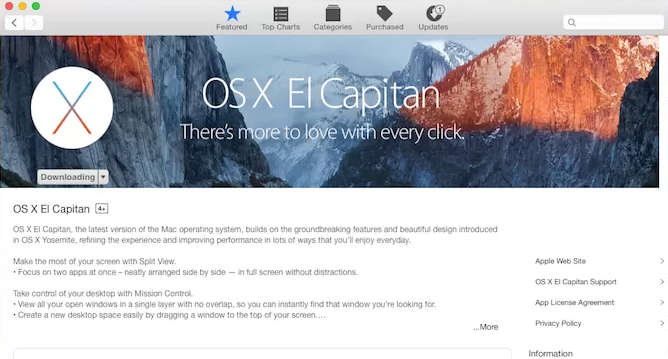
You will therefore need to convert your installation application into a disk image, which will require some operations. We will do this with macOS 10.11, El Capitan (currently, VirtualBox supports Intel macOS from 10.5 to 10.13 and theoretically 10.4).
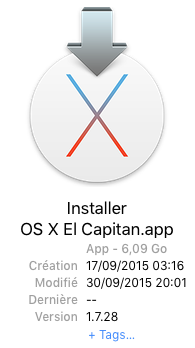
This operation, known to Apple specialists and found on French-speaking sites, will require the use of the Terminal, and we will also describe these manipulations for you, assuming that the macOS installation application is located in your Applications folder. Start by opening a terminal, available in Utilities.
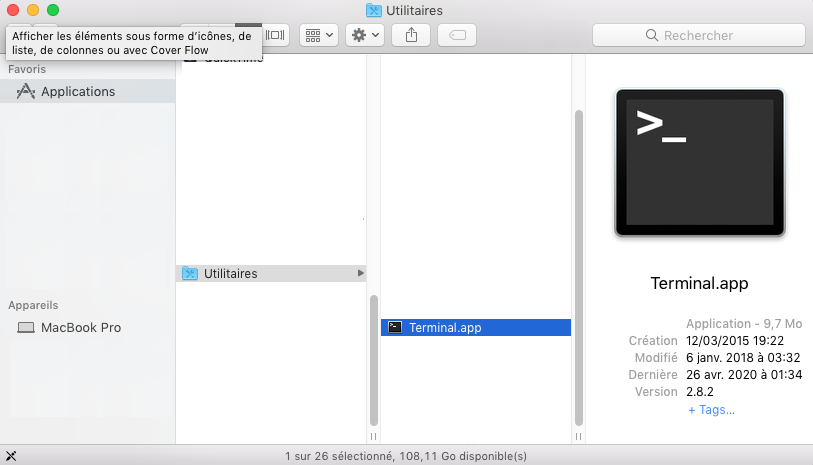
Run the first command to mount the installation disk image contained within the application:
hdiutil attach /Applications/Install OS X El Capitan.app/Contents/SharedSupport/InstallESD.dmg -noverify -nobrowse -mountpoint /Volumes/install_app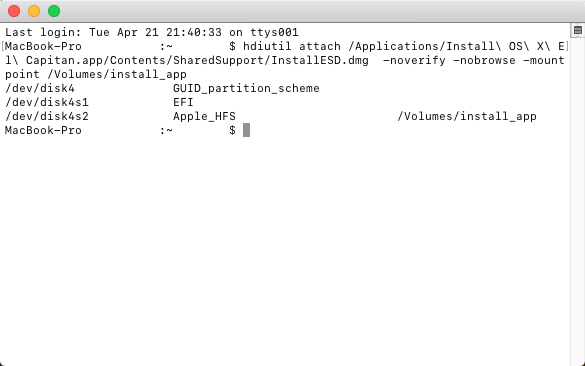
Next, we will create a large enough image to hold the files. Since the installer is almost 7 GB, we'll take a bit of margin and set it to 7500 Mo: hdiutil create -o ~/Documents/ElCapitan.cdr -size 7500m -layout SPUD -fs HFS+J
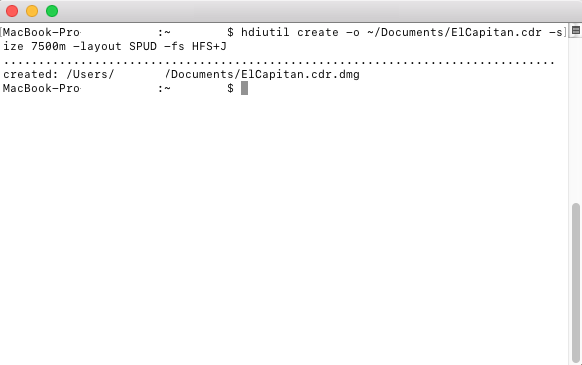
This image should appear in your Documents folder.
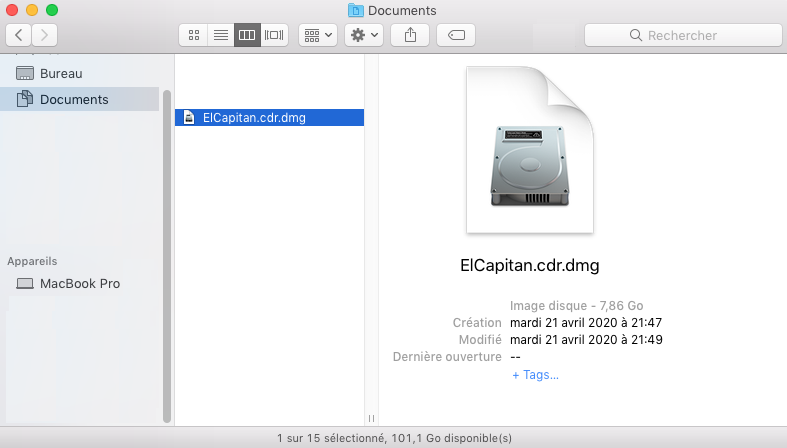
Next, we will mount this image:
hdiutil attach ~/Documents/ElCapitan.cdr.dmg -noverify -nobrowse -mountpoint /Volumes/install_build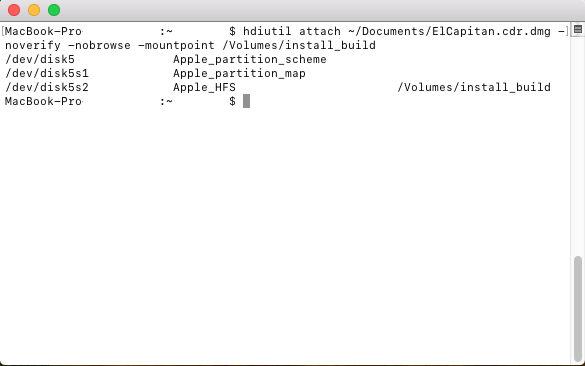
Let's proceed with the Apple Software Restore command to apply the content of the installation disk image to our working partition:
asr restore -source /Volumes/install_app/BaseSystem.dmg -target /Volumes/install_build -noprompt -noverify -erase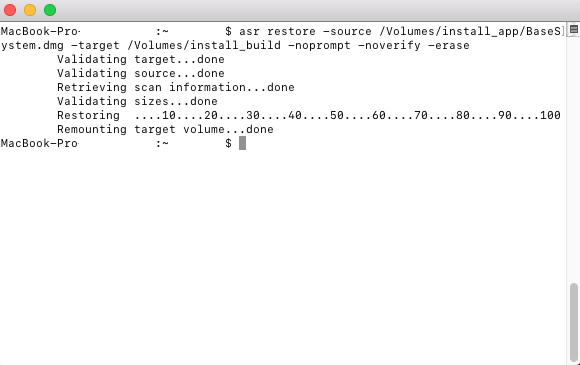
Once completed, a disk image named « OS X Base System » should appear.
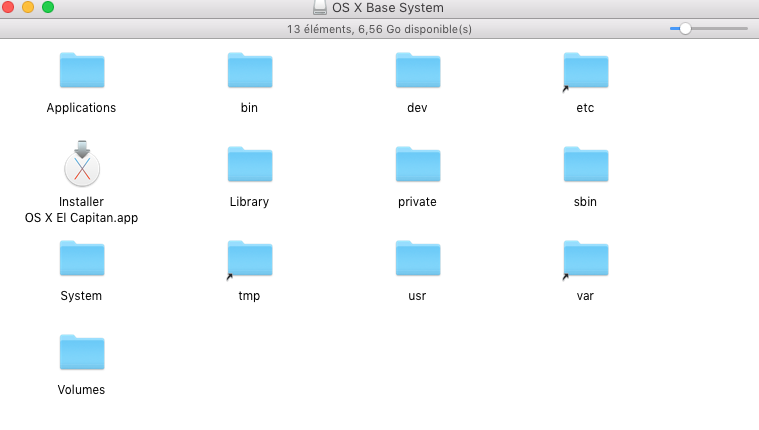
We will then remove the packages:
rm /Volumes/OS\ X\ Base\ System/System/Installation/Packages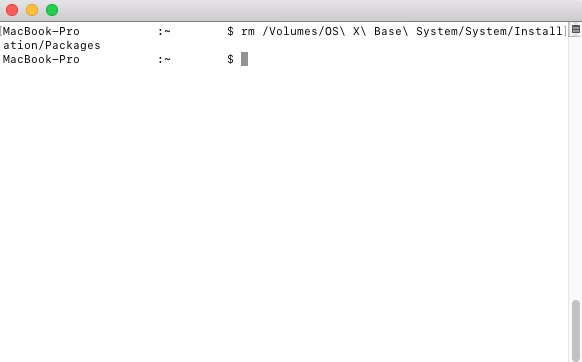
We will then copy the essential elements from the installer into this new disk image using the following three commands:
cp -rp /Volumes/install_app/Packages /Volumes/OS\ X\ Base\ System/System/Installation/ ;
cp -rp /Volumes/install_app/BaseSystem.chunklist /Volumes/OS\ X\ Base\ System/BaseSystem.chunklist ;
cp -rp /Volumes/install_app/BaseSystem.dmg /Volumes/OS\ X\ Base\ System/BaseSystem.dmg ;
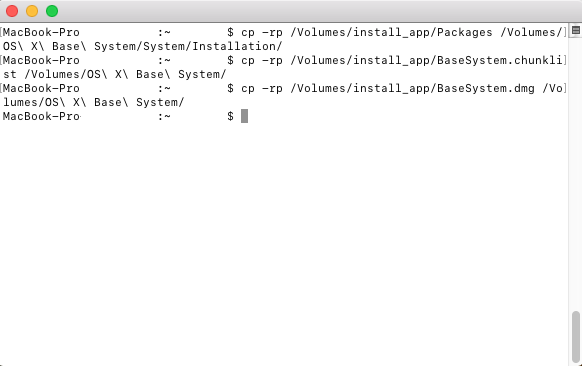
Once done, you can unmount the first image:
hdiutil detach /Volumes/install_app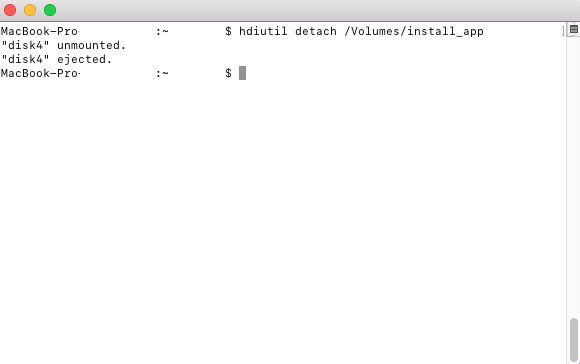
Then the second one:
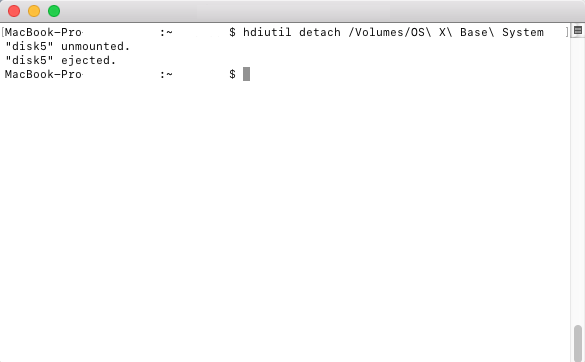
hdiutil htmldetach /Volumes/OS X Base System/
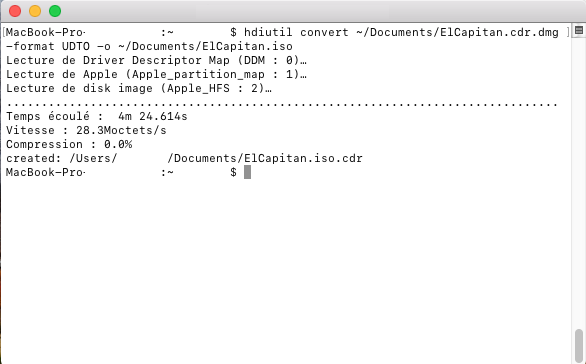
All that remains is to convert the created image into an ISO using the following command:hdiutil convert ~/Documents/ElCapitan.cdr.dmg -format UDTO -o ~/Documents/ElCapitan.iso
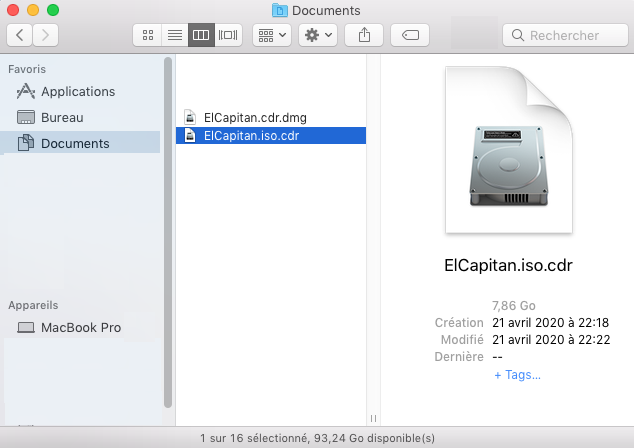
Here are the two disk images below.
You can delete the first one and rename the second one with the final extension « iso », which will be your image for installing OSX on VirtualBox.
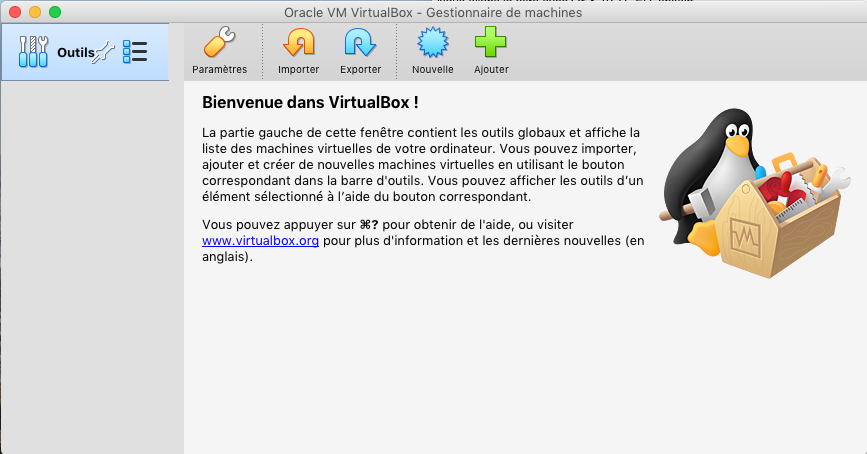
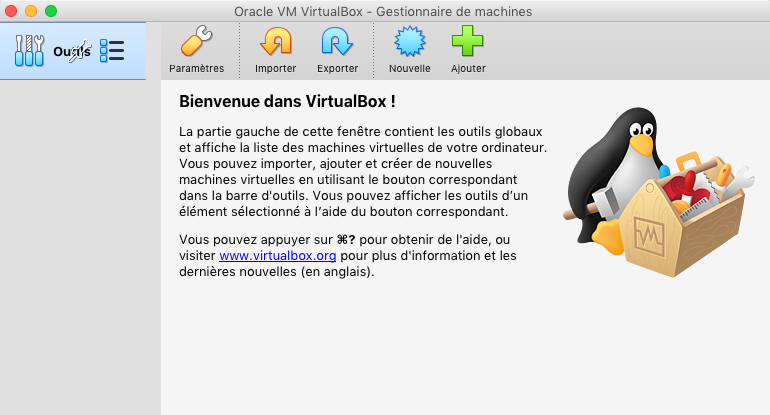
Let's now launch VirtualBox.
First, check that the extensions are installed.
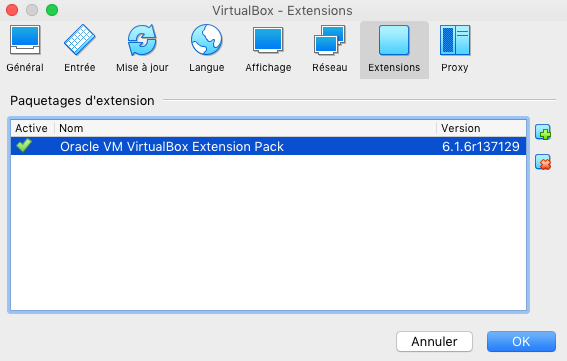
For this, click on the key named « Settings ». Choose the « Extensions » tab and verify, as shown below, that you have the « Oracle VM VirtualBox Extension Pack » corresponding to your version of VirtualBox installed and active. If this is not the case, go to the official website to download the extensions for your version of VirtualBox: https://www.virtualbox.org/wiki/Downloads.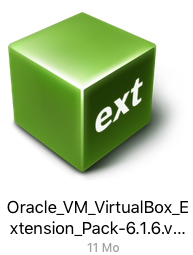
Return to VirtualBox and click on the green plus sign button on the right.
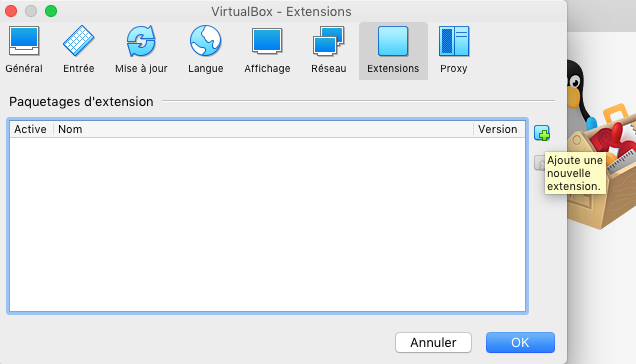
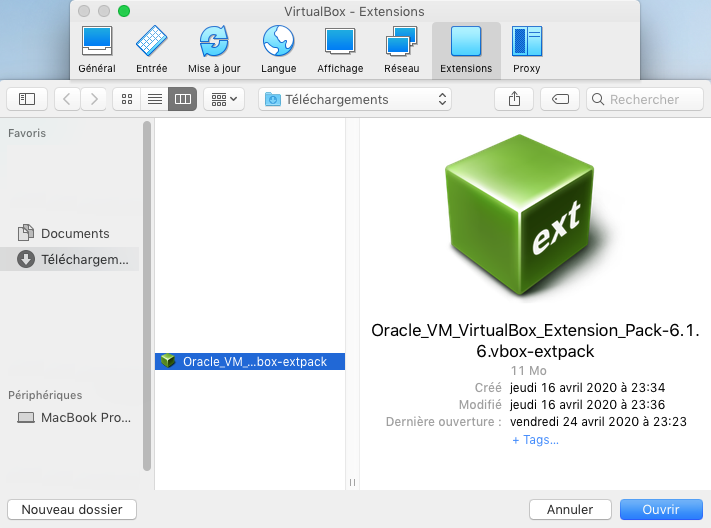
Select the recently retrieved extension file.
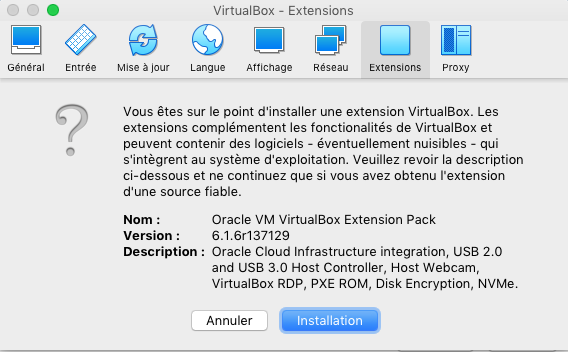
Confirm the installation of this file.
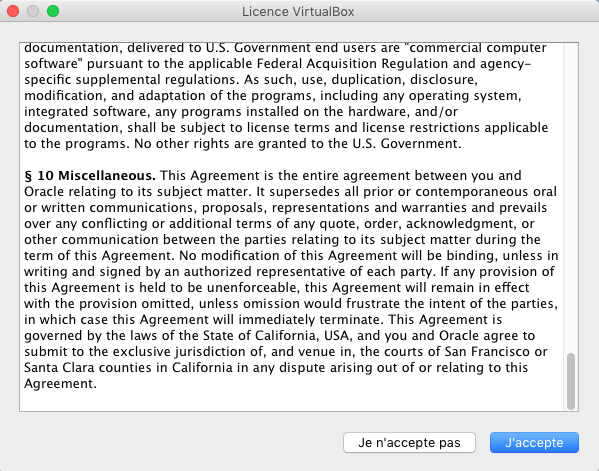
To accept the license, you will need to scroll down to the bottom, simulating a full reading of the text, which you will undoubtedly do.
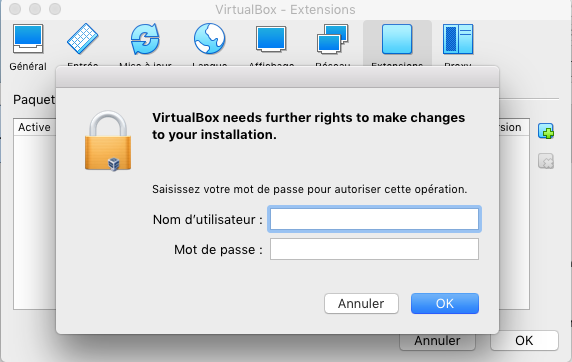
You will need to elevate your privileges to administrator to install this extension.
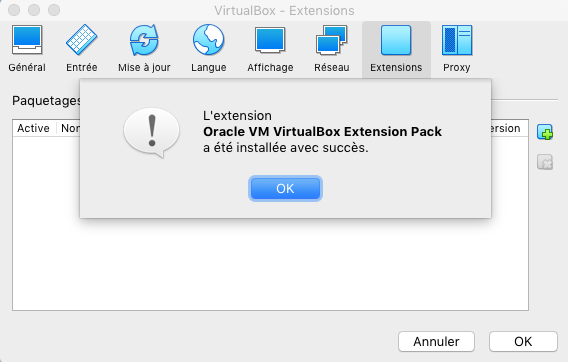
This installation should be quick and pose no problems.
Check again that you have the « Oracle VM VirtualBox Extension Pack » corresponding to your version of VirtualBox installed and active.
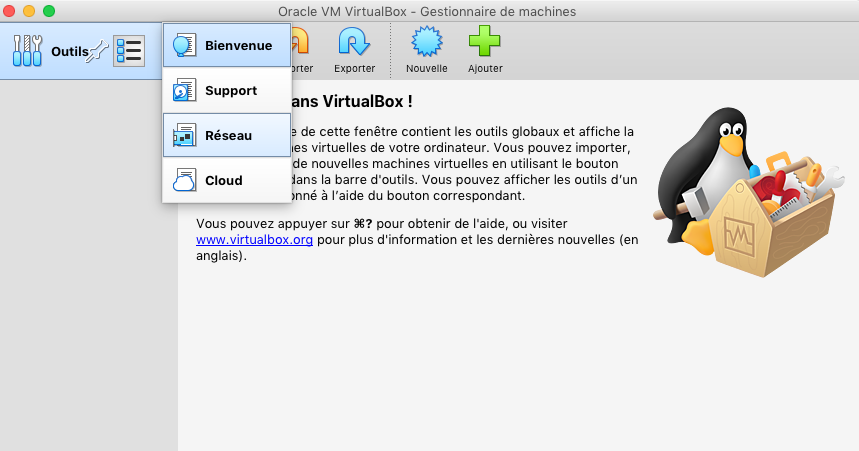
Close this window and return to the main one to click on the checkbox button to the right of « Tools », then click on « Network ».
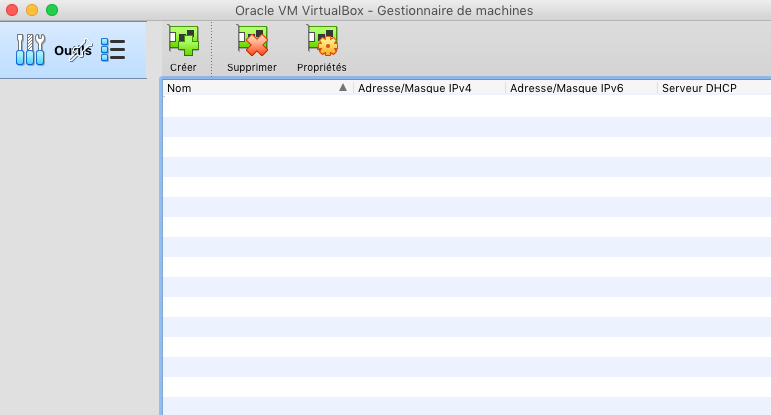
Create a virtual interface by simply clicking on the green button accompanied by The button labeled "Create" appears next to the plus sign.
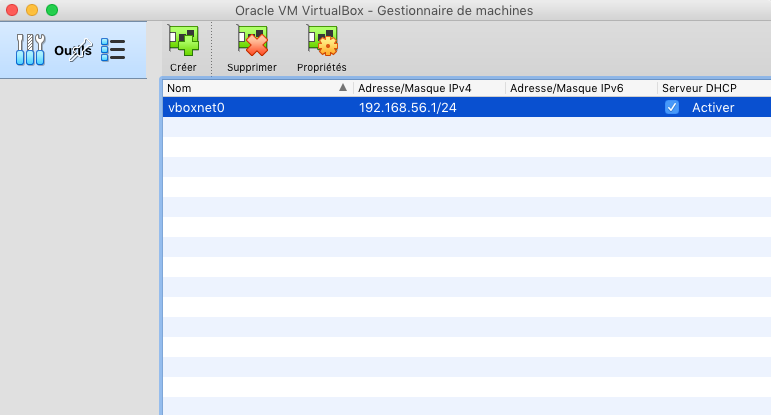
A new interface named vboxnet0 appears. To simplify its later use, click on « Enable » to start the DHCP server, so you have a configuration like the one shown in the image below.
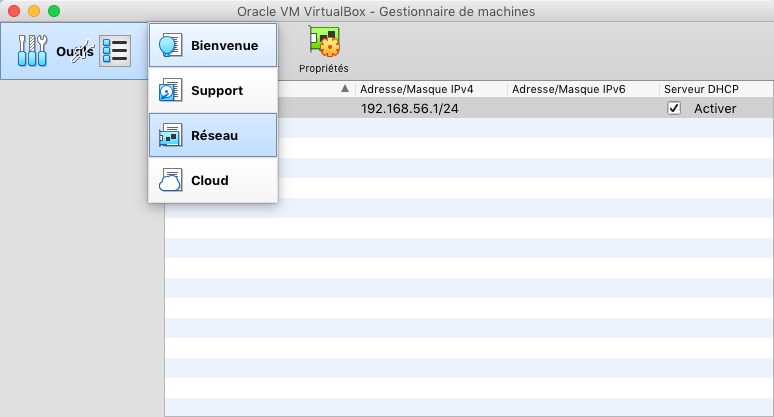
Return to VirtualBox's home page by clicking again on the « Tools » button and selecting the page named « Welcome ».
The main step begins: create a virtual machine. To do this, click on the blue star labeled « New ».
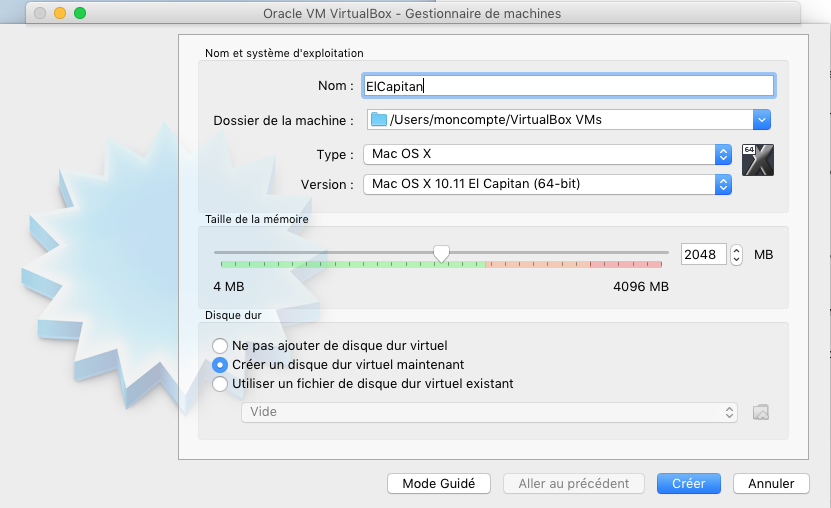
Give your virtual machine a name, specify that the installed system will be OSX, and choose from the list the version of the OS that will be installed. Adjust the allocated RAM as you wish and according to the use you will make of your virtual machine, while making sure not to leave your physical machine resource-starved. Then click on « Create ».
Choose the location of the file representing the hard drive, as well as its maximum size and whether you want it to be dynamic or not, and also the file type if you want to be able to use it with other emulators.
Once done, click on « Create » again.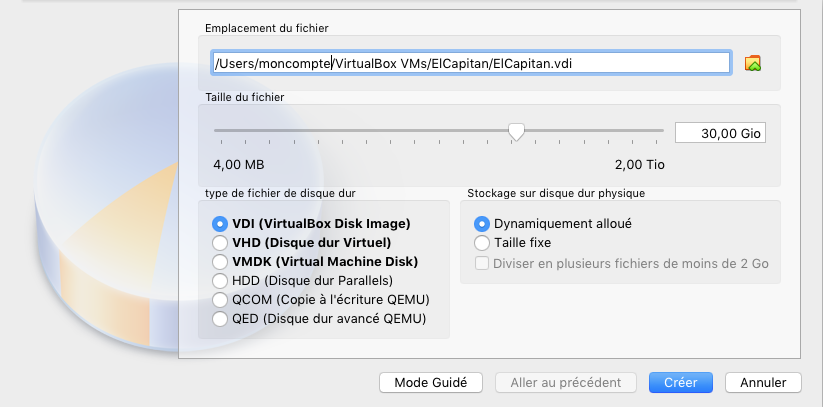
The virtual machine is then created, but it is not yet fully ready; select your virtual machine and click on the yellow gear labeled « Settings »
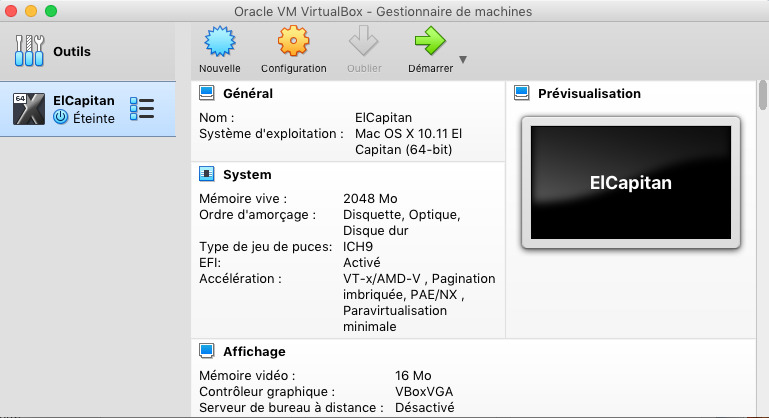
Choose the « System » menu, then in the « Motherboard » tab, uncheck the « Floppy » in the boot order and move it to the lowest position.
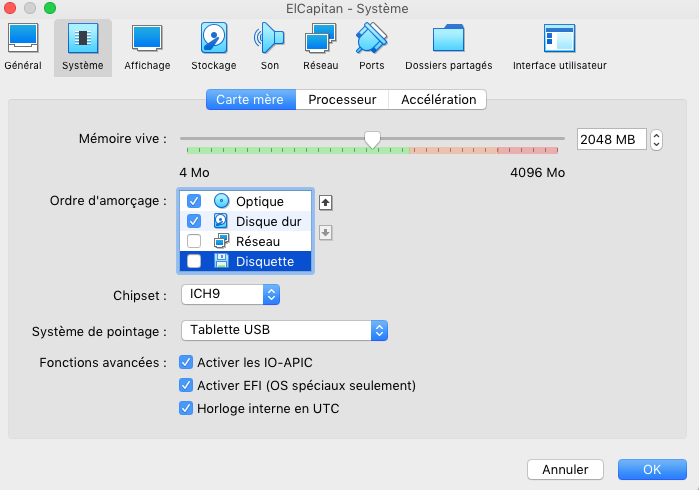
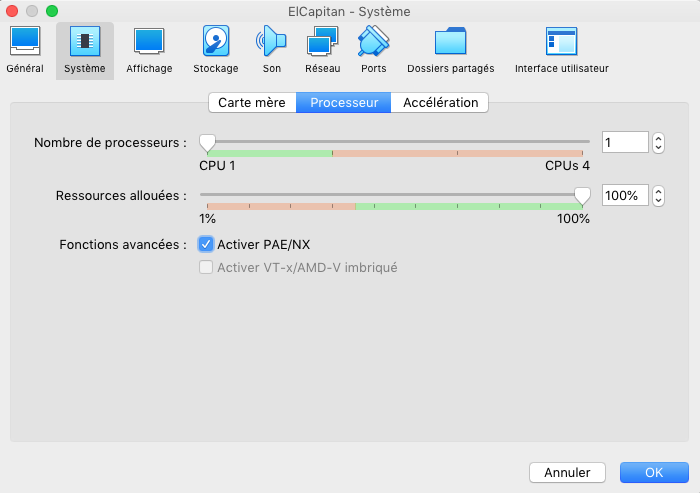
Click especially on the « Processor » tab to verify that there is only one but also that the only active one is at least at 100% and that the PAE/NX function is enabled.
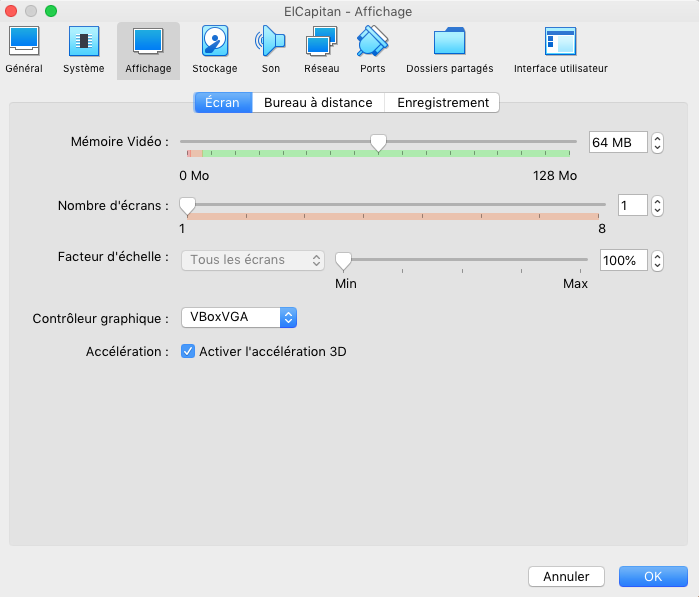
Then choose the « Display » menu and in the « Screen » tab, select the video memory you wish to allocate and whether you want to enable 3D acceleration.
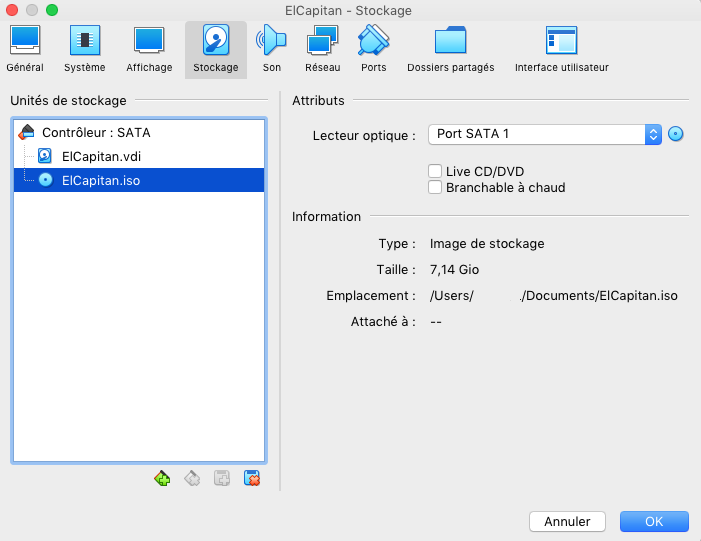
Move on to the « Storage » menu, and select the virtual optical drive. Click on the small icon representing an optical disc to choose the addition of a file.
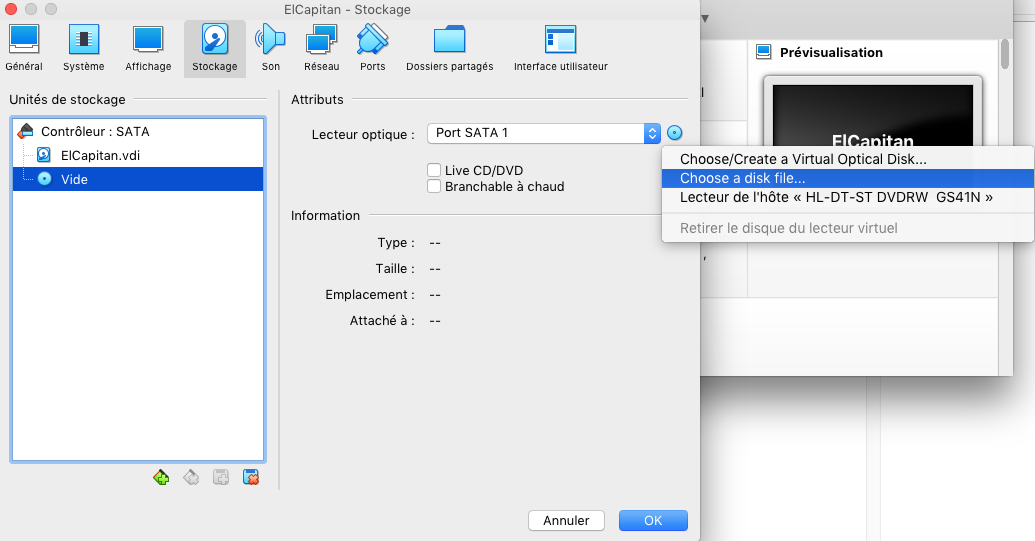
Select the disk image containing the OSX installation.
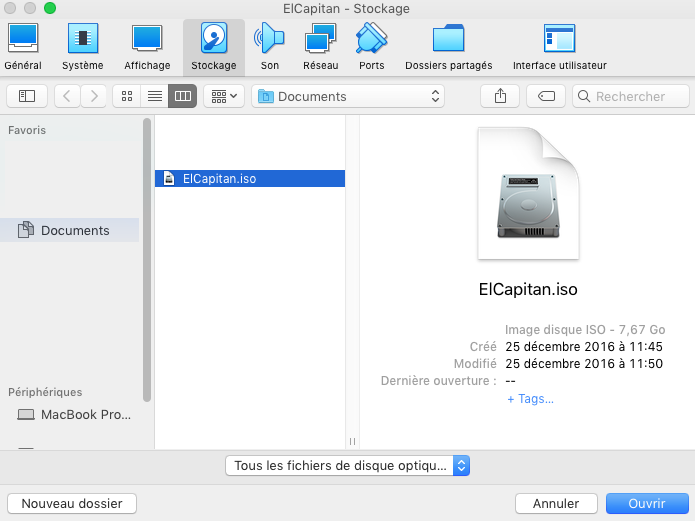
The disk will then be considered inserted during the next boot.
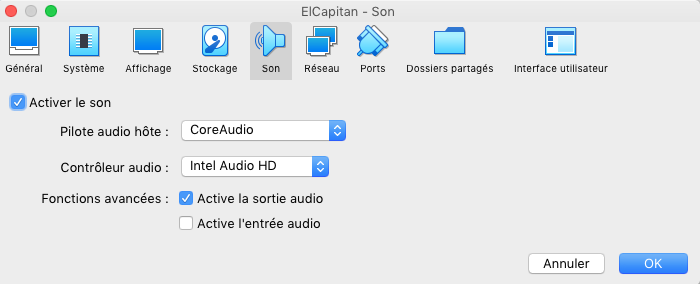
You can also go into the « Audio » menu if you wish to disable it or enable the microphone, or modify the driver and the type of simulated controller.
Let's move on to the « Network » menu.
If you wish to share your Mac's Internet connection with your virtual Mac, make sure in the « Adapter 1 » tab that the interface is enabled and the access mode is set to « NAT ».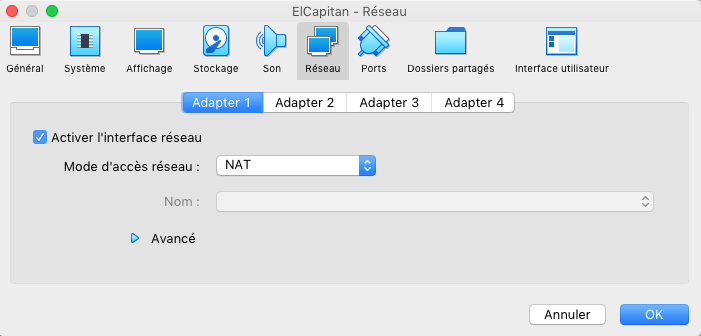
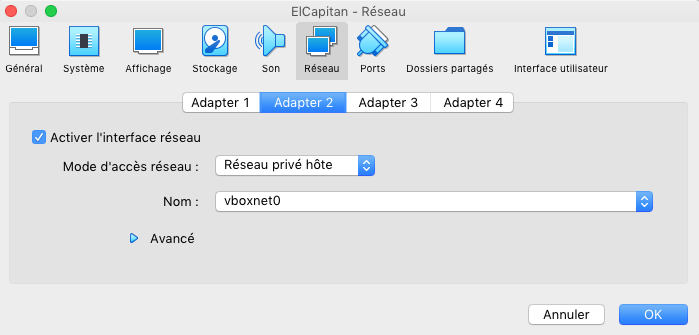
You may also want to transfer files between your guest OSX and the host OSX. To do this, click on the « Adapter 2 » tab, enable the network interface, and select the access mode « Host-Only Network ». Normally, the only available interface should be the one created at the beginning of the tutorial, namely « vboxnet0 ».
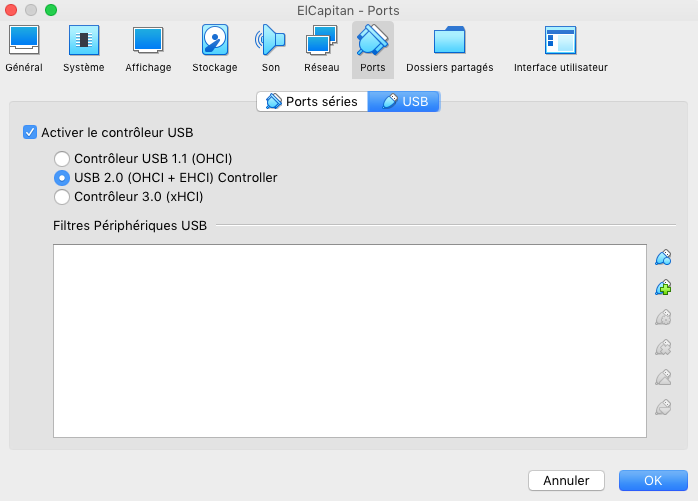
In the « Ports » menu, you can choose to enable or disable USB support. This is also where USB devices will appear, and where you can apply filters so that the host machine captures them or, conversely, allows the physical machine to manage them.
Here is your virtual machine configured. Click the « OK » button to confirm everything and return to the list of virtual machines.
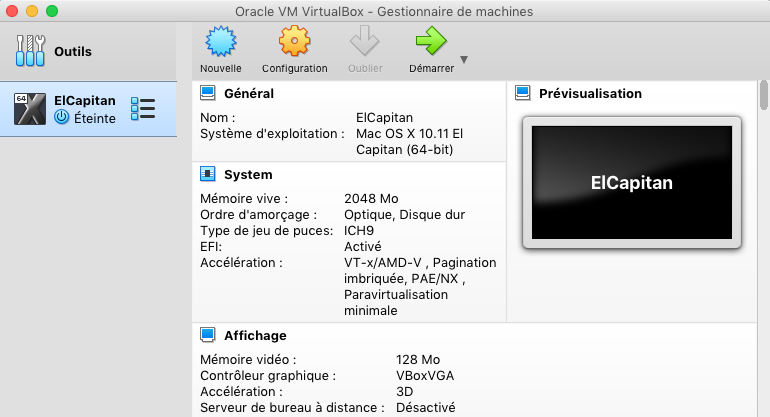
Launch your machine by clicking the green arrow « Start ».
The console mode boot process may take some time.
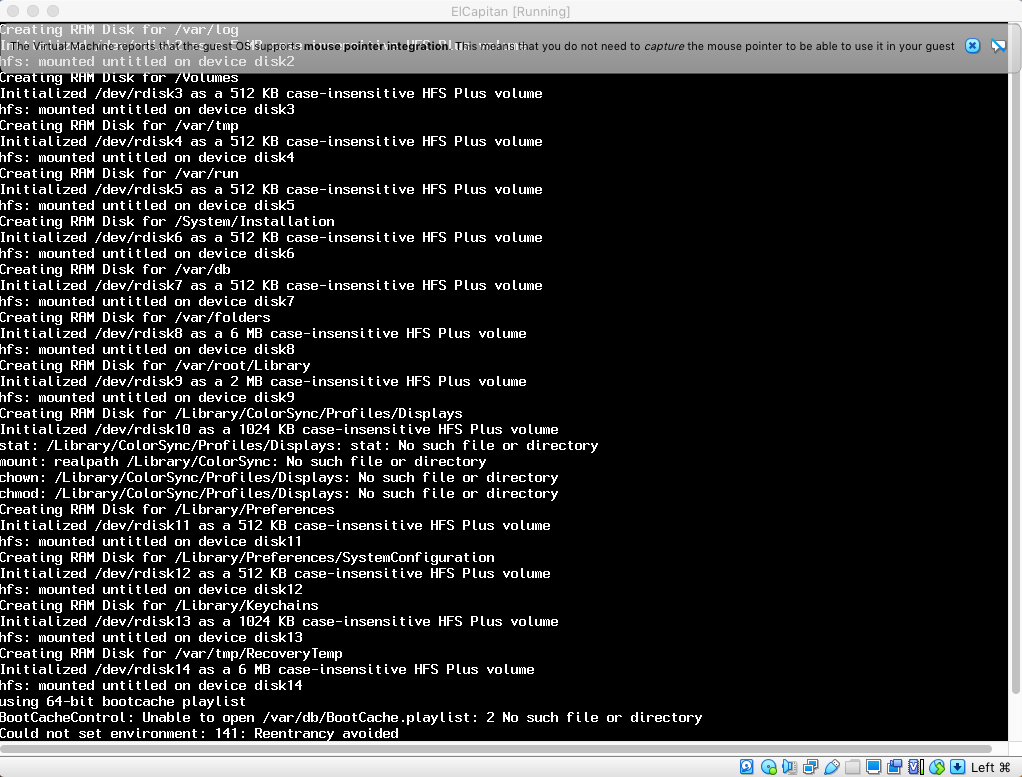
However, booting from the disk image should proceed.
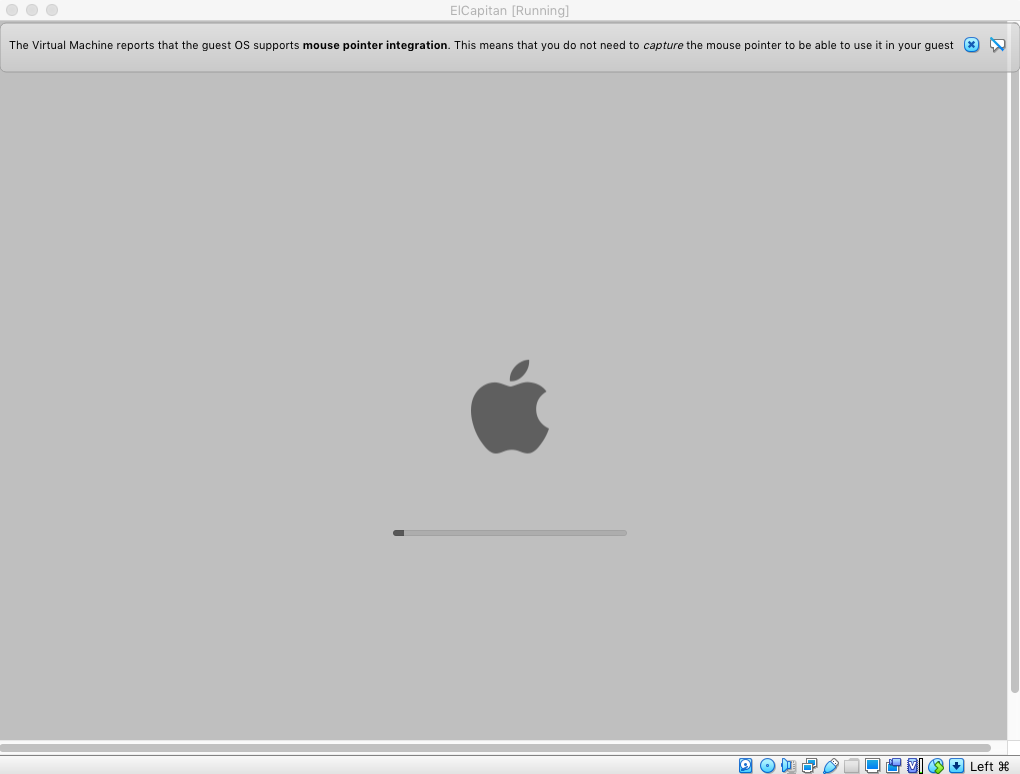
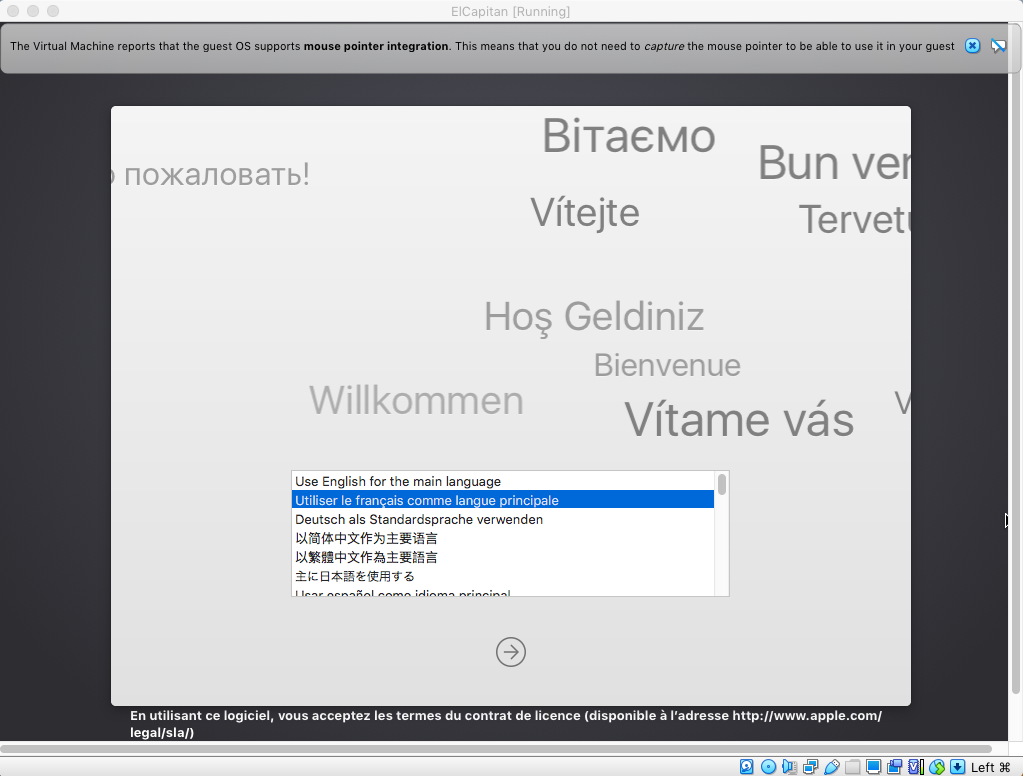
Here you are, the installer launches and asks you to choose a language.
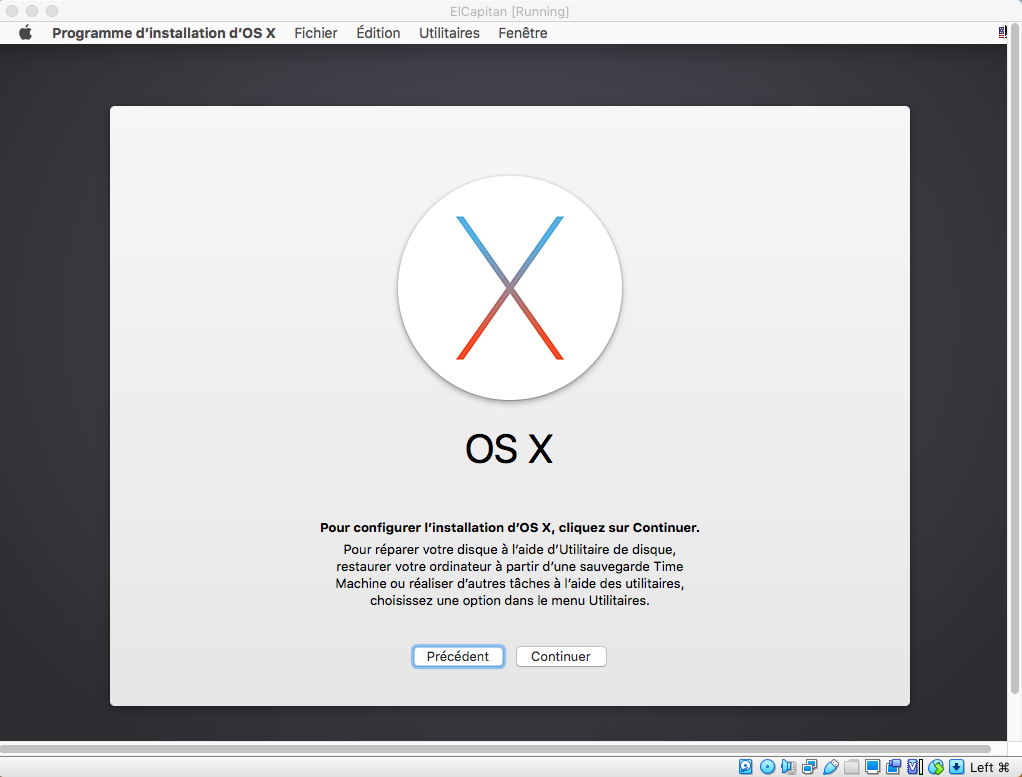
The system configuration will begin. Click on « Continue » when the splash screen appears.
Even though you don’t need to scroll to click the « Continue » button, make sure to read the license carefully.
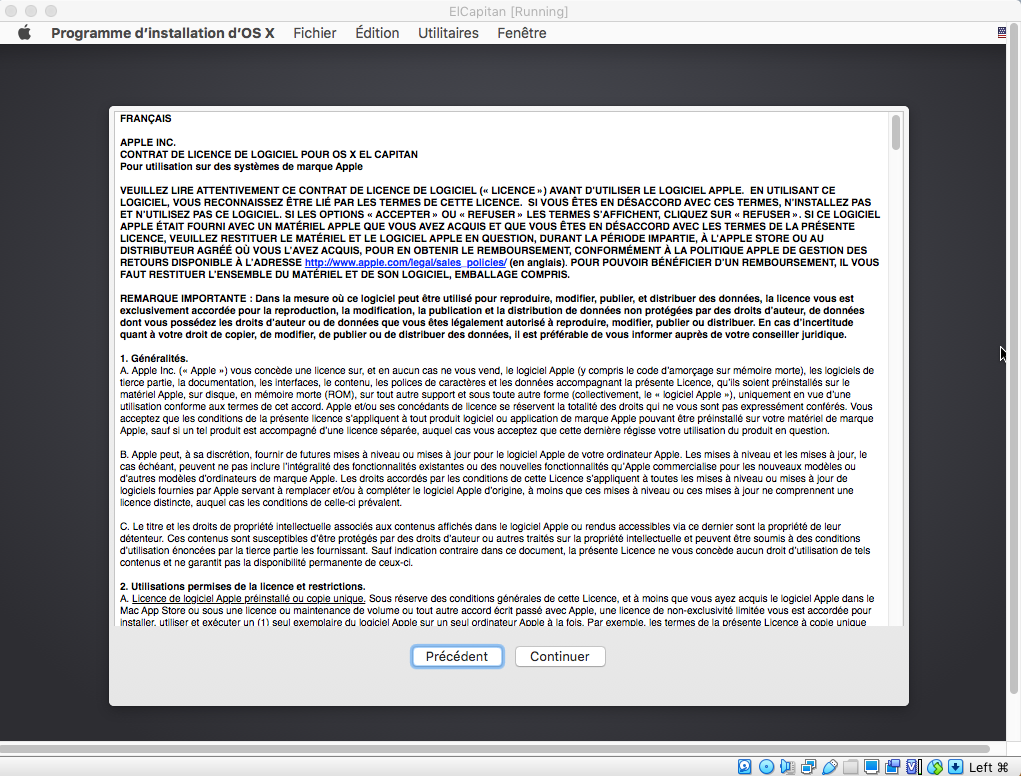
Accept it.
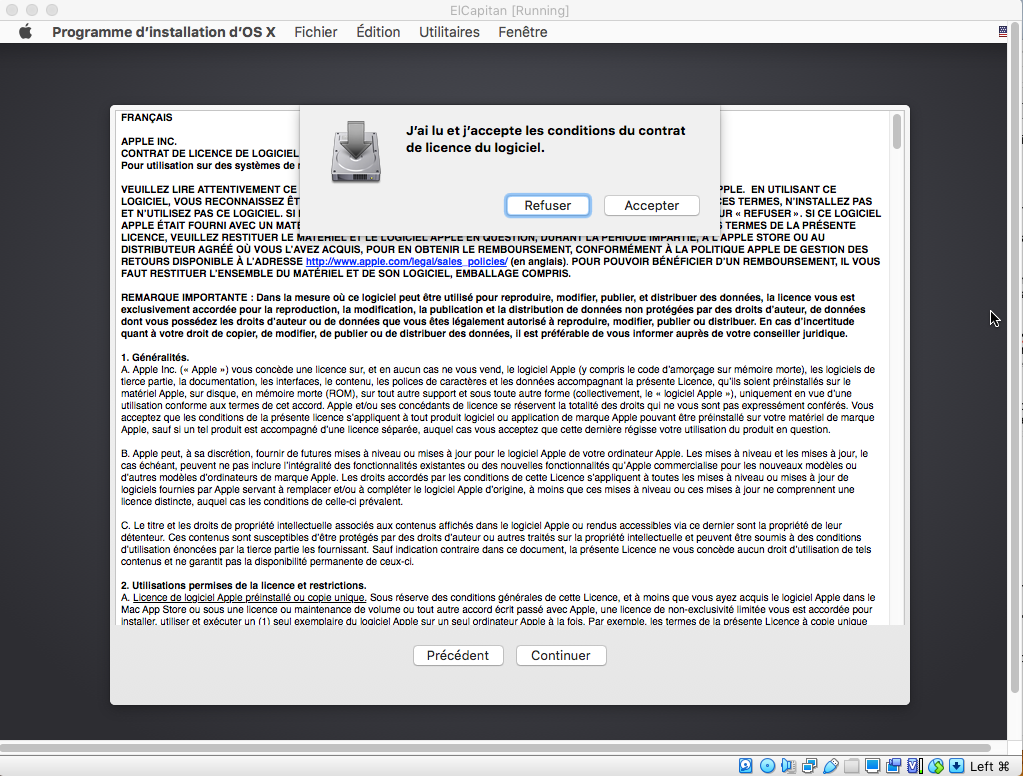
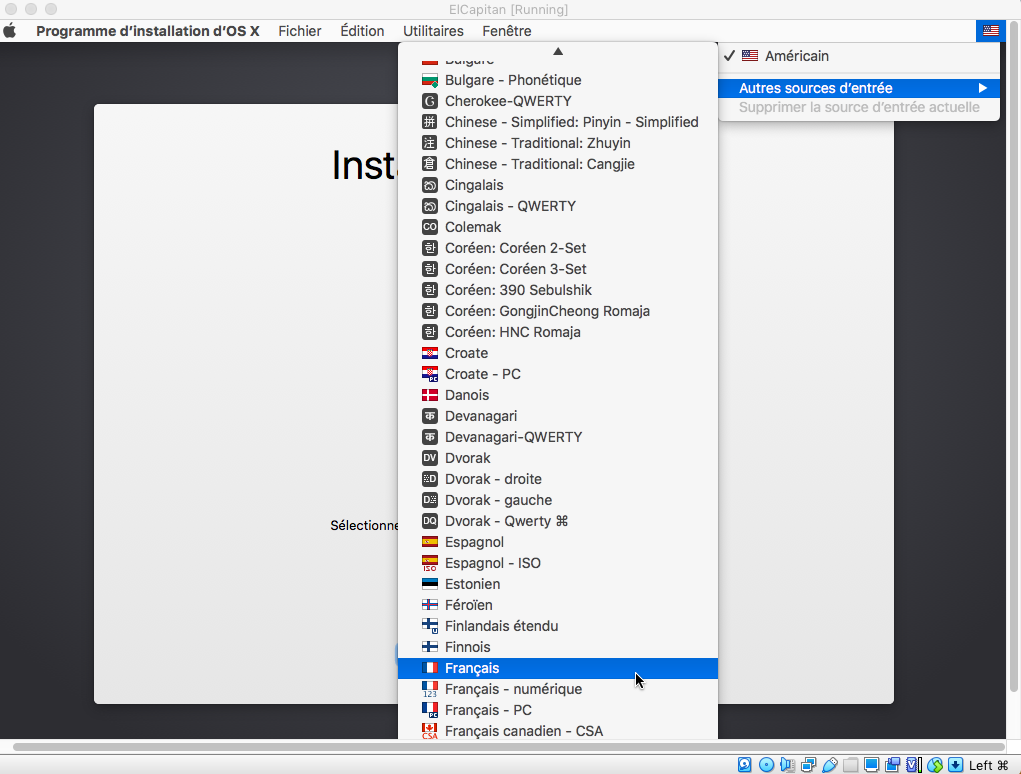
The first issue is that the hard drive is not usable. To start, improve your interface by switching the keyboard to French.
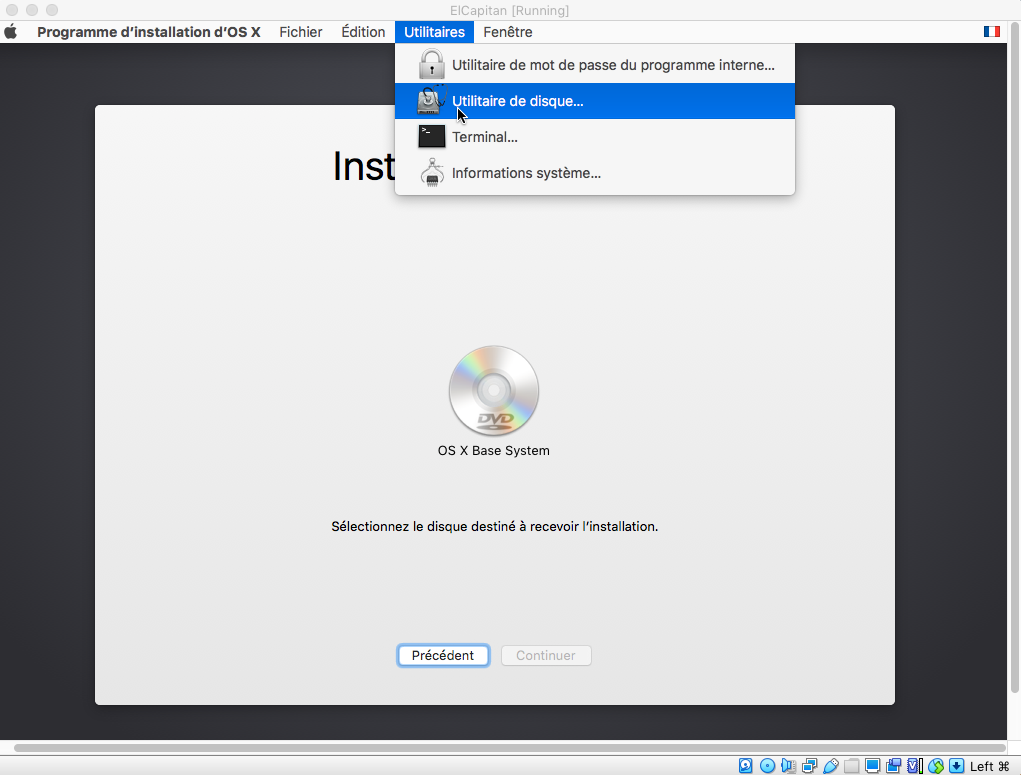
Now is the time to deal with the disk by opening the Disk Utility.
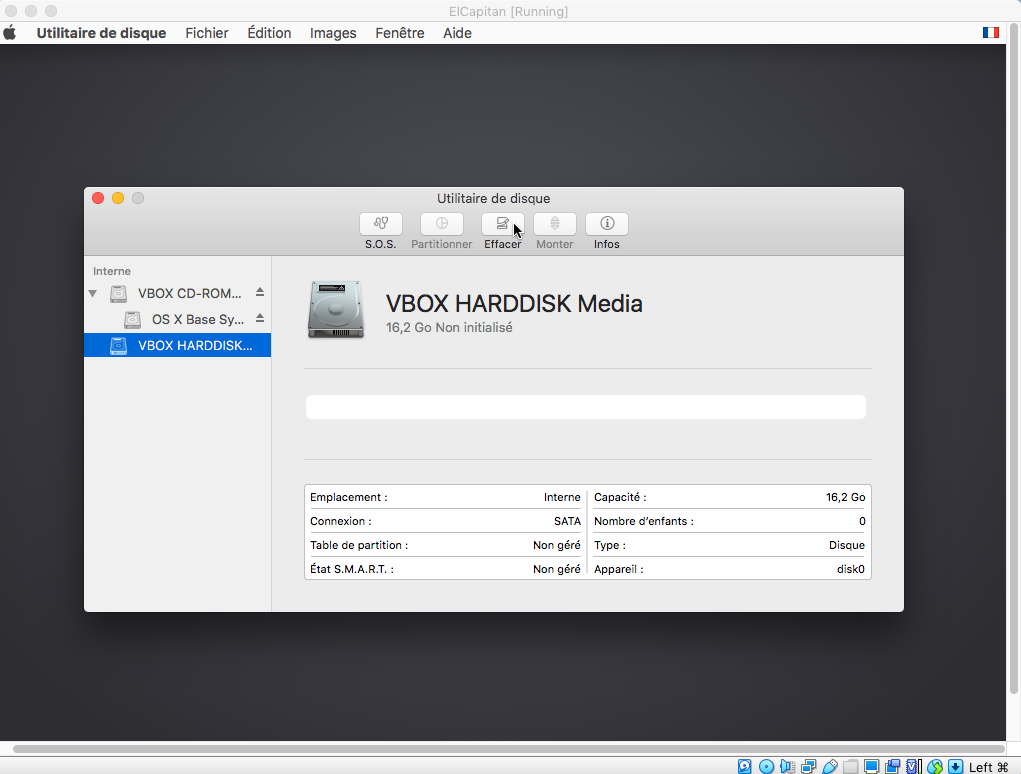
Select the disk « VBOX HARDDISK Media » and click the « Erase » button.
Give a name to your hard drive and leave the format and scheme as default before clicking the « Erase » button.
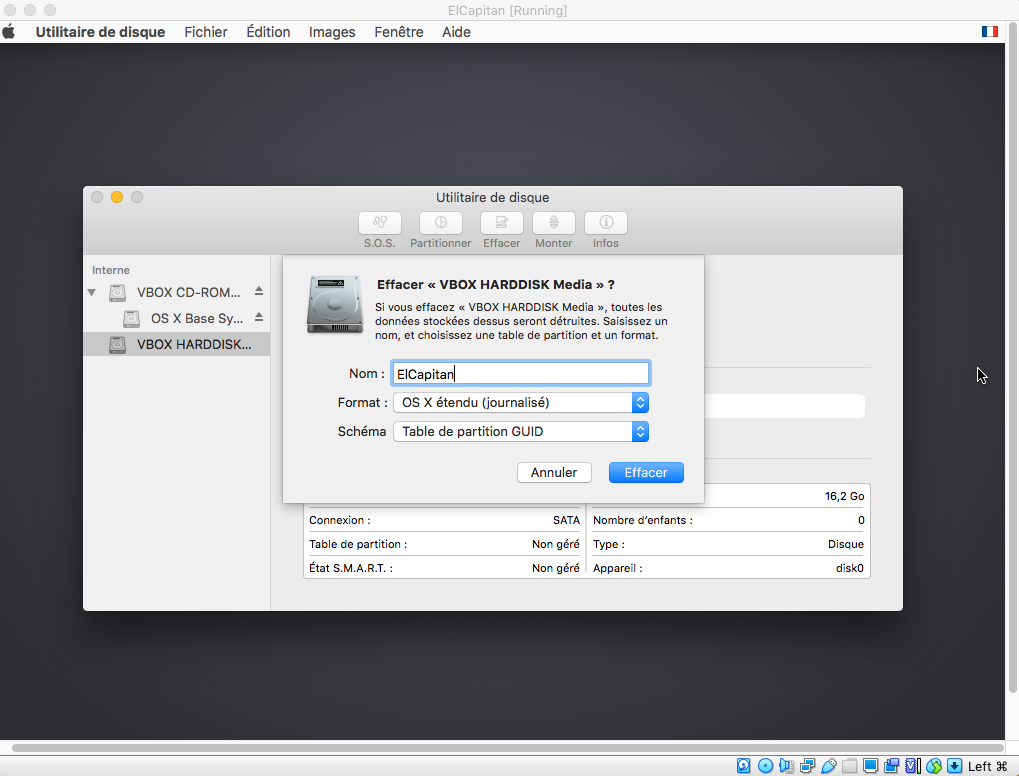
Once done, you can quit the Disk Utility.
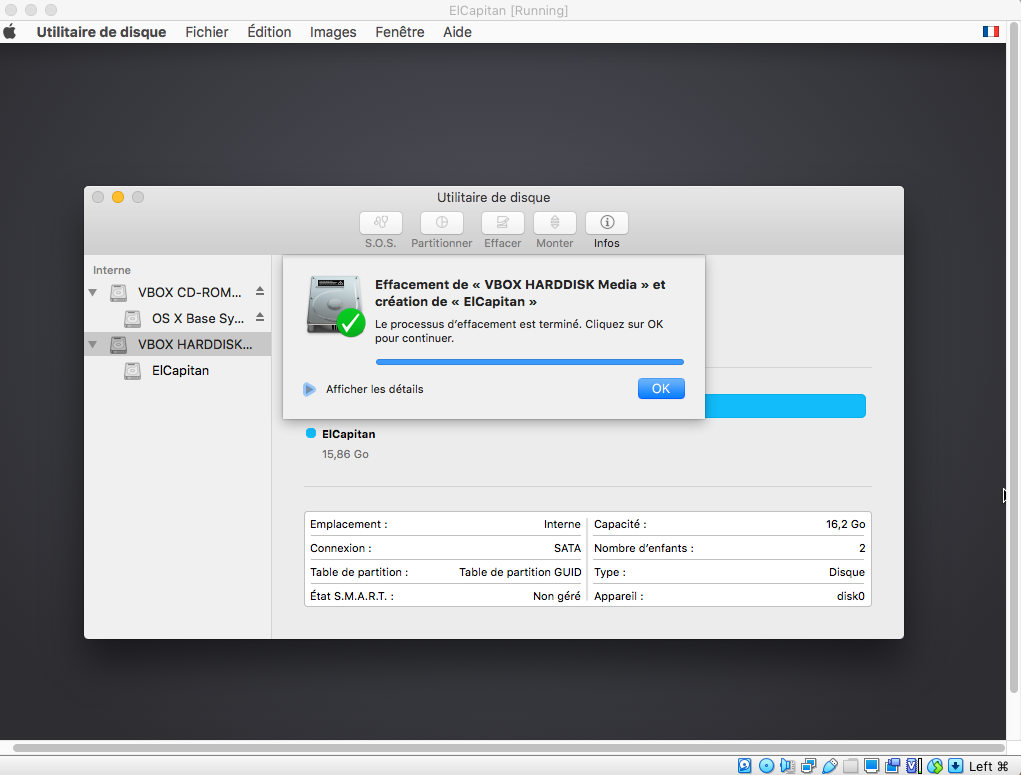
Your disk is then selectable, which you must do, and thus continue the installation.
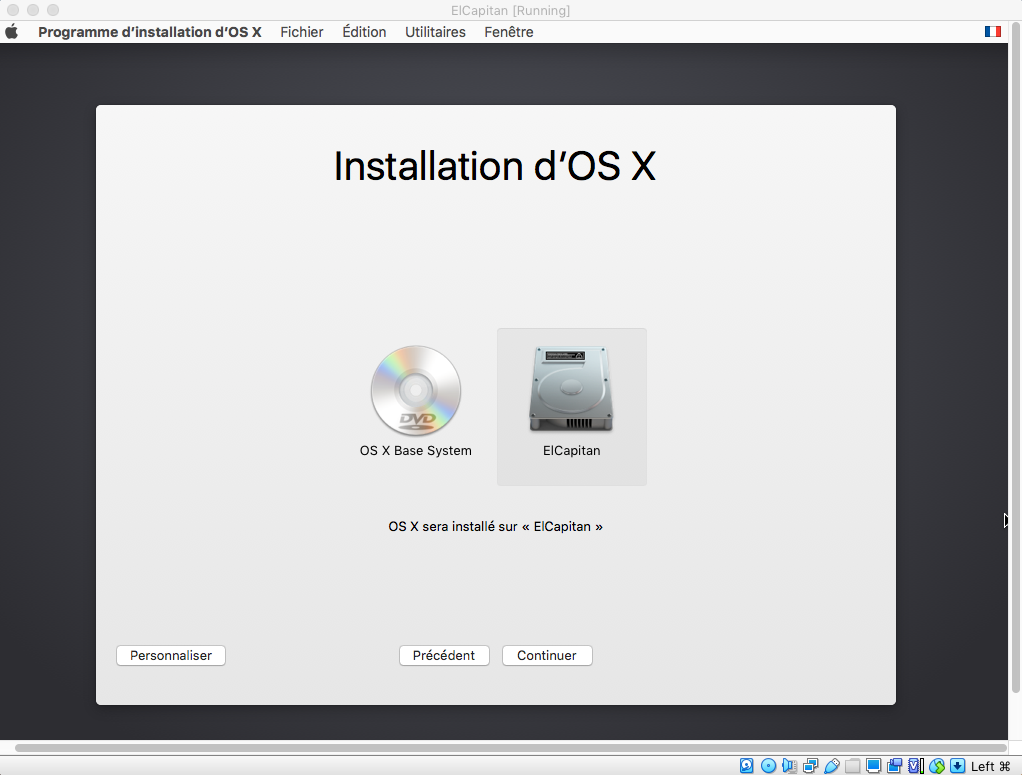
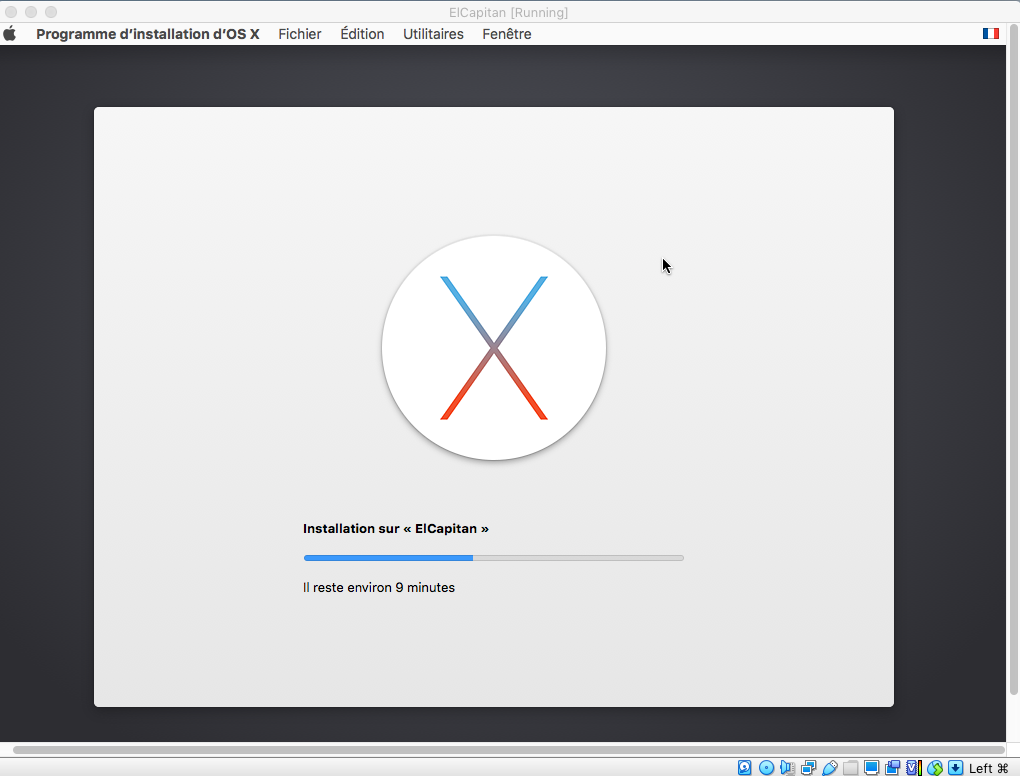
And there you go, you just have to wait.
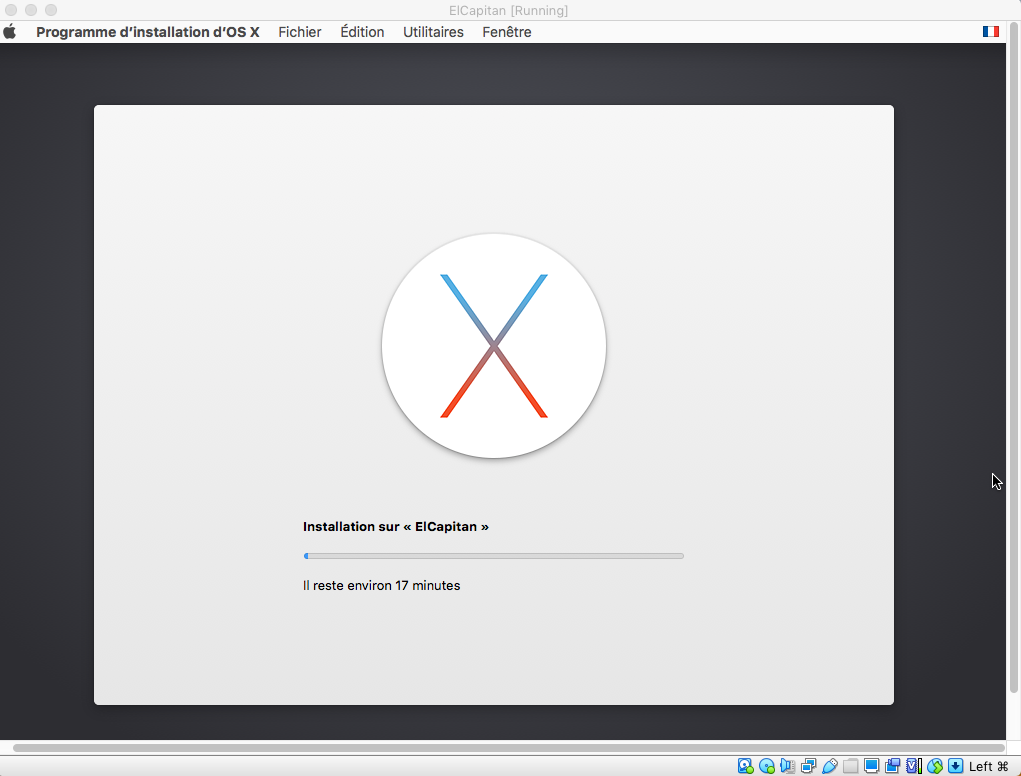
Except that it may not be the case, an error prevents you from installing OSX.
Why?
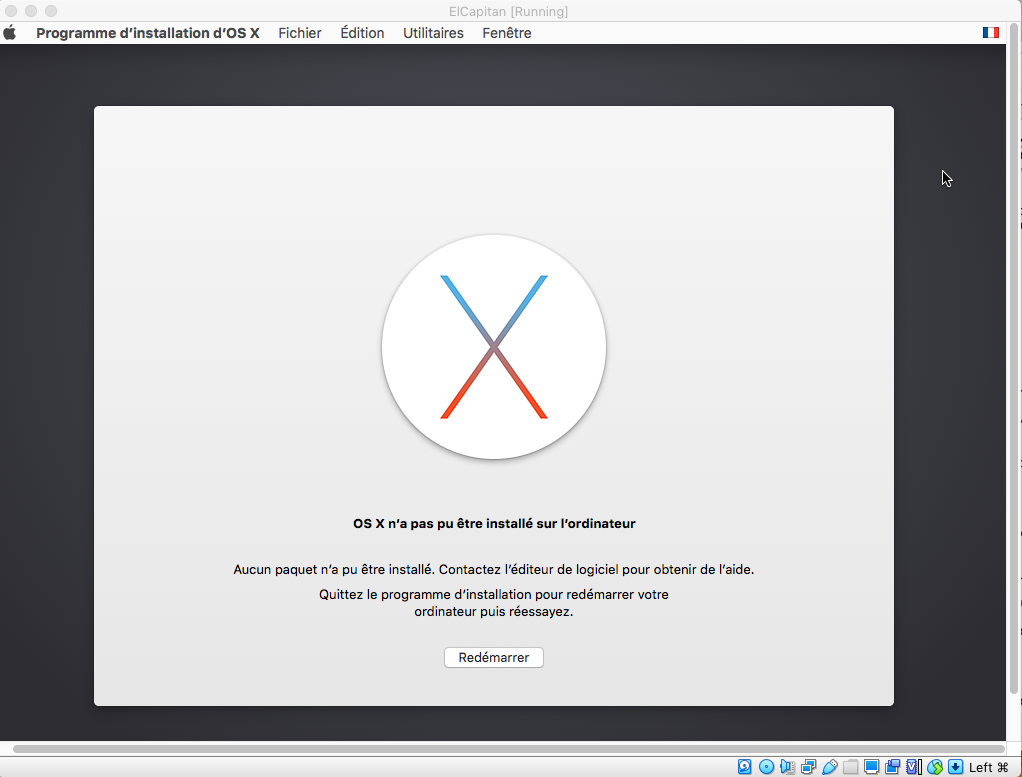
If you go back to the top of the tutorial during the ISO creation, you may have noticed that my installer is from 2015, except that Apple applies authentication certificates to these applications, which is good, but with a time limit.
Does this mean you have to download a new installer again, from an outdated OS of several gigabytes, and create a new ISO all over again?
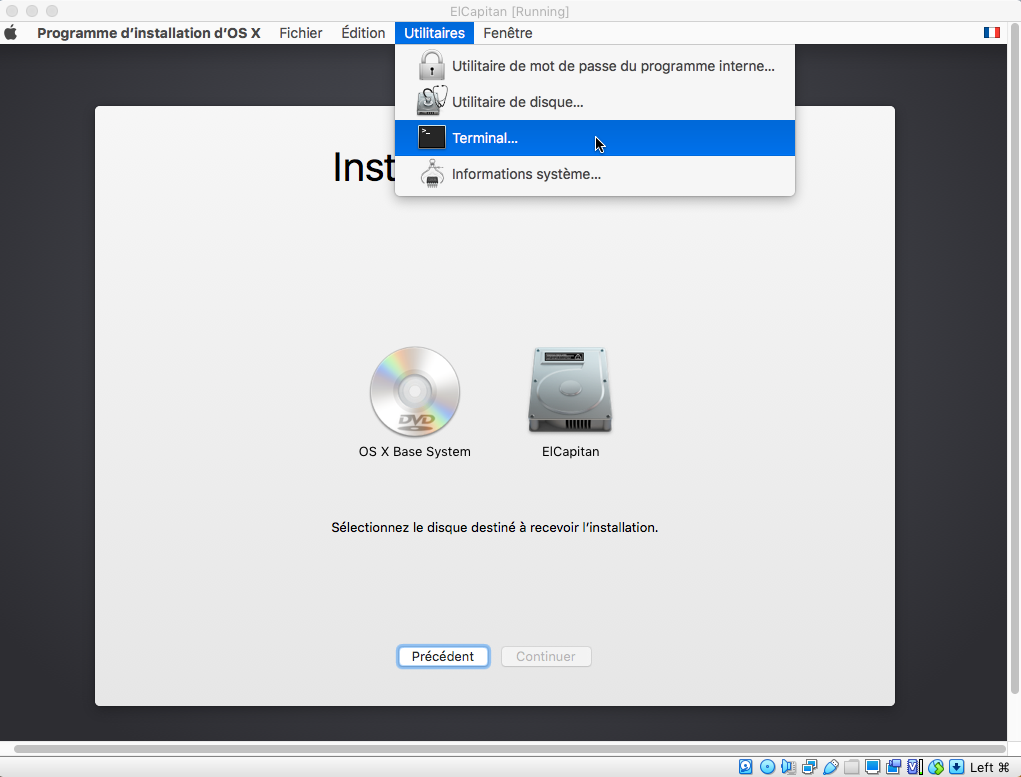
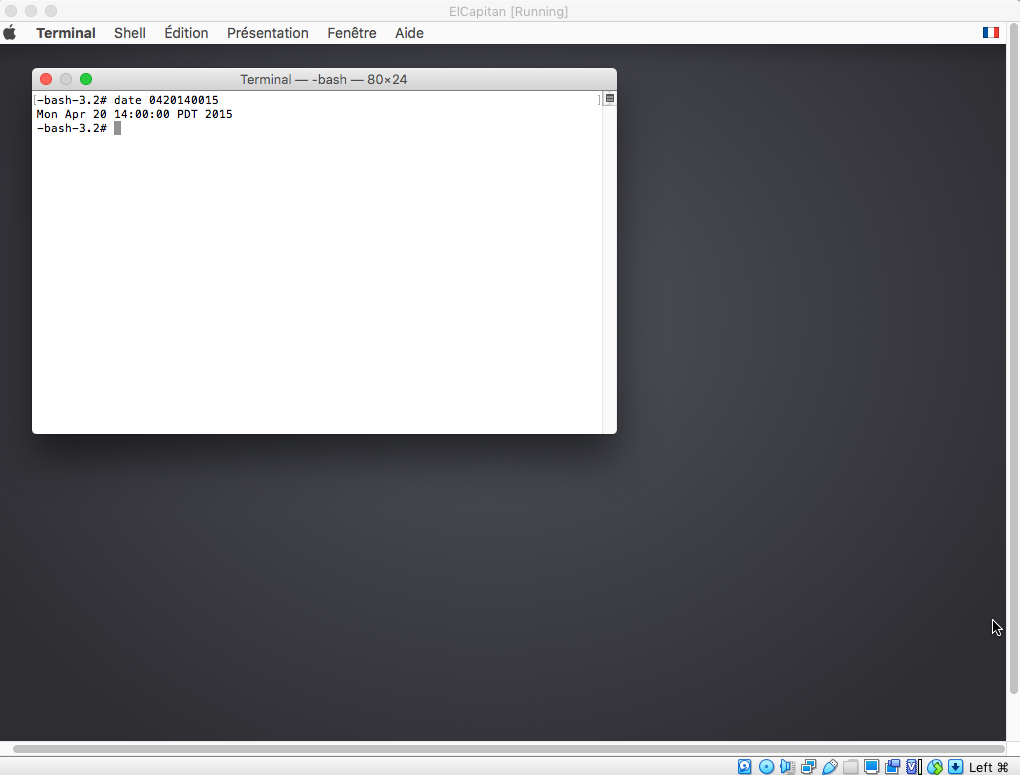
Not necessarily. If this is your case, gently click on « Restart ». Then follow the initial steps as before, making sure to set the keyboard to French, until you reach the point of selecting the installation disk. Open a terminal.
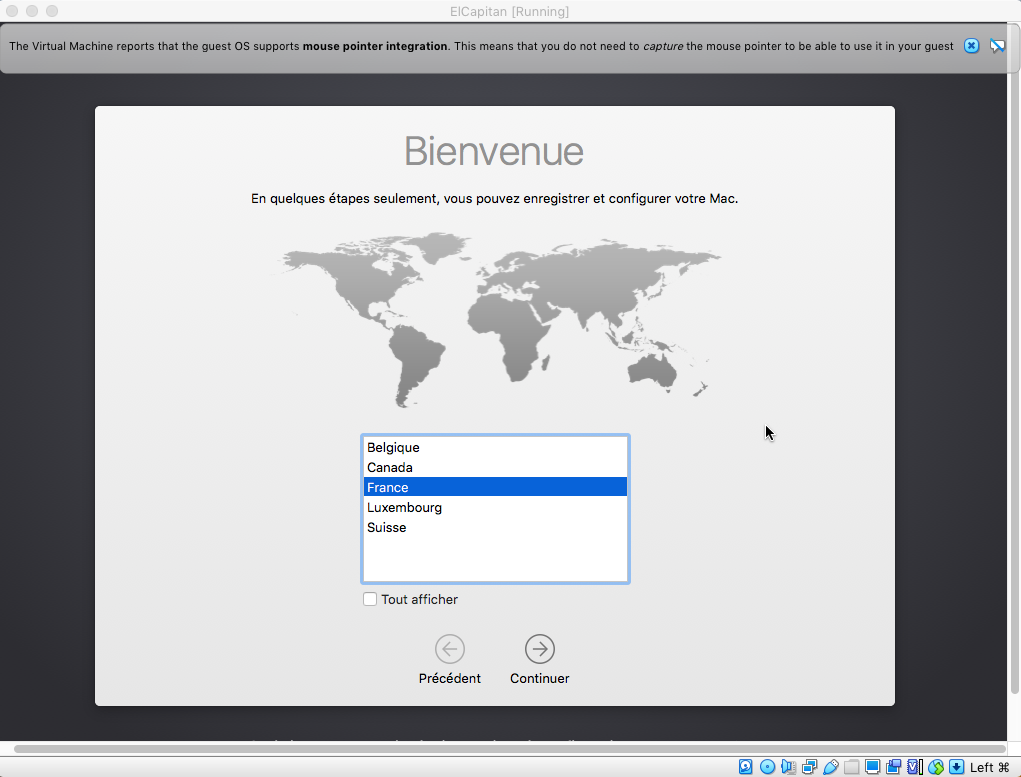
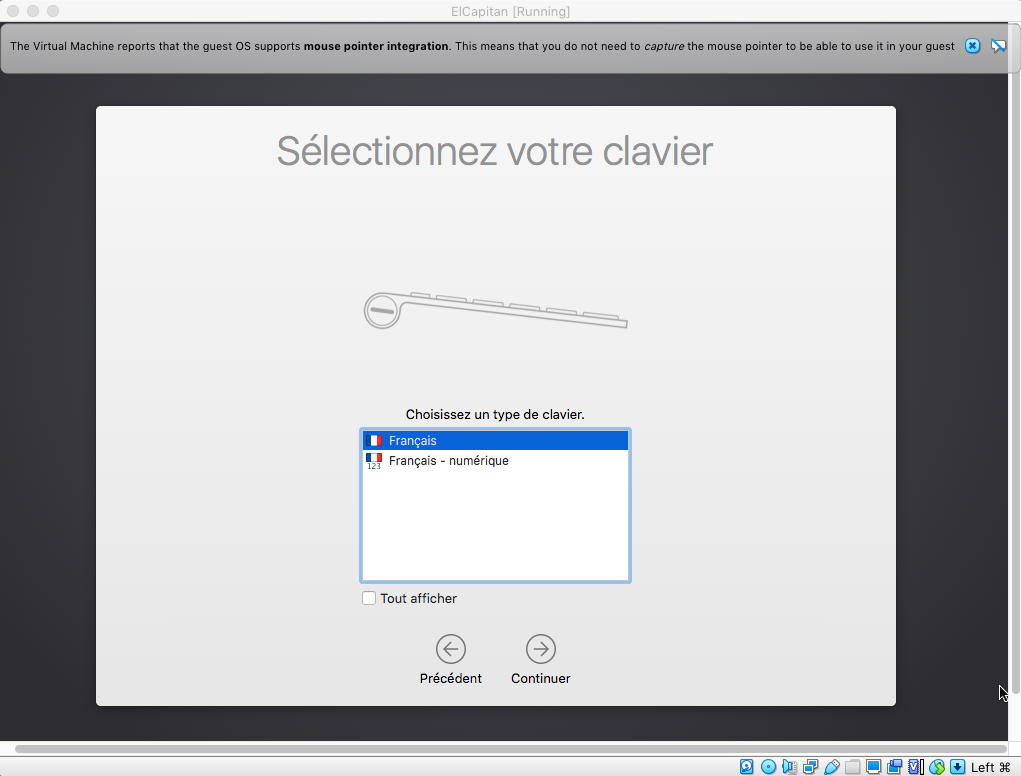
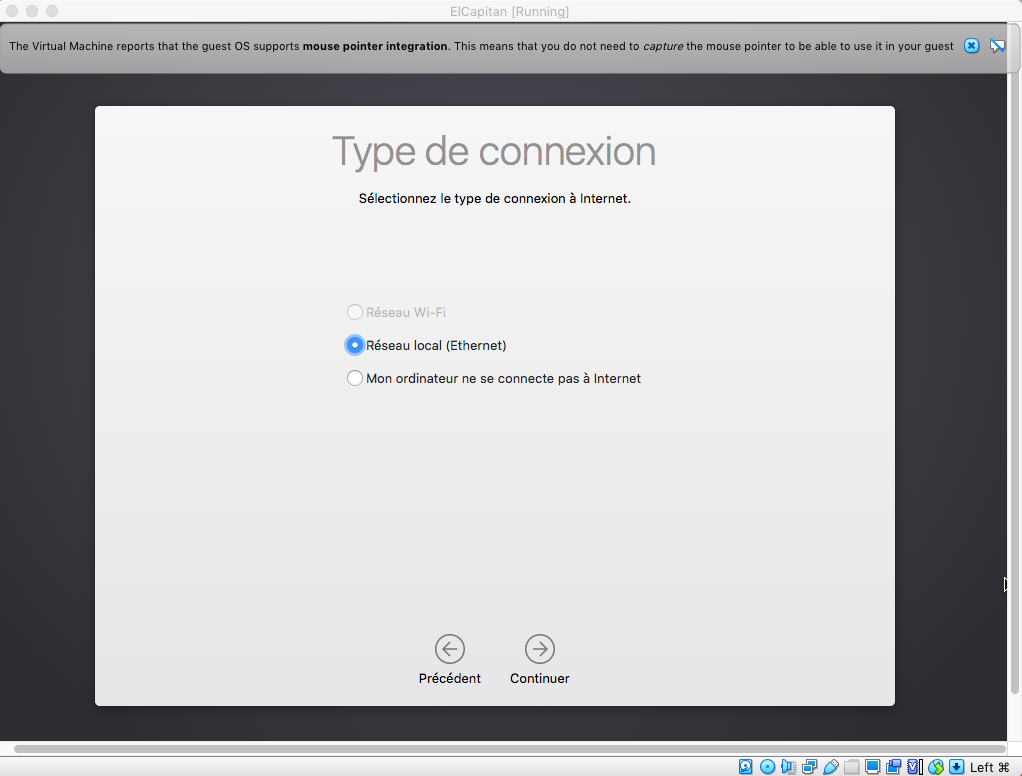
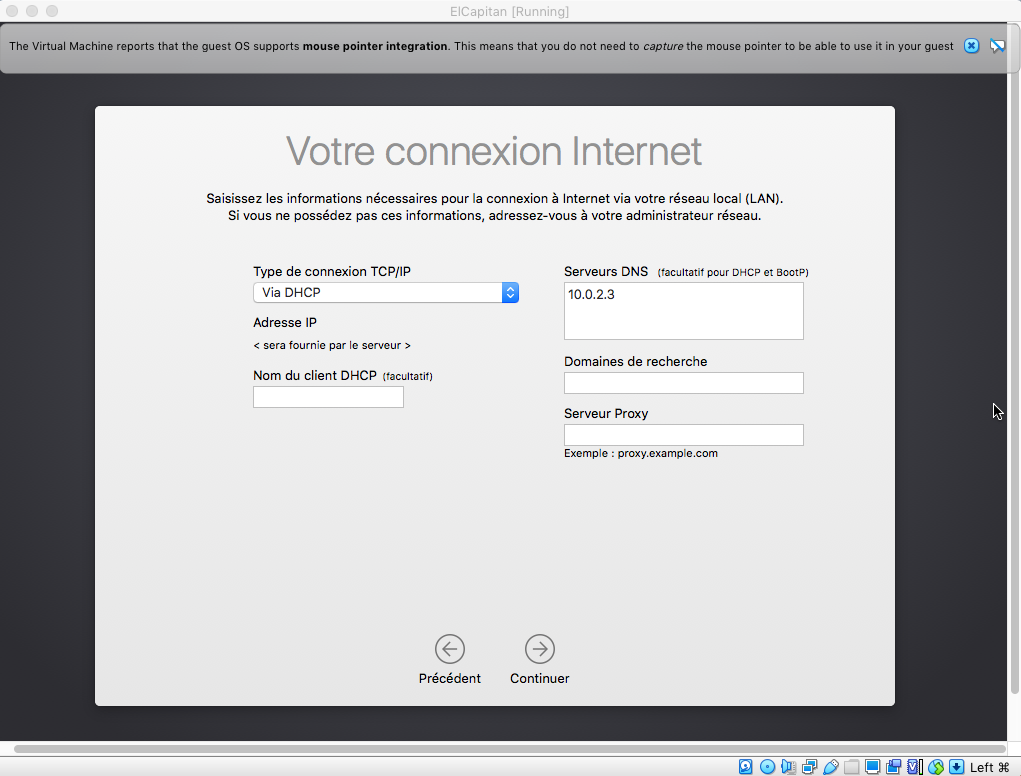
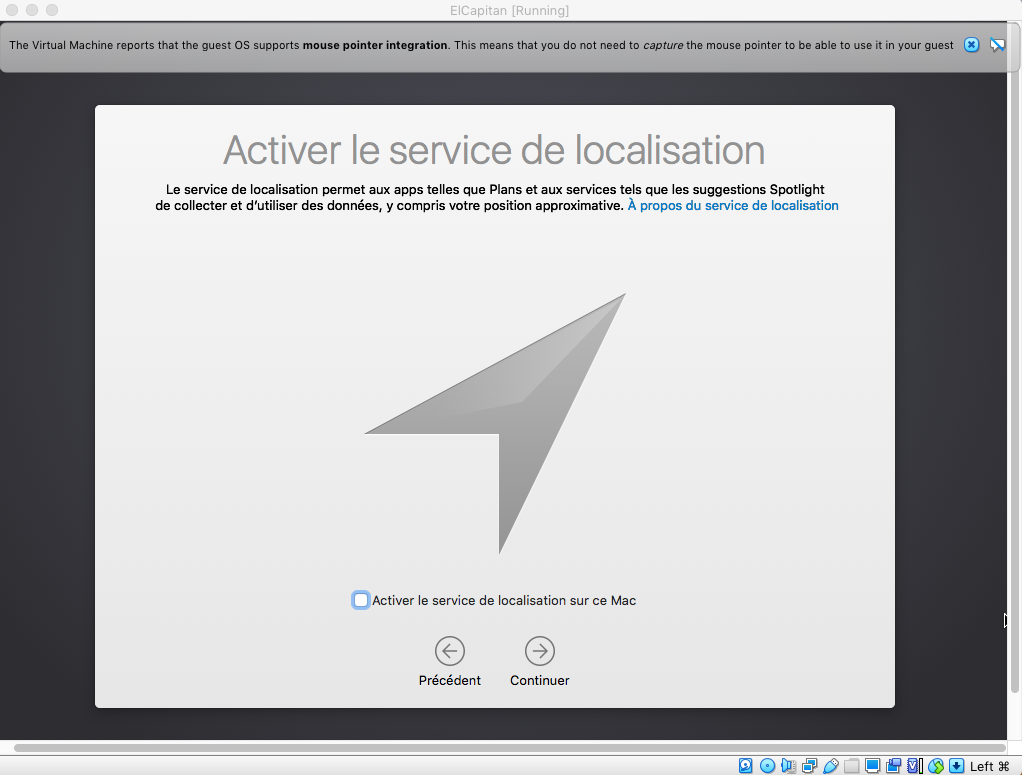
As for the localization service, it clearly doesn’t offer much interest on a host OS; it’s better to have done it on your physical Mac’s OS.
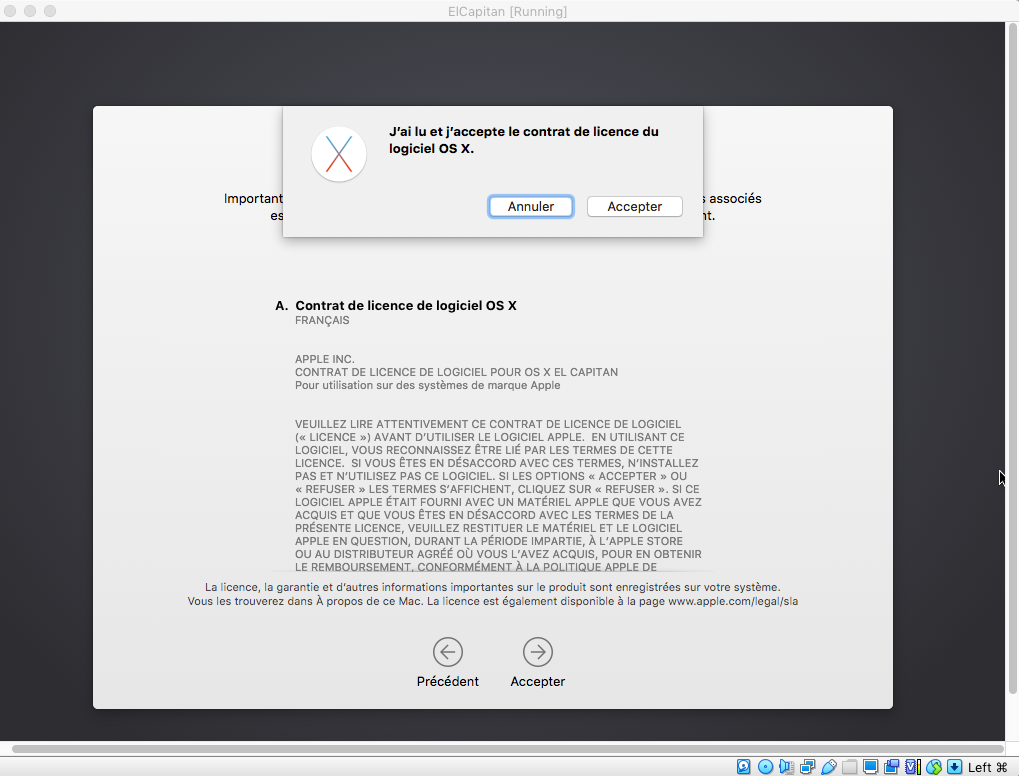
Once again, because we prefer reading—especially terms of service—we accept them.
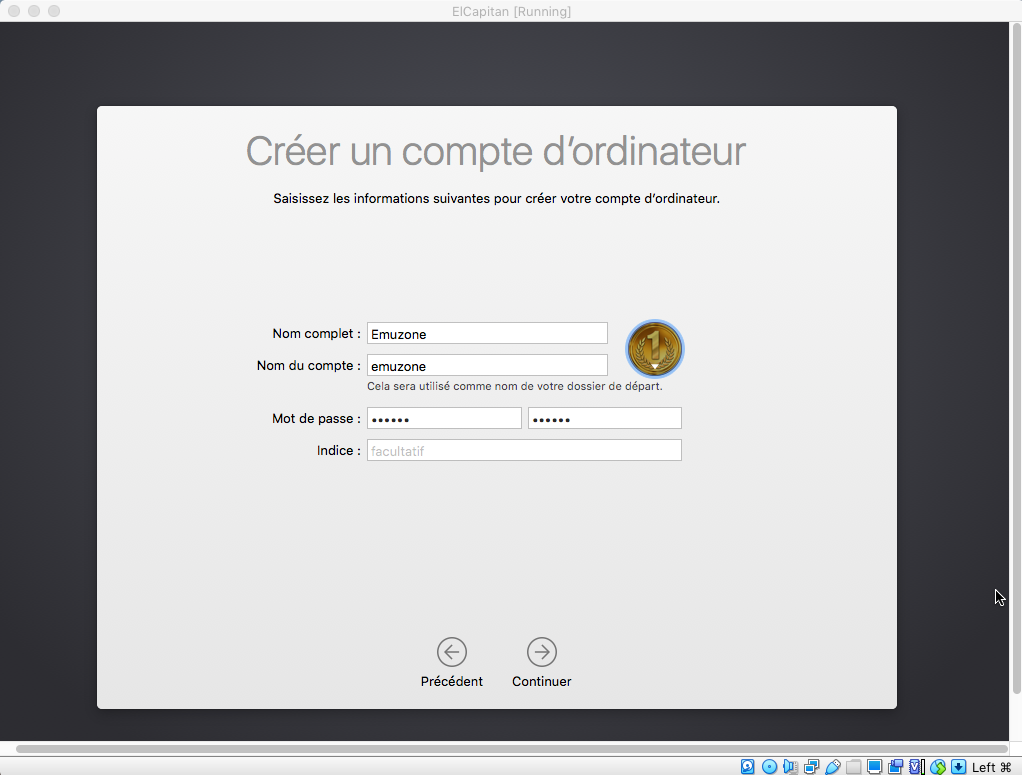
Create an administrator account for your OS X.
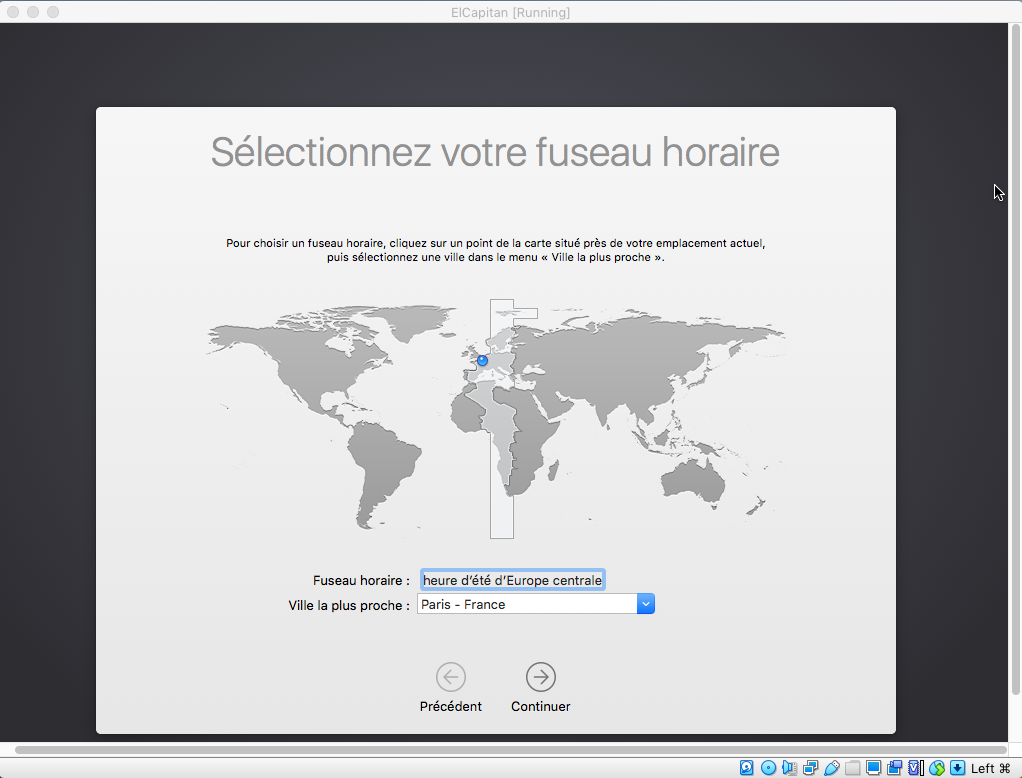
All that remains is to perform the usual settings, that is, the time zone.
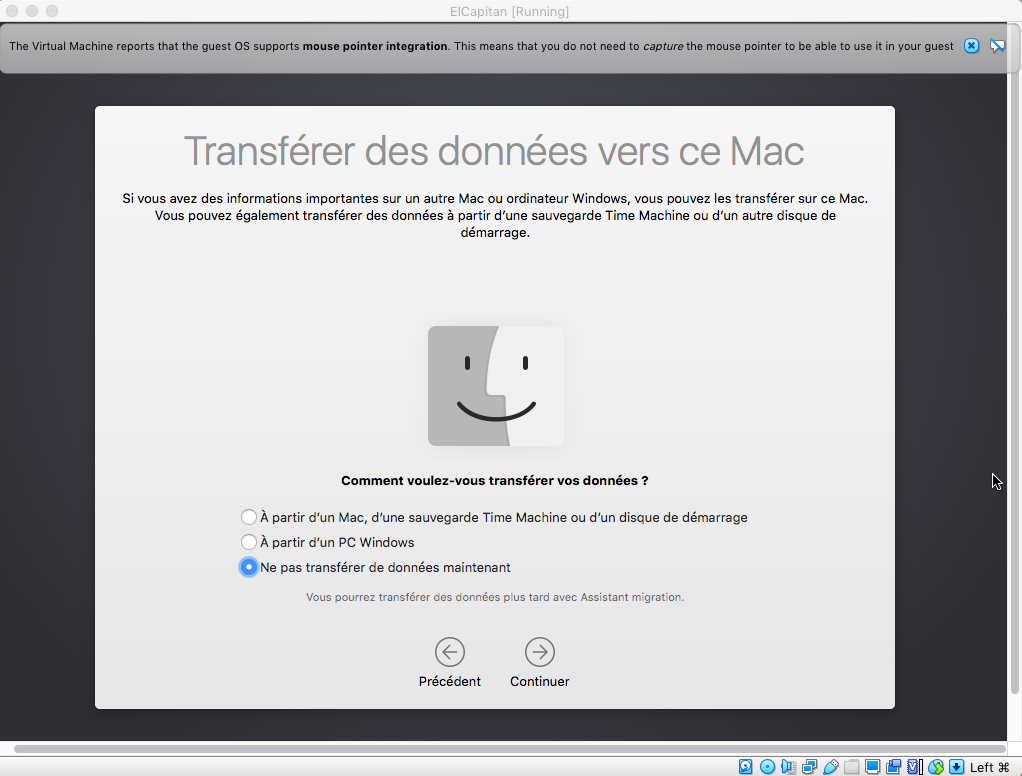
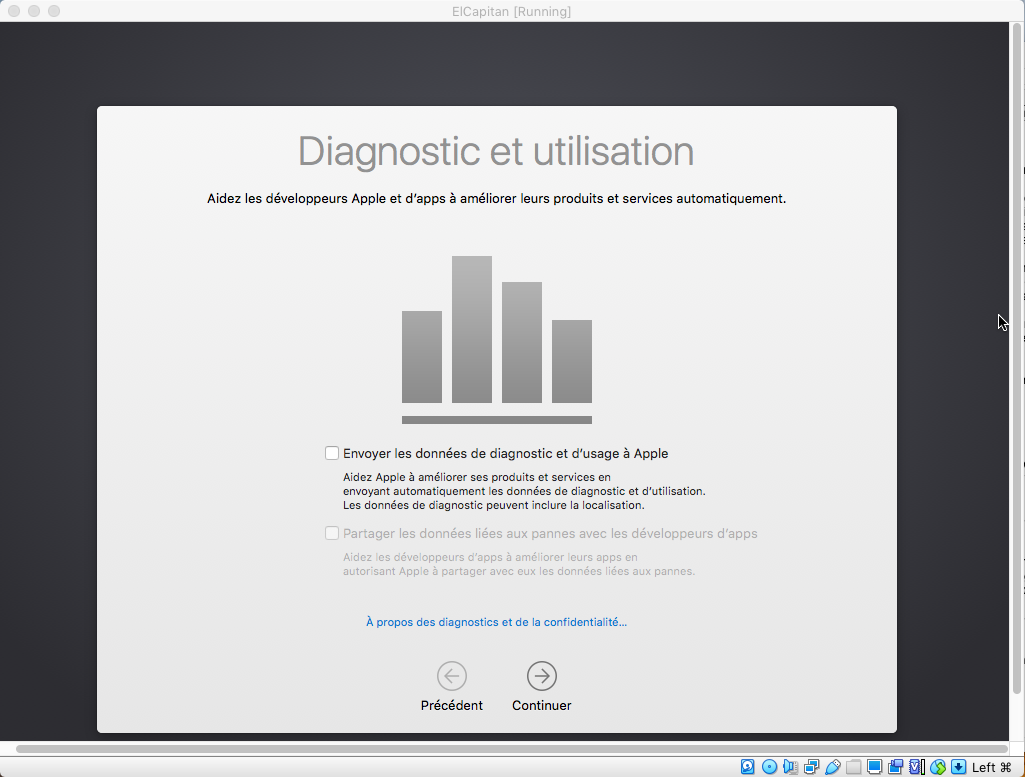
And the data.
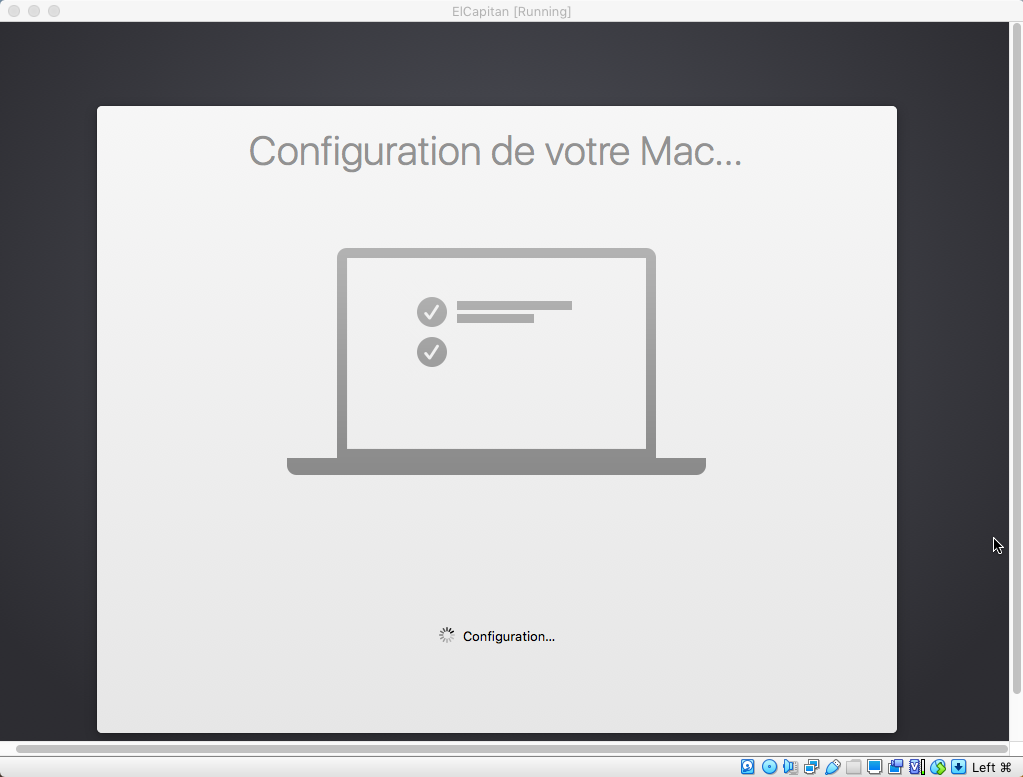
OS X finally launches...
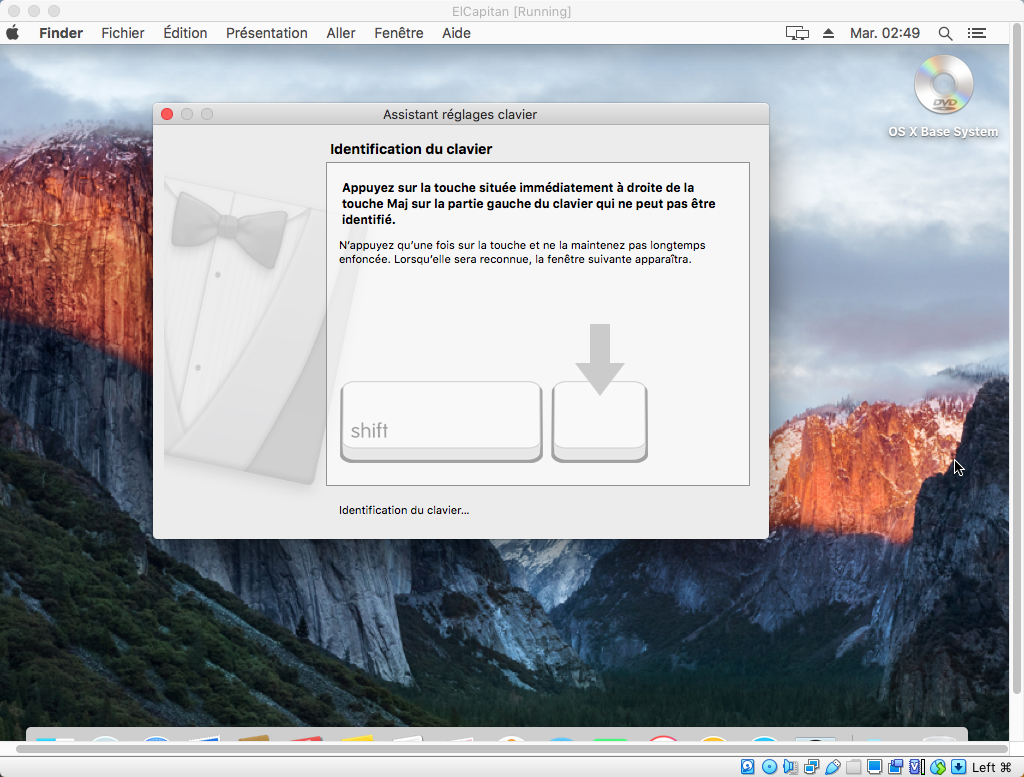
...And attempts to detect your keyboard.
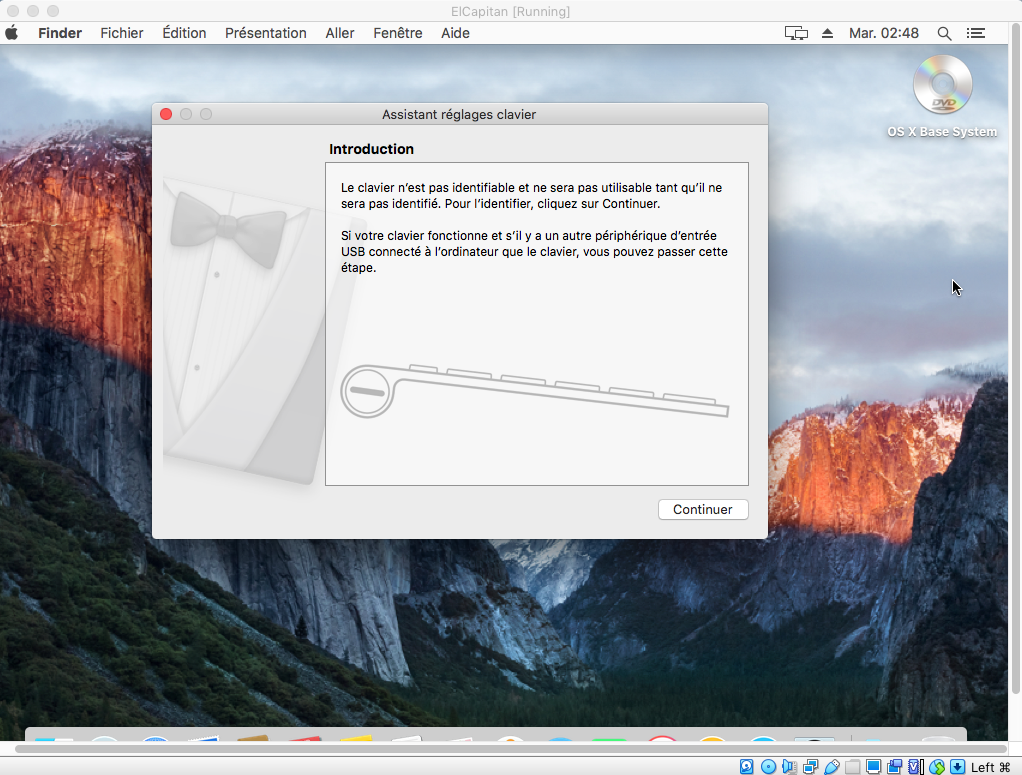
As requested, press the key next to the left « Shift » key.
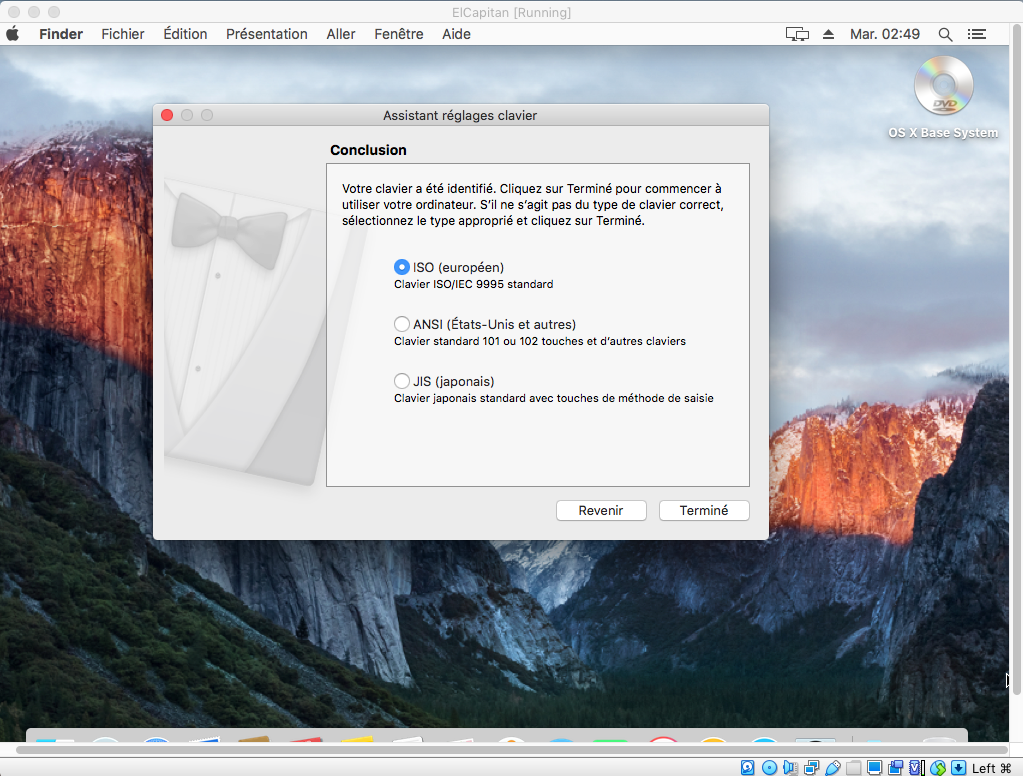
With your keyboard correctly identified, you can click on « Done ».
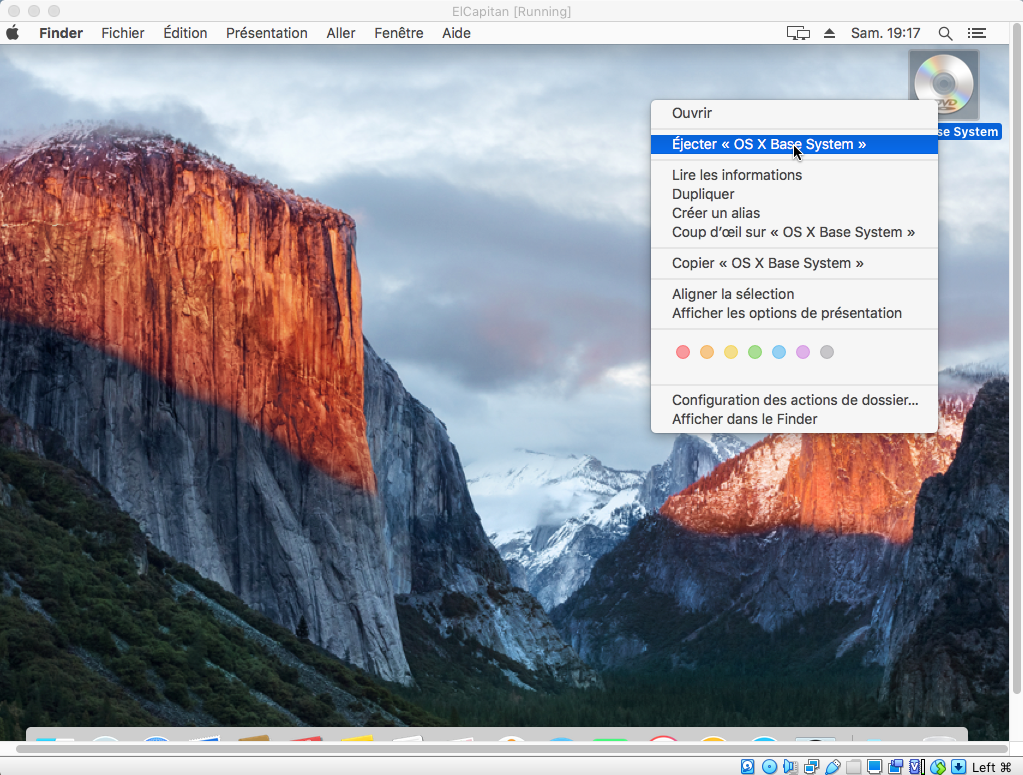
You can eject the disk; we won’t need it anymore.
You may have had to modify the date to install your system; if that’s the case...
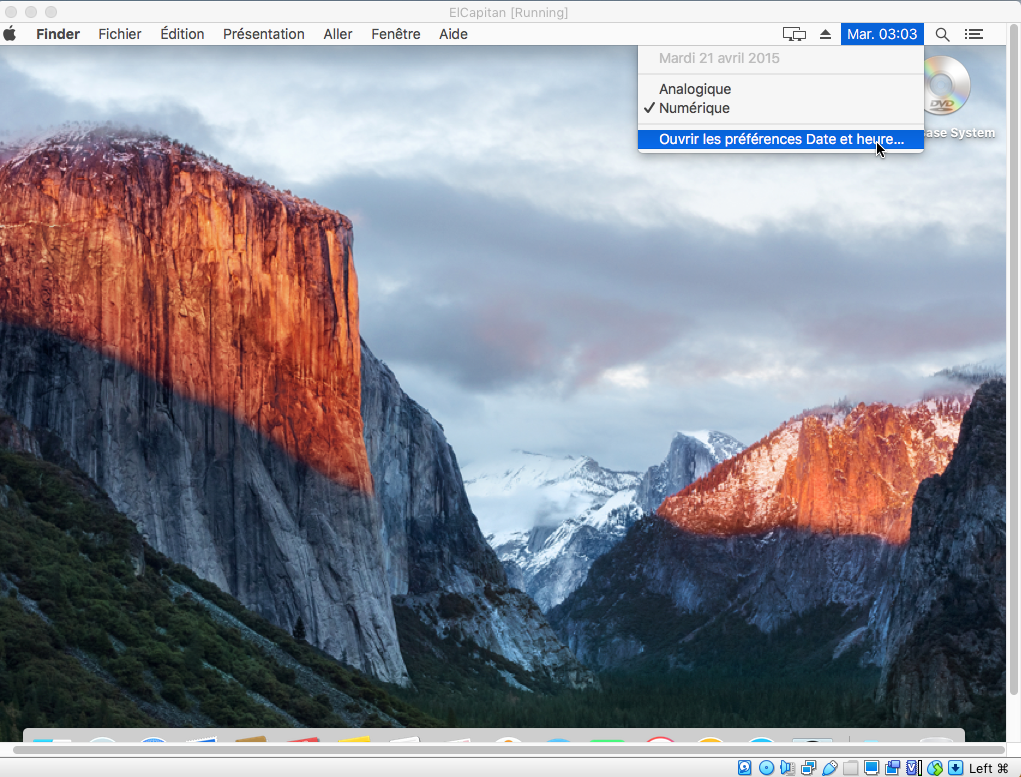
...Don’t forget to update the date and time of your OS X if needed.
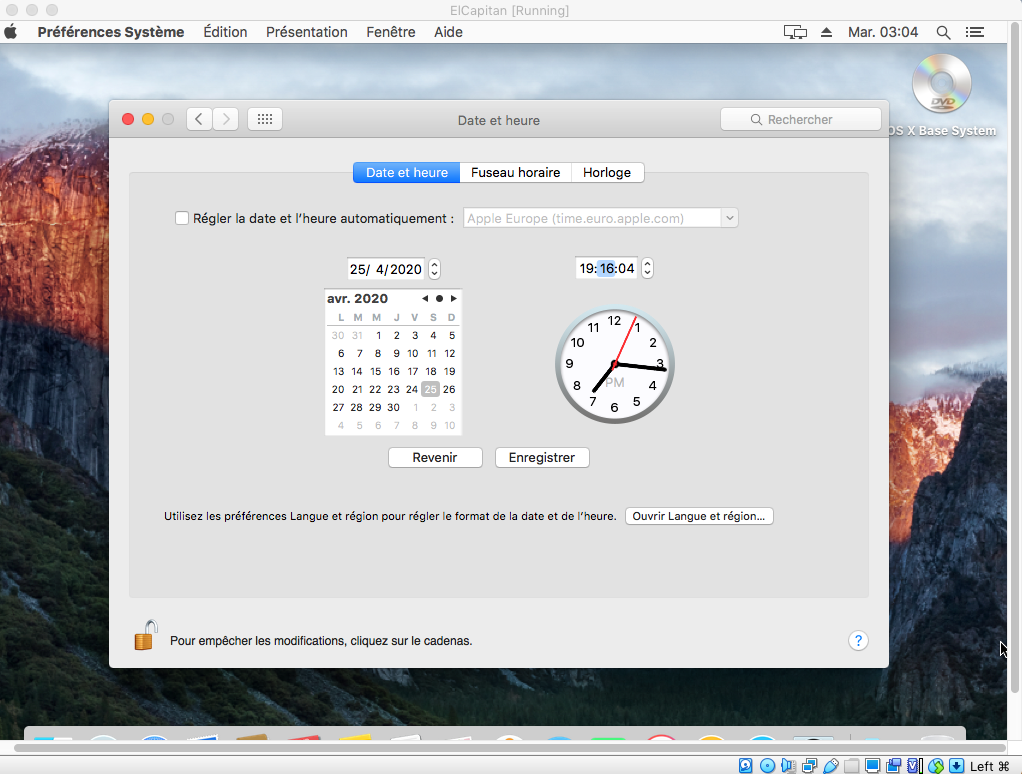
Open or keep open the host system preferences.
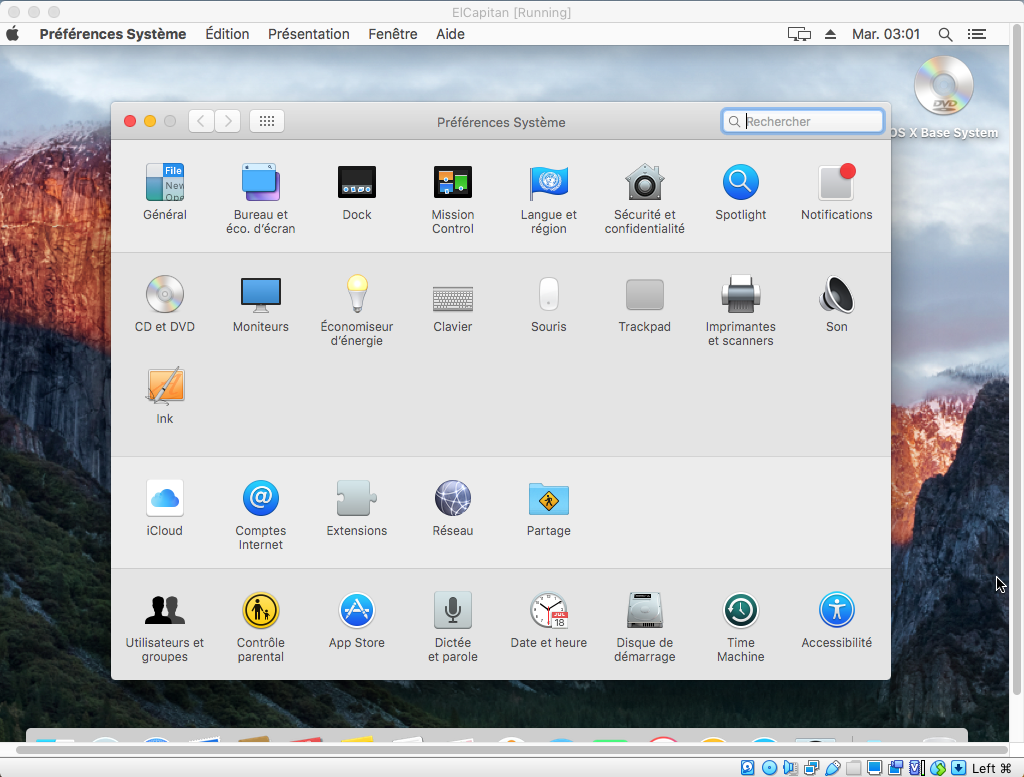
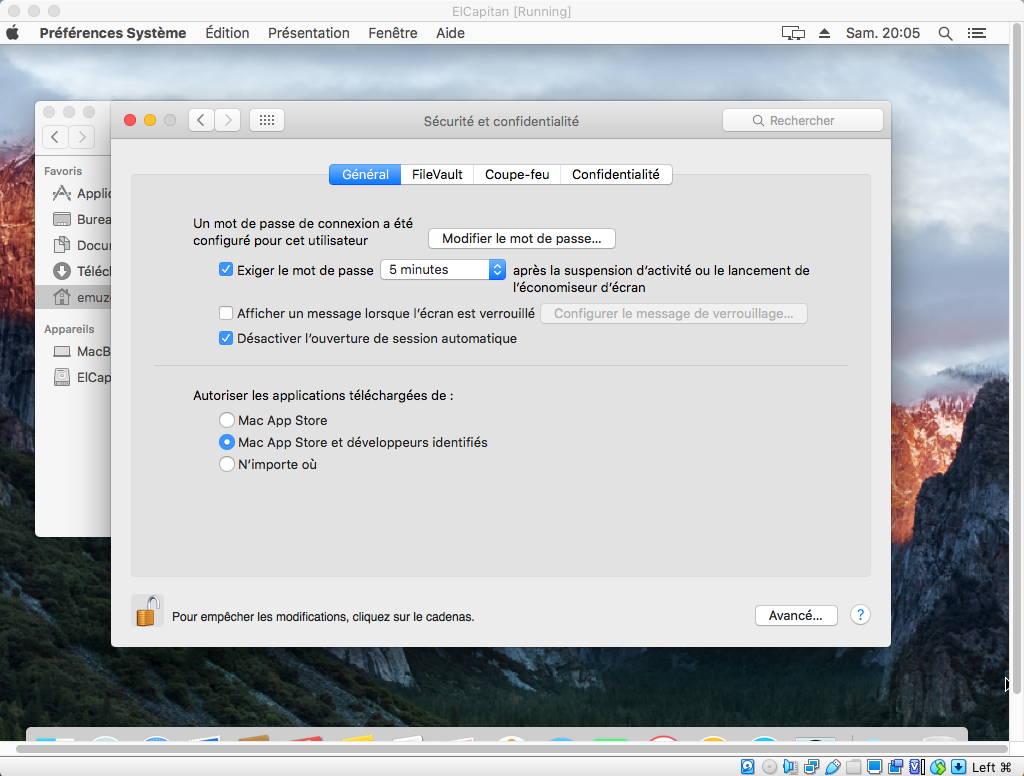
If it seems necessary, you can open the panel
Security and Privacy
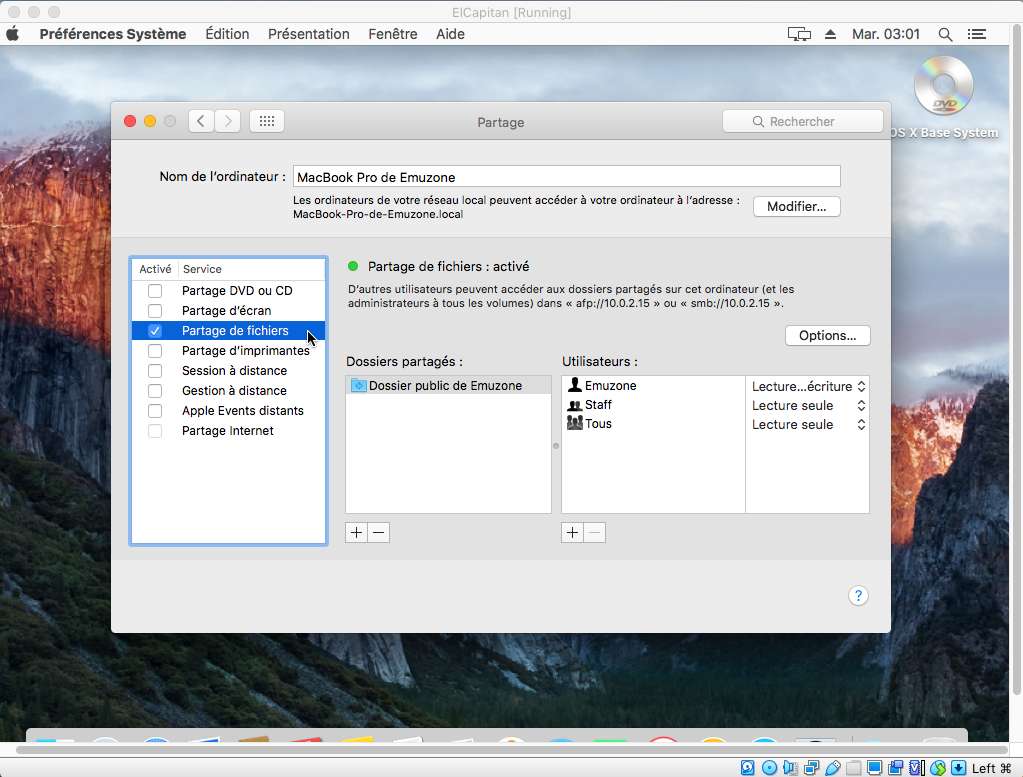
Then click on « Share » and enable file sharing.
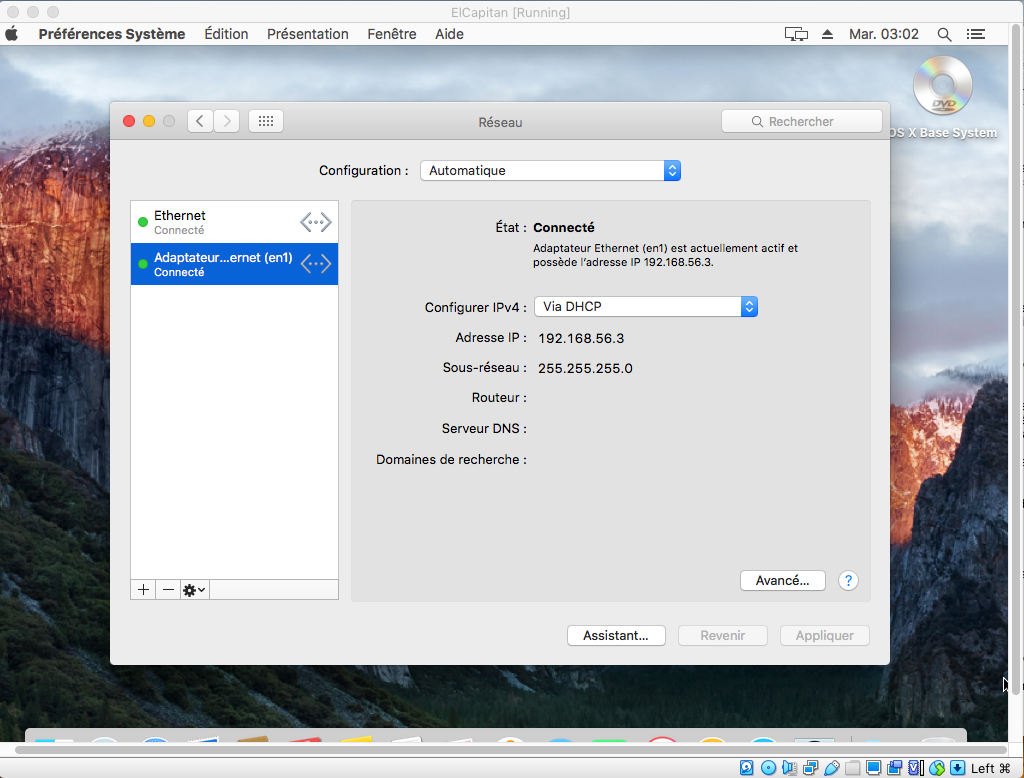
Go back to your host system preferences and click on « Network », then choose the second interface. Note the IP address.
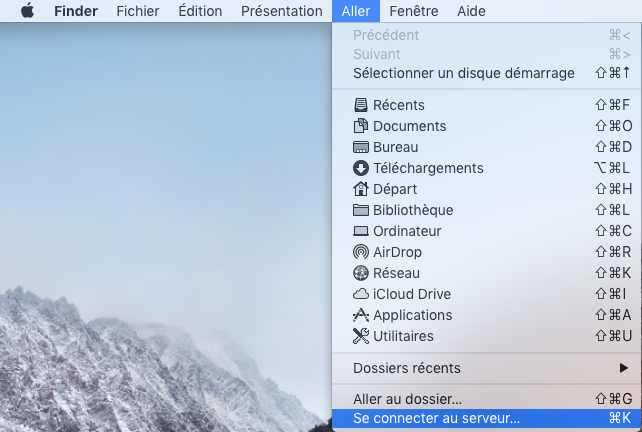
Return to your Mac's Finder, and in the « Go » menu, click on « Connect to Server… » or use the shortcut « command + k ».
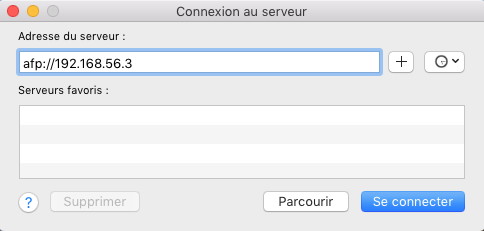
A window will open, where you need to enter the connection protocol followed by the machine's address. For Apple File Protocol sharing, the protocol name is afp and for the machine, it will be the IP address you noted earlier, such as « afp://
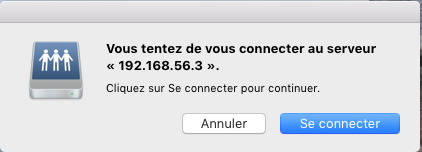
After correctly filling in the field and validating, the connection attempt will start.

You will need to validate this connection.
Once the server is found, you will need to log in with the host machine's user account by entering the account name and associated password.
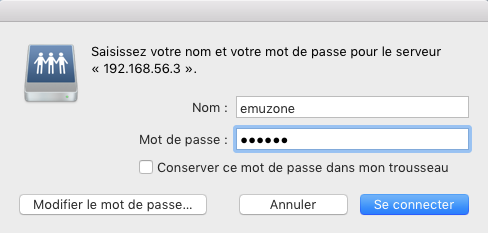
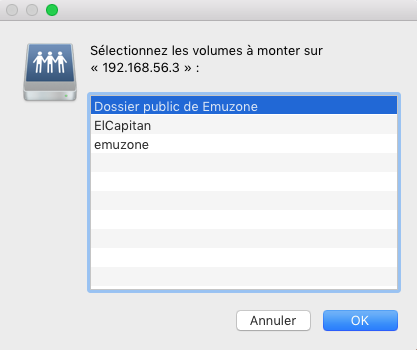
Normally, the system should prompt you for the shared folder you wish to access.
Make your choice; as for us, we will use the public folder of the host account.
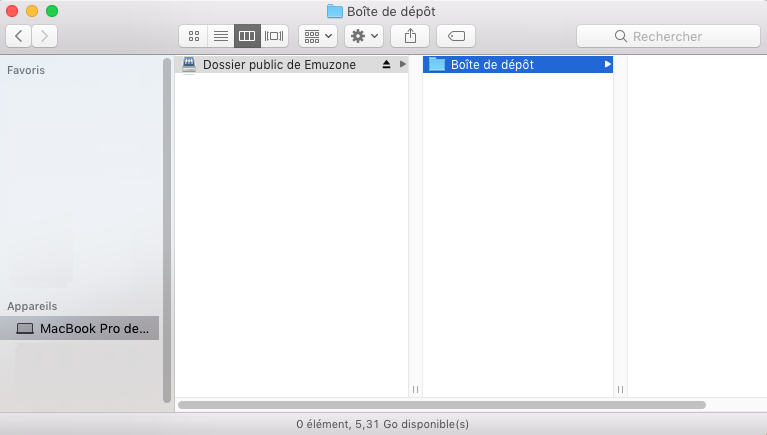
You can now access a shared folder from the host macOS system on your Mac.
You can copy 32-bit files and applications there, for example.
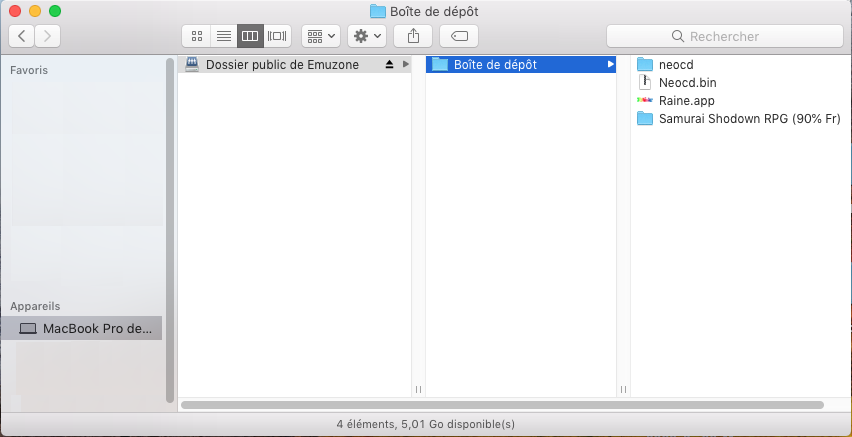
They will end up on the host Mac.
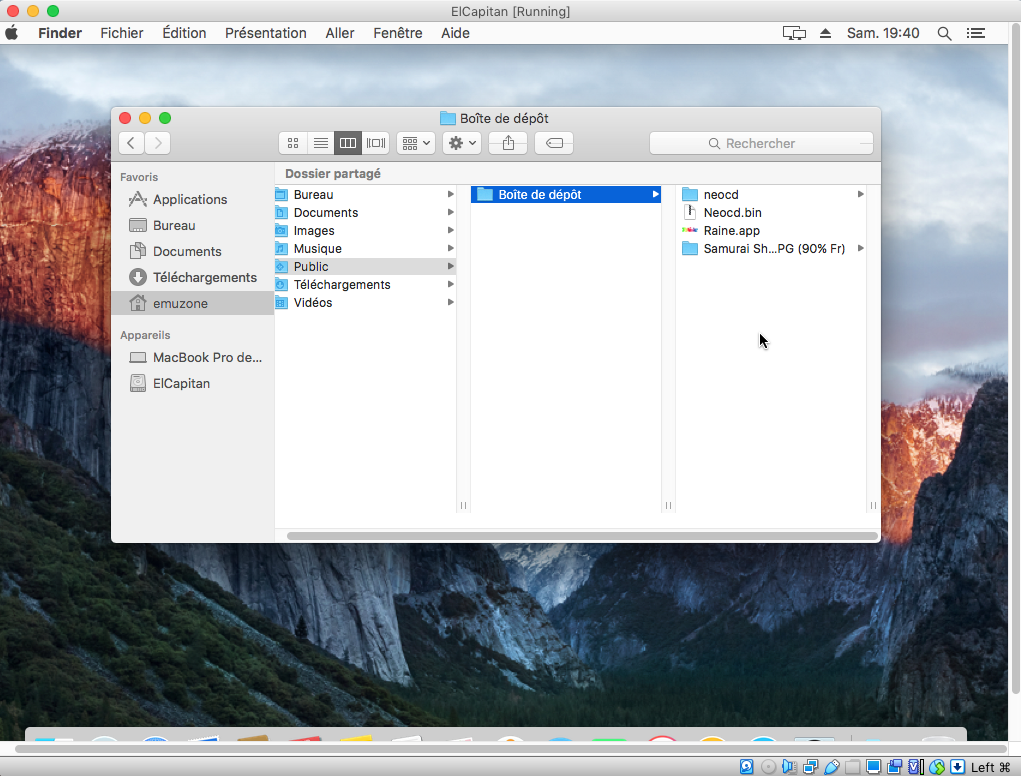
And there you have your 32-bit application back in operation.
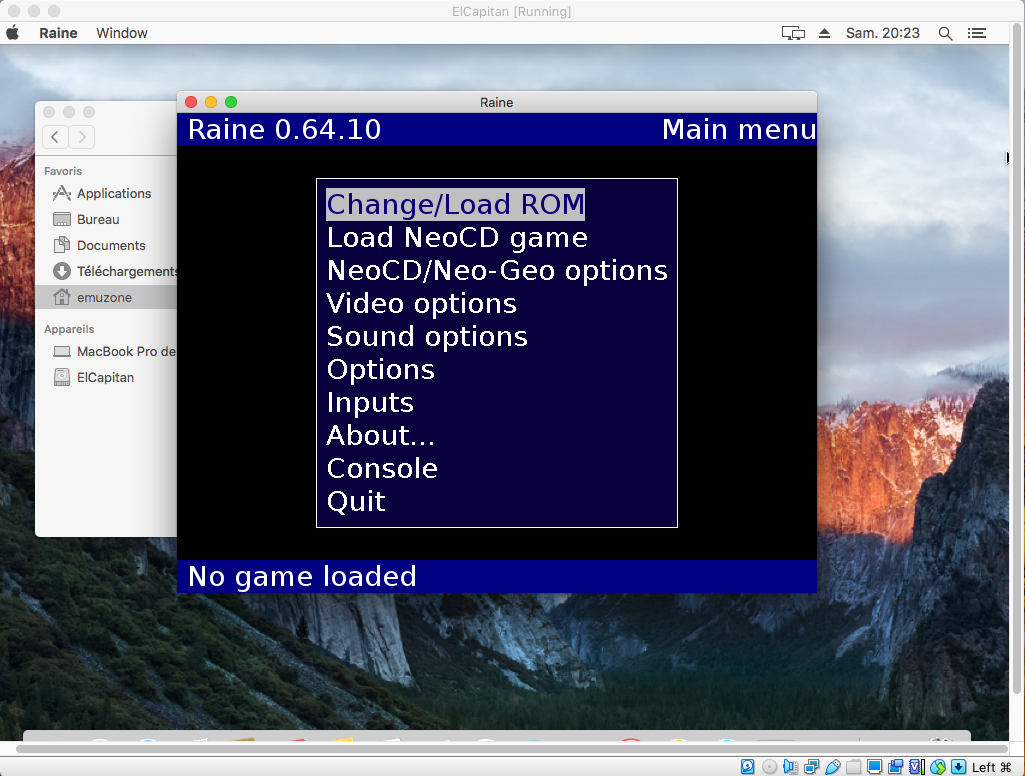
Finally, with a bit of luck, as this certainly won't be the case for all.

Above, the display works only because it was necessary to modify Raine's options so that it does not use the default graphics library, which is OpenGL.
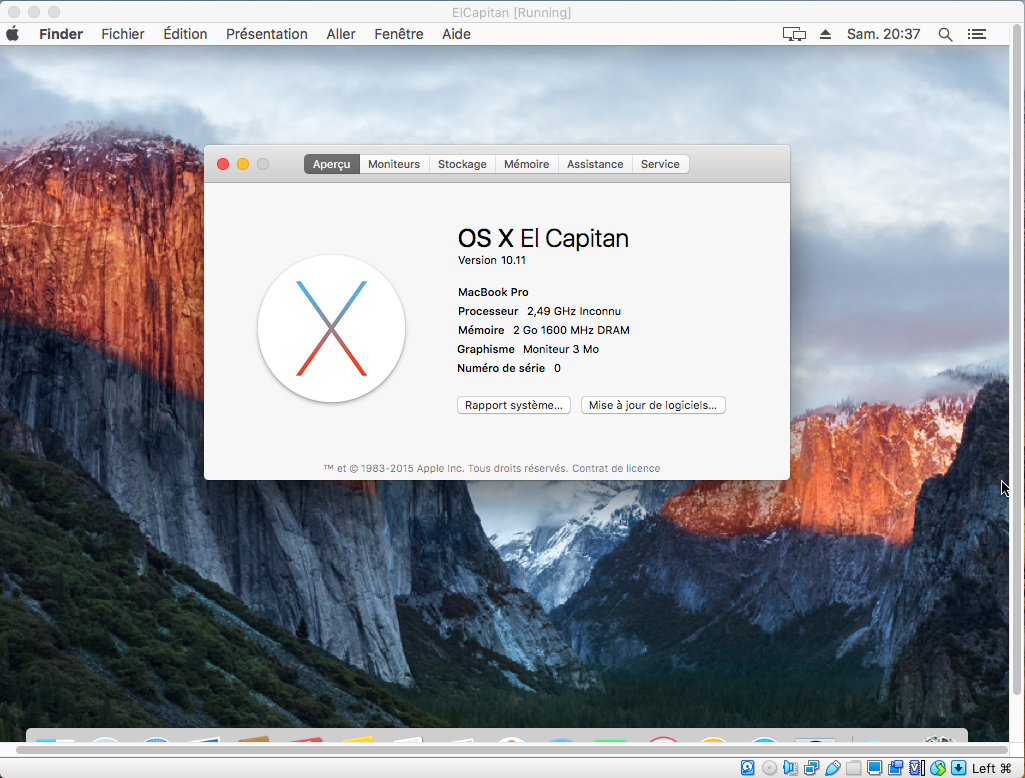
To conclude, I repeat once again, but emulation will never be as precise as the original hardware, and in addition to sometimes being resource-intensive, slowing down your Mac or making your macOS sluggish—since the graphics card is not fully managed, especially in 3D—do not expect miracles from software and games that fully utilize this type of resource. However, here is a simple and inexpensive solution to enjoy 32-bit software that will no longer be updated by the publisher for various reasons, despite Apple's abandonment of the architecture with the switch to Catalina.
Related software
Reply on the forum
A question or a hands-on report? Open the discussion on the forum.