VirtualBox and Our Old Mac OS X
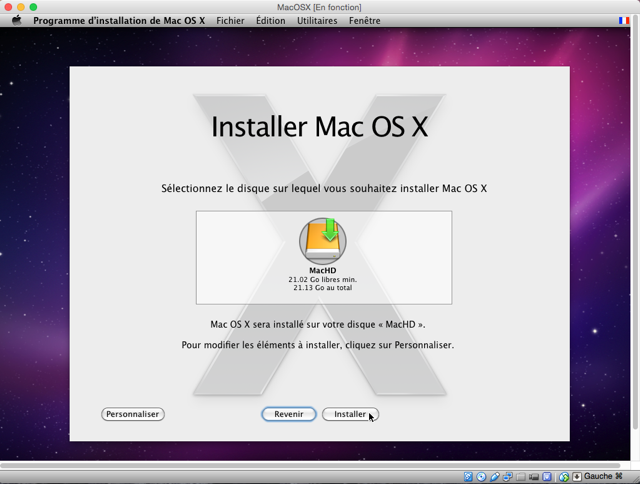
The PowerPC support having been abandoned for a long time, your applications using such an architecture will have their icons crossed out and attempting to launch them will display an explicit message.
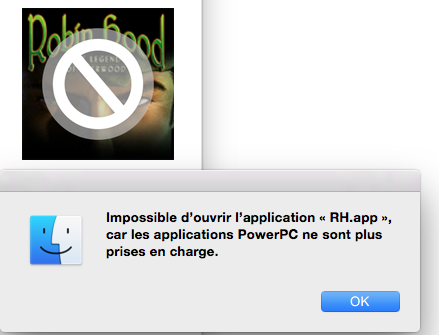
This will be even less the case for some applications not supported by your new macOS.
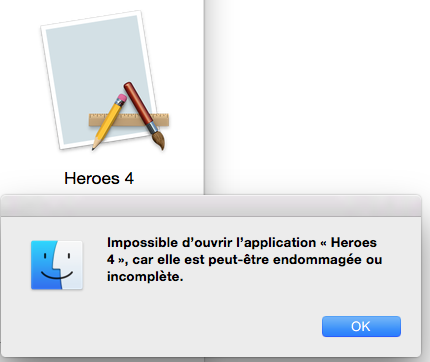
In most cases, an updated version of your preferred application should be able to address your compatibility issue, but for some whose support has been discontinued, you will have to resign yourself to it.
Perhaps not, if you still have your Mac OS X 10.5 or 10.6 installation DVD (the so-called "retail" version, often black and not gray, unlike the one provided with your old Mac). Your hope lies in VirtualBox.
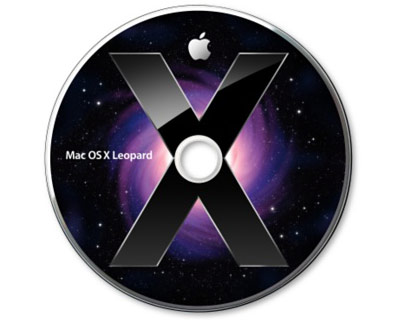
Why this Oracle product and not Parallels Desktop or VMware Fusion, and why Mac OS X 10.5 or 10.6 in "retail" version?
To begin with, it must be known that VirtualBox is free, unlike its two competitors. Moreover, it allows virtualizing Mac OS X 10.6 or 10.5 in client version, which is prohibited by Fusion, for example, as it seems to be against the Apple license of the product. Finally, you must have an official "retail" version because it is the only one officially installable on any Mac, and thus only checks the computer's architecture, unlike the DVDs provided with Macs which additionally check the model. Additionally, versions 10.5 and 10.6 of OS X are the last to include Rosetta. Once VirtualBox is installed on your Mac and, if necessary, the disk image of your installation DVD is prepared, here are the simple steps to follow: Create a new virtual machine, specifying that it will be a 64-bit OS X, and name it. Choose the amount of RAM you want to allocate to it. We need to create a hard drive for your new machine. If you are not familiar with virtualization, follow the screenshots below. Create a new hard disk. Select the file extension type (VDI recommended). Specify the disk size. Save the virtual disk file in the VirtualBox folder by clicking on the folder icon next to the filename (highlighted with a red square above). Once done, your machine is almost ready, and you can view its specifications. You can modify these settings by clicking on the "Settings" button.
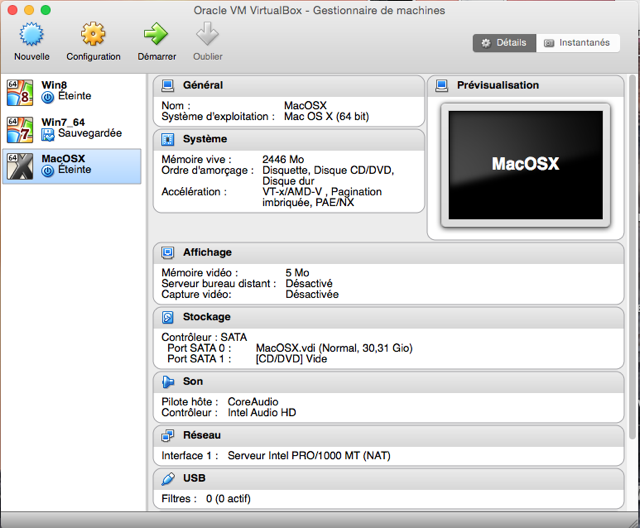
Do not change anything in the "System" tab. Make sure that in the "Motherboard" table, the "Enable EFI" option is checked.
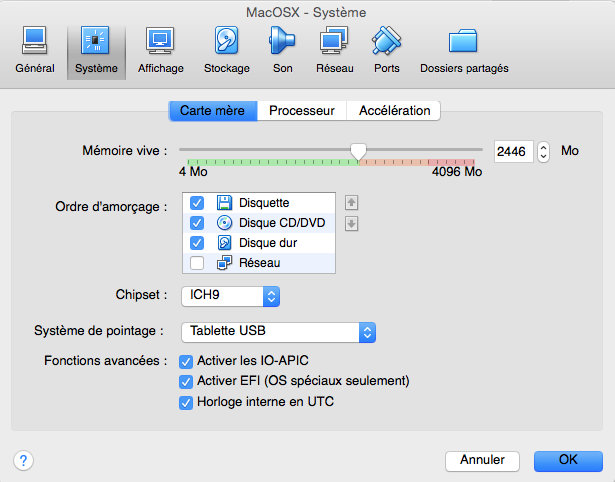
In the "Processor" table, only one should be enabled.
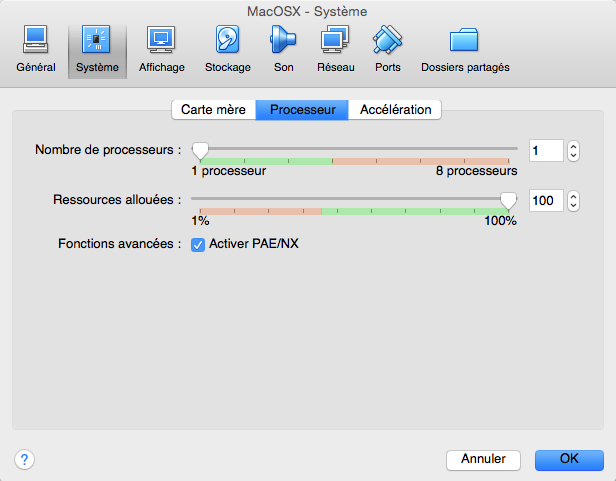
Regarding the display, allocate at least 64 MB of VRAM and enable 3D Acceleration.
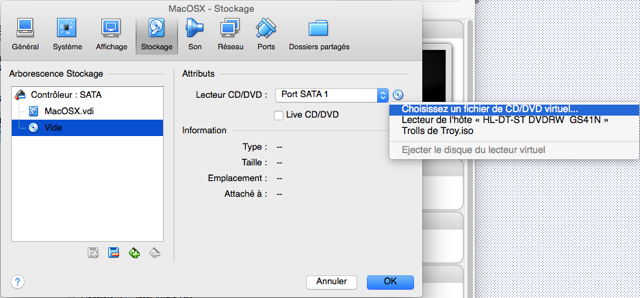
If you have your installation DVD and a DVD drive, you can insert it and skip the next step, which involves capturing the installation DVD image.
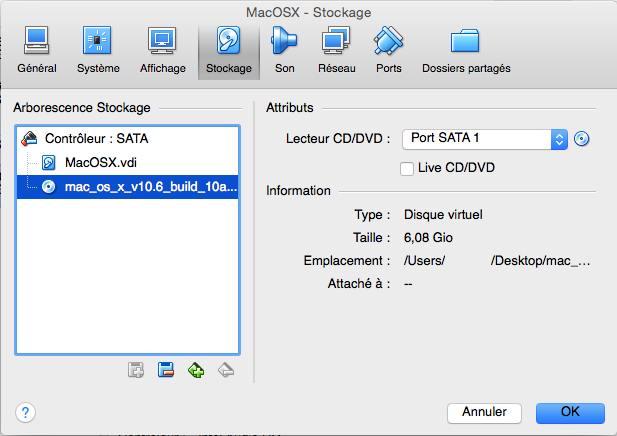
If your disk image is valid and the capture was successful, here is what it should look like.
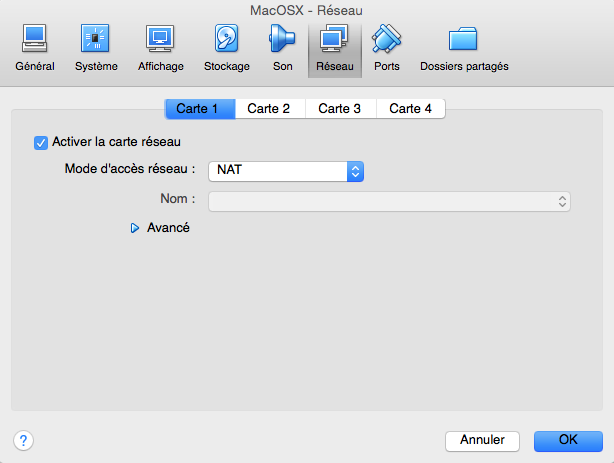
By default, a network card is enabled and configured in NAT mode, allowing you to access the internet on your guest machine via the host machine's connection. If you want your own network configuration or no network card at all, feel free to modify these settings.
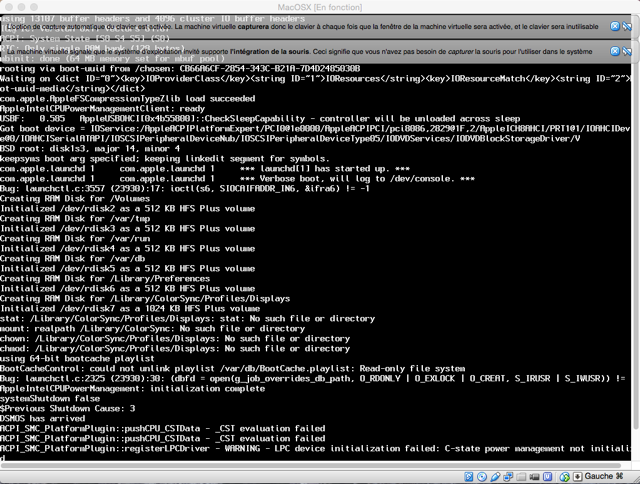
All that remains is to start your new OSX virtual machine.
The installation can now begin. Choose your language and, most importantly, don’t hesitate to change the keyboard layout, which is set to QWERTY by default, by clicking on the US flag at the top right. Before anything else, you will need to initialize your virtual hard drive using the Disk Utility. For those who have never done this, simply select the hard drive, choose the Mac OS Extended (Journaled) format, and give it a name before clicking the "Erase" button. Your hard drive is now ready, and after quitting the Disk Utility, you will notice that your drive is recognized as a volume capable of hosting your OS. Don’t forget, especially if you plan to install 10.6 and use PPC applications, to customize your OS to include Rosetta. Now you have a Mac OS X 10.6 (or 10.5). Note that updating to 10.6.8 works, but upon rebooting the virtual machine, it will refuse to boot, so you must not do this. Beware: While having an old Mac OS X installed may give you hope for using your old applications, refrain from doing so for your old games like Max Payne, Medal of Honor, Giant, Black & White, and so on. Almost all applications requiring access to a graphics card fully supporting OpenGL will refuse to run. Below are the few games that managed to work.   Since emulation and virtualization are not an exact science, it’s worth repeating that there may be some setbacks, such as graphical issues for Heroes of Might & Magic IV.  Don’t hesitate to make a few adjustments, such as moving the Dock to the left and automatically hiding it.  Among the recalcitrant titles tested, you can note Warcraft III - Frozen Throne, Giants, Black & White, Myth III, Unreal Tournament, Europa Universalis II, Soldier of Fortune II, XIII, Wingnuts (which requires a 640x480 display mode that is not supported), and Rayman 3 (installation fails).     This list is far from being exhaustive. To conclude, virtualizing still relatively recent systems, while emulating more or less complex components, does not guarantee you the same level of reliability as an old Mac when it comes to the proper functioning of your legacy applications.
Related software
Reply on the forum
A question or a hands-on report? Open the discussion on the forum.