Using Virtual PC
Many visitors go to the forums of Mac-Emu.net to ask us how to use Virtual PC (VPC) and what can be done with it. These are often the same questions we are asked, and we usually provide the same answers. I therefore decided to write this small guide on using VPC.
The Mac used is an iMacDV 400 (so a G3) running OSX 10.2.8 with 320 MB RAM. The version of VPC is 6.0 and we will attempt to install Flonix (dead link), a Linux distribution that fits on 68 MB and only works from a CD, therefore bootable.
I obviously skip the installation of VPC as it is done almost automatically and move on to its configuration.
As you can see below, this is rather simple:
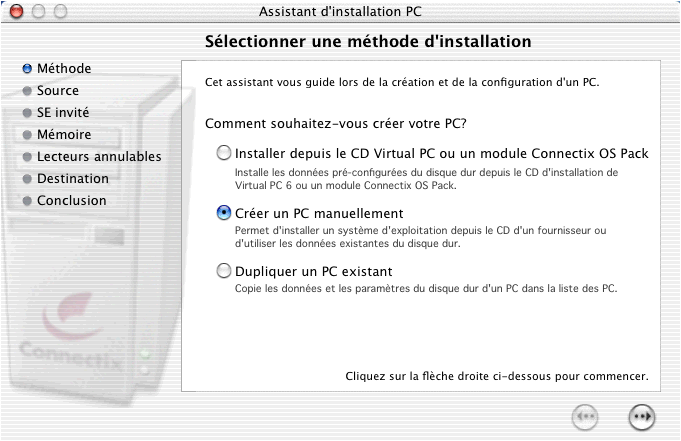
We will therefore do everything manually.
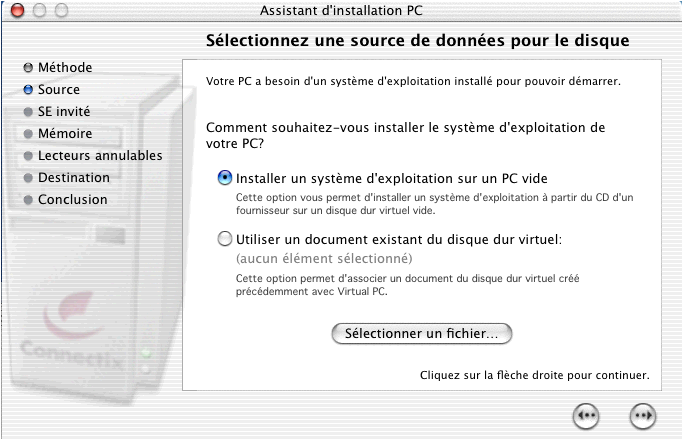
We will build our PC from A to Z.
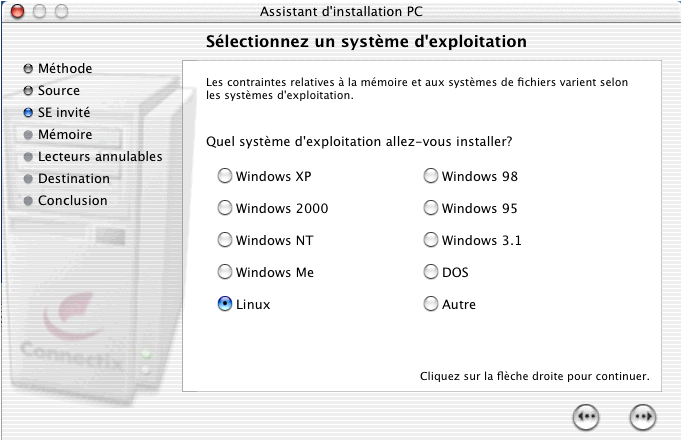
We start by specifying the operating system we will install.
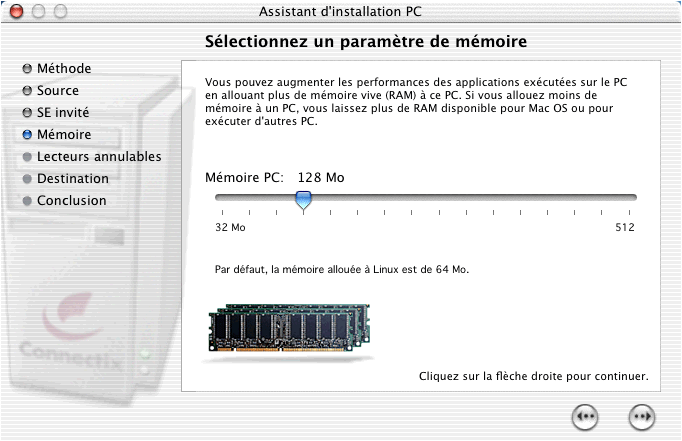
Next, we specify how much RAM (random access memory) we will emulate. It is advisable not to exceed half of your MAC's physical RAM.
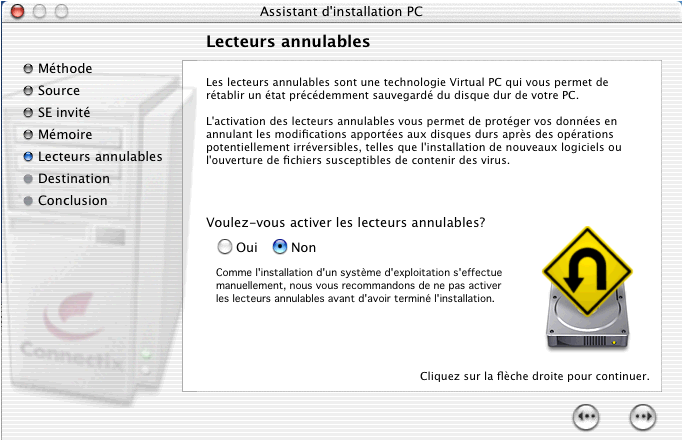
I never use this option, as in my opinion it consumes more disk space than anything else. You don't crash every day.
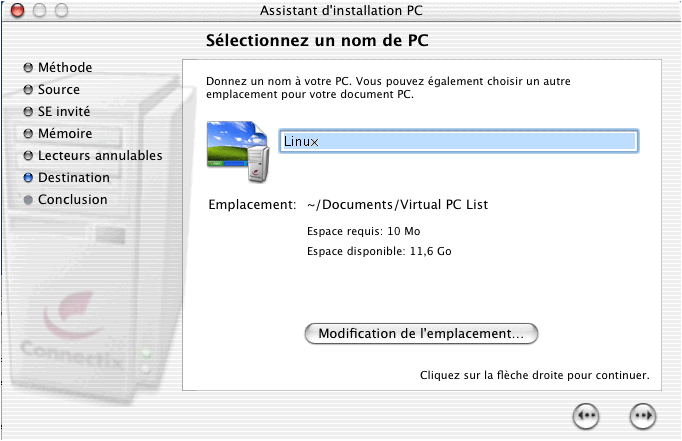
We decide to give a name to our PC.
Indeed, VPC can emulate several at once.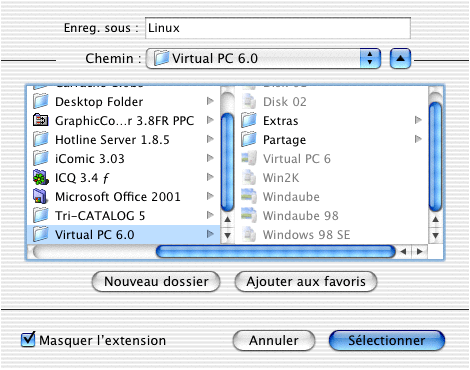
However, I prefer to modify the location and save it in the VPC folder.
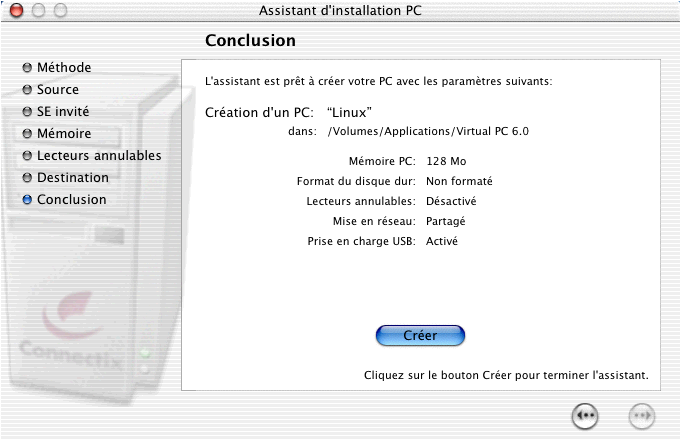
There you go, your PC is ready; now we need to add elements inside it.
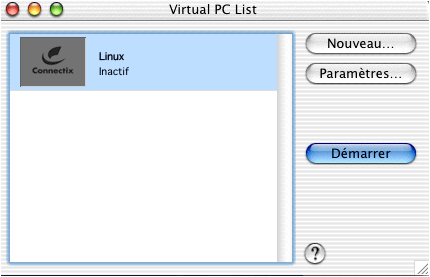
A list of PCs is proposed (Window menu > Virtual PC List or Command+L)
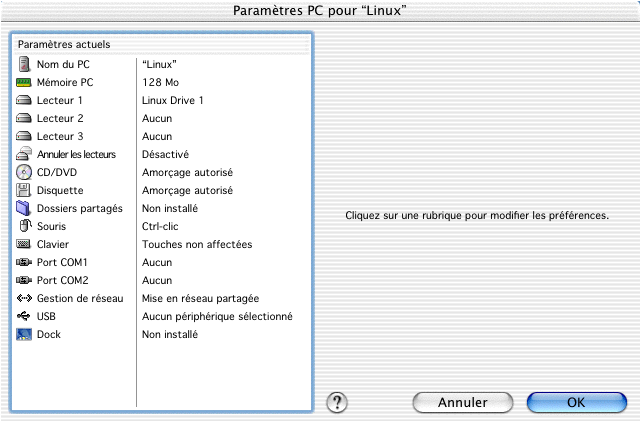
We do not click on Start but on Settings to finalize it.
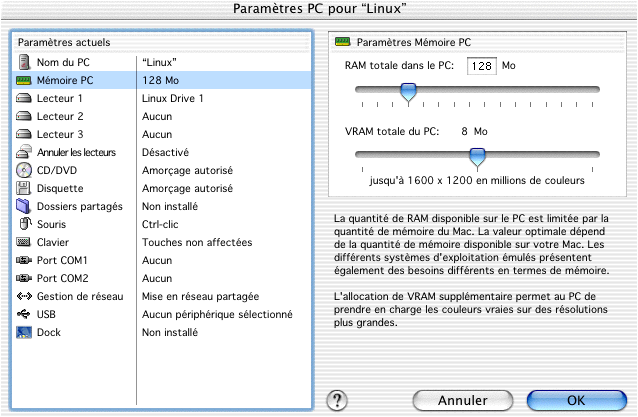
First, the VRAM (video memory), which, as explained below, is not a graphics card emulation; it uses your RAM. 4 or 8 MB is therefore sufficient; there is no need to allocate 16 MB, I think.
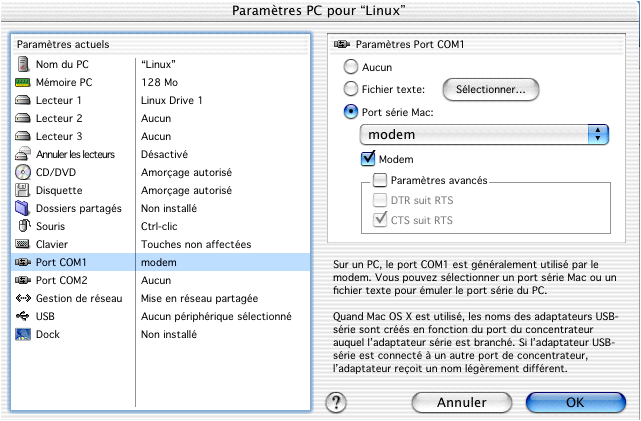
For those with an RTC modem, you can emulate it and use it in your virtual PC.
Otherwise, shared networking allows your PC to use your Mac's IP, while the Virtual Communication option requires a separate IP for your PC. I won’t elaborate on this as, since Mac OS X and now on the web, I don’t know much that a Mac cannot do. For faster emulation, it is best to disable network support.
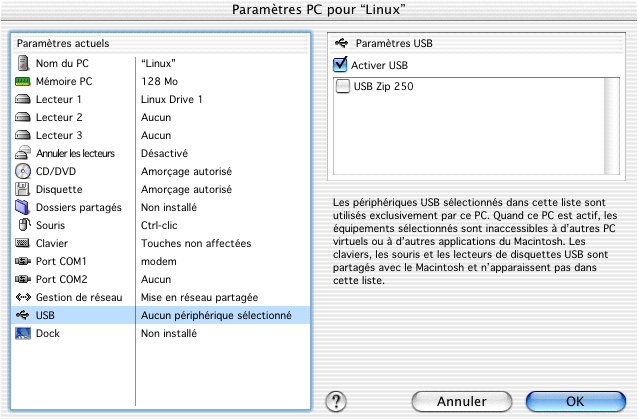
Enable USB support if you have peripherals and they will be used in your PC. USB 1.0 support is truly impressive; I haven’t found any undetected peripherals yet (as long as you have the drivers for your virtual PC’s operating system).
Your PC is still not complete, at least for those who want an additional drive.
Here is how to create a new virtual storage space:
Click on the Window menu > Virtual Disk Wizard (or press Command+D)
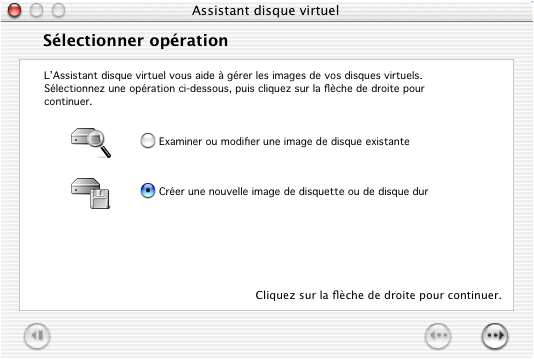
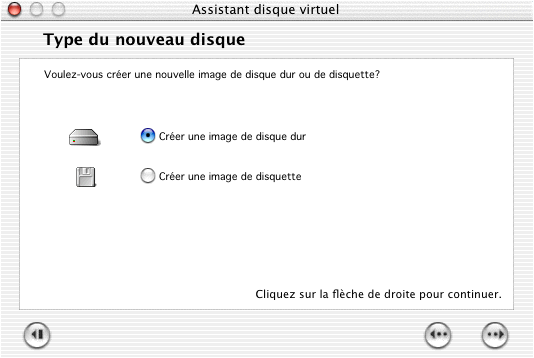
You create a new hard drive.
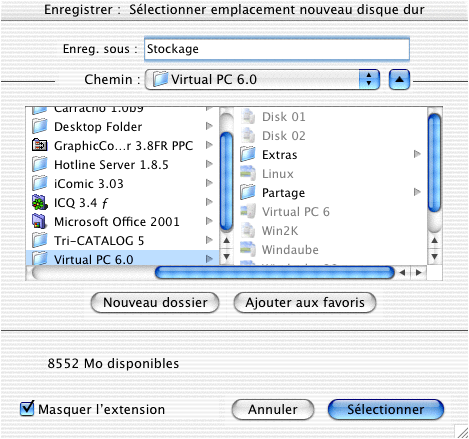
Name it and place it in the VPC directory.
Specify again the system you will use with it. You can choose Other if you will use it with multiple PCs running different systems.
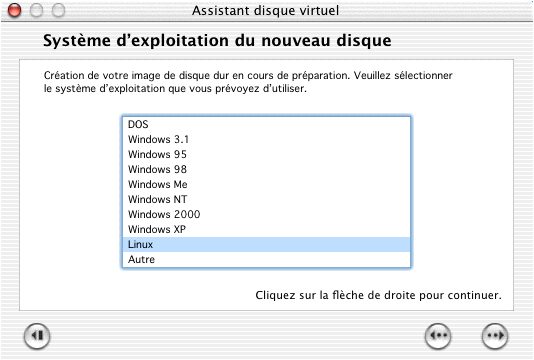
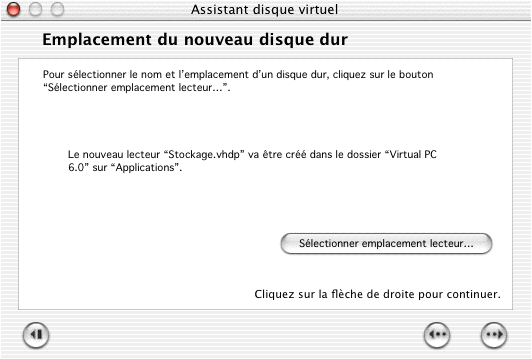
Check that everything is properly configured.
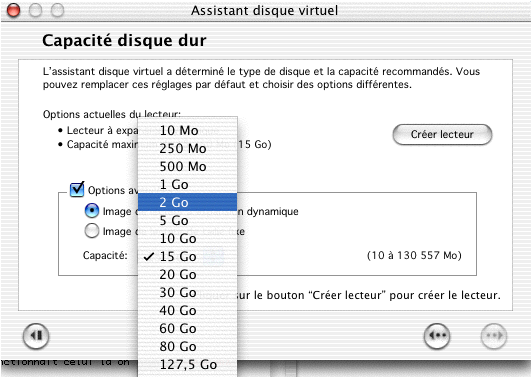
It is preferable to determine the storage space for the disk; you will need to estimate your needs and what your PC system can handle for fast emulation.
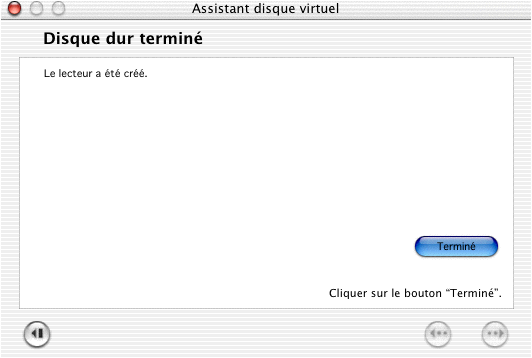
There you go, your new disk is ready.
Now all that remains is to virtually install your new drive in the PC as follows:
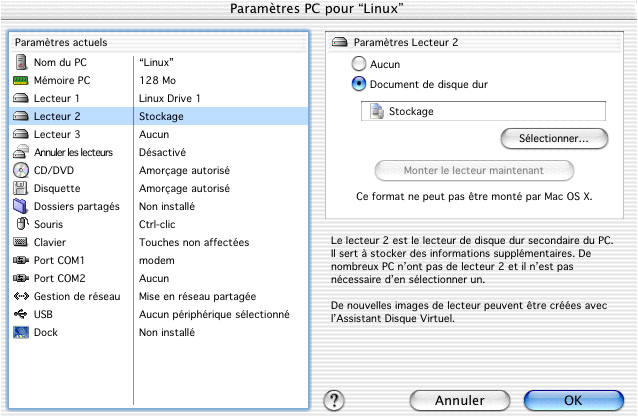
The PC is ready to host an x86 operating system.
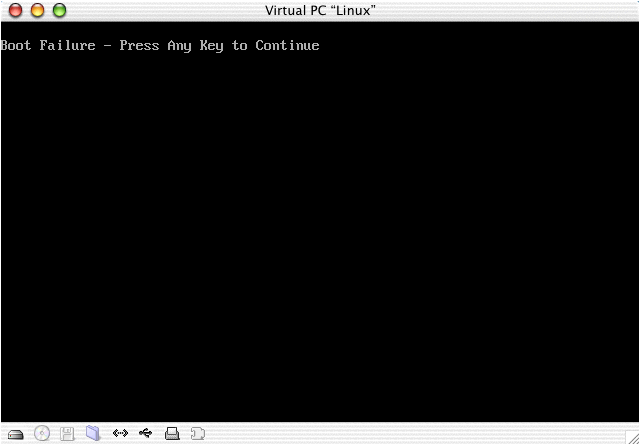
We will now download (dead link) our Flonix system.
Once the CD image (ISO) is on your Mac, you have the option to burn it.
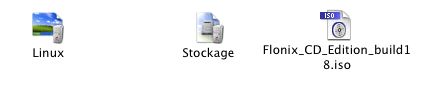
However, we won’t do that; this isn’t a burning tutorial we’re providing but rather a demonstration of VPC’s capabilities. It’s no secret that VPC can perfectly use your optical drive, but rather that it has a very useful disk image function.
Here are the three simple steps to virtually insert a CD into your PC’s drive:
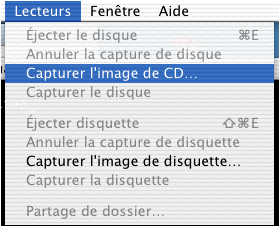
1- Tell VPC that the CD is not in the drive but on the hard drive.
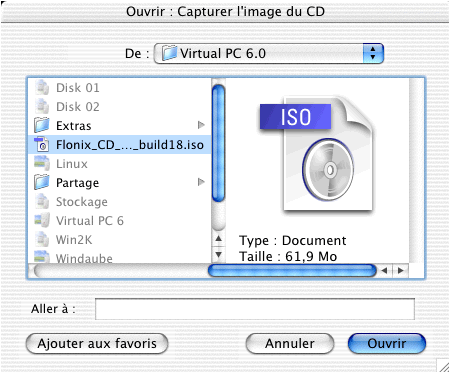
2- Select the CD-ROM image.
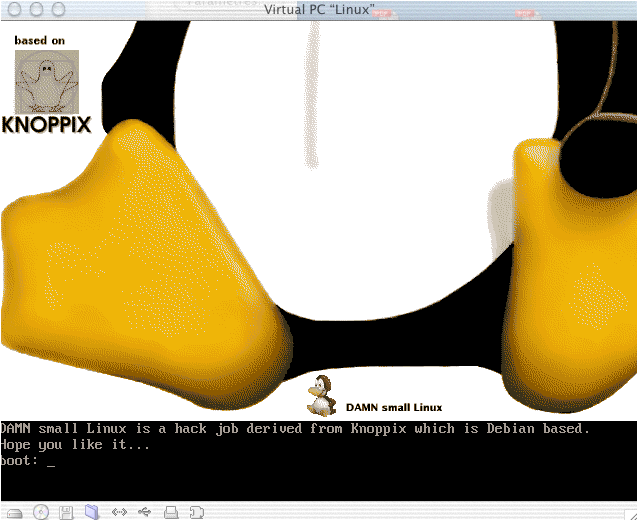
3- Start the PC.
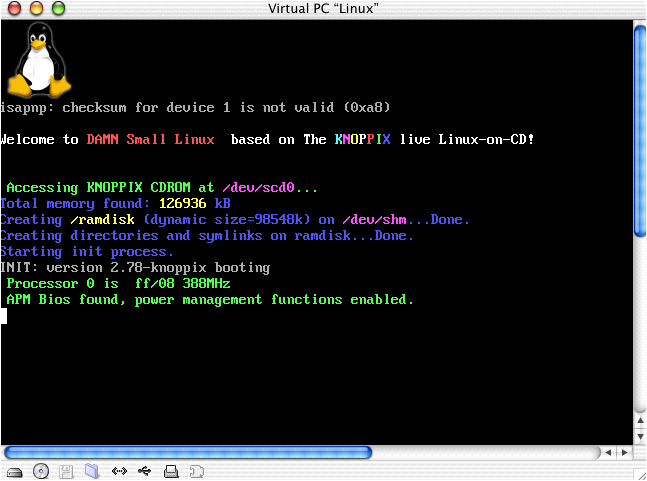
Done, you now have your beautiful x86 Linux on your preferred PPC architecture. From now on, you can install any OS from a bootable installation CD. In the case of an old system requiring a boot floppy disk, such as Windows 3.1, DOS, Windows 95, or even some versions of Windows 98, you can use VPC’s floppy disk image capture function, which works similarly to the CD-ROM function. It’s easy to find boot floppy disk images for Windows 95/98 online. If you have the floppy disks, know that VPC recognizes them very well, including USB drives, thanks to a well-implemented USB support (though I’ve mentioned that before). If you don’t have a drive, you’ll need to find a way to create disk images on another computer.
Many of you will install Windows. So be careful. First, note that if you want to install Windows XP, VPC does not yet support NTFS. Also, the VRAM we configured earlier does not mean that an accelerated graphics card is emulated, but simply that video memory is allocated (like on old motherboards).
It is therefore absurd to install VPC to play demanding 3D games. Old 2D games or those requiring only DirectX support will barely be playable, but remember that VPC is primarily a work and exchange tool.
For those who want to share a folder from the Mac with the virtual PC (which will be recognized as a volume by the x86 system), you must wait until the system has fully loaded before returning to the settings:
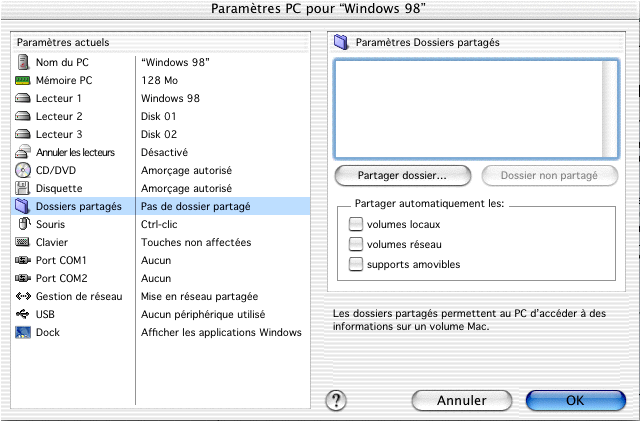
Go to the folder sharing option.
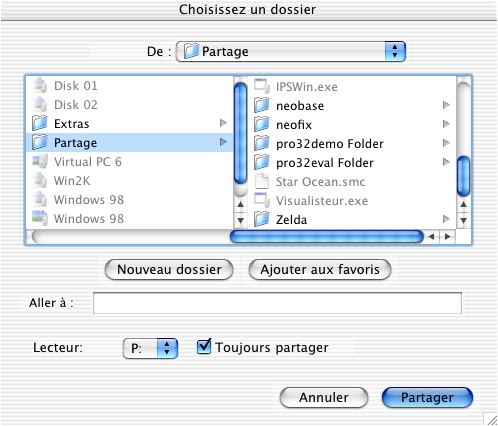
Then select the folder you want to share. Most of the time, I use a folder named "partage" in the VPC directory that I always keep in shared mode.
You can also use the following options:
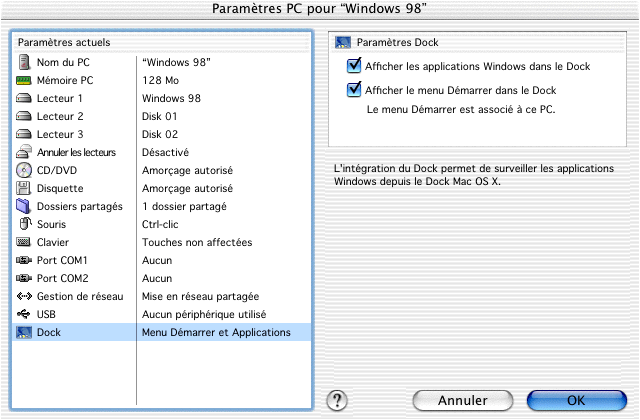
As you can see, this allows you to access the Windows "Start" menu from your Dock.
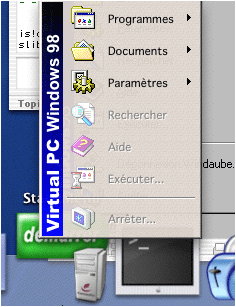
And the launched Windows applications.
Finally, this may not be the best advice, there are probably people more experienced than me with VPC usage, but here is how I use VPC.
On G3 systems, I only use Windows 98 SE, while on machines equipped with G4, Windows 2000 is a better solution. That said, Windows is resource-intensive, especially when emulated, so I recommend choosing the most minimal and least demanding appearance available. Therefore, perform a customized Windows installation with only the elements you need. Be careful what you install, as it could overload the system. In short, save processor time wherever possible—nothing is negligible.
⚠️ This guide is flagged as obsolete.
Related software
Reply on the forum
A question or a hands-on report? Open the discussion on the forum.