Mini vMac
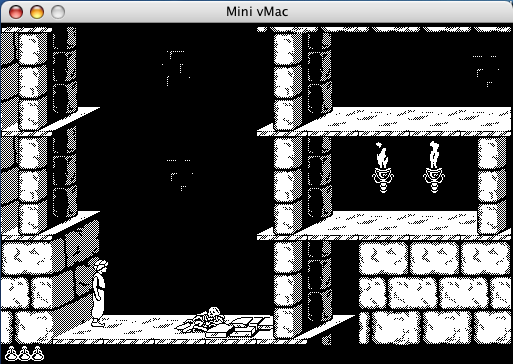
The advantage of this open-source emulator, in addition to having downloadable source code, is its availability for many architectures. Being on an iBook G4, I will therefore use the PPC build intended for my machine.
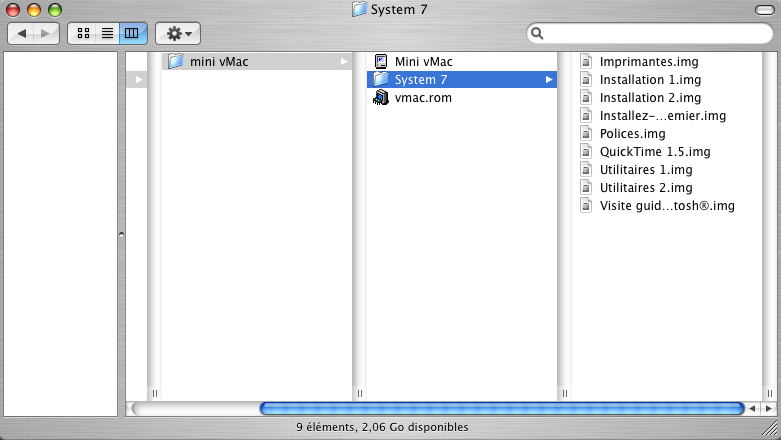
Before anything else, you will need to obtain by your own means two extremely important files without which Mini vMac cannot fulfill its role. These are the ROM called vmac.rom, which must be placed next to the Mini vMac application, and the disk images of an operating system. For my part, I retrieved the floppy disks from my French System 7 that came with my LCIII and created disk images from them.
Regarding old operating systems, note that Apple used to offer free downloads of versions 6 and 7 in North American format at this address: http://support.apple.com/kb/TA48312?viewlocale=en_US#system (dead link) (unfortunately no longer available).
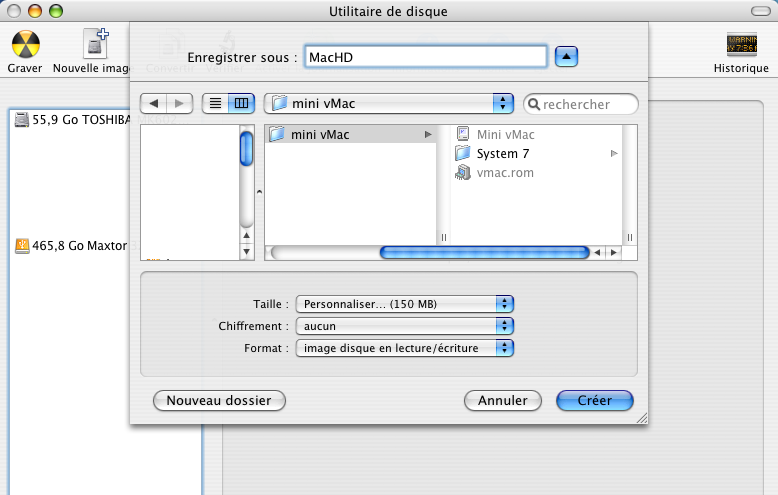
Once the ingredients are gathered, we need to create ourselves the image of what will be our hard drive. For this, two options depending on whether you are using Mac OS 9 or Mac OS X. For those still using OS 9, use the DiskCopy utility, which works roughly like the OS X utility described below. On OS X, there is a utility named "Disk Utility". Open it and create a new image with the desired name and size, making sure it is readable/writable and not encrypted (the created image is often mounted immediately, unmount it).
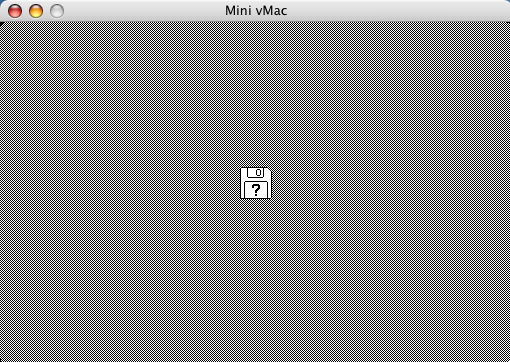
Now that everything is ready, all that remains is to simulate our old, very old, Mac. Launch Mini vMac, and a floppy disk with a question mark appears.
You then need to go to the menus and open a disk image.
Select the system installation floppy disk.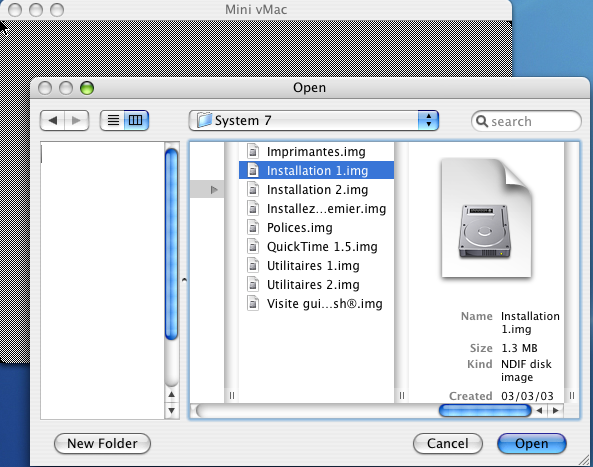
The Mac then boots up.
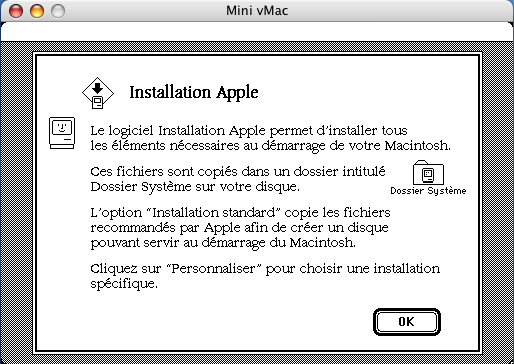
A small problem arises: the system installation requires a hard drive.
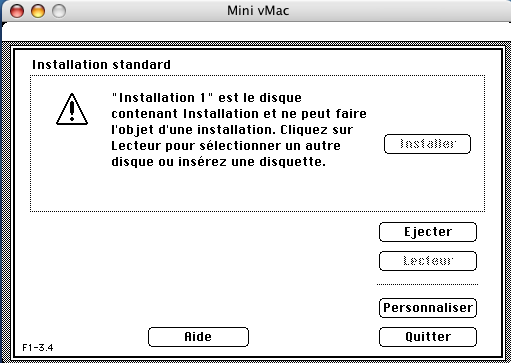
This is when you need to perform the same operation again by selecting the disk image you created.
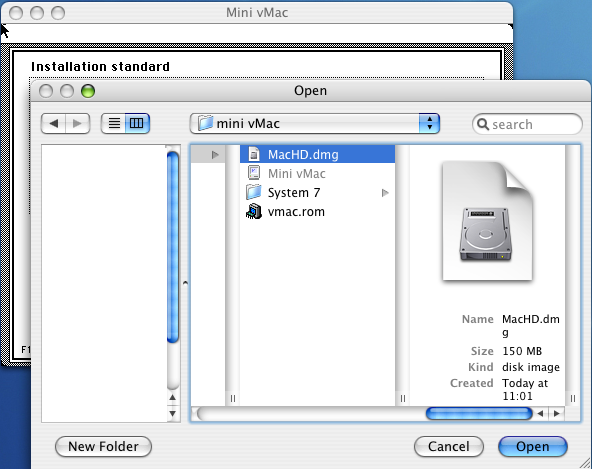
All that remains is to initialize your hard drive and follow the rest of the instructions.
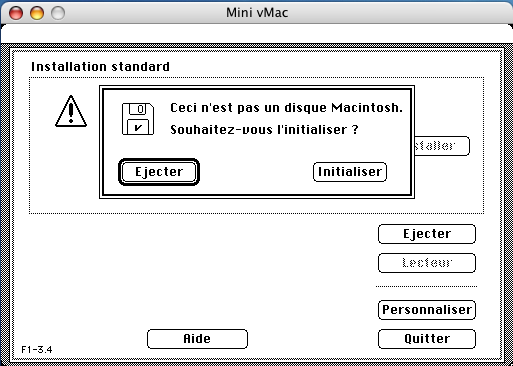
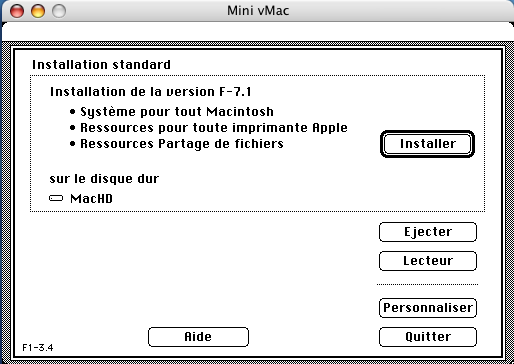
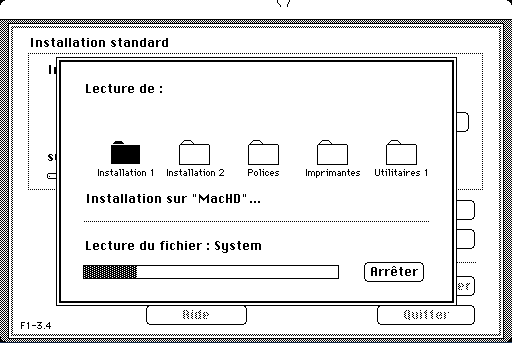
If a second installation floppy disk is requested, you will again need to open the corresponding image and repeat the operation as many times as necessary.
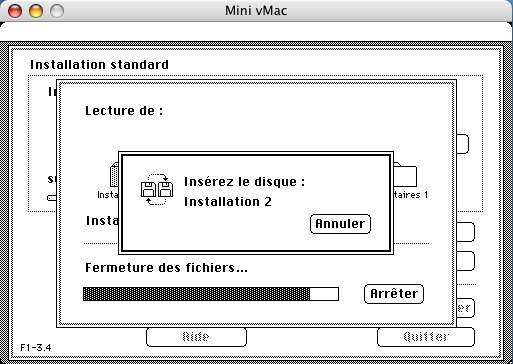
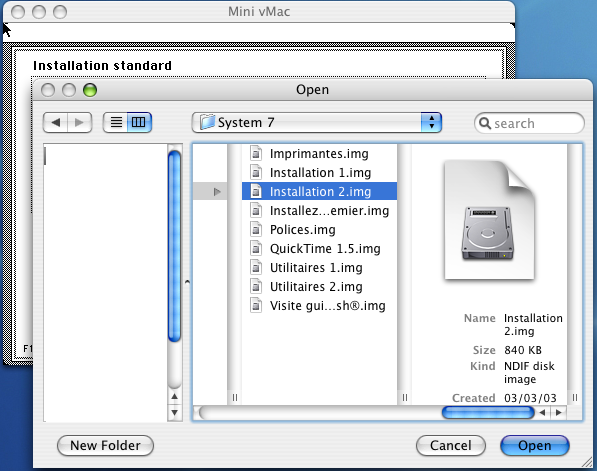
Your hard drive is then ready for full use.
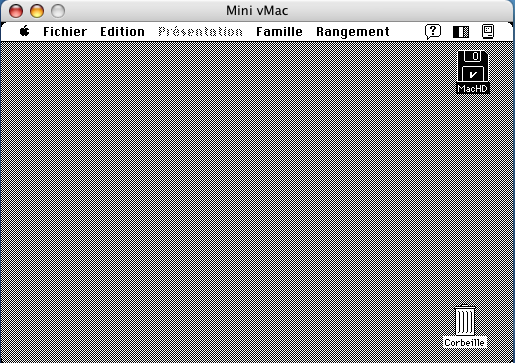
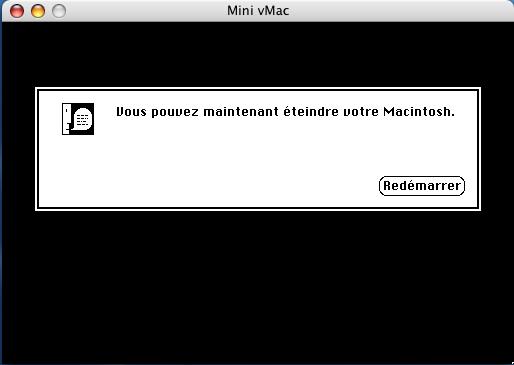
You can now shut down the system and exit the emulator.
Be sure to always properly shut down the emulated system before exiting mini vMac or use the command to directly quit mini vMac as explained below.
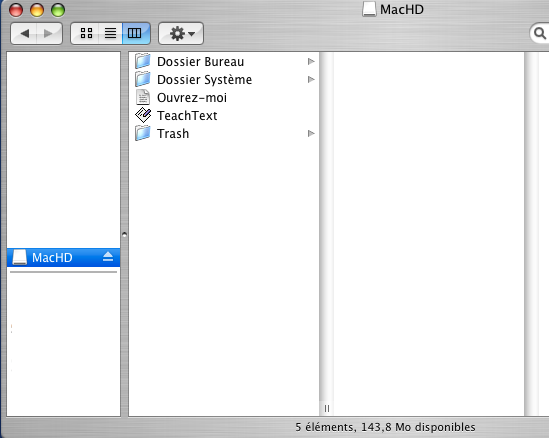
Now, by opening the disk image, you can drag the desired applications into it.
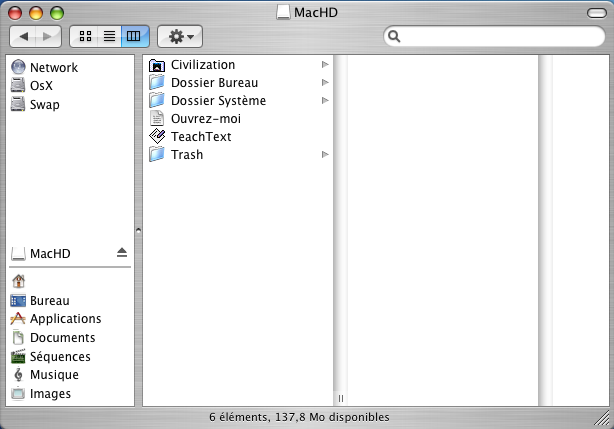
Then, simply unmount the image and restart mini vMac, this time selecting the disk image, now bootable, when the floppy disk logo with a question mark appears.
The copied documents will then be present and fully usable as long as their resources, a feature specific to systems prior to Mac OS X, have not disappeared, as is often the case after transferring these documents through a Microsoft OS for example.
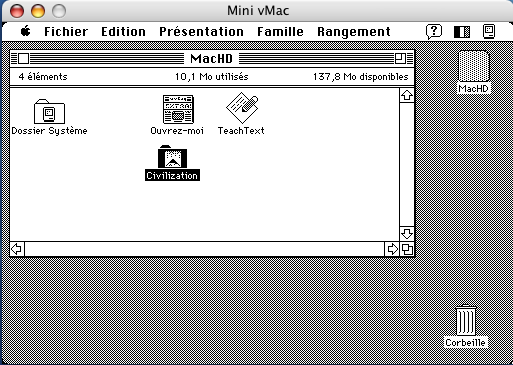
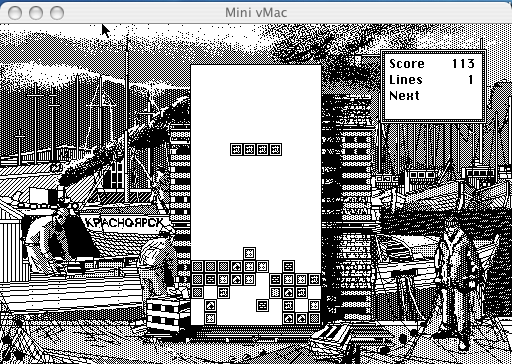
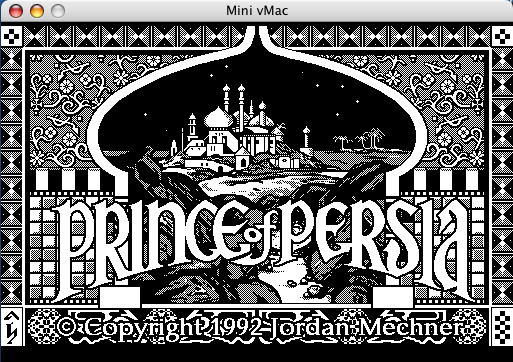
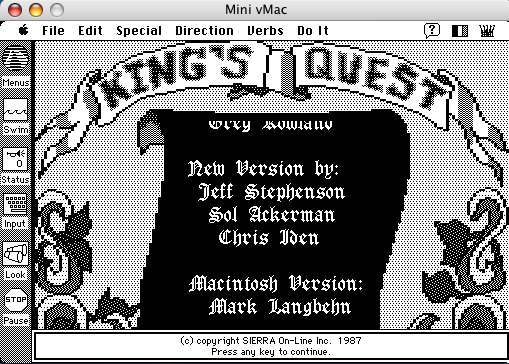
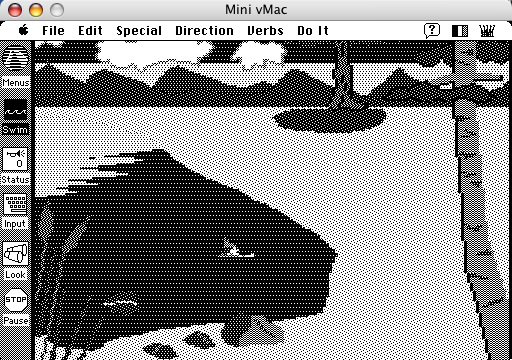
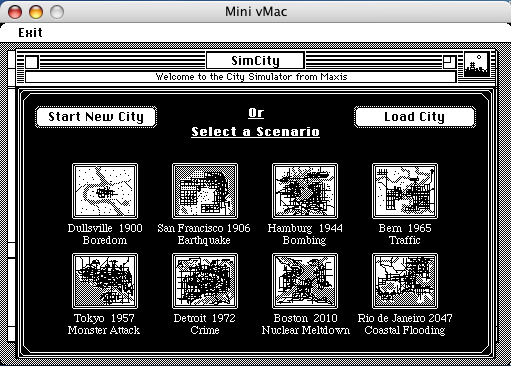
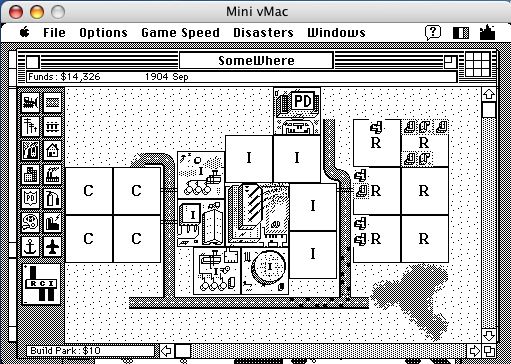
You now have your old black and white Mac and can relive all those games that once entertained your childhood.
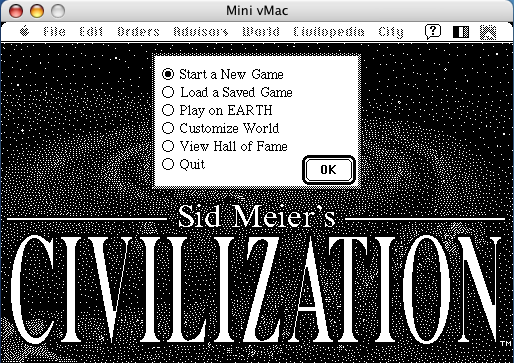
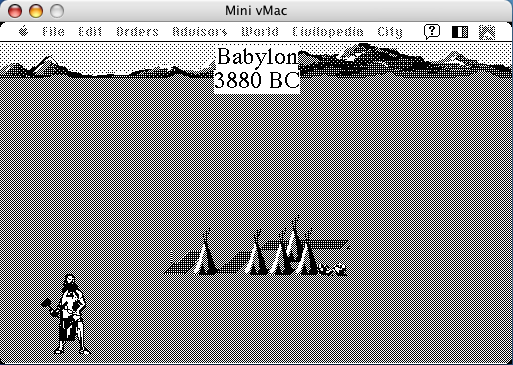
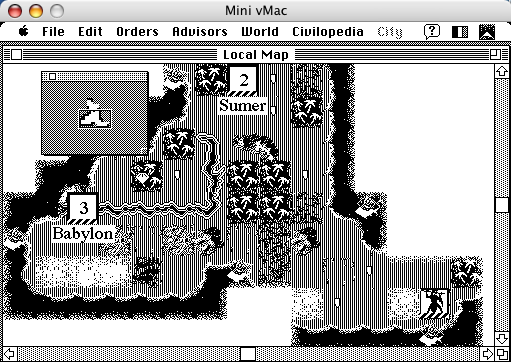
Note that during emulation, while holding down the control key, you can activate options by pressing another key simultaneously.
Here is a small example of what is possible:ctrl + 'h' = help.
ctrl + 'k' = control key management for the emulated Mac.
ctrl + 'o' = open a disk image.
ctrl + 's' = access emulation speed options.
ctrl + 'a'* = information.
ctrl + 'q'* = quit mini vMac (after confirmation).
ctrl + 'r' = restart mini vMac (after confirmation).
ctrl + 'f' = switch to full-screen or windowed mode.
*Note: under mini vMac, the keyboard switches to "qwerty" layout; the 'a' and 'q' keys are swapped, and the 'm' key is located where the comma is next to the 'n'.
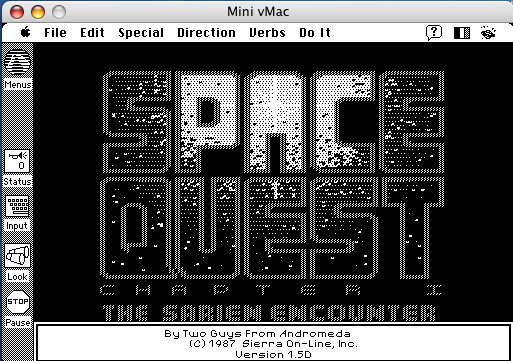
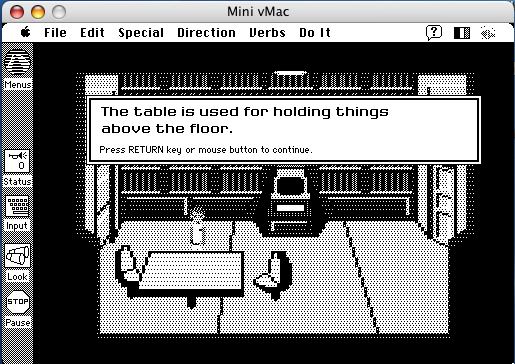
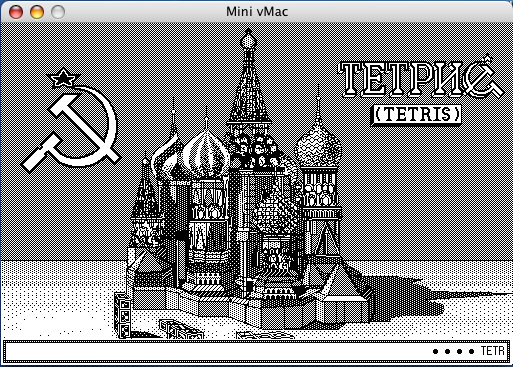

Post Scriptum: Here is a small issue I encountered while creating the folder, so I note it in case you have the same problem. The image is sometimes unreadable after copying and pasting a file inside from macOS. In reality, this is often due to the system improperly unmounting the disk image, easily noticeable because the disk cannot be remounted. In this specific case, mini vMac asks if it should reset the disk. Of course, it should not. In fact, I found no other solution than to restart my macOS session.
But I suppose it should be possible to properly unmount the image or kill the troublesome task via the Terminal.
Related software
Reply on the forum
A question or a hands-on report? Open the discussion on the forum.