Old Microsoft Operating Systems on macOS
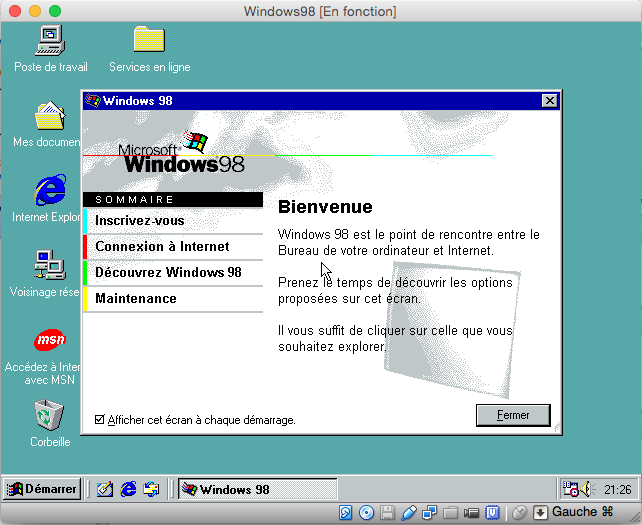
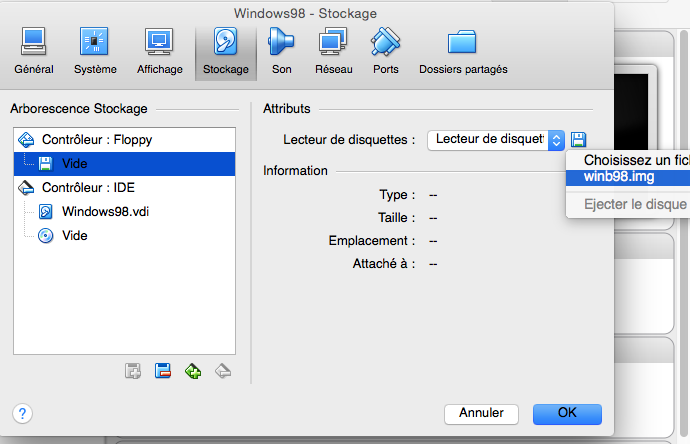
Next, you obviously need to insert and mount the installation CD or its image here.
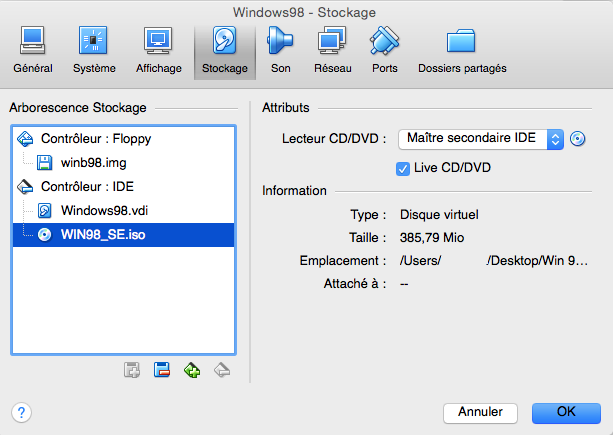
All that’s left is to launch your new VM, which, upon startup, will ask if you want to enable the CD-ROM drive, which is the case.
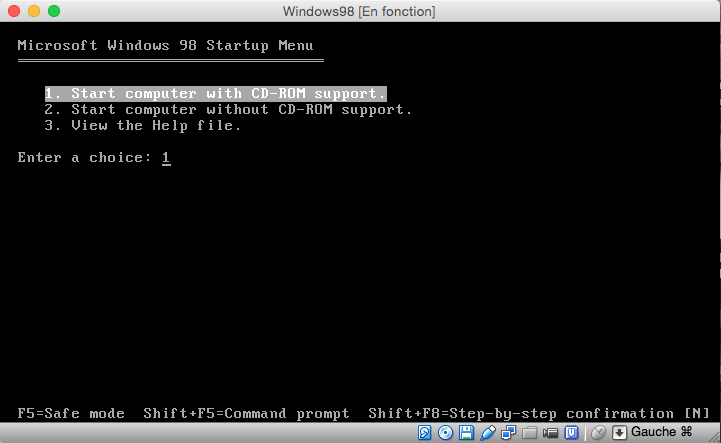
You end up with DOS command lines.
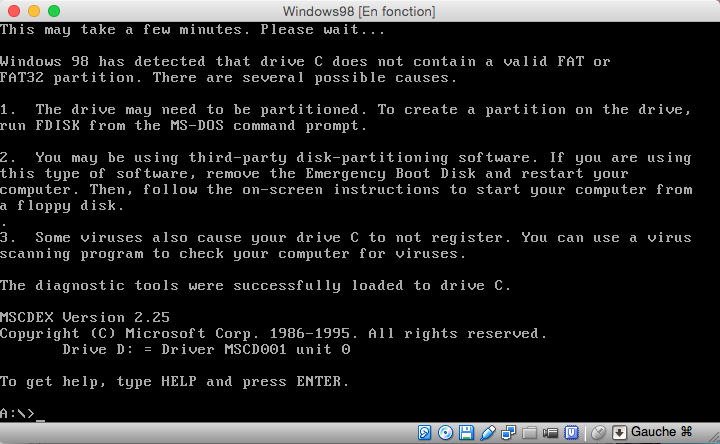
We’ll attempt an installation.
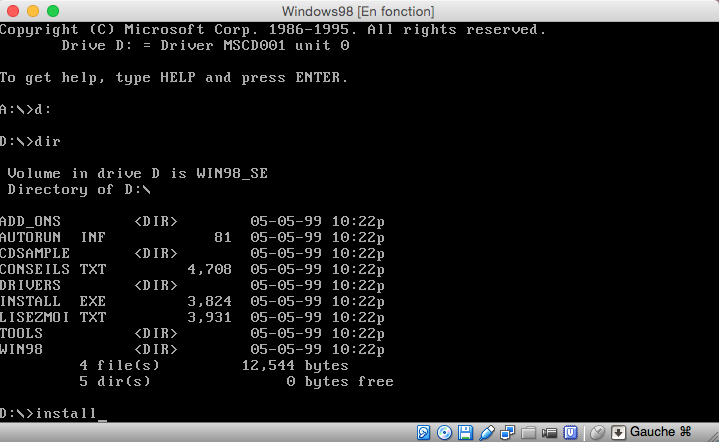
Unfortunately, this fails: the disk is not ready to install a system.
You'll have to do this manually.
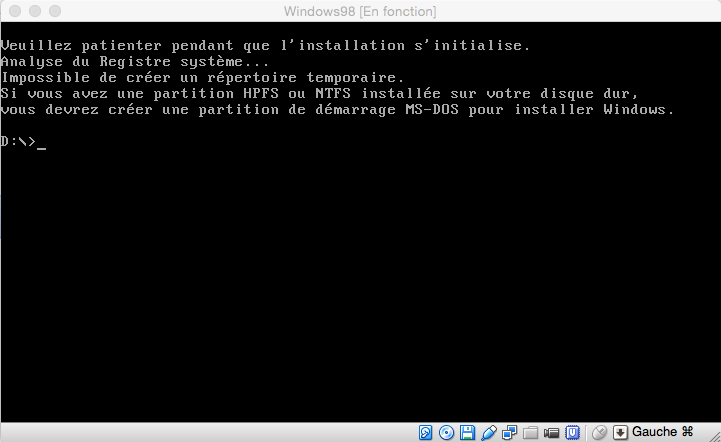
To do this, we'll activate the disk using the `fdisk` command, whose binary is found on the boot floppy disk.
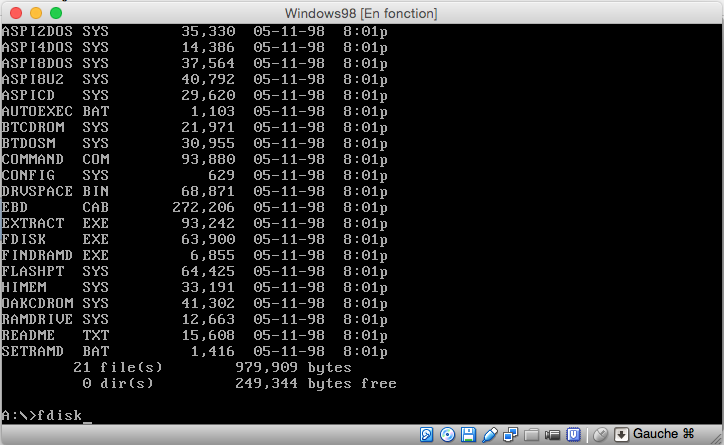
We'll indicate that we want support for large disks.
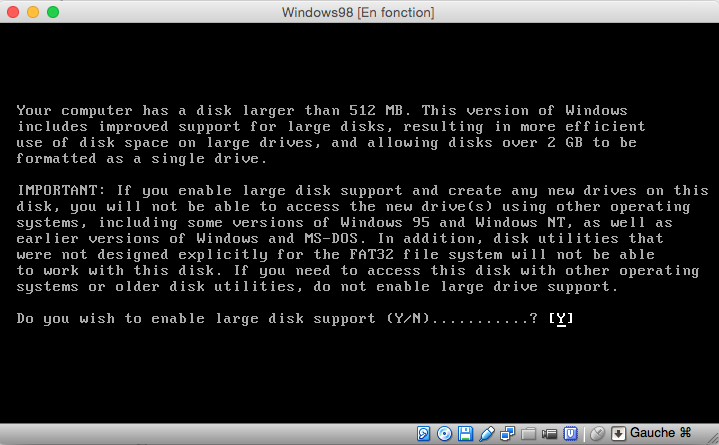
And create a DOS partition...
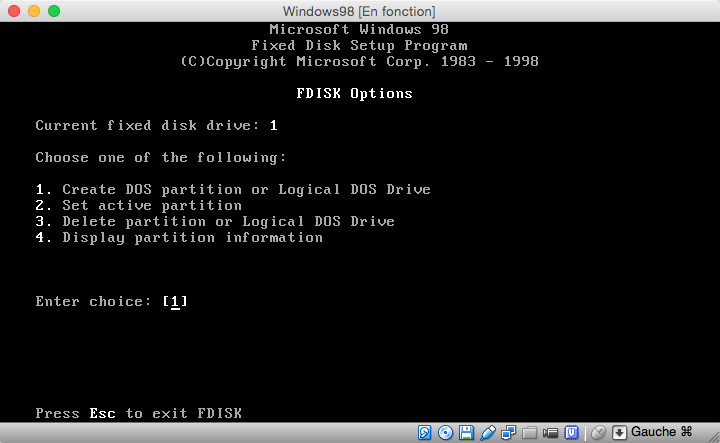
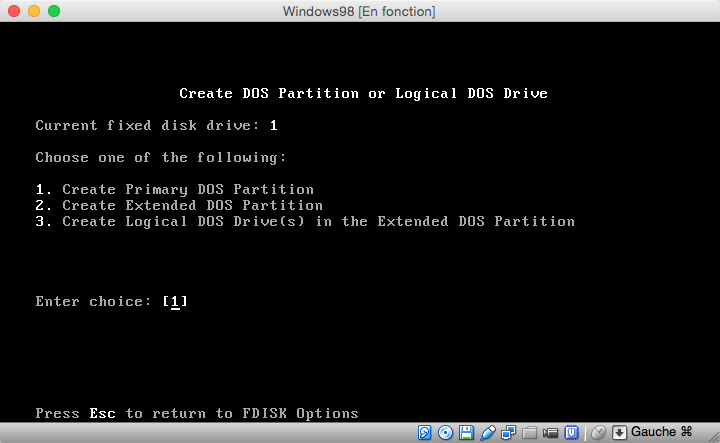
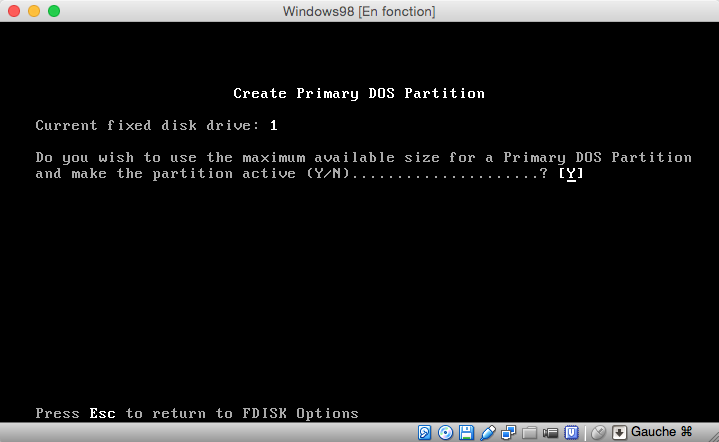
Let it take the full size of the disk and activate it.
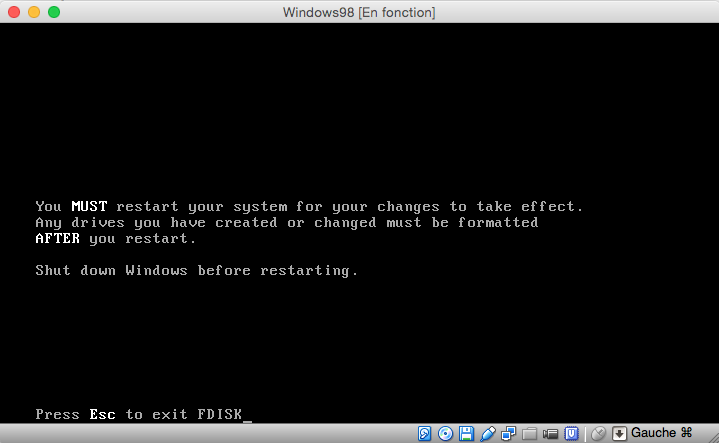
Exit the program.
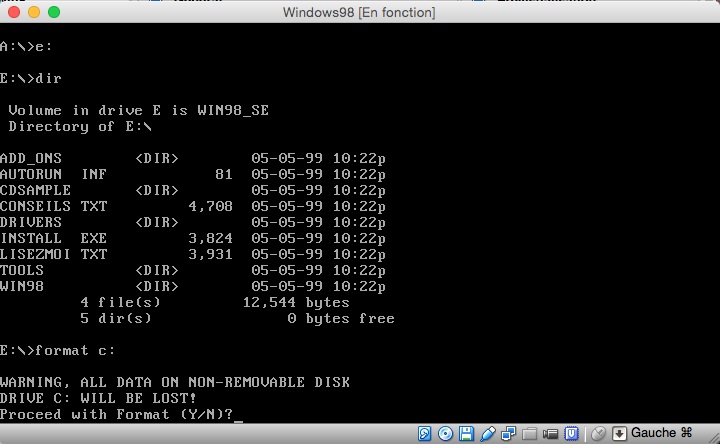
The disk is not yet ready; you'll need to format it using the `format c:` command.
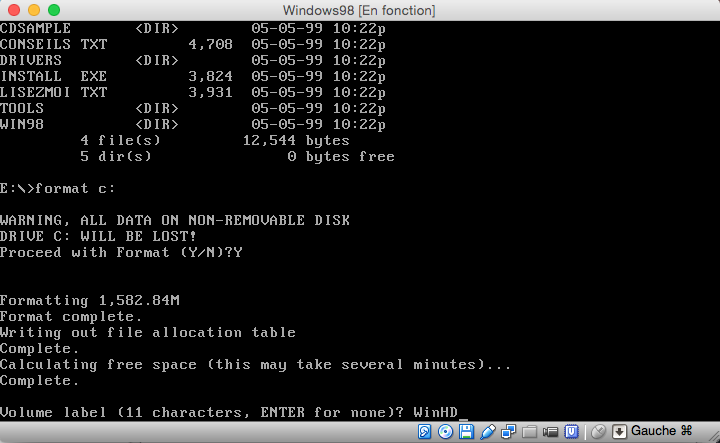
Give it the name you wish.
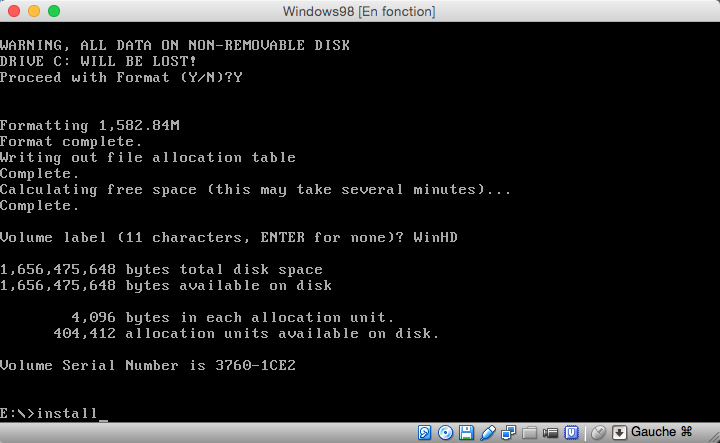
Now, installation is possible via the `install` command.
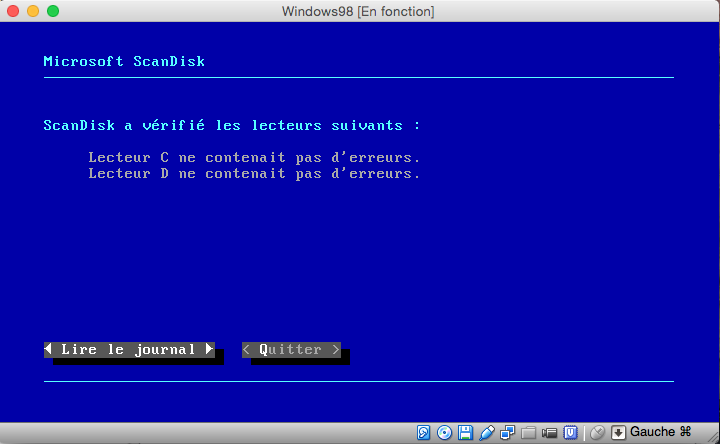
A disk check must be initiated. At the end of this, simply press the "q" key to proceed.
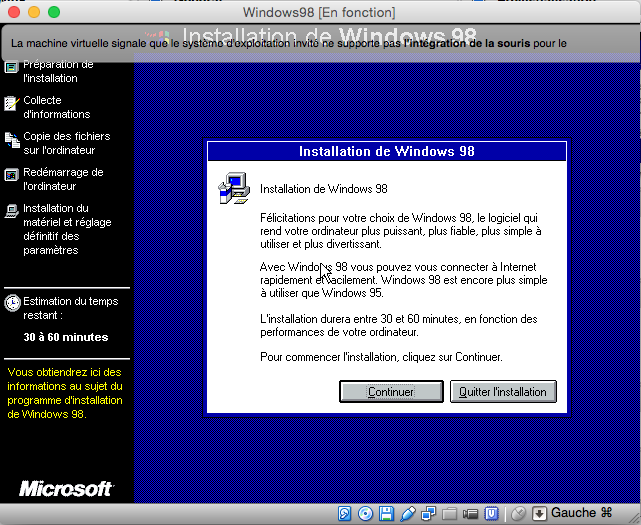
The installation of Windows finally begins. Just follow the instructions.
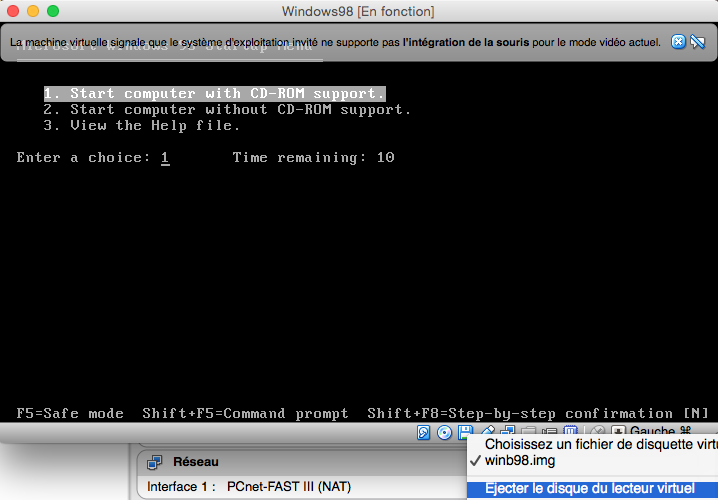
Upon automatic reboot, you may be prompted for CD-ROM support. This simply means you forgot to remove the boot floppy disk.
Do it and restart the machine.
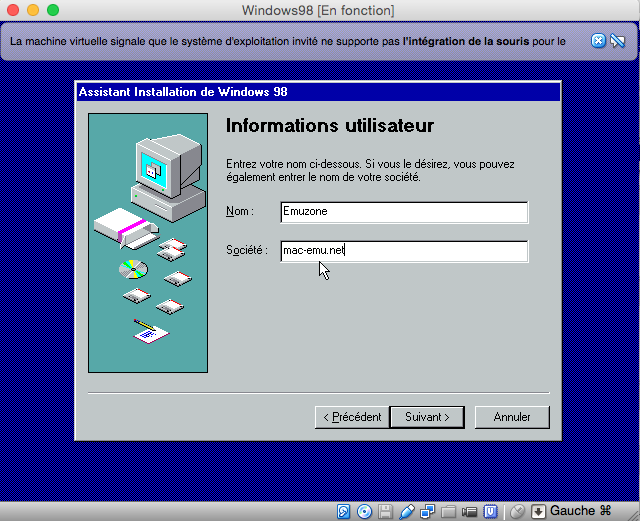
The installation proceeds normally, asking for some information.
We now have a usable Windows system.
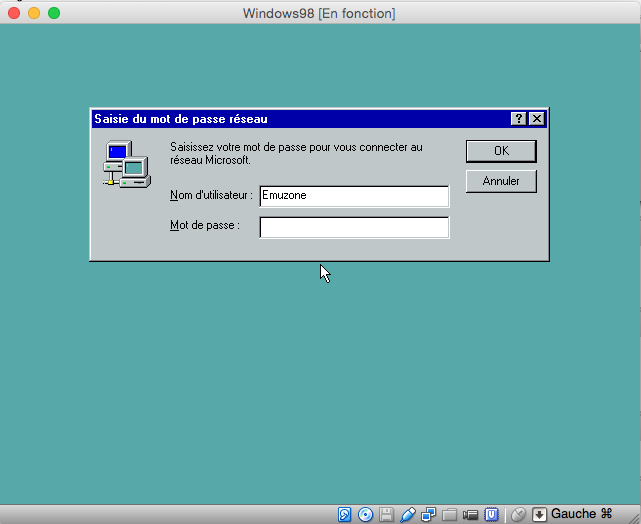

Almost there, since the VirtualBox display driver is not supported by the old Microsoft systems, preventing resolution beyond 640x480 in 16 colors.
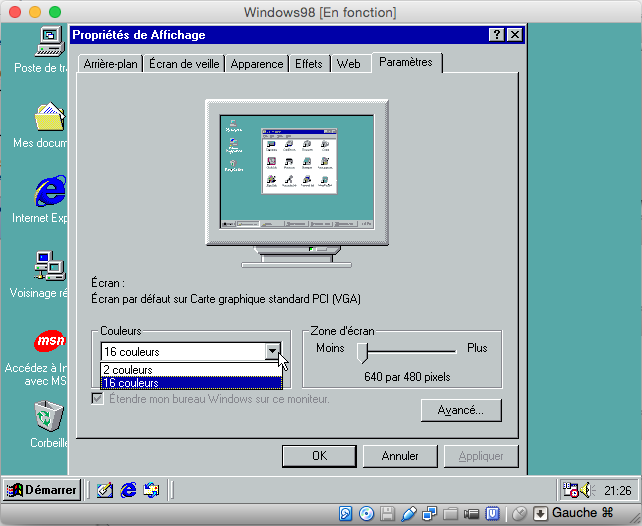
But nothing is lost; you just need to install one manually, and for that, capture the CD image available at the end of the article, which includes compatible drivers.
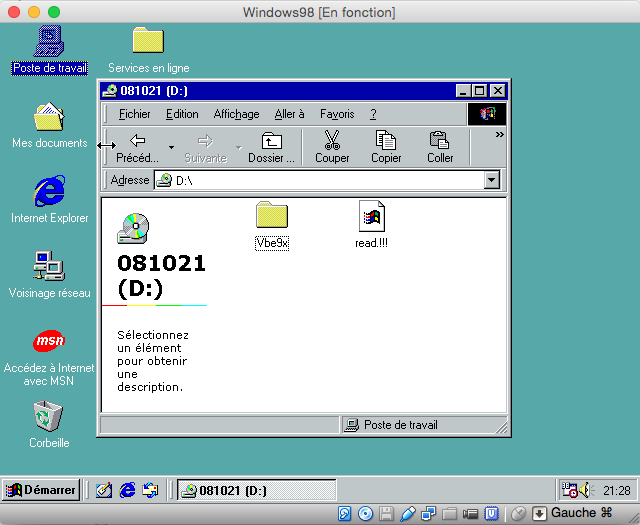
Once captured, open the Control Panel available in the settings of the famous Start menu.
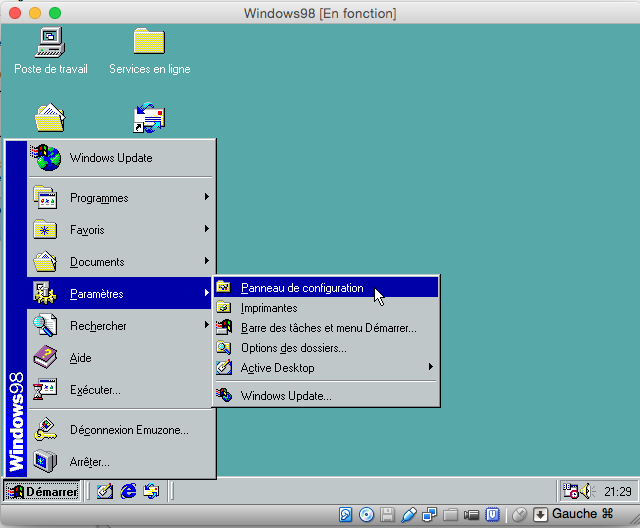
And launch the Add Hardware tool.
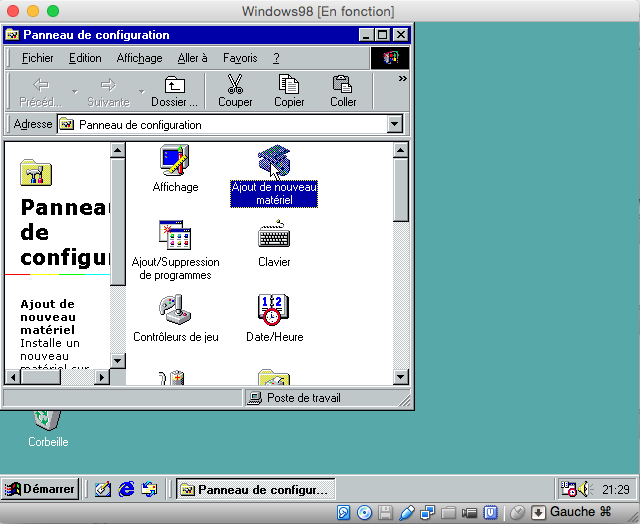
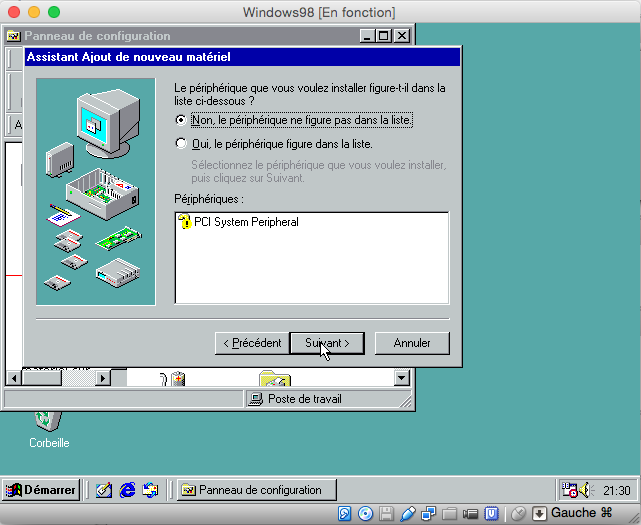
Follow the steps as shown in the screenshots, namely that the device does not appear in the list that will be offered.
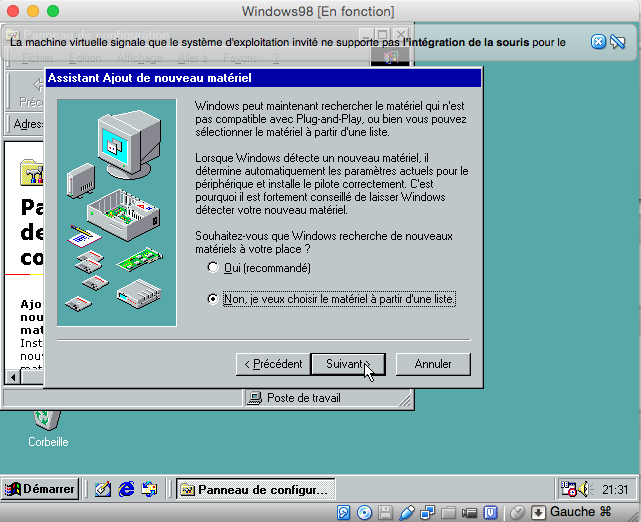
And that you want to manually select the hardware type.
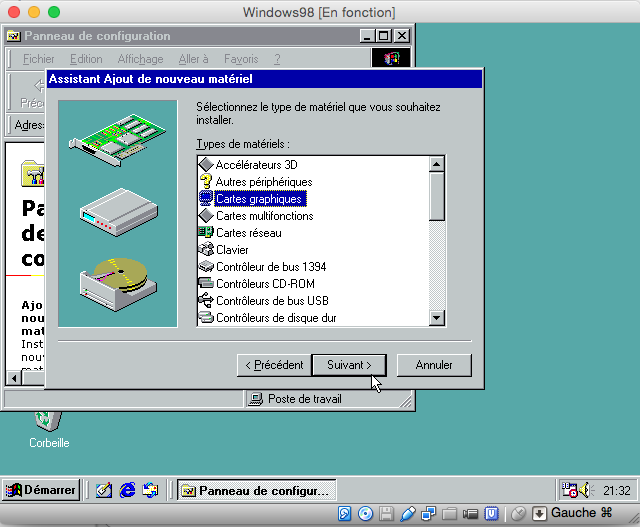
Select the type "Display adapters".
And select a standard PCI (VGA) card, then click on the "Provided Floppy..." button.
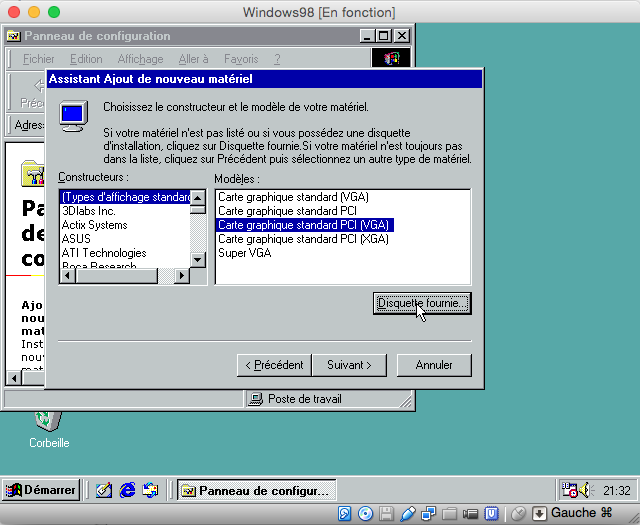
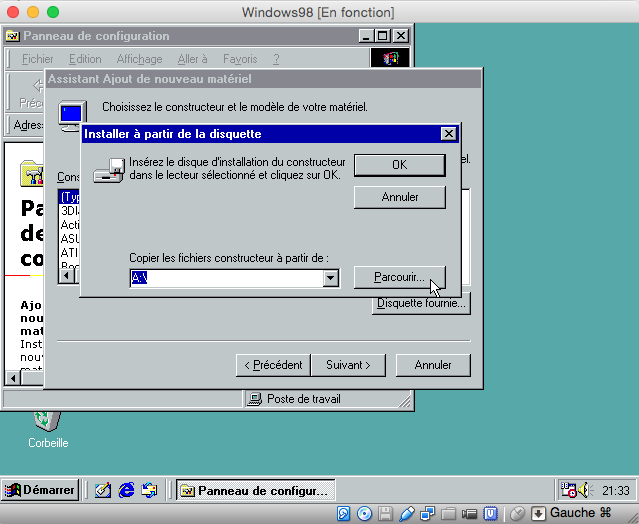
The default drive proposed being the floppy drive, you will need to click on the "Browse" button to specify the correct path.
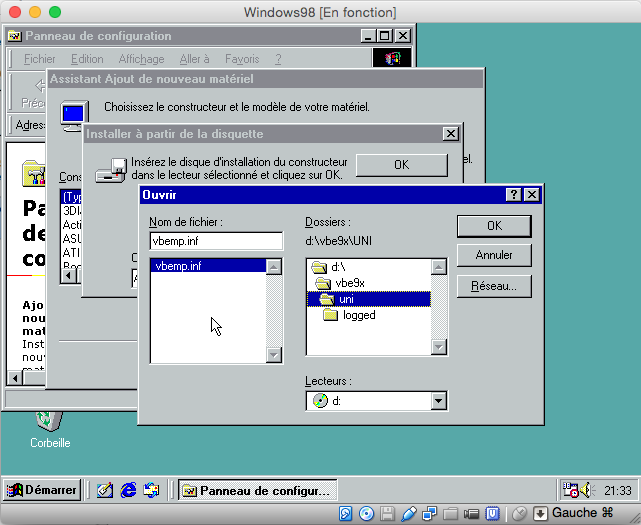
Then select your CD drive and go to the "uni" folder where the driver "vbemp.inf" is located.
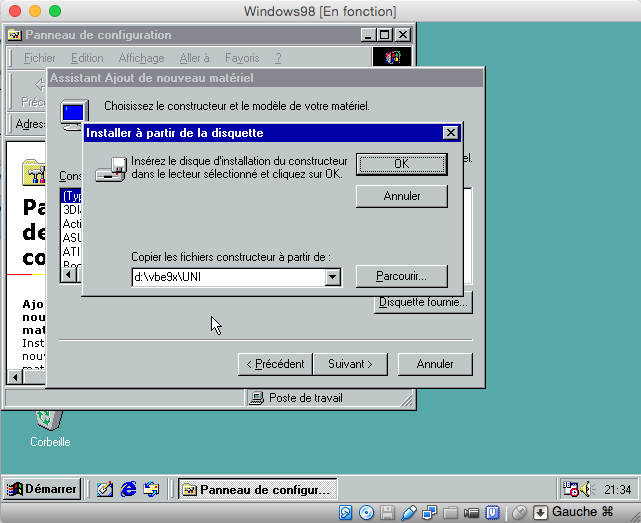
Load it.
Select "VBE Miniport - Standard PCI Graphics Adapter (VGA)".
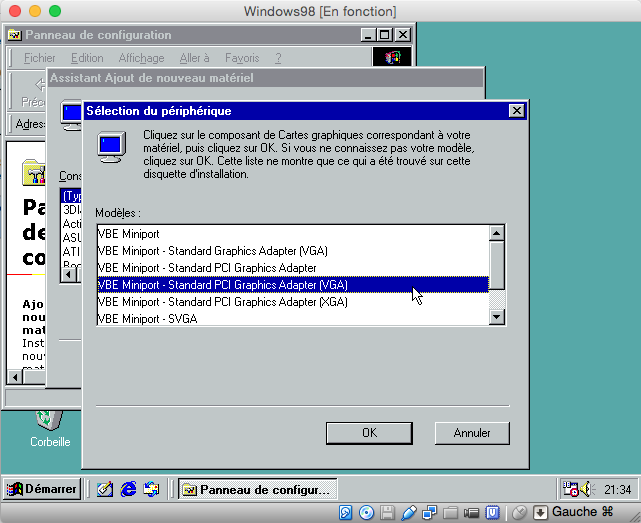
Click "Next" to install the driver.
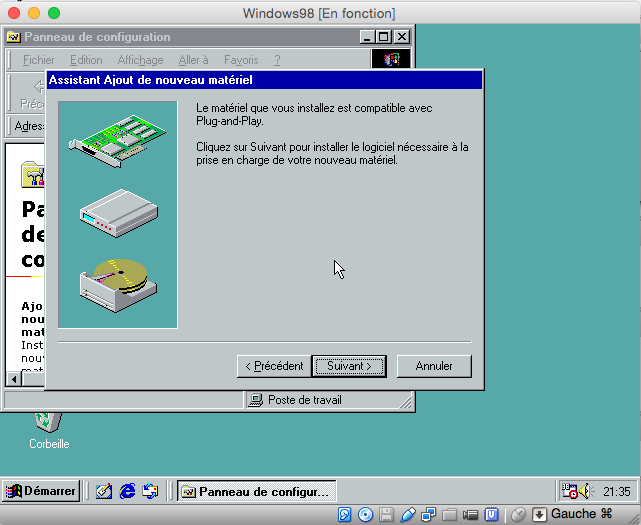
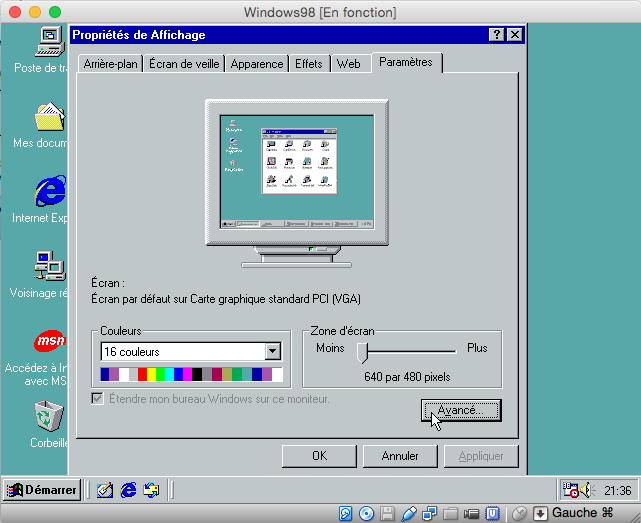
This is not yet finished; you now need to go to the display settings and click the "Advanced" button.
Choose the "Adapter" tab and click the "Change" button.
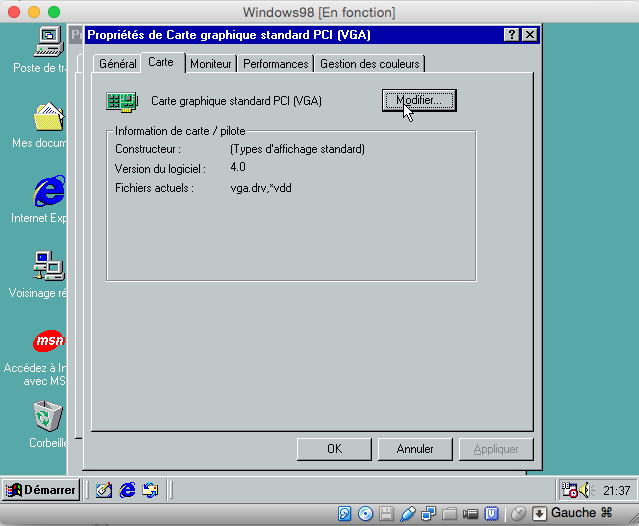
The system will offer you the new driver. Click "Next".
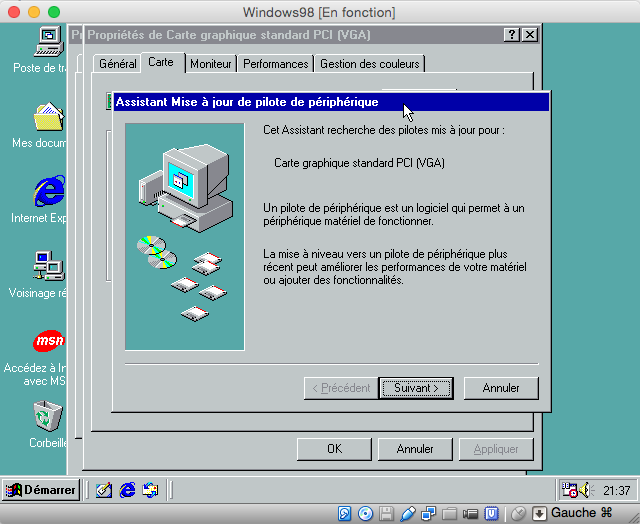
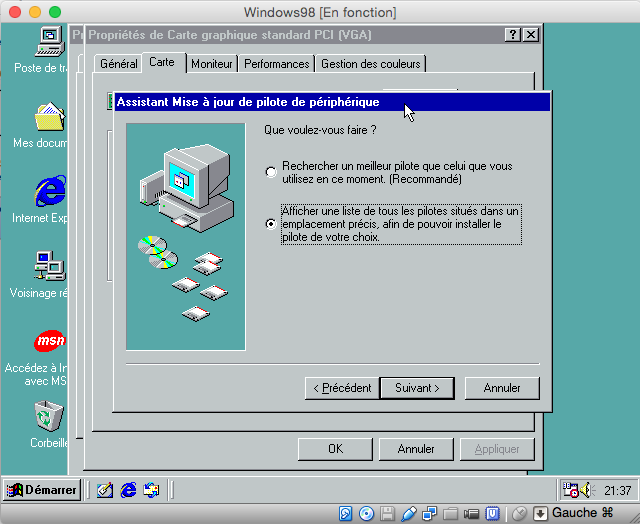
Ask to display the list of drivers.
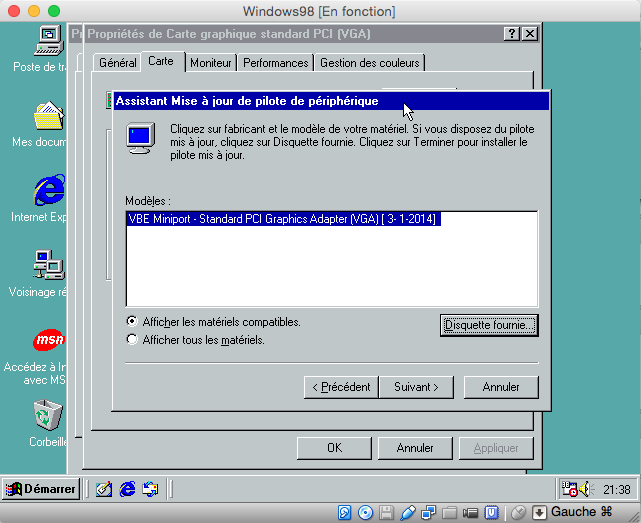
Normally, the hardware model proposed should be the one you just added. Again, you will need to specify the driver by clicking the "Have Disk..." button.
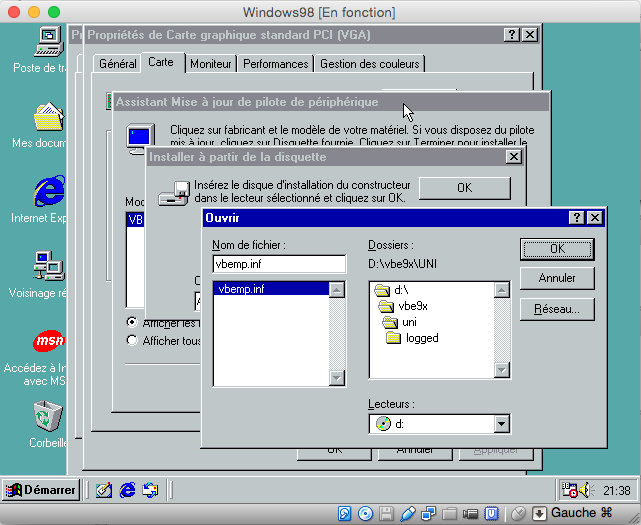
As before, select the "vbemp.inf" file available on the CD.
The installation should only propose one driver, always the "VBE Miniport - Standard PCI Graphics Adapter (VGA)".
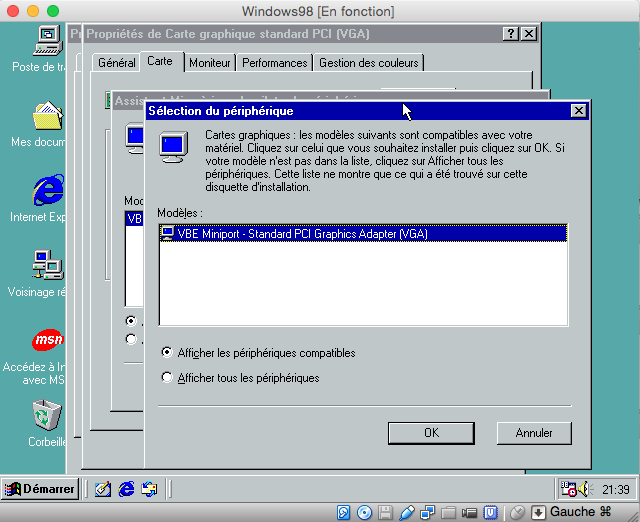
Normally, everything goes smoothly without errors.
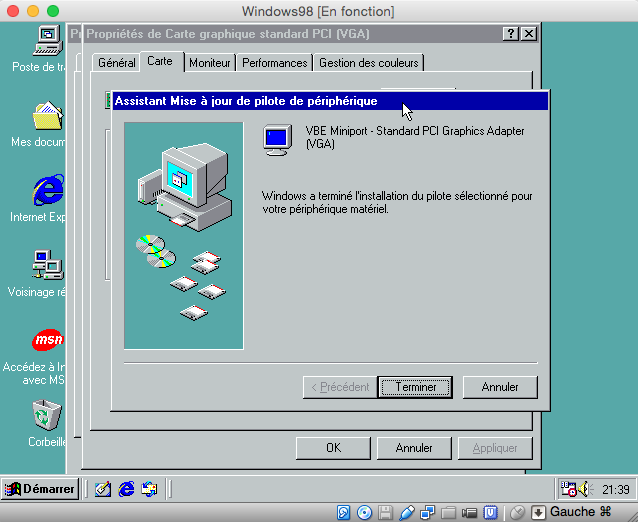
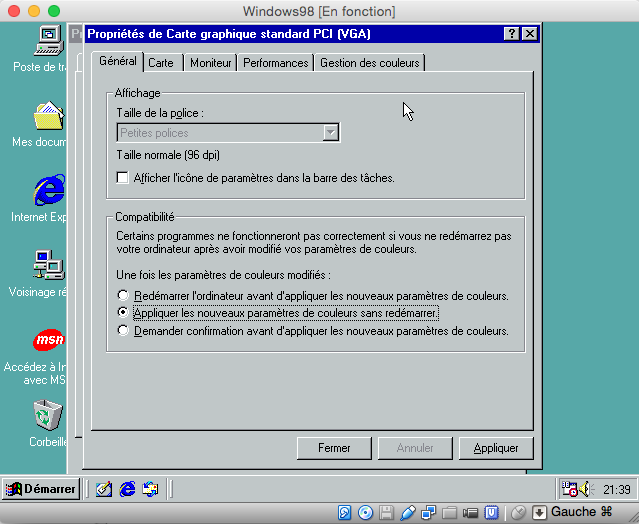
In the general settings, it is recommended to ask to apply the settings without restarting.
Here you go, you can now modify your settings and especially have more than 16 colors.
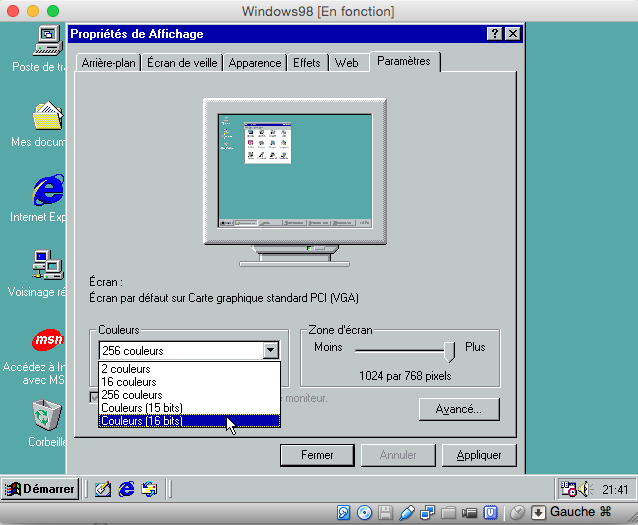
However, first determine the size of your display, then restart your Windows.
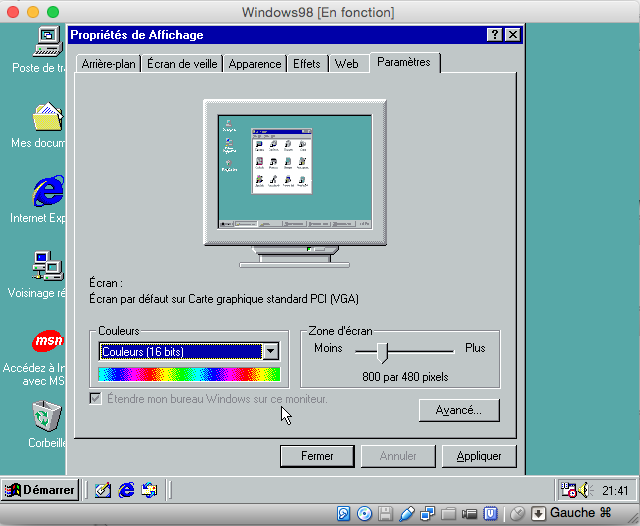
After this restart, you will be able to modify the number of colors as you wish without having to relaunch your guest Windows.
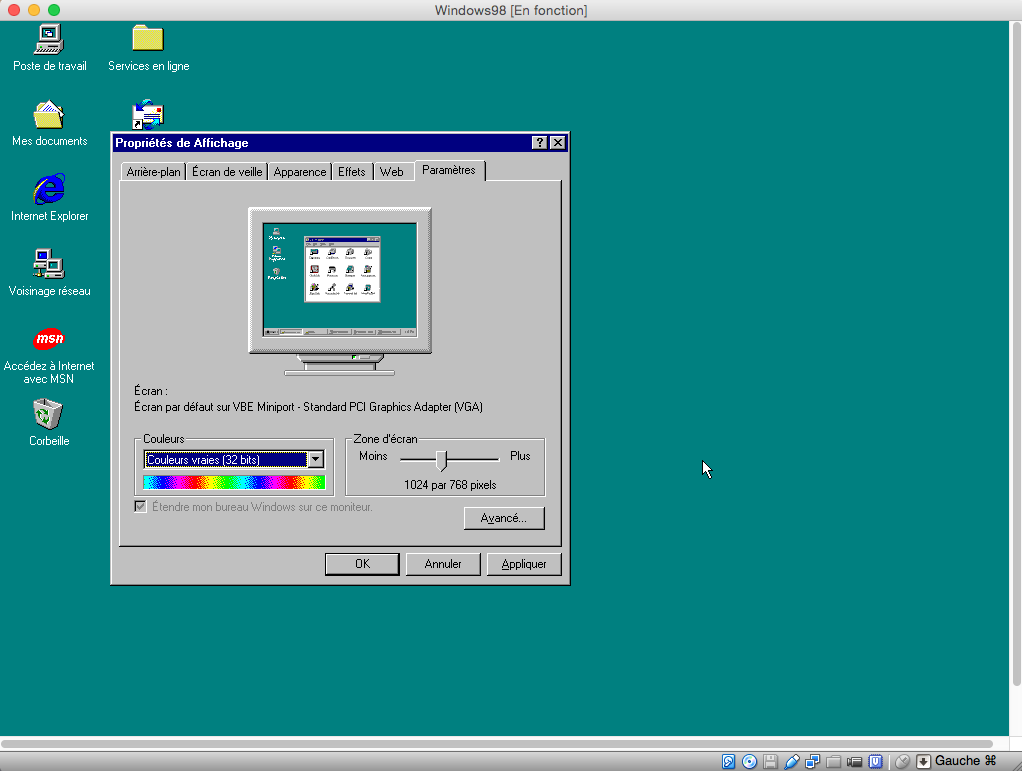
Enjoy 256-color applications and more, and many games unfortunately not released on our vintage Macs.
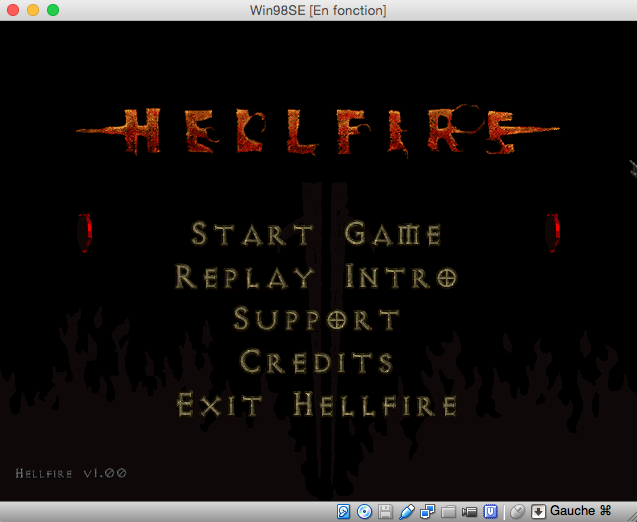
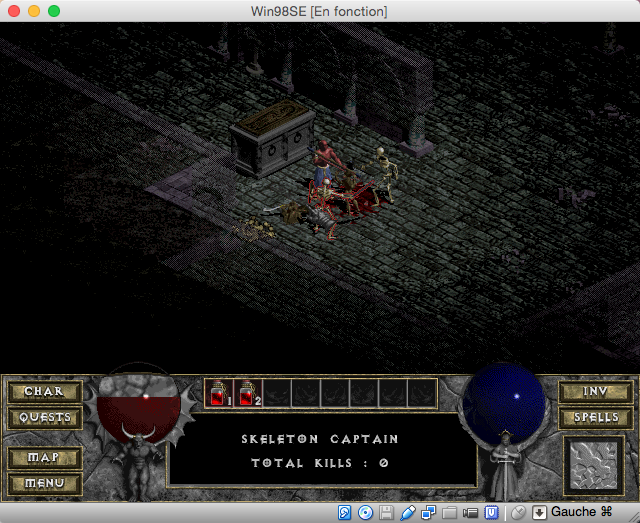
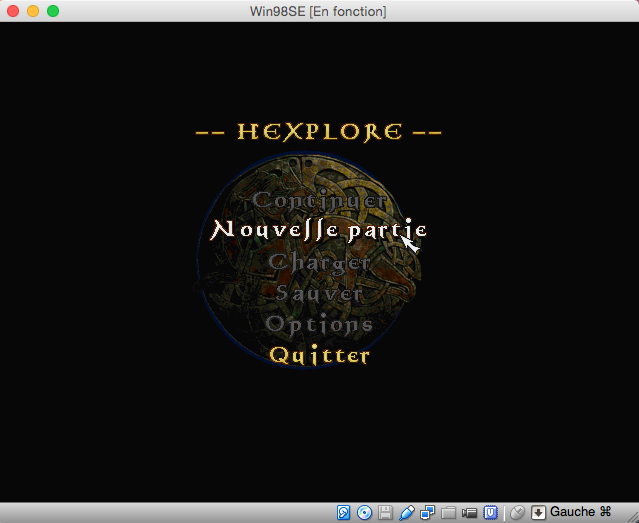
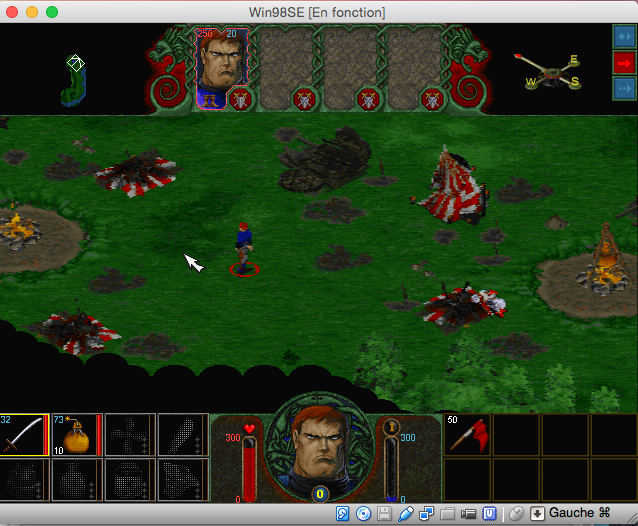
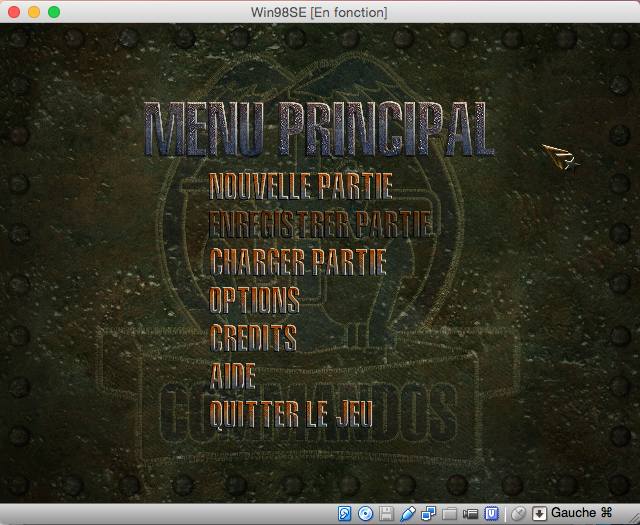
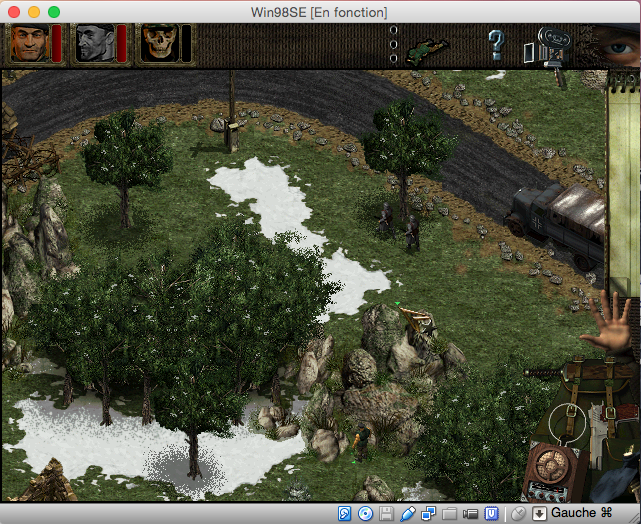
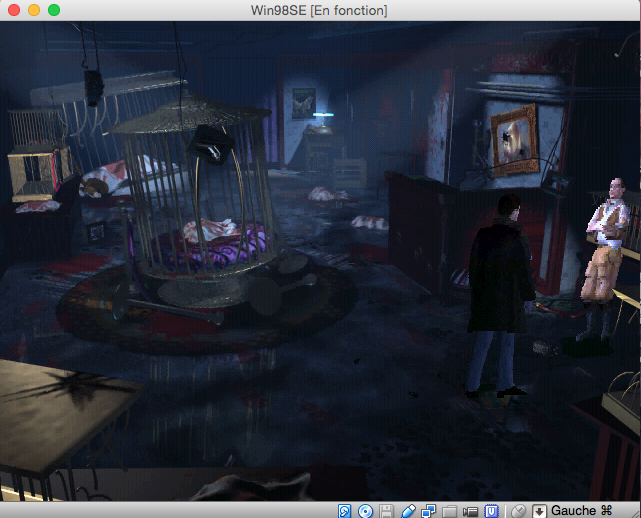
It has become easy to play games designed for Microsoft systems (notably with
Wine, some gems that our Macs never had access to back then, only work on older versions of Windows. VirtualBox isn’t the only emulator that allows this; QEMU is supposed to as well, though I’ve always encountered a crash during installation. Additionally, hardware emulation isn’t always optimal, so you may need to tweak drivers to achieve a certain level of comfort. For example, there are serious audio bugs with Warcraft II B.net Edition; the game Emperor won’t run at all, while Pharaon, from the same publisher and seemingly using the same engine, will be playable, just like Dark Earth from MicroProse.
Boot floppy disk image
Disk image containing graphics drivers
Related software
Reply on the forum
A question or a hands-on report? Open the discussion on the forum.