Running Windows Applications on macOS with Wine (WineBottler, Wineskin Winery, PlayOnMac, and CrossOver)

What is Wine?
Wine is not an emulator; in fact, its acronym "Wine Is Not an Emulator" reflects this. Unlike VirtualBox, Wine does not emulate a machine or low-level code; instead, it is an interpreter that "mimics" Windows. In simple terms, Wine translates calls to Windows functionalities and related libraries into function calls for the host OS, in our case: macOS.
If you are using an old PPC OS X, then you should look into Darwine, unfortunately no longer updated or supported.
Wine
Installation
Several methods exist to obtain Wine. Developers will retrieve the source code from the official website to compile it themselves before installing the application. Note that to support 64-bit Windows, during configuration, you normally need to add the argument "--enable-win64".
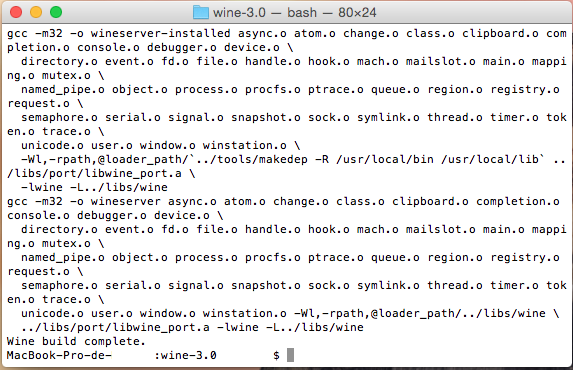
Others will use brew install wine in the terminal for an automated installation via brew.
You know that packages including binaries are also available on the official website.
Execution
Once Wine is installed, it is then easy to launch Windows applications using the following simple command in the terminal:
wine <path_to_application>/<application_name>.exe
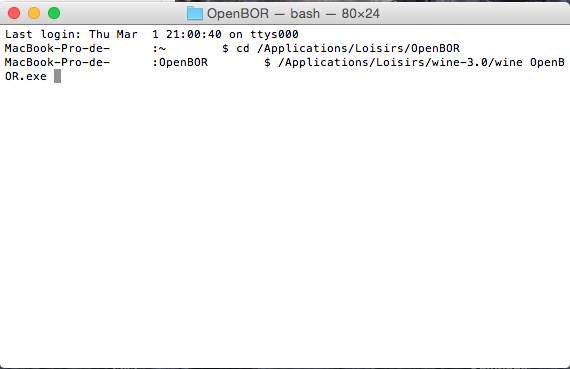
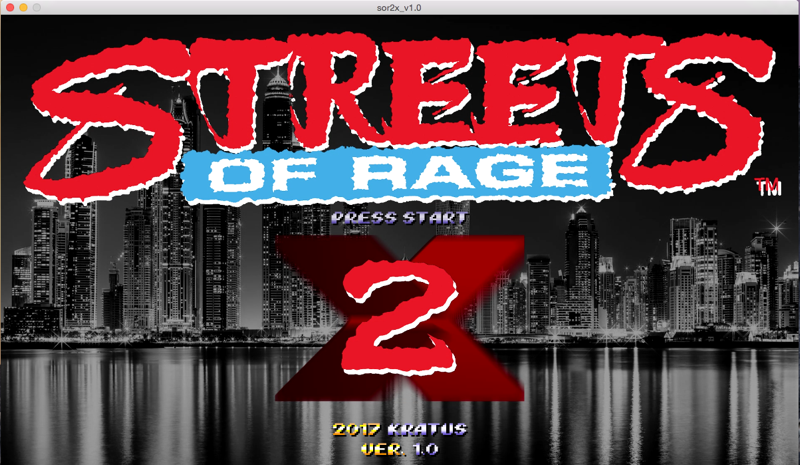
In the case of a prior installation, the latter is launched in the same way via the terminal:
wine <path_to_installer>/<installer>.exe
Note that if it is an MSI file, it is recommended to use the following command:
msiexec /i <installer>.msi
Configuration
But to go a bit further, we will install a game whose files intended for this purpose are on a CD. And to begin, we will configure our Windows emulation by typing:
winecfg
A window then opens
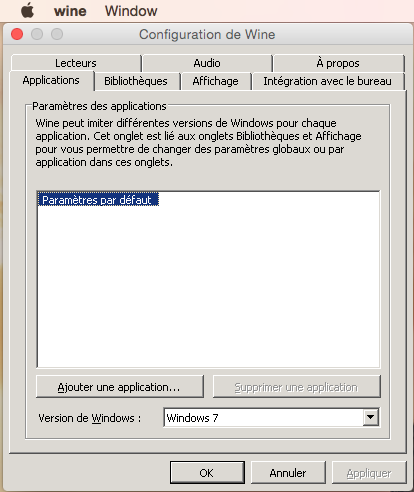
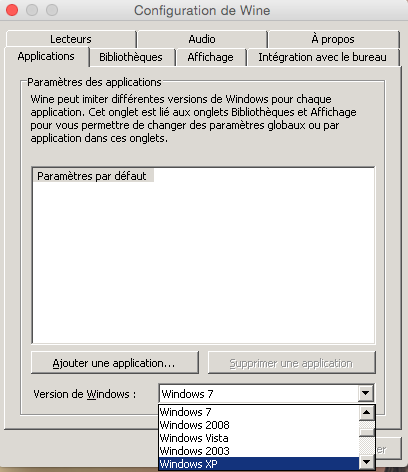
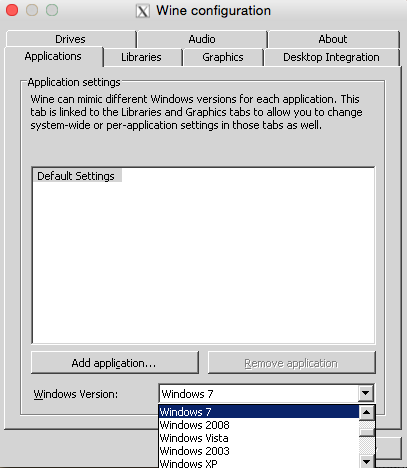
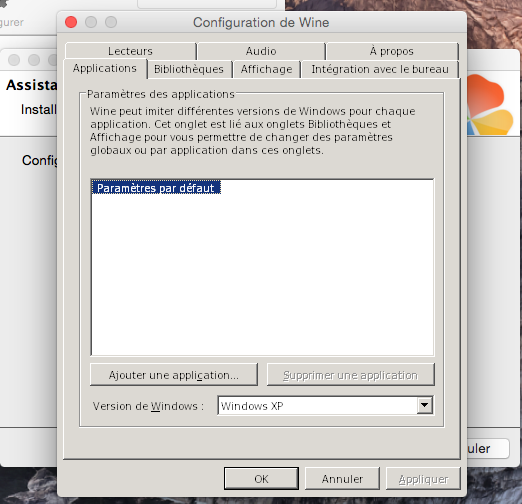
In the Applications panel, you can choose the version of Windows you want to emulate. This can be important.
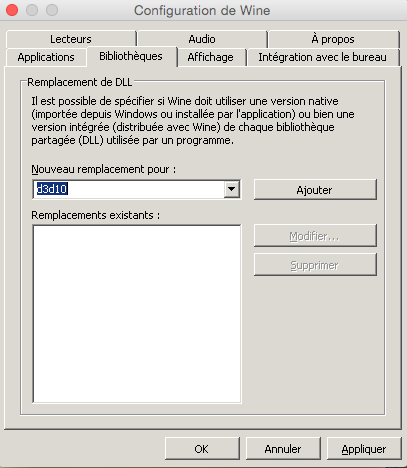
With the Libraries panel, you have the choice regarding many libraries to install such as DirectX.
Note that not all are available and you will likely need to manually install libraries for some applications.
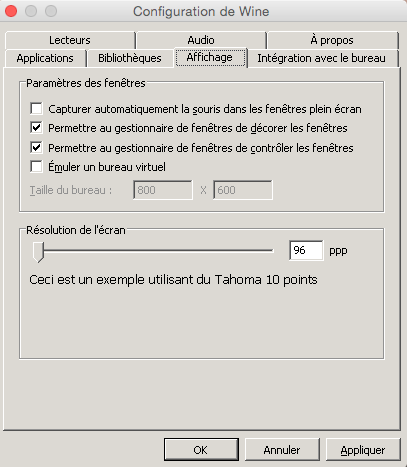
The Display panel will allow you to manage some options like font size and have a virtual desktop.
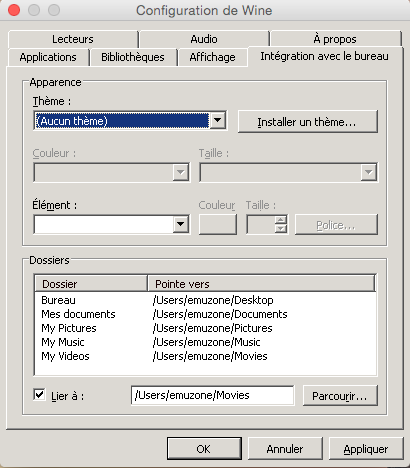
With the Desktop Integration panel, you will be able to redirect typical Windows folders to folders on your Mac.
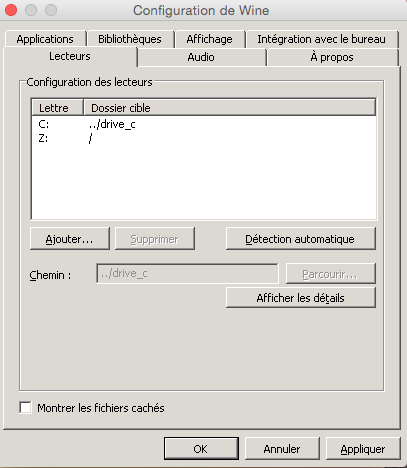
The Drivers panel will likely be the most used.
It will allow you to manage storage spaces like hard drives, optical discs, and floppy disks.
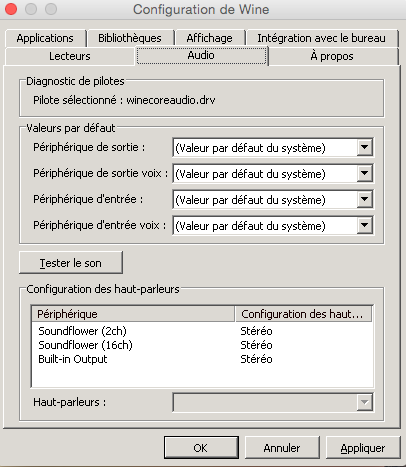
In the dedicated audio panel, you can modify the type of devices to use.
For the last "About" panel, let me leave you to discover it.
Usage
Let’s start with the installation of a game that spans two CDs and, to do so, begin by mounting your first CD and, in a new terminal, launch winecfg. Note the drive on which your volume is mounted and trigger the installation.
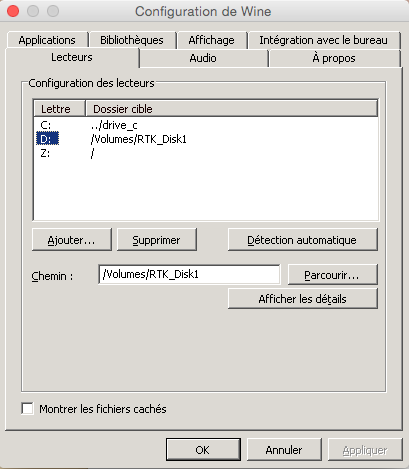
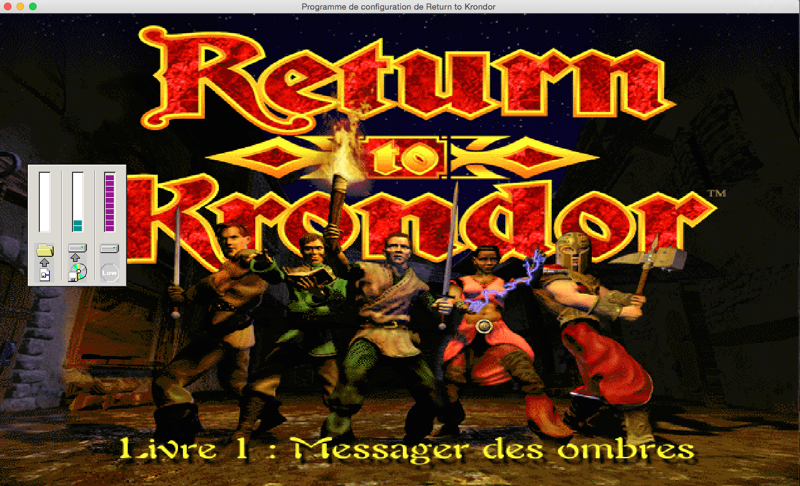
When prompted to change the disc, remove the first disc to mount the second and open a new terminal to launch winecfg if needed, then go to the drive configuration panel.
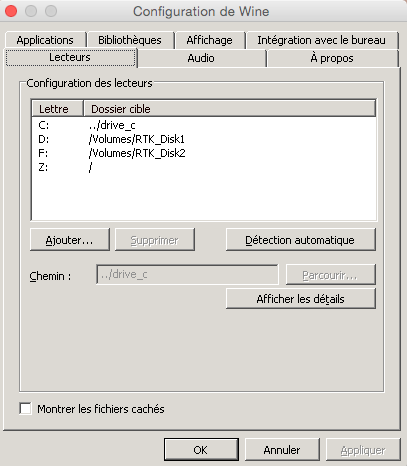
Remove the discs.
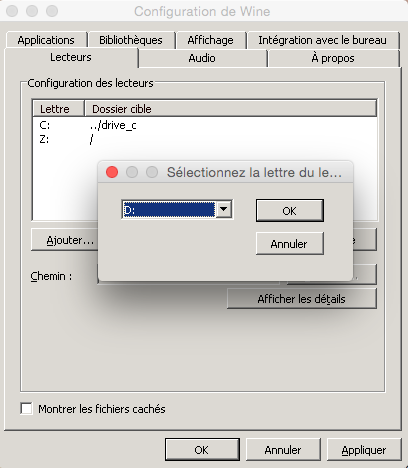
Then add a new drive with the letter you noted, which was assigned to the first CD.
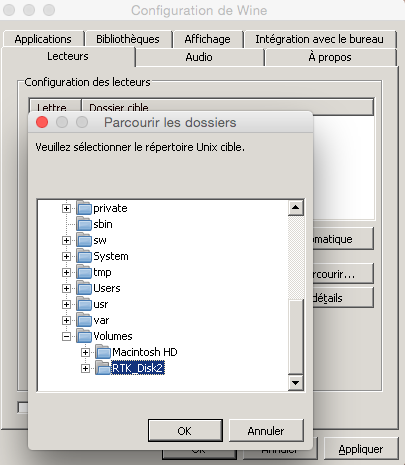
Click on the Browse button and choose the volume of your second CD.
By displaying the details, you can ensure that the type is indeed CD-ROM, otherwise modify it.
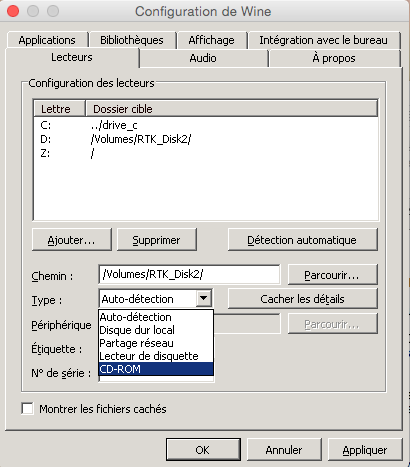
Normally, your installation should resume normally. If this is not the case, you can perform this operation manually via the terminal and, to begin with, check which drive was mounted for your second CD in the dosdevices folder of Wine.
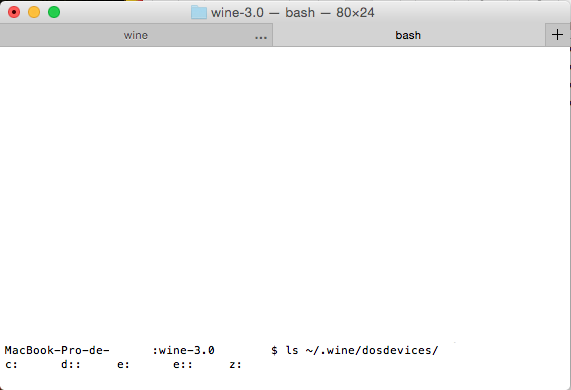
You will notice that the chosen letter is 'e', so you will rename the 'e:' folder to 'd:'
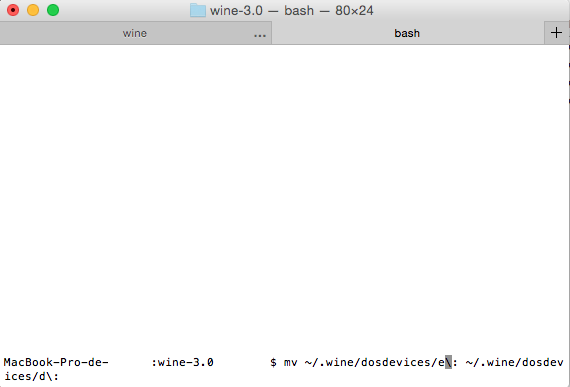
The installation should then resume normally.
If this still wasn’t the case, another technique—which we will use later with Wineskin (see below for more details)—involves copying the contents of the CD-ROMs into a folder on your hard drive. Then, via Wine’s configuration, specify that folder as the CD.Note where your application’s executable is installed on your C: drive, as you will need to re-enter the full path to launch it, knowing that this drive is physically located on your disk in the directory ~/.wine/drive_c/ or /Users/<username>/.wine/drive_c
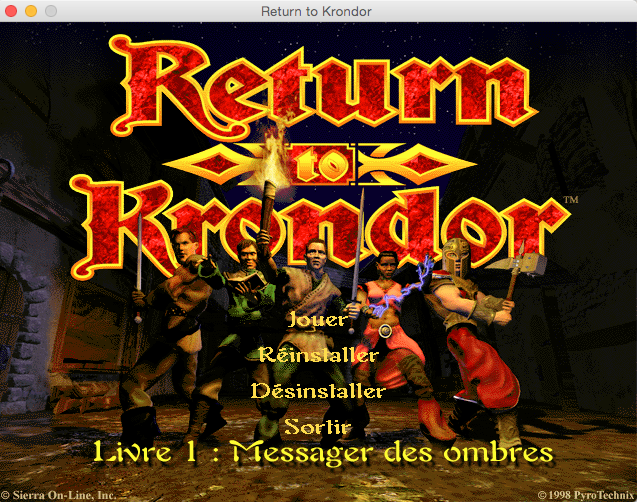
Thus, after installing our small game, we can see that the installation was successful in the specified directory within our user folder.
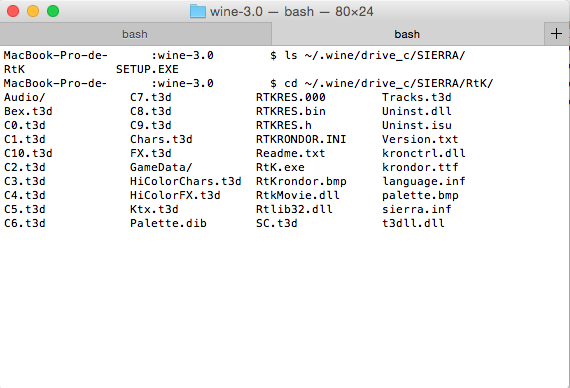
And we can then execute it.
Appendix
For experts with a good knowledge of Microsoft’s system registry, the latter can be modified via text files with a *.reg extension located in your ~/.wine/ folder.
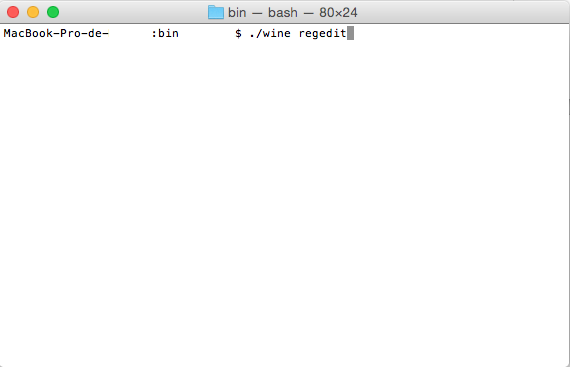
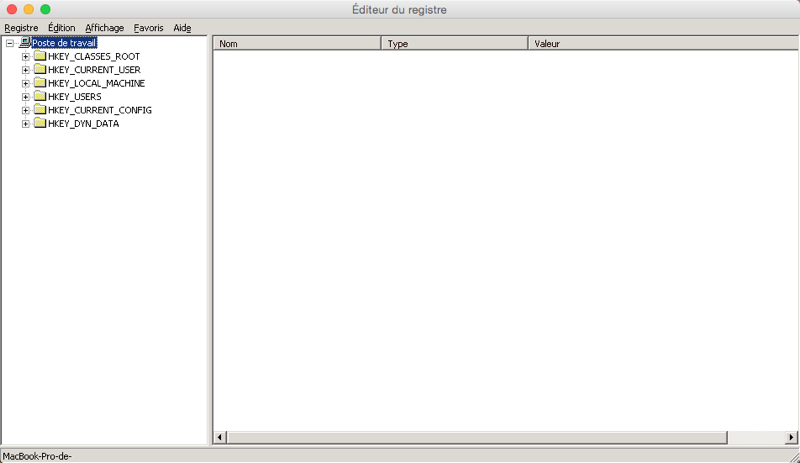
You can also open the registry using the simple command: wine regedit
WineBottler
An old utility no longer updated and apparently no longer supported, it allows generating a complete macOS application called a bottle.
Creation
In its simplest use, it allows creating a macOS application from a ready-to-use Windows executable. To do this, we will use MegamanMaker.
Open WineBottler and display the advanced panel by clicking on the "Advanced" icon.
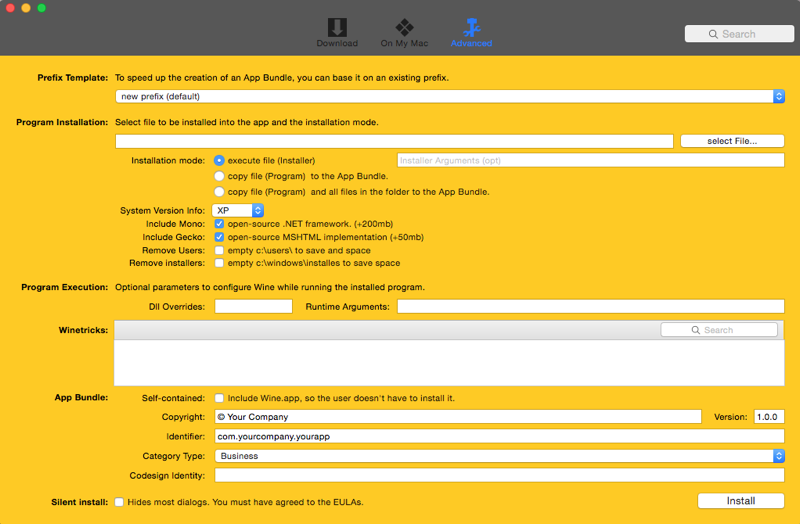
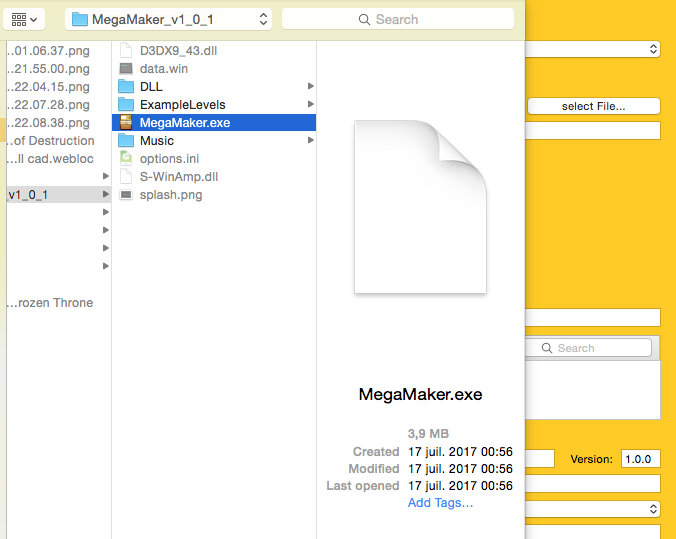
Start by clicking on the "Select File" button and choose the Windows executable.
Continue with the configuration.
For this application, the files alongside the executables are crucial for its proper functioning, which is why we must choose the third installation mode ("copy file and files in the folder to the App bundle"). In the case where the executable is self-contained, the second option ("copy file to the App bundle") would then be more appropriate.
Several versions of Windows are available, ranging from XP to Seven.
Installations of frameworks such as Mono for .NET applications or Gecko are possible for applications that require them to function. However, since we don’t need them here, we will mainly aim to save some space and thus won’t activate them. We will also select the following two options: deleting the Windows installation directories and user profiles.
The last section, called "App Bundle," is also very important.
You can choose to include Wine directly (an old version 1.8-rc4) in it, making the application standalone, or not, which will require the end user to install Wine on their Mac but will allow them to enjoy a version that is undoubtedly more recent.
Note that we can add a copyright notice and a version number, as well as the type of our application.
But the most important thing is the identifier we will enter in the "identifier" field. This is the name of the folder that will be created in the user’s library, so it seems logical that this name resembles what other applications already do and is easily identifiable during a search.
That's why I decided to follow this naming convention: "com.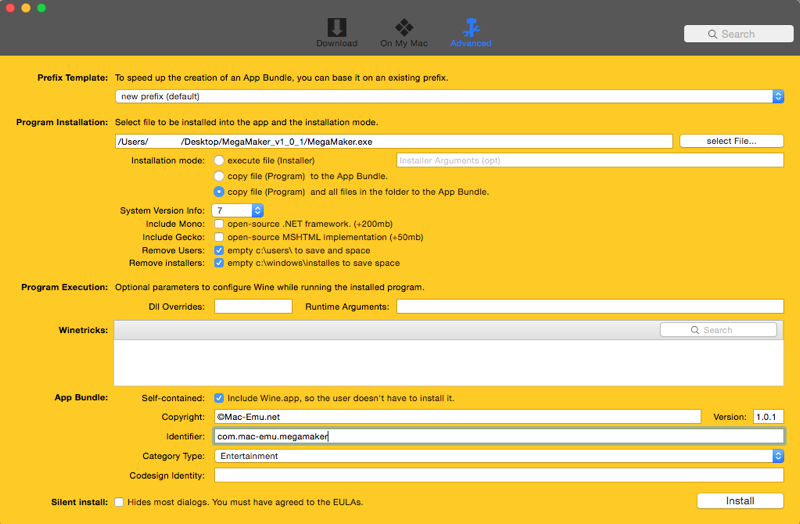
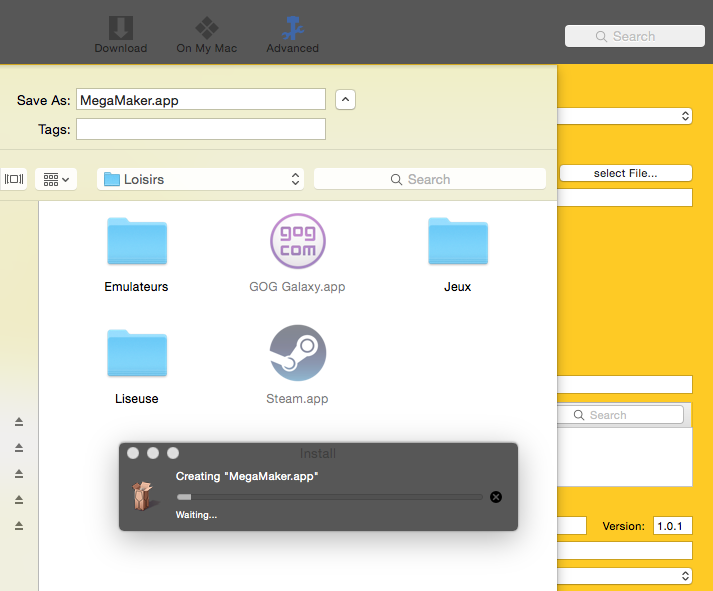
Once the parameters are filled in, click the "Install" button and choose the name of your macOS application and its location.
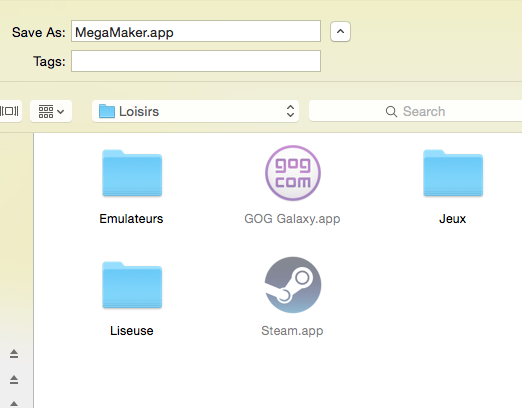
The creation process starts...
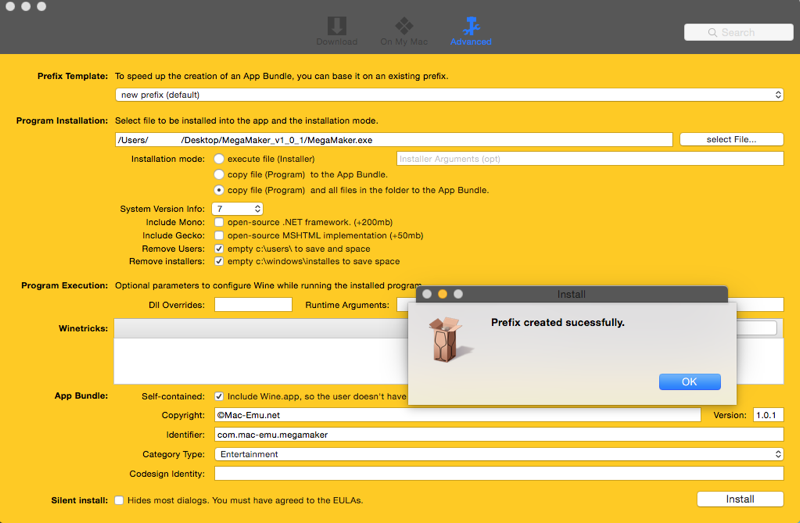
A message will inform you when the application is complete.
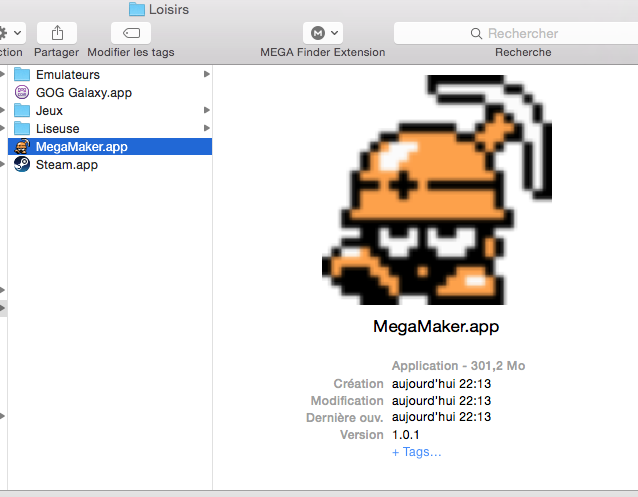
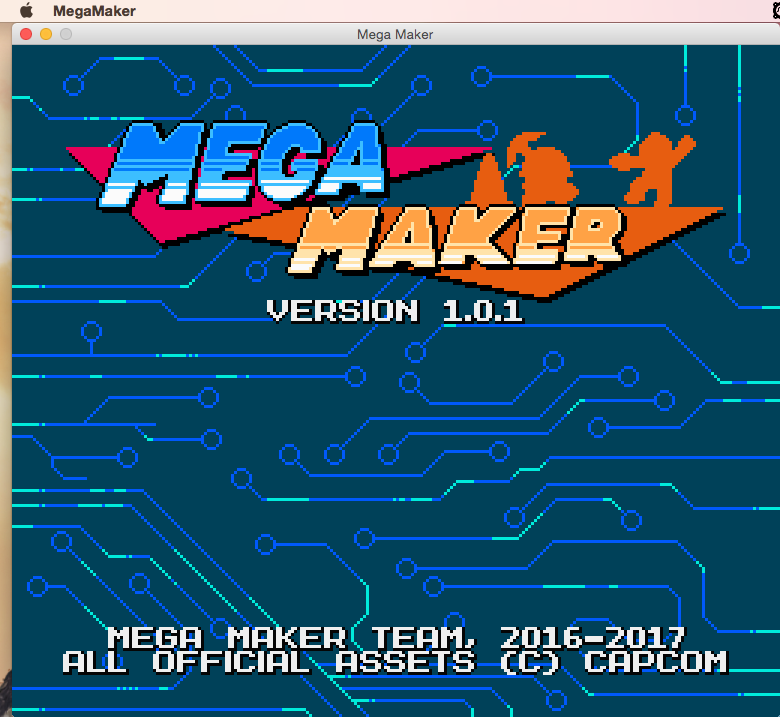
You can then enjoy using it.
Deletion
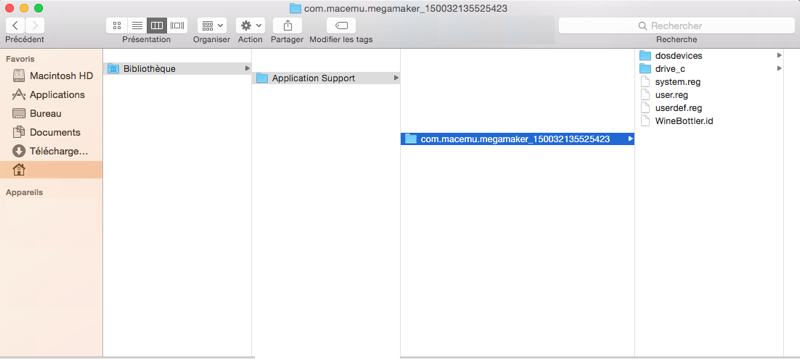
In case of deleting your application, simply moving it to the Trash is not enough. Remember that a folder is created on the first launch in the User Library within the "Application Support" folder, and it bears the name of the identifier you previously chose with a numerical suffix.
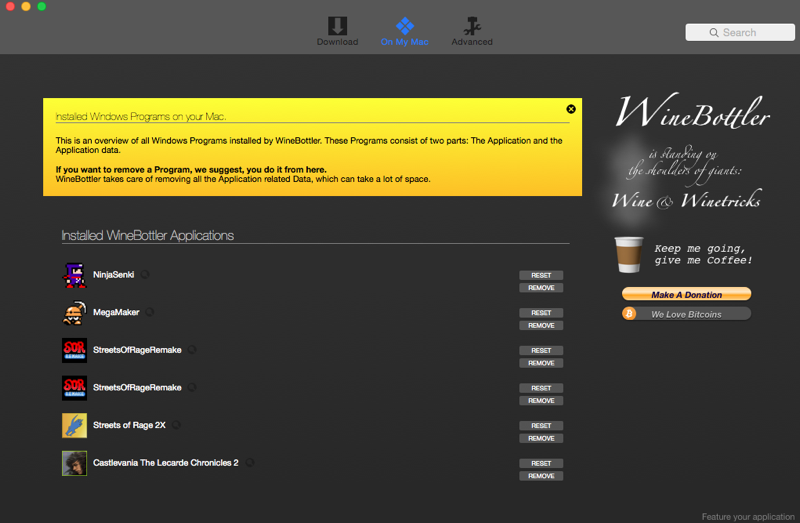
Note that WineBottler also allows you to properly delete these folders by clicking on the "On my Mac" icon, where all your applications are displayed, offering you the option to delete them cleanly or reset them.
Installation
Creating a Mac application from a Windows one is great, but what about when an installation is required? Let's try with Heroes of Yggdrasil and go back to the advanced panel.
Choose the first installation mode ("Execute file").
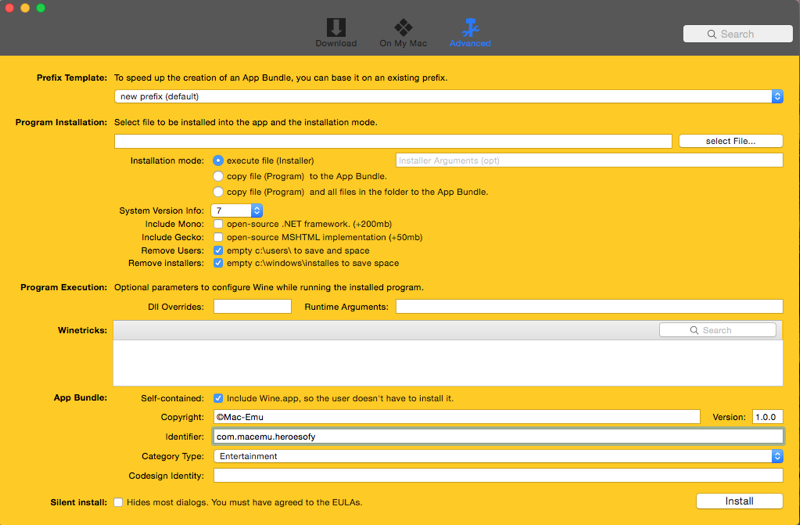
Instead of selecting the application executable, you must select the installer executable.
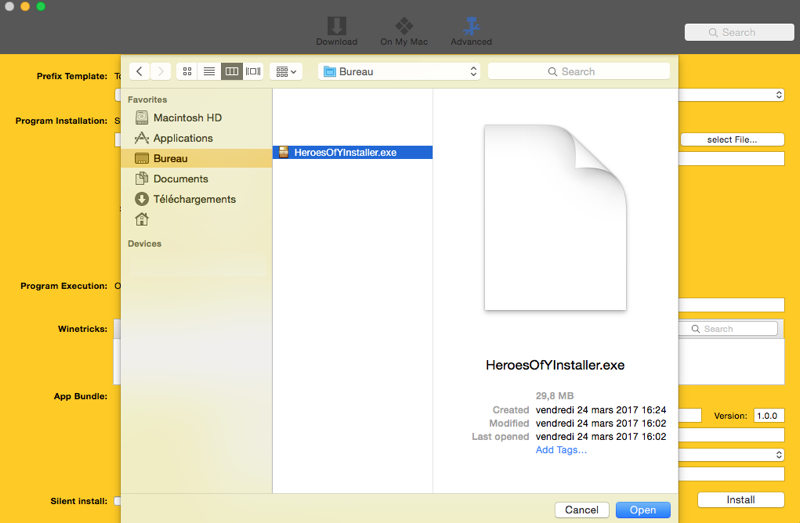
The rest of the configuration proceeds as previously described.
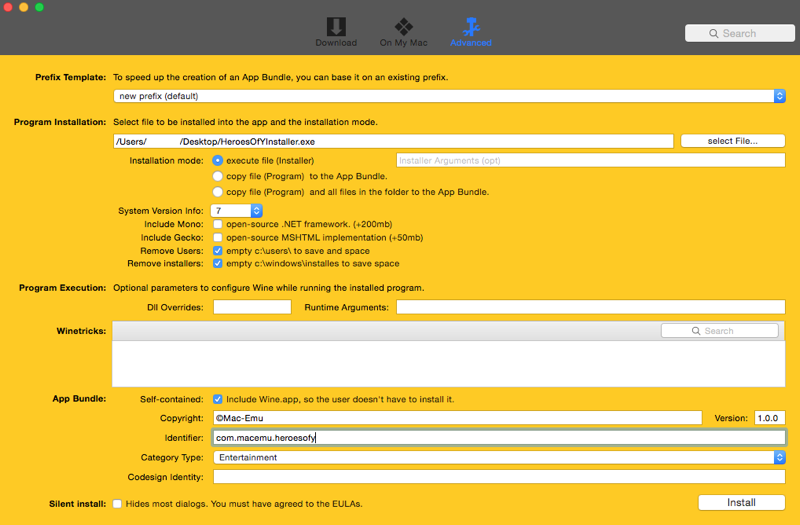
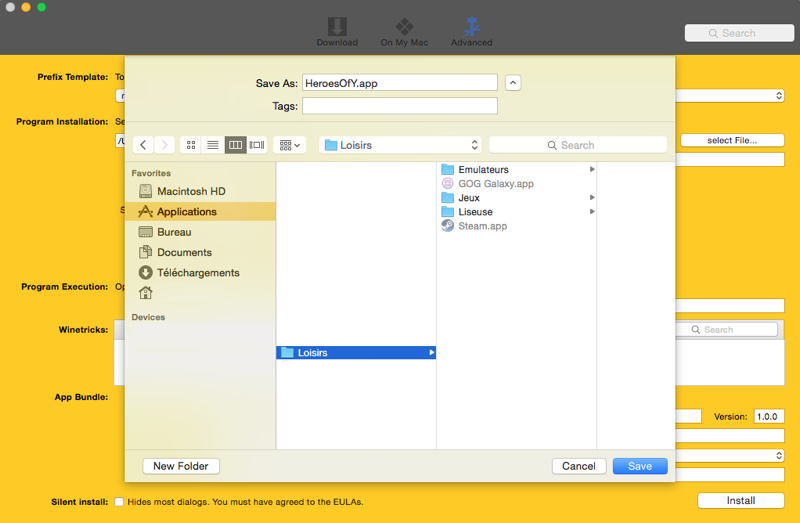
Again, by clicking the "Install" button, you will be prompted to choose the location and give a name to the final macOS application.
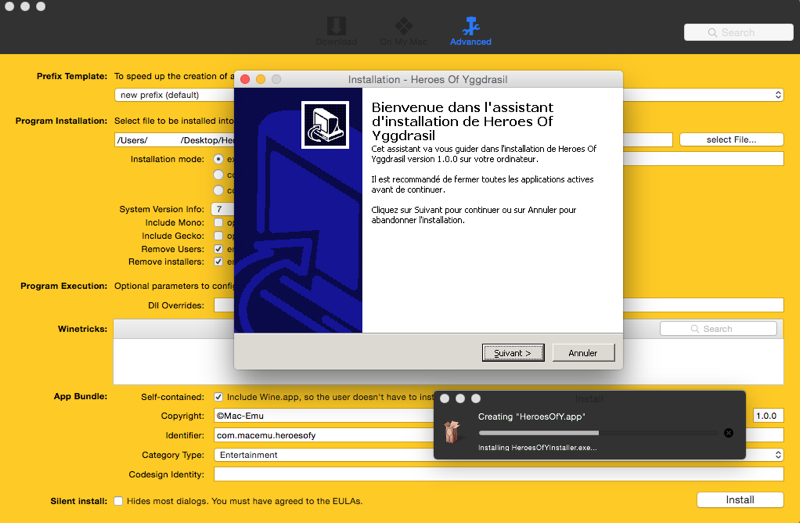
The Windows installation will then launch.
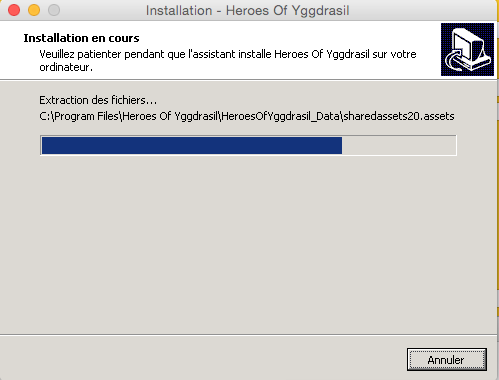
And you will only need to follow the steps normally.
Once finished, you will have to choose the executable file to run.
In our specific case, you must obviously select the one for the game we just installed.
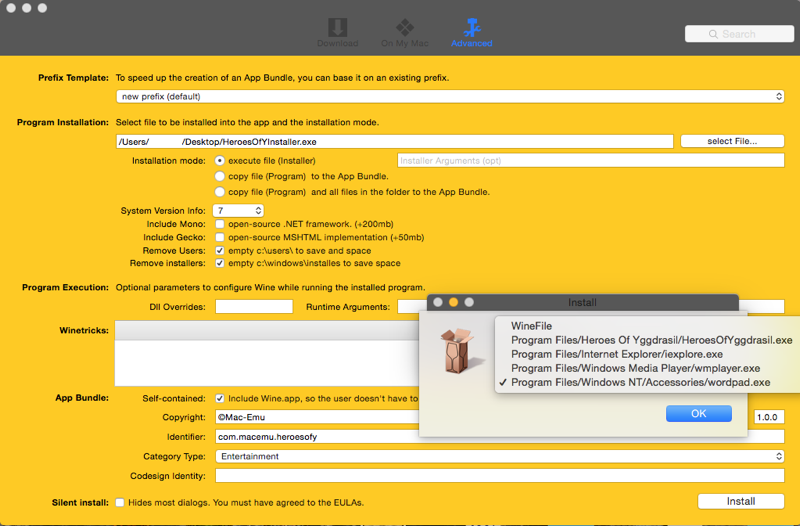
The application is then finalized.
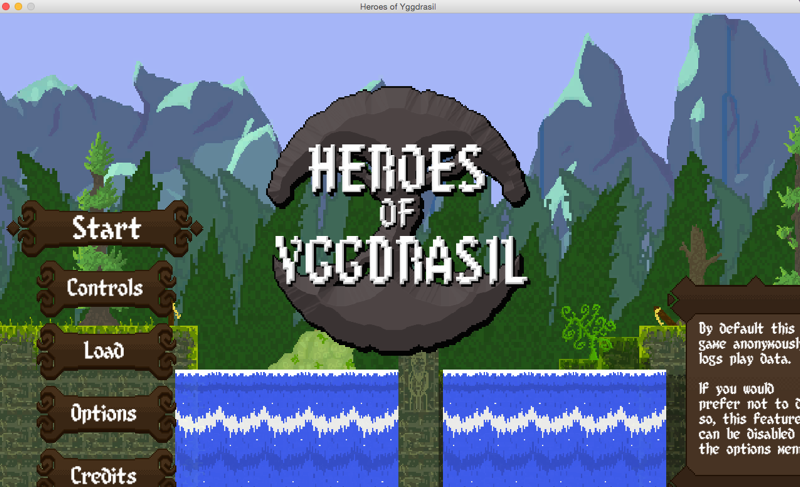
And you can launch the Windows game as if it were a Mac game.
Wineskin Winery
Wineskin is based on the same principle as WineBottler but is more recent and offers a more up-to-date wrapper version.
Update
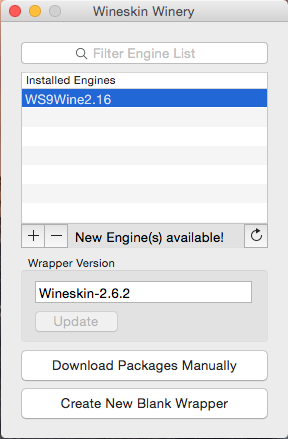
Once Wineskin is installed, the first thing we will do, via our internet connection, is to update the wrapper, which currently remains unfortunately stuck at version 2.6.2.
Usage
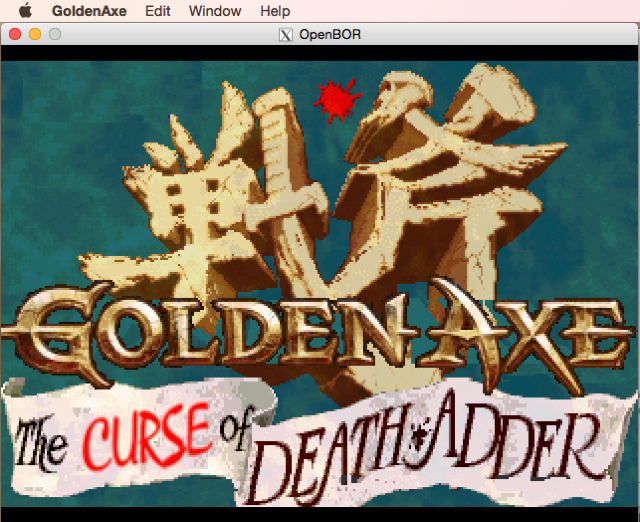
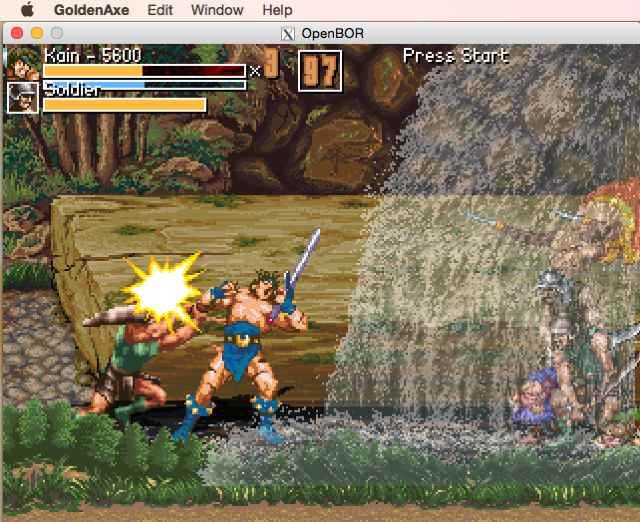
Once this step is completed, we will be able to create our first wrapper with a simple application. By chance, the Golden Axe created with OpenBor.
After clicking the create button, you are asked to name your application.
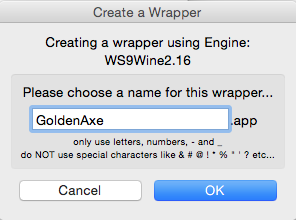
Once the name is validated, Wineskin will take some time to create the environment and notify you once it is done.
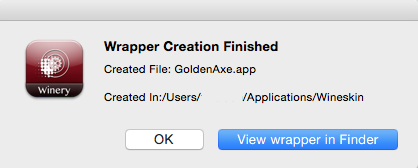
Then choose to go to the folder containing your new application via the blue button. If you missed this step, know that it is located in the Wineskin folder, which is itself inside the "Applications" folder at the root of your user account.
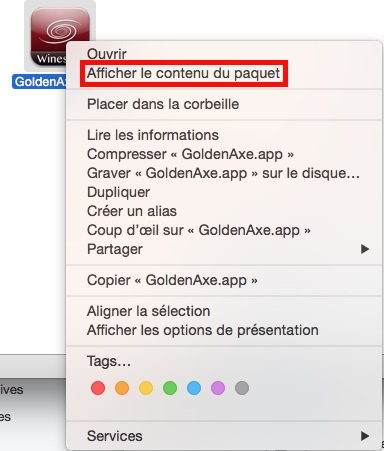
Ask to display the contents of your application.
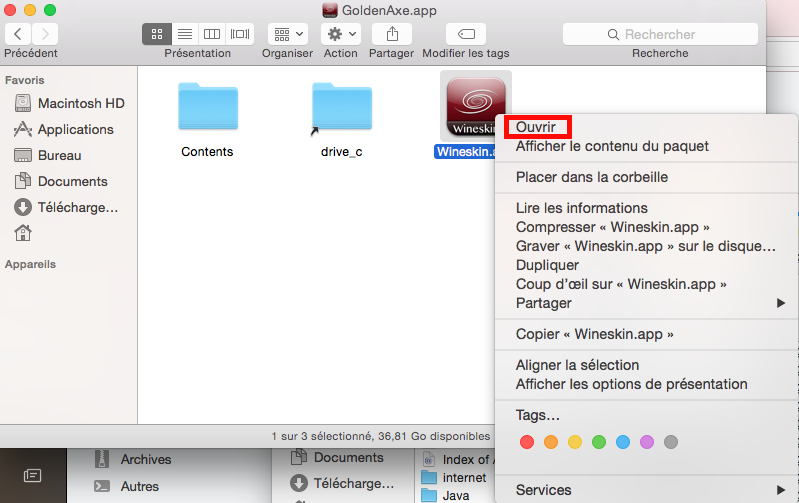
Then open the Wineskin application normally.
Click the "Install Software" button.
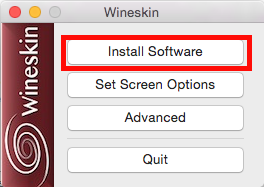
Since our game is already in a ready-to-use folder, we do not need to perform an installation. We can then copy the contents of the folder into our wrapper or move them inside it.
No matter your choice here, but personally I use the "Move a Folder Inside" option.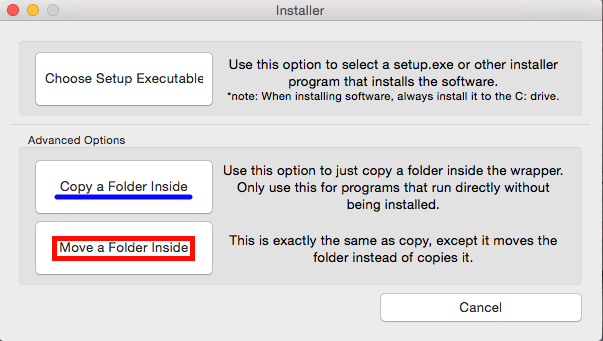
All that remains is to select the folder containing all the useful files for the game (or the executable if your Windows application is self-contained).
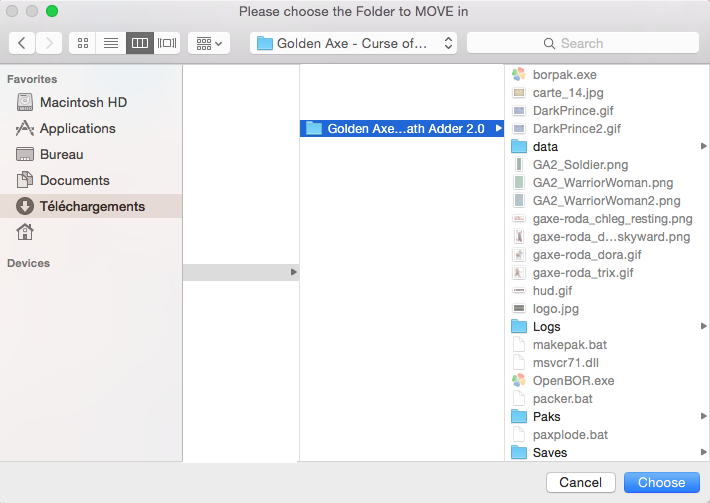
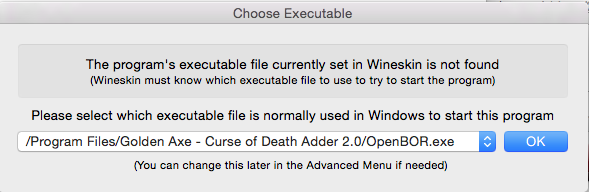
In our case, since multiple executables are available in the folder, the one automatically selected is not the right one.
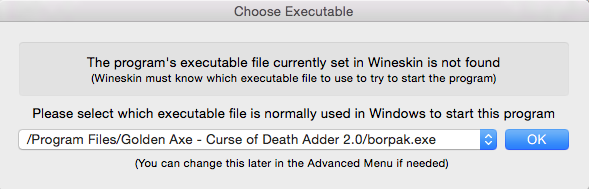
You therefore need to modify the one the wrapper will execute.
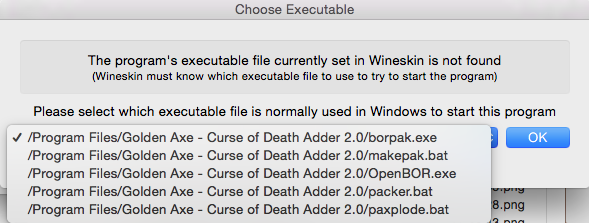
Then you confirm.
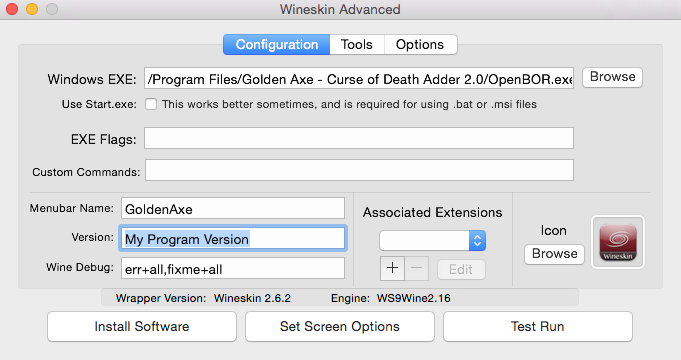
You can reopen the "Advanced" panel, which will allow you to modify the executable file to run if you made a mistake (don’t hesitate to click on the "Test Run" button to check everything is correct) or modify the version number and the icon of your application.
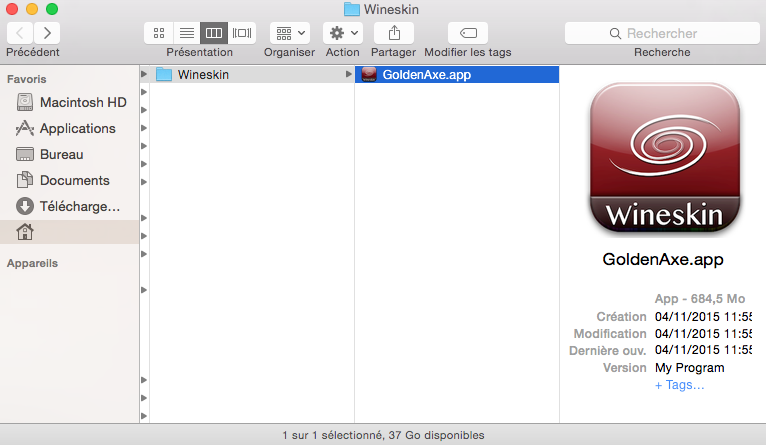
Our game is ready, and all we have left to do is launch our GoldenAxe.app application normally.
Installation
Let’s try something a bit more complex with a game that requires installation from two CDs. For this, we will test with a French game: Dark Earth.
While it is possible to install a game normally from the CDs, sometimes by modifying the Wine configuration (as seen above), we will see another technique.
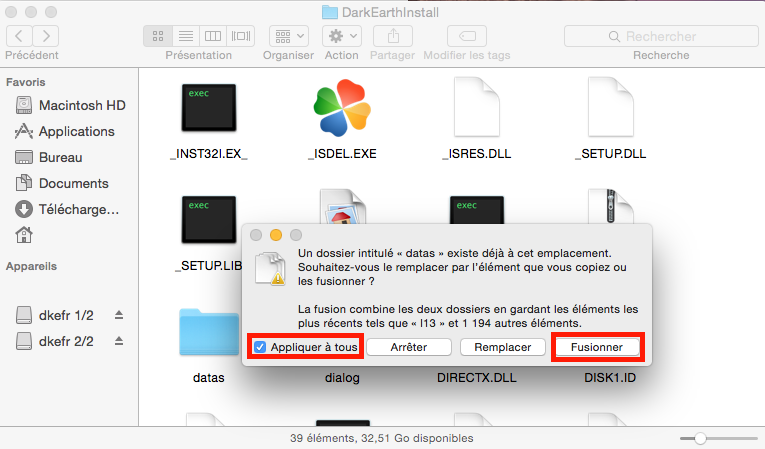
To begin, we will need to create a folder on our hard drive that we will name "DarkEarthInstall". We will copy the contents of the two CDs into it.
Above all, do not replace the files, ask to merge the folders instead.
We create our new wrapper and repeat the steps until we choose "Advanced".
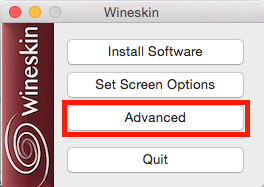
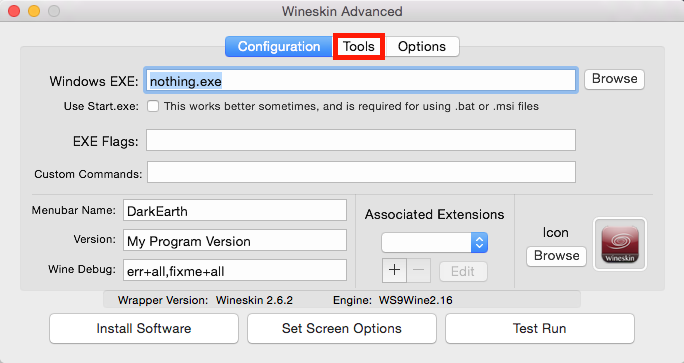
Then, we click on the "Tools" tab.
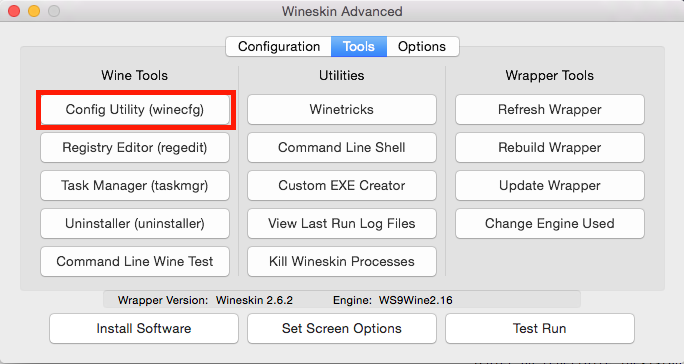
Next, click the first button "Config Utility".
Upon opening the window, for those who haven't read the tutorial from the start, you can choose the Windows version you want.
For Dark Earth, we will choose Windows 98, then click on the "Device" tab after applying the changes by pressing the "Apply" button.
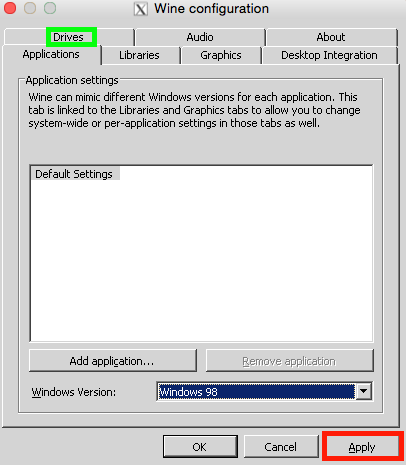
Here, you can determine the different drives that will be connected. We start by clicking the "Add" button to add a D: drive.
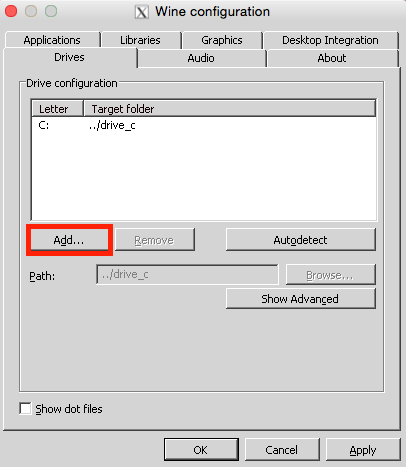
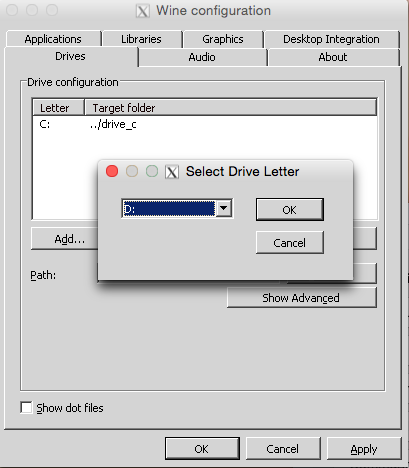
Now, you need to define the path of the folder on your macOS corresponding to this new storage space.
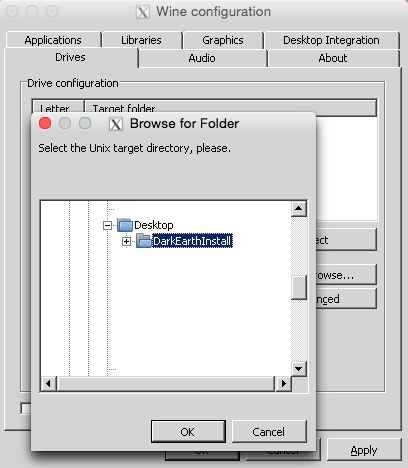
This can be facilitated by the "Browse" button, which allows you to navigate through your computer.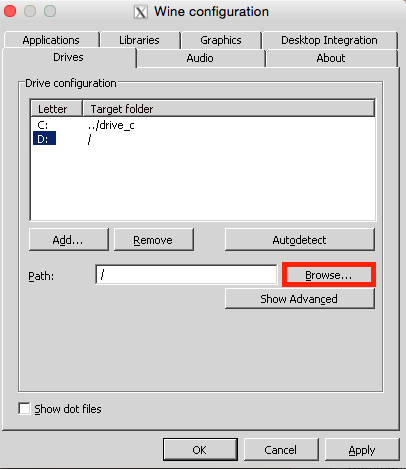
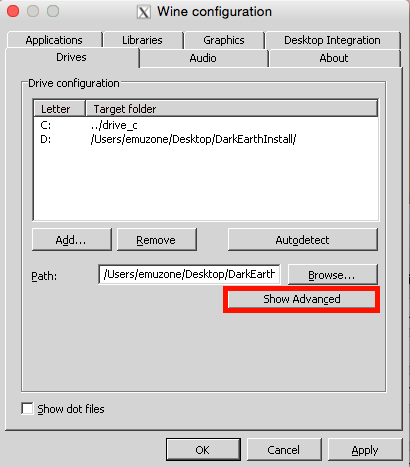
Once the folder is selected, in this case the one we created for installation, you can click on the "Show advanced" button to check its mounting.
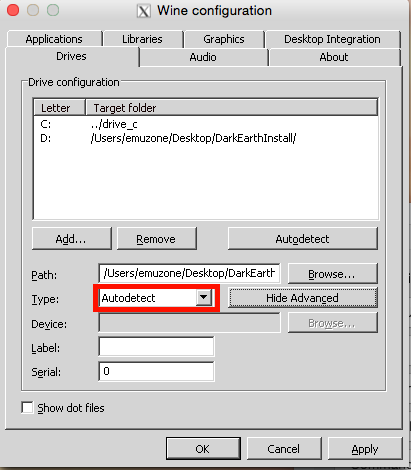
For example, you can change the type and, instead of automatic detection, force the type to hard drive, floppy disk, or CD-ROM, which is what we will do here.
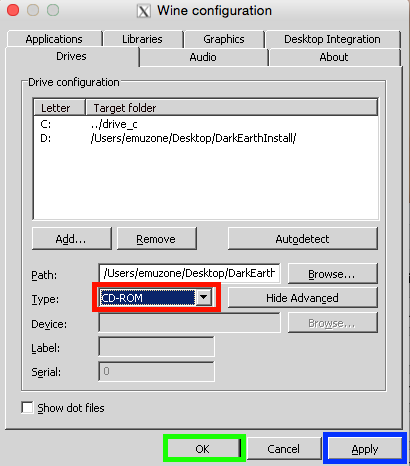
Once everything is validated via the "Apply" button (followed by the usual "OK"), we will naturally click on the "Install Software" button.
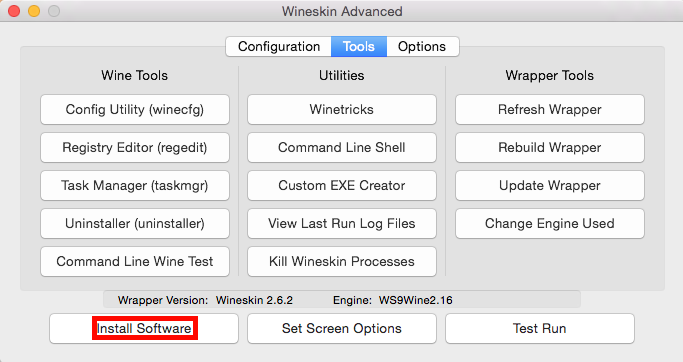
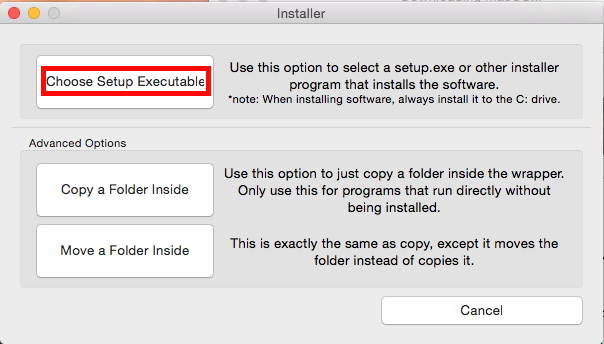
Proceed with the installation and, for this, choose the "Choose Setup Executable" button.
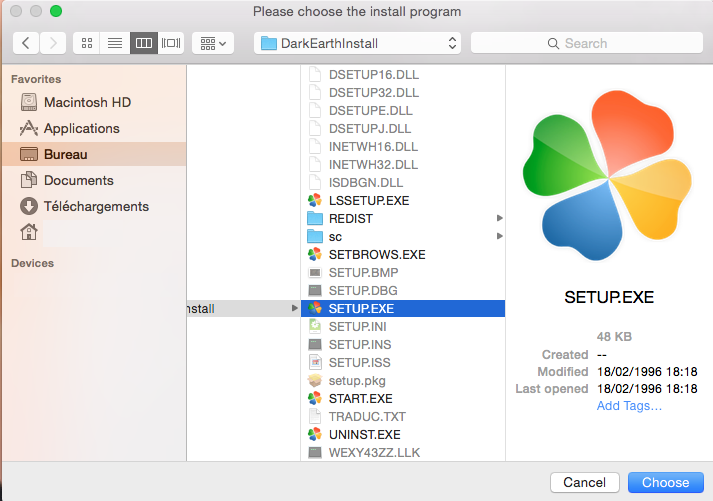
All that remains is to select the game installer.
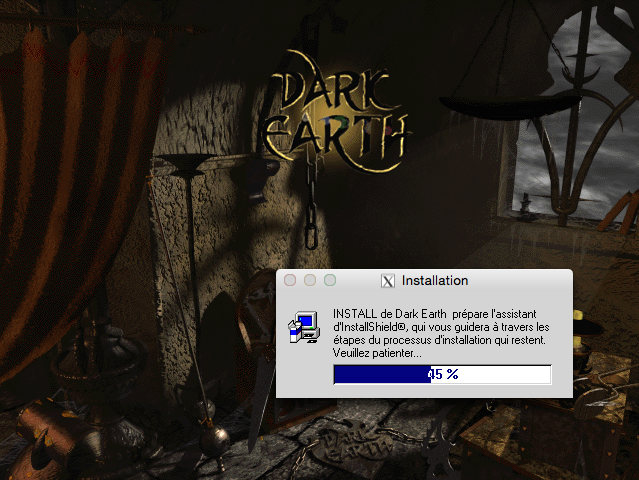
It will launch automatically and you just need to follow the steps one by one.
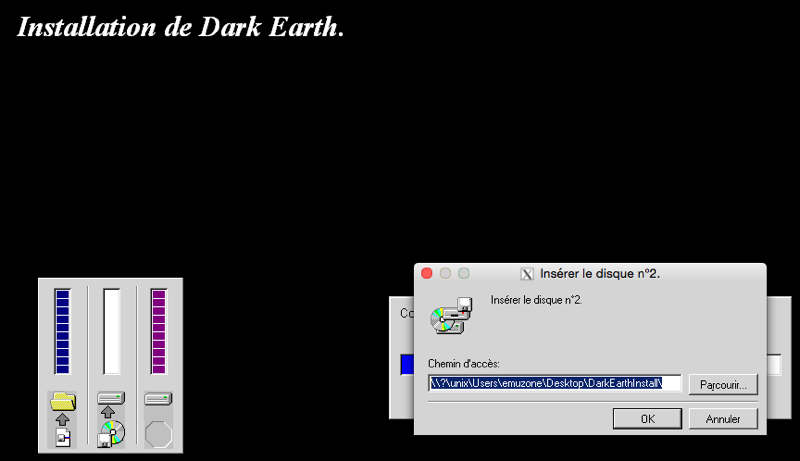
When prompted to change the CD, simply clicking the "OK" button should suffice until the game is fully installed.
Like the option without installation, you will need to select the correct executable to launch the game.
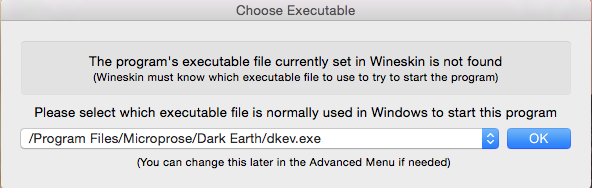
The CD being mandatory to play, you will need to mount it on your Mac, via your CD drive or a disk image.
Then go back to the tools and the Device configuration where you can remove the installation folder you no longer need, and add the path to the CD-ROM allowing you to launch the game if it wasn’t there before.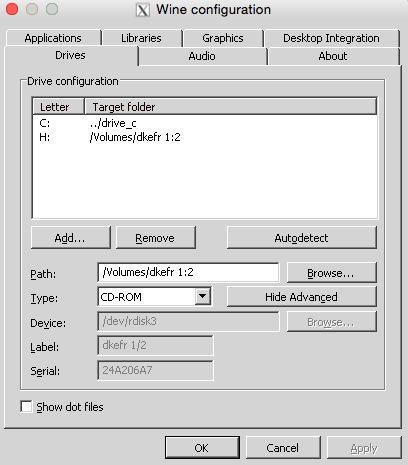
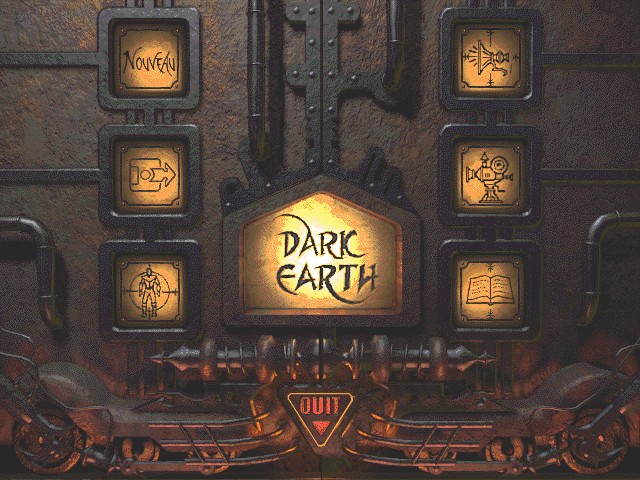
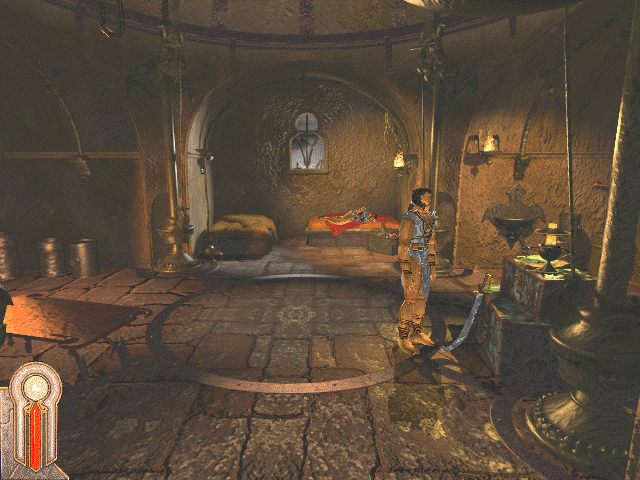
Here is Dark Earth ready to use.
Extension
Regarding updates, extensions, and file access...
If you want to modify, add, remove, or replace files, access is very simple. Display the contents of the package representing your application and, in the folder named "drive_c", access the files directly by following the directory structure specified during installation.
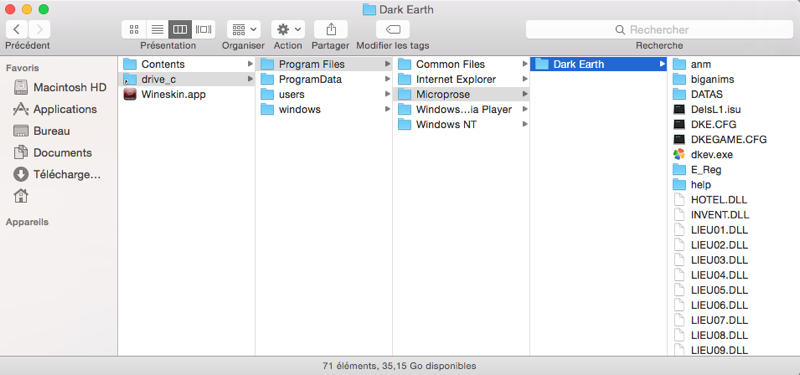
Note that the first folder is a shortcut "drive_c", the physical folder is located in Resources within the Contents folder.
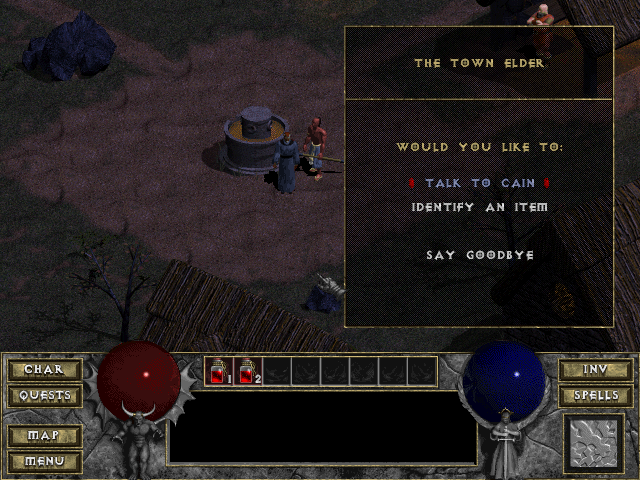
Let’s now see how to install an extension that requires running a setup. For example, we will use Diablo and its extension created by Sierra called "Hellfire".
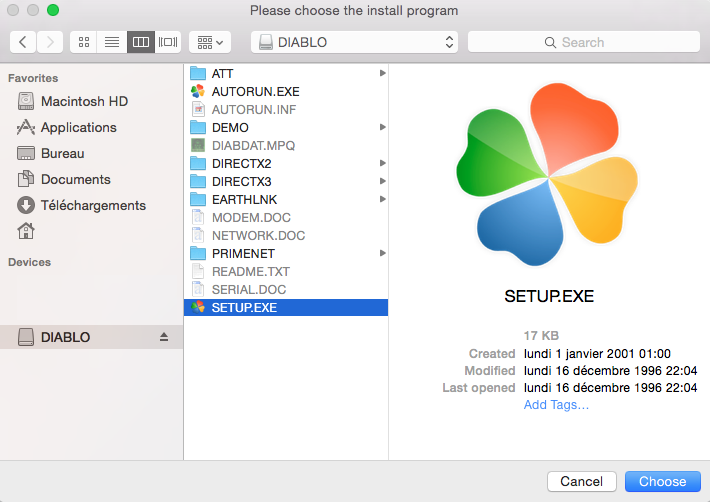
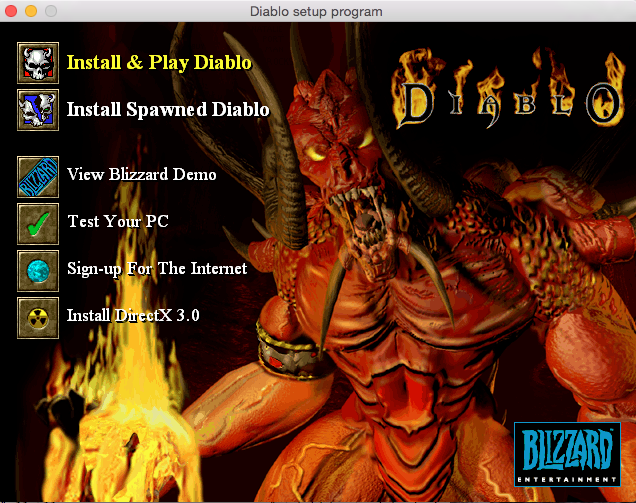
We insert the game installation CD into our Mac and then create our new wrapper to launch the Wineskin application contained within it.We naturally choose installation and select the setup included on our CD, then follow the steps normally.
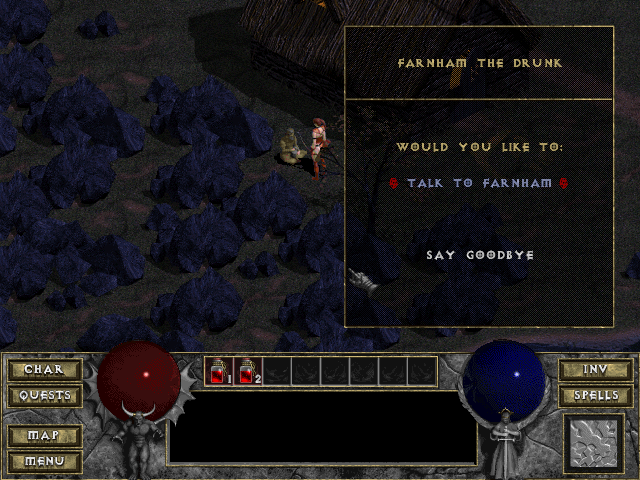
Here, the game launches automatically, and we notice some display issues, but the game remains playable.
We then exit the game and insert the Hellfire extension CD before returning to the Wineskin advanced panel.
As you may have understood, we need to click the "Install Software" button again and choose the setup for the update or extension.
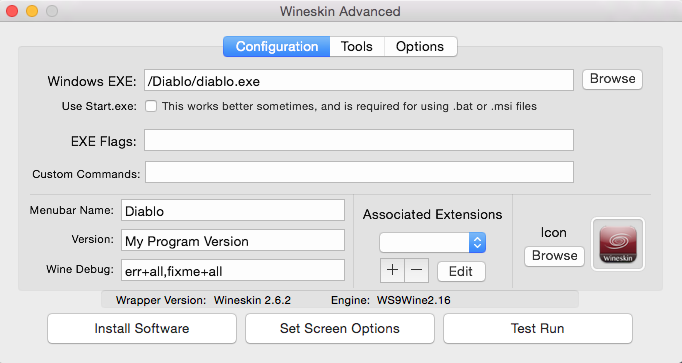
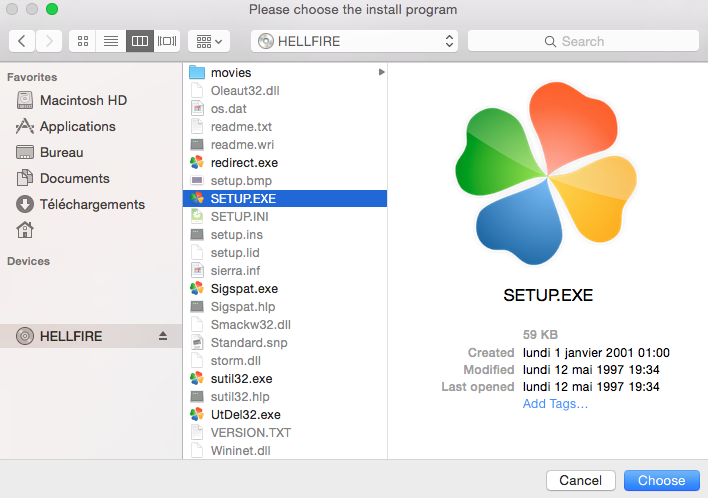
If necessary, repeat the process for multiple extensions or updates, and if needed, modify the path to the final executable.
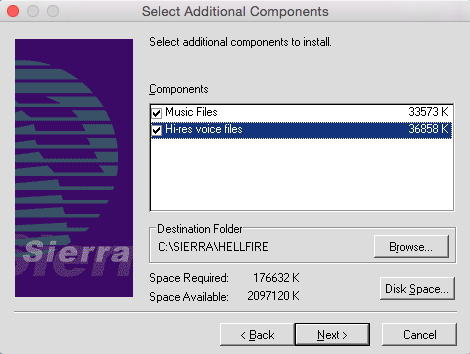
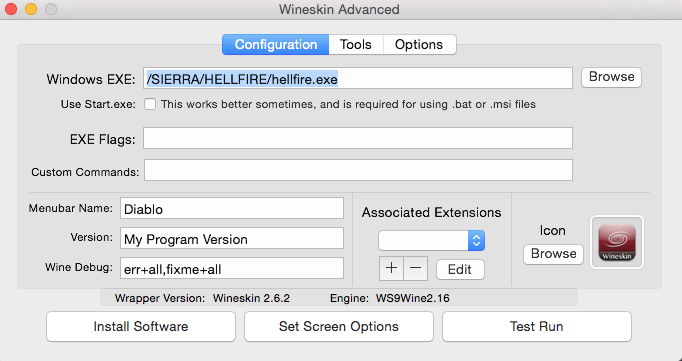
Here we have our game along with its extension. Don't forget to modify the Windows version if needed, but also define the CD-ROMs and inserted disks if the program requires them, which is the case for playing Hellfire, specifically the CD of Diablo.
Configuration
What if it doesn't work?
Unfortunately, Wine won't allow you to use all Windows applications. However, Wine is configurable. These advanced parameters allow you to enable or disable certain frameworks or libraries, load character fonts. For example, OpenGL instead of Direct3D.
These options, also sometimes referred to as winetricks, are available in the Tools menu, and some can help improve your application's support.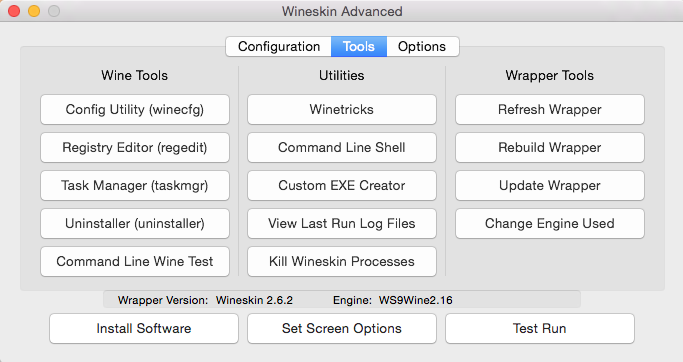
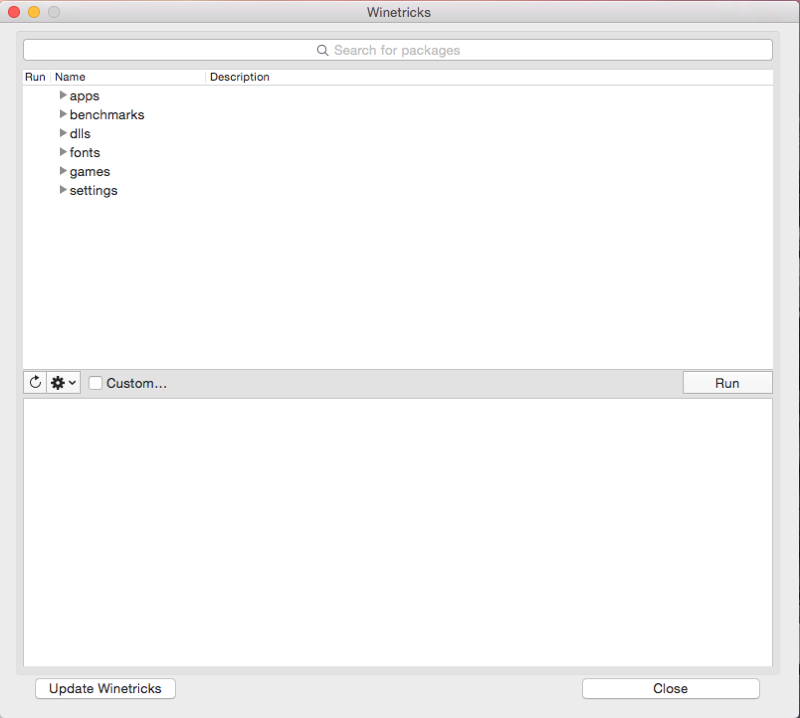
I strongly recommend that you check the dedicated section on the official site and search for your program to see if any parameters need to be applied: https://appdb.winehq.org
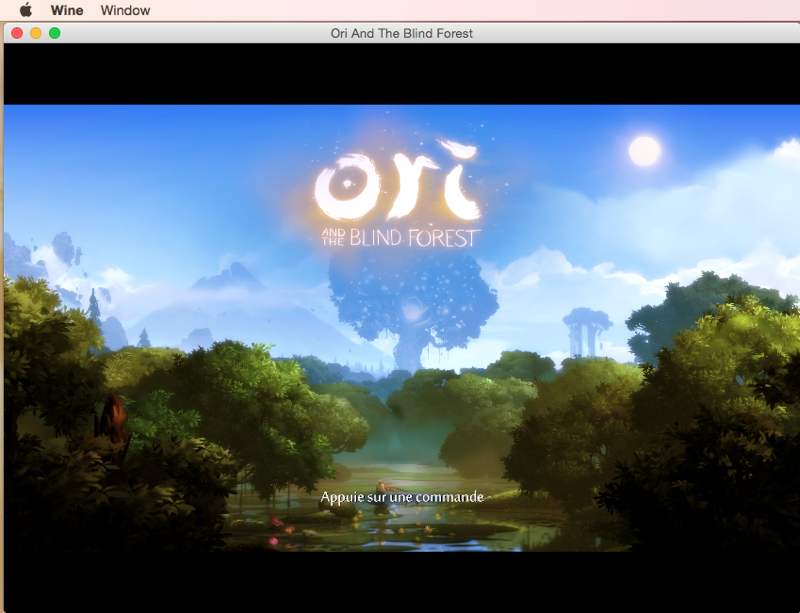
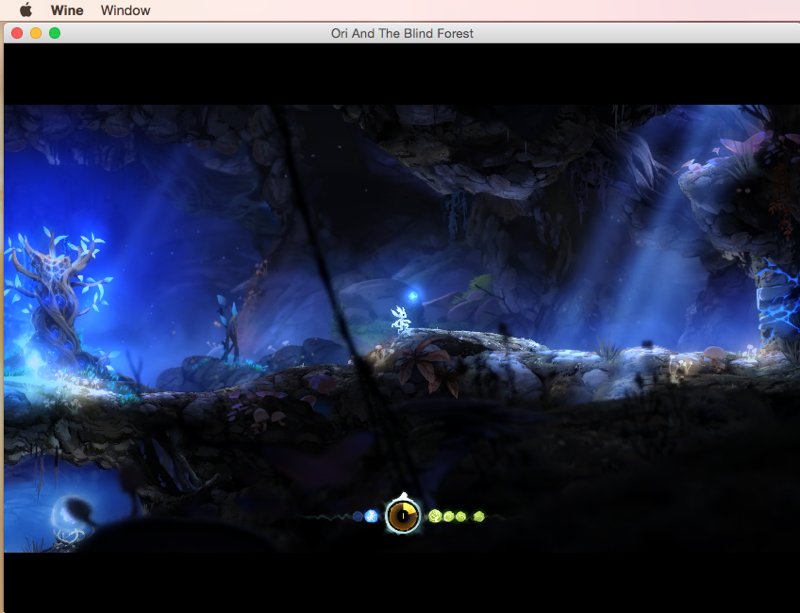
Here is an example of essential parameters to make the game Ori work, described on the dedicated page of the Wine site.
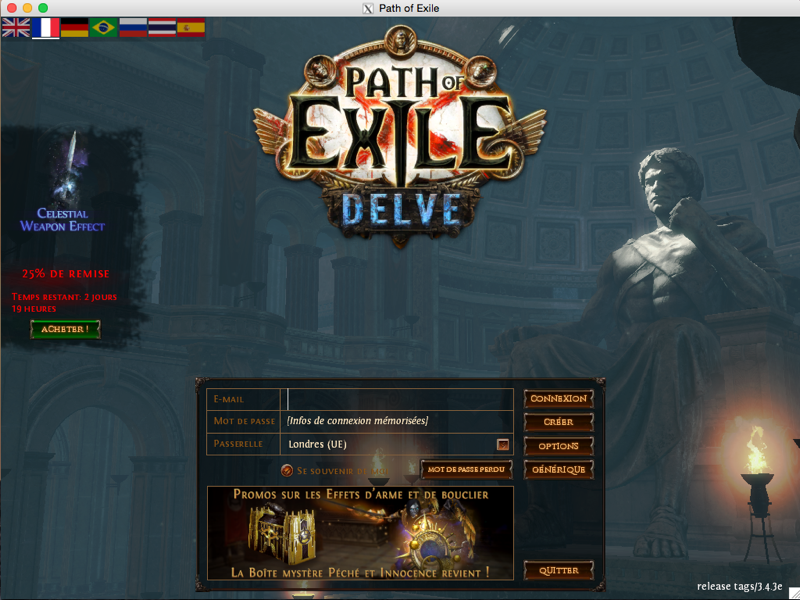
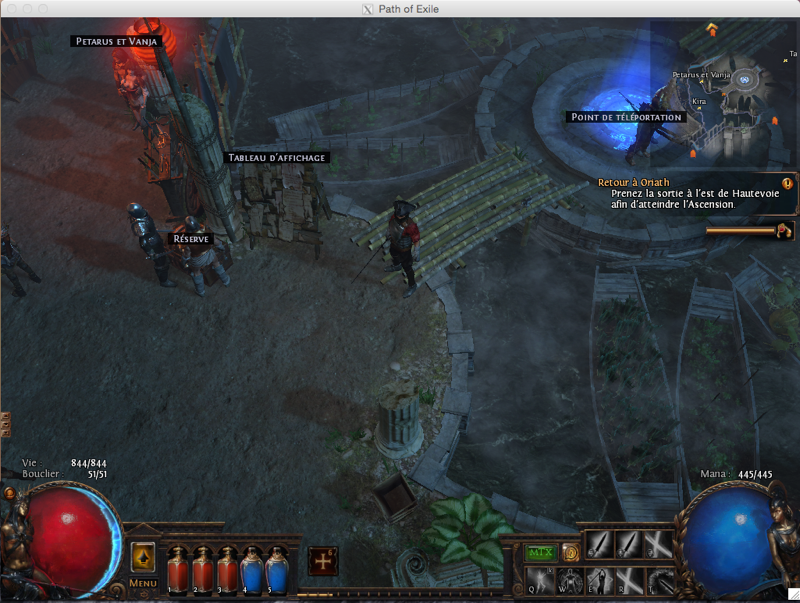
Or that of Path of Exile.
PlayOnMac
This program is a graphical interface for Wine that simplifies installations, manages them on virtual drives, and provides access to many other options and parameters in a simplified way. However, it has not been updated for years and includes an old version of Wine, 1.7.55.
Local Installation
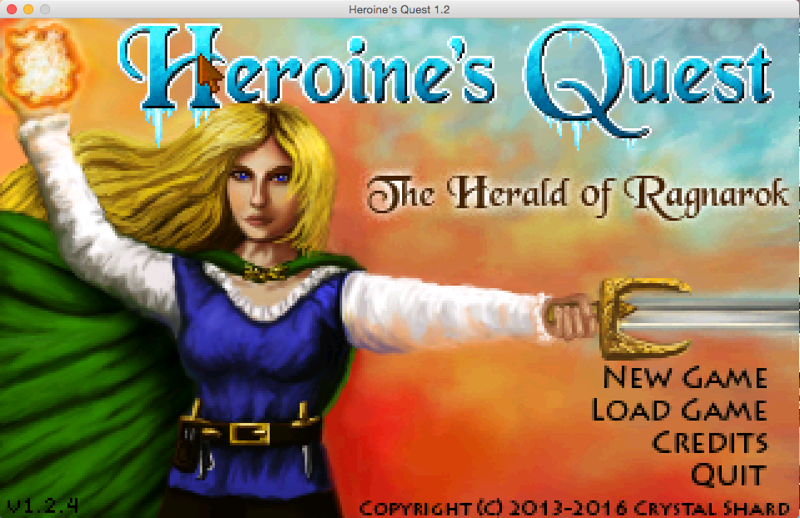
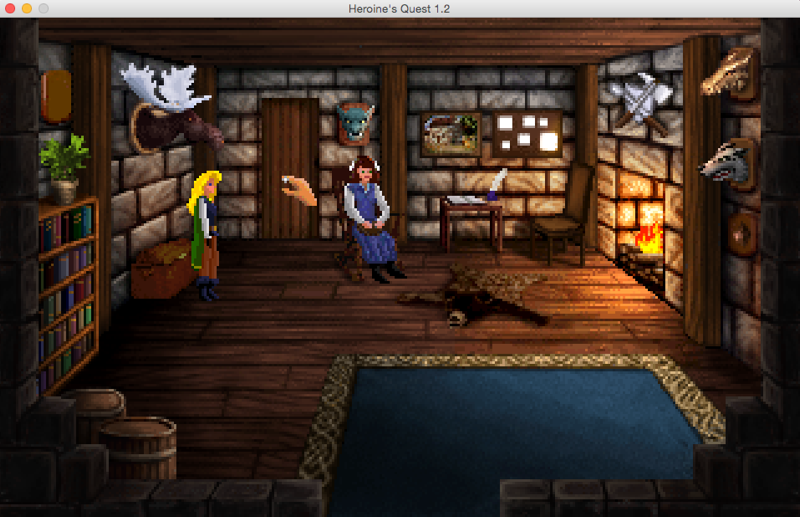
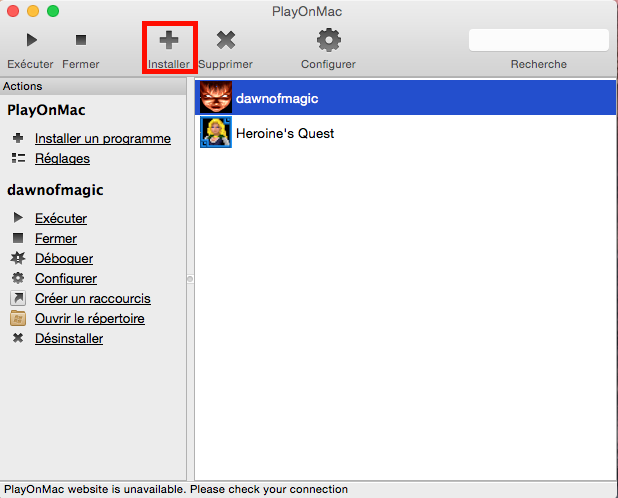
Let's start our first installation with a setup file present on our hard drive by clicking the "install" button represented by a plus sign. This will be Heroine's Quest.
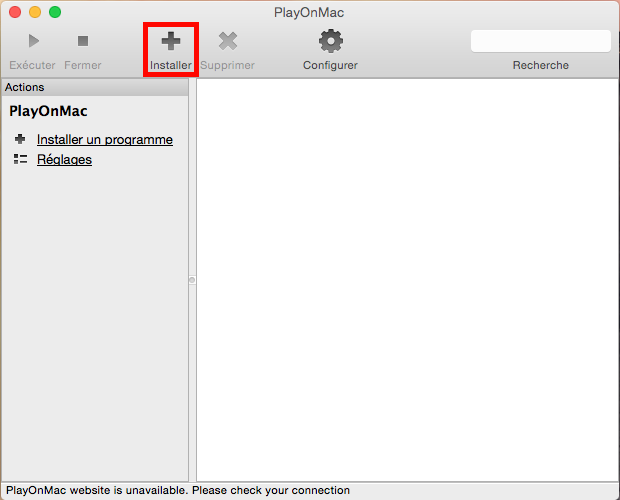
An automatic search via the internet is launched to offer you several aids depending on the program you wish to install.
Since this is a tutorial, we will skip this panel by clicking on "Install an Unlisted Program" at the bottom left.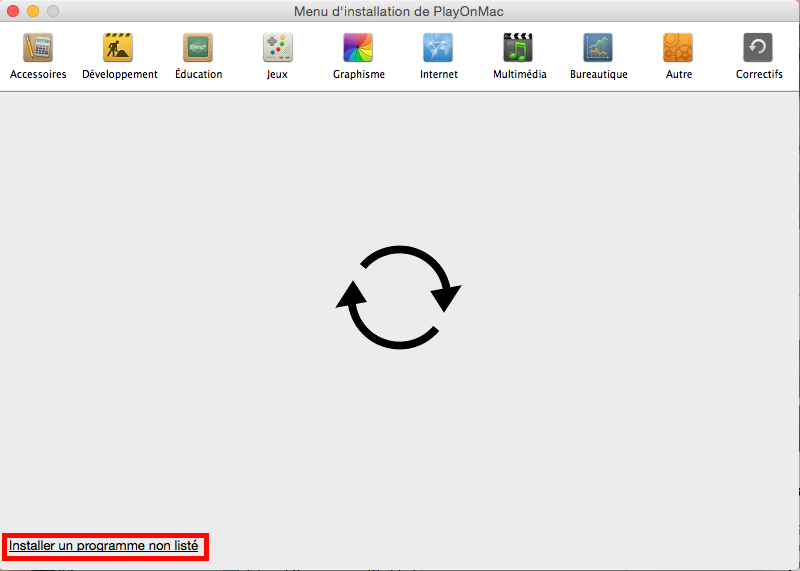
Skip the first panels and if you don’t want to see them again, remember to check the box at the bottom left.
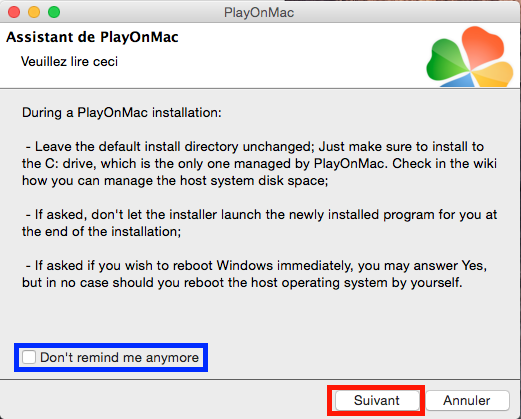
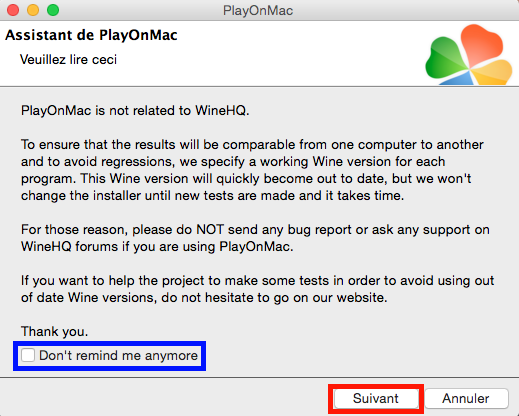
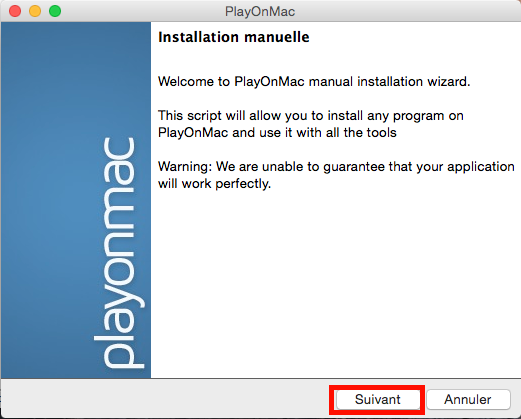
The installation begins and it will largely be manual.
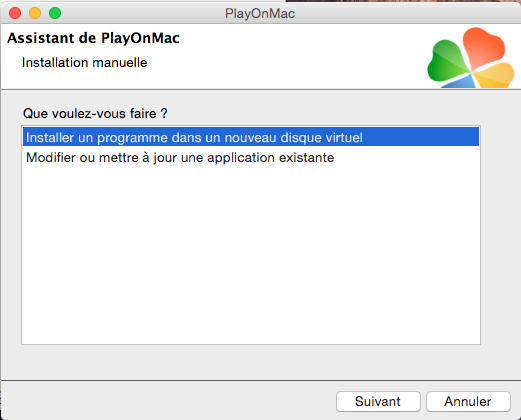
Let’s choose the first option, which will allow us to generate a virtual hard drive and install our program.
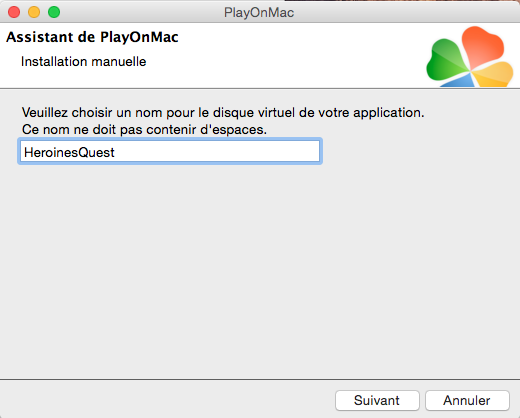
Then, give an explicit name to this virtual disk.
Before installation, you will be offered some options such as installing specific libraries like DirectX or other third-party programs, if your executable requires them. Here, we will choose our version of Wine and configure it.
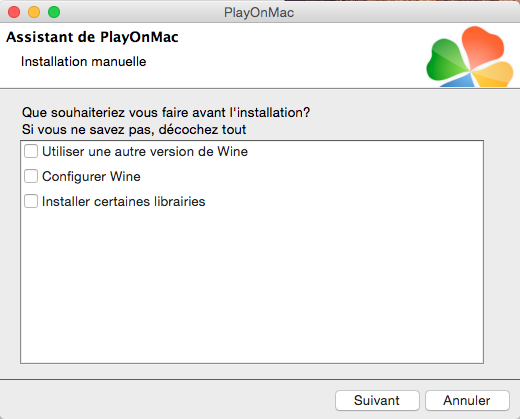
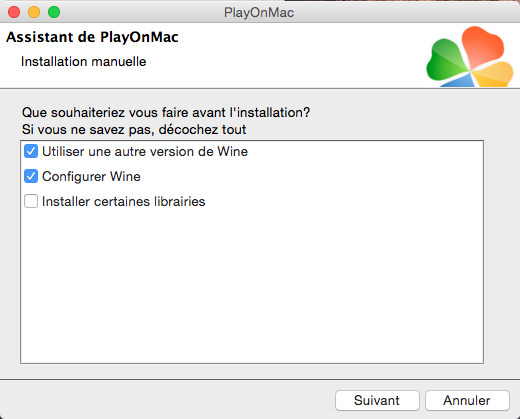
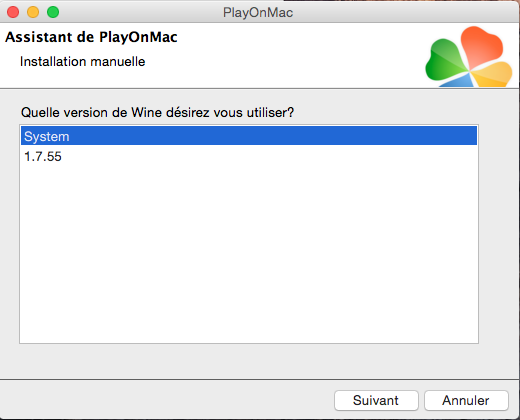
If we chose to modify the Wine version, it means the one we compiled and previously installed on our system is more up-to-date than the one included in PlayOnMac.
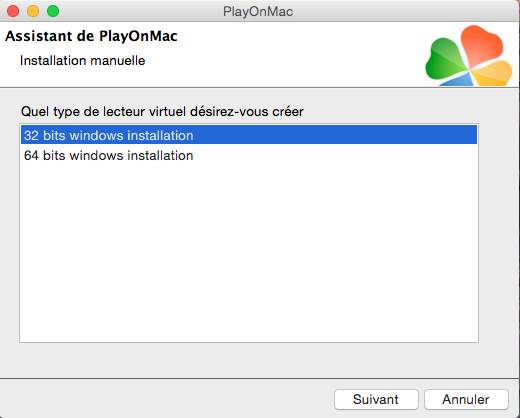
Since we have not compiled Wine for 64-bit nor installed a 64-bit package available on the official Wine website, and our program does not require such architecture, we will select 32-bit.
To simulate the .NET Framework, you will be prompted to install Mono via the site. This may be mandatory depending on the installed programs (or you will need to install Microsoft’s framework instead).
In our specific case, we proceed.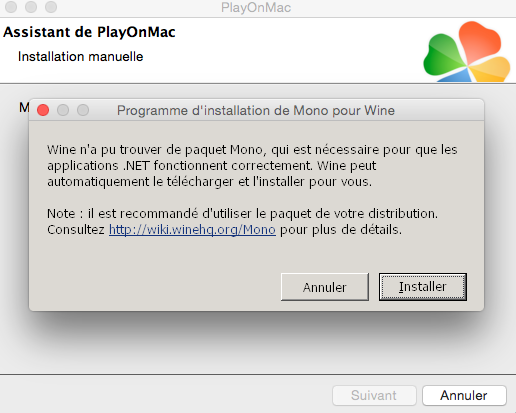
The creation of the disk is completed.
Once finished, as we decided to configure Wine, a window that you may already be familiar with—if you followed the tutorial from the beginning—appears. It will allow you to manage drives and also the Windows version, as shown above.
After this step, we need to select our installation file.
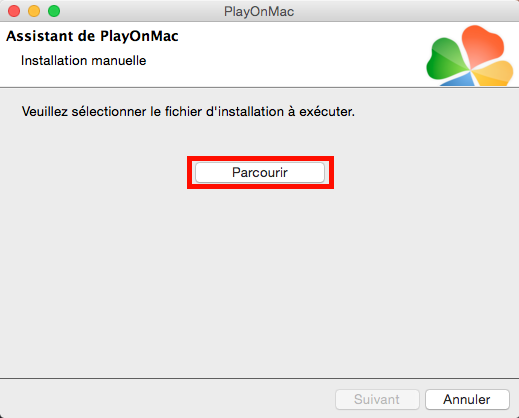
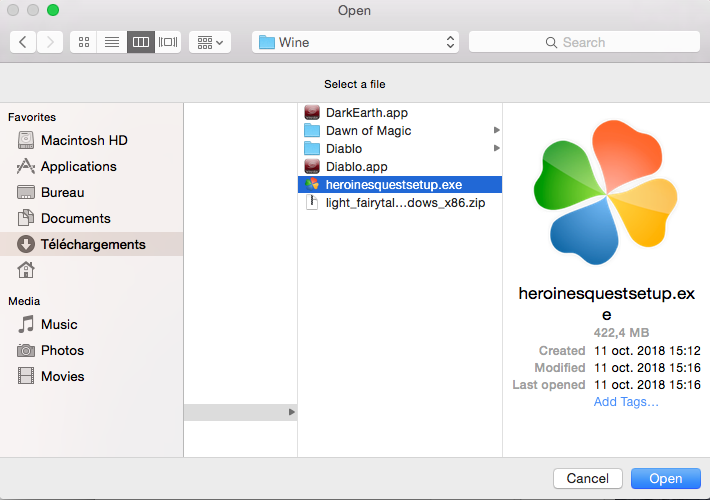
Then we proceed normally.
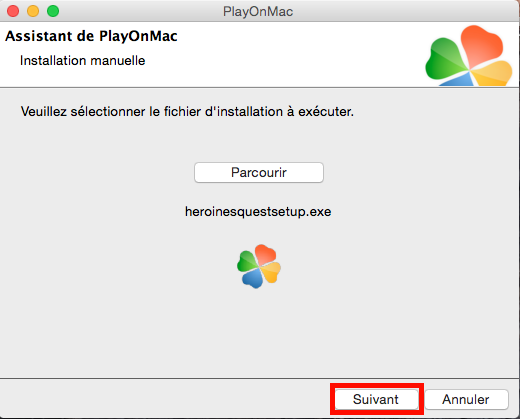
The installation begins, and we will follow the steps as if we were on Windows.
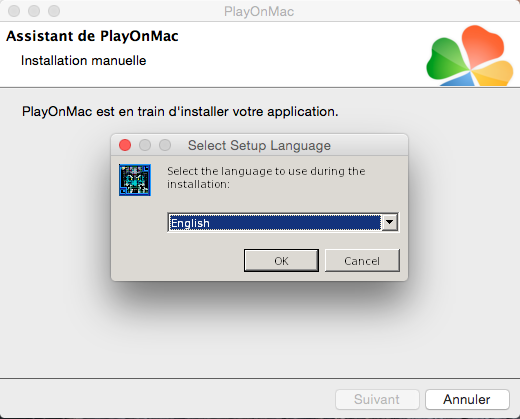
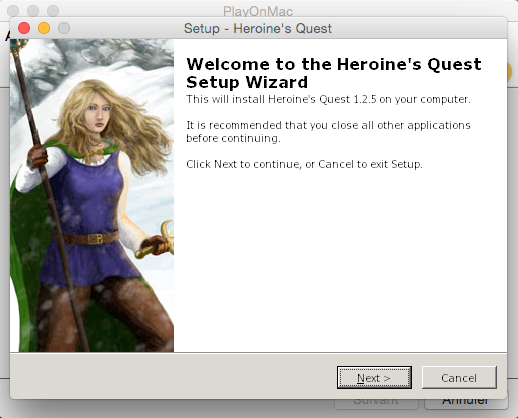
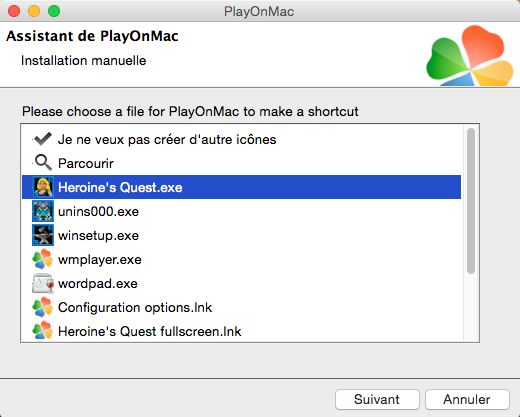
At the end of the installation, PlayOnMac takes over, and will ask you to specify the executable of the program to launch.
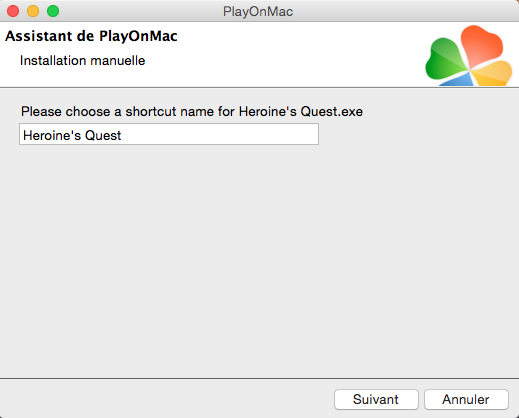
It will also ask for the name of the shortcut it will create on your desktop (which I personally remove).
It will again request an executable to launch to create a new shortcut.
Once all the useful executables have been selected one by one, you can indicate that there are no more new ones.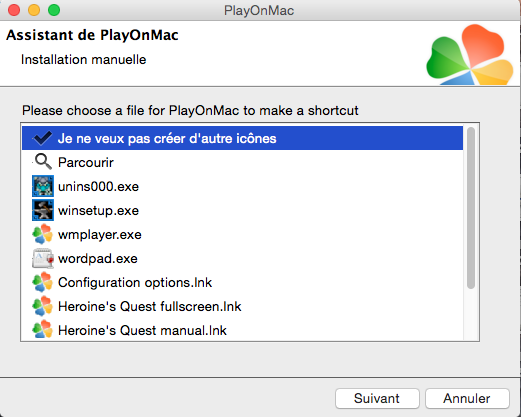
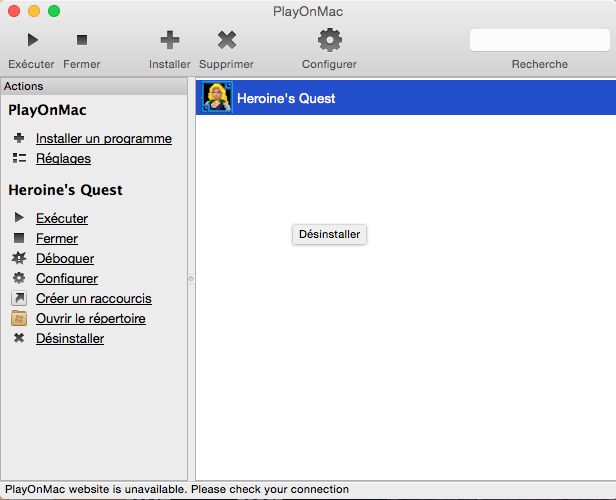
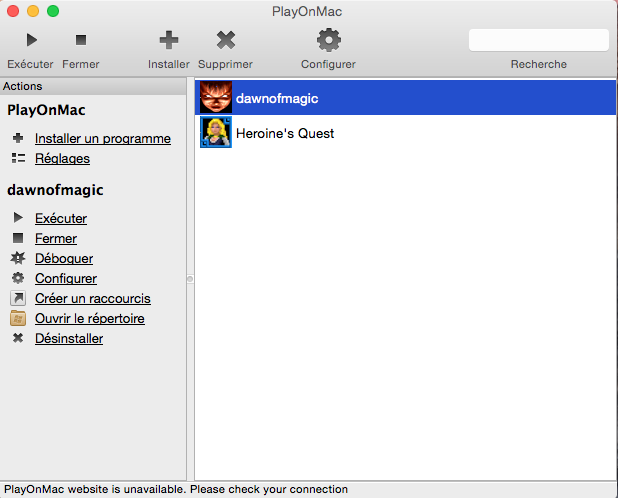
You will then return to the main page of PlayOnMac with your application ready for execution.
Optical Drive Installation
Let's proceed with the installation via CD-ROM and mount our Dawn of Magic CD. Follow the same steps as before with PlayOnMac.
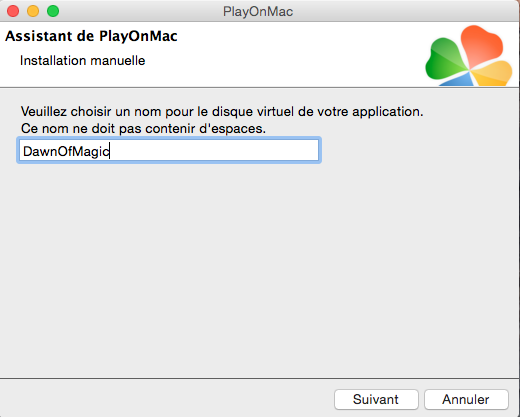
Choose your Dawn of Magic CD-ROM.
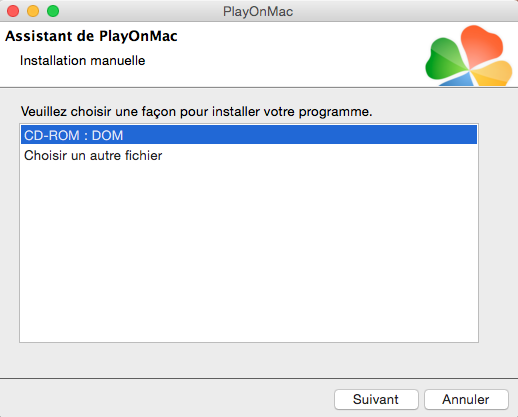
The installation program will then launch automatically.
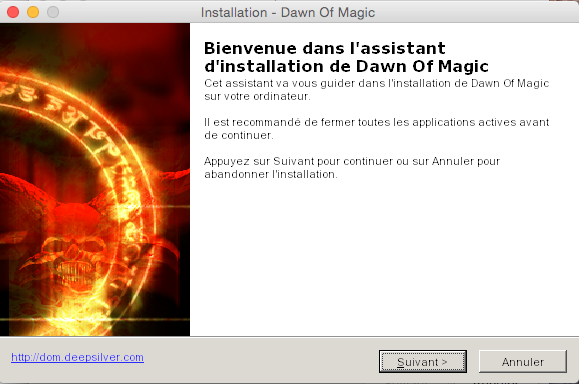
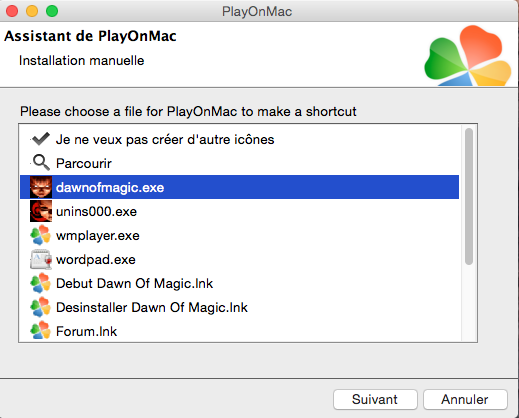
Once again, specify your executable.
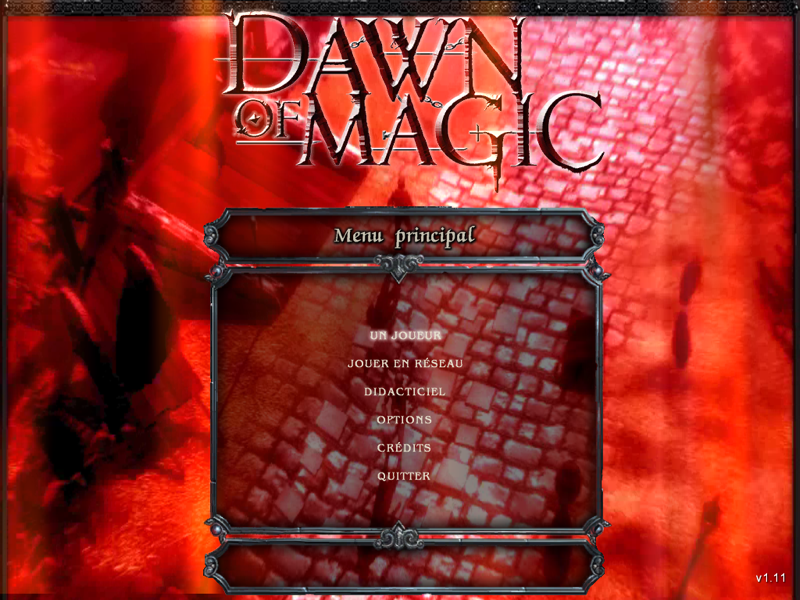
Here is your ready-to-use game.
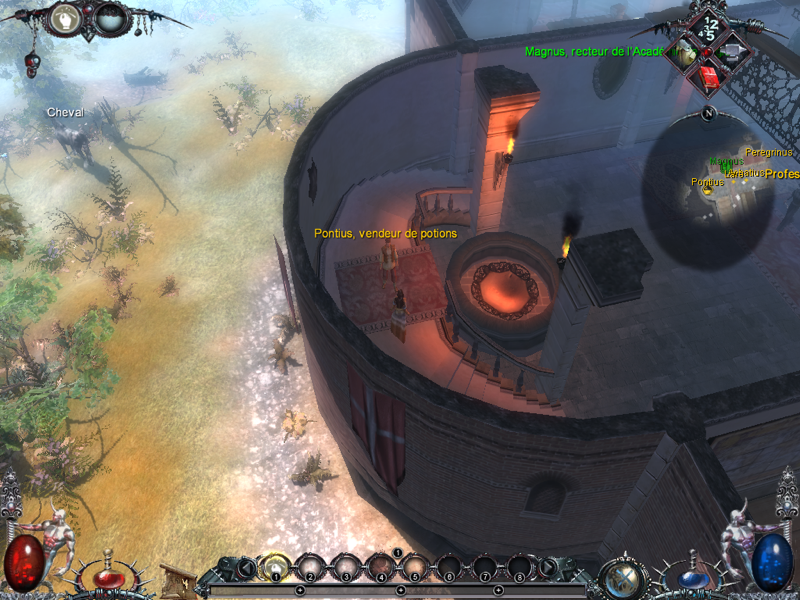
Manual Installation
In reality, the most "complicated" thing with PlayOnMac might be creating a virtual disk with a program that doesn’t need to be installed. To do this, we will use the demo of Light Fairytale.
Let's start by opening the control panel where we will find our existing virtual disks and ask to create a new one via the button bearing the same name.
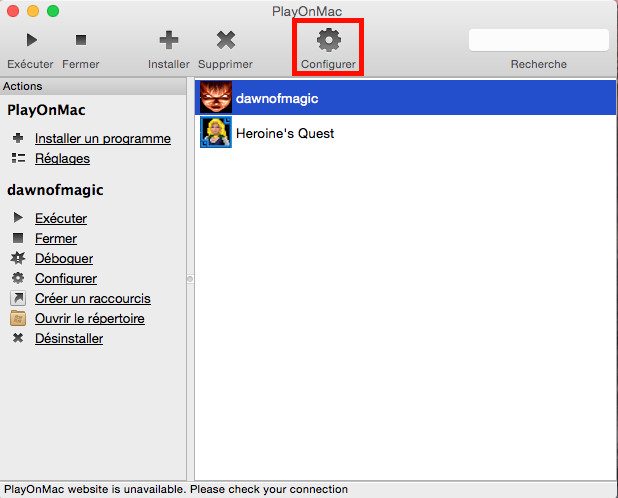
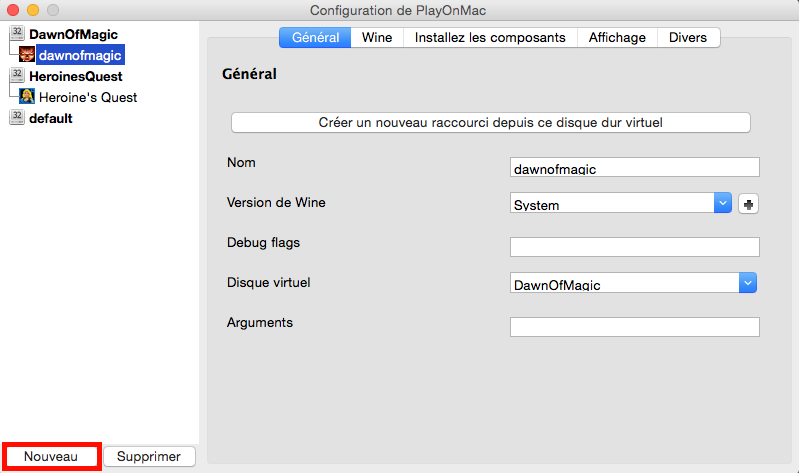
The same steps as before follow, with fewer steps this time.
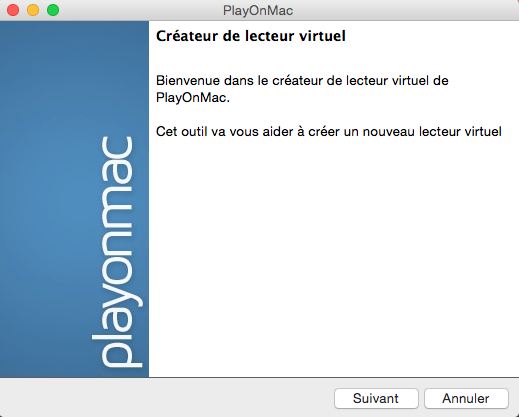
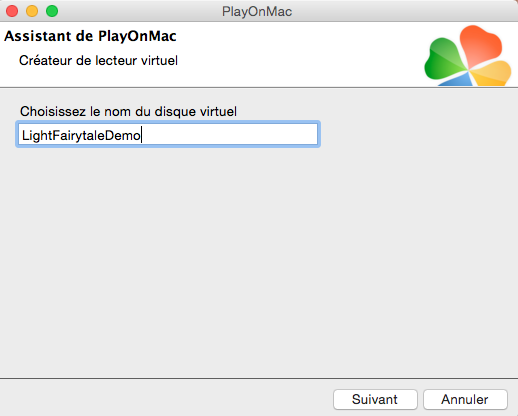
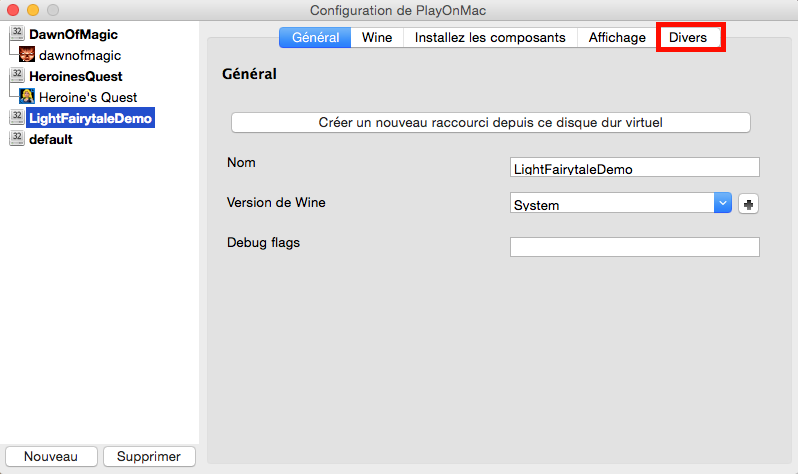
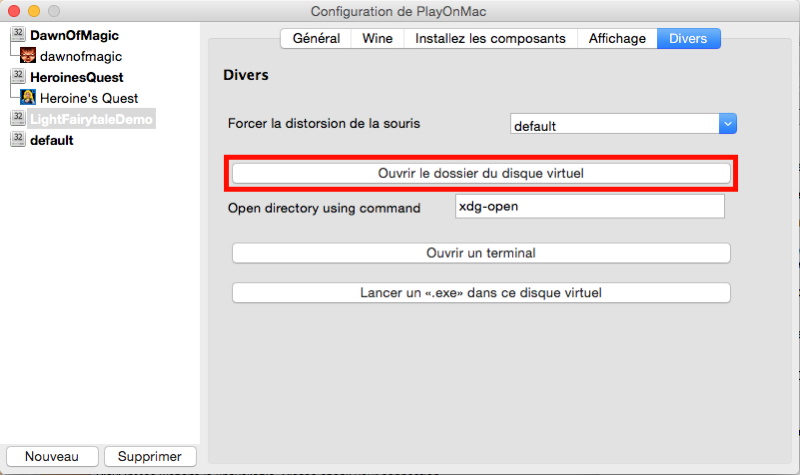
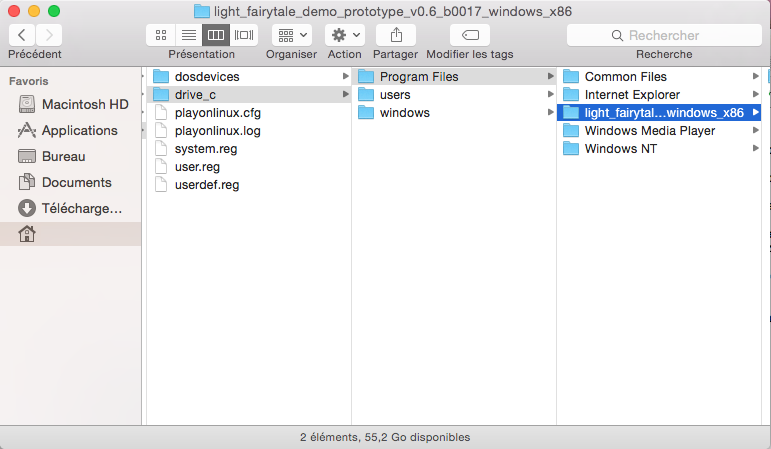
Our hard drive is ready; we need to copy our Light Fairytale demo folder onto it. To do this, click on the "Miscellaneous" tab, then click the "Open the virtual disk folder" button. Note the path of this folder for later.
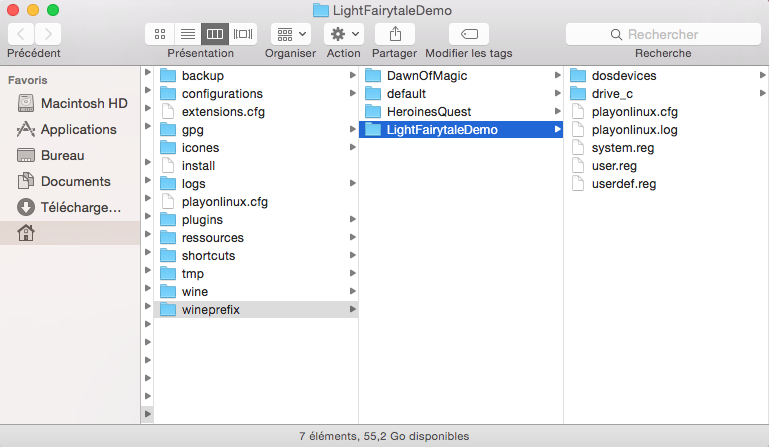
In the "Program Files" folder included in the "drive_c" folder, copy the complete demo folder there.
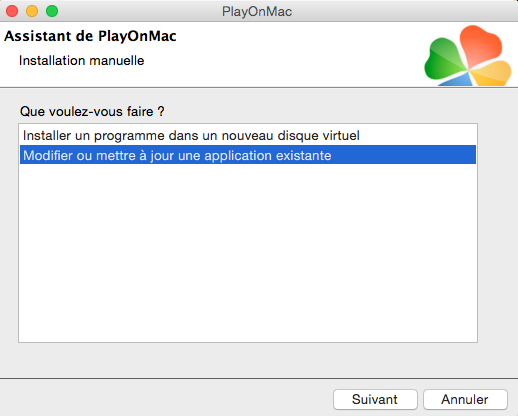
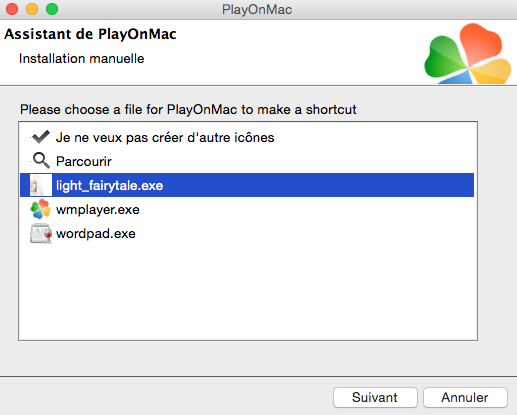
Return to the main window of PlayOnMac and perform a new installation, except this time choose the second mode, namely "Modify or update an existing application".
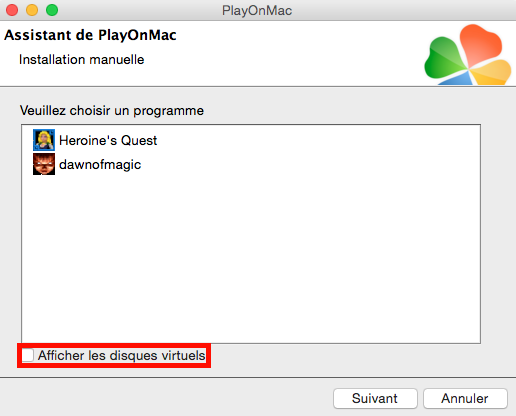
Your disk doesn't appear? Simply click on the checkbox at the bottom left to display it and then select it.
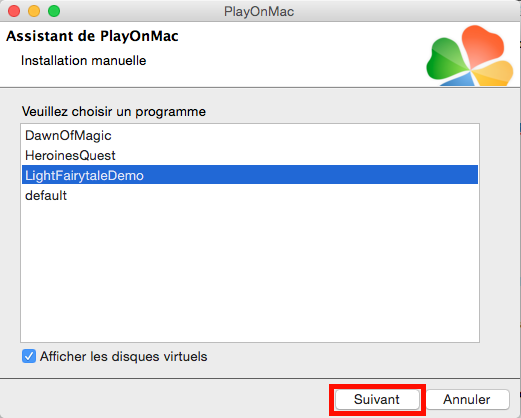
Continue with the steps one by one as before.
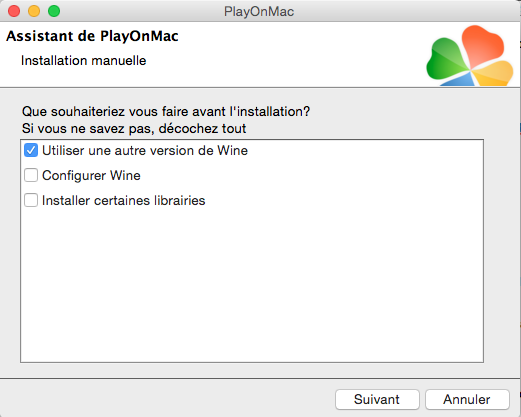
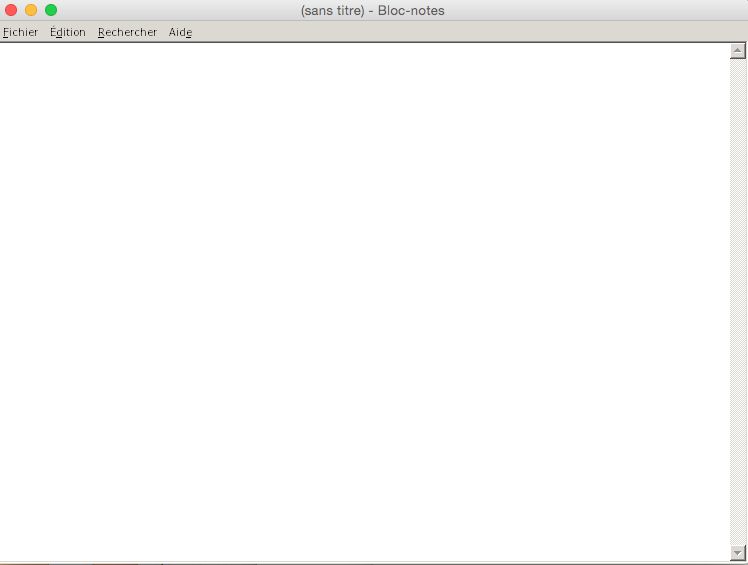
When the installation or update program is requested, choose notepad.exe.
This is located in the Windows folder of the virtual disk directory you noted earlier.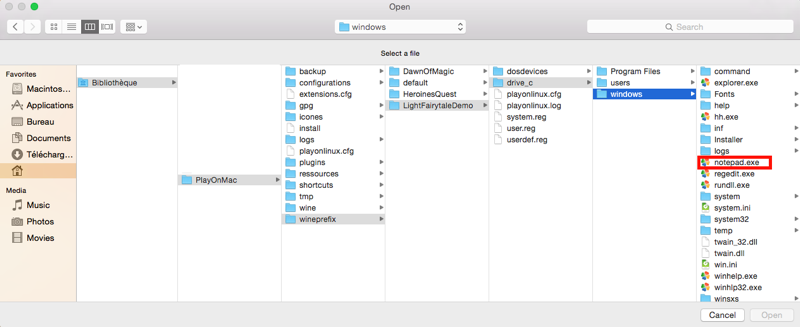
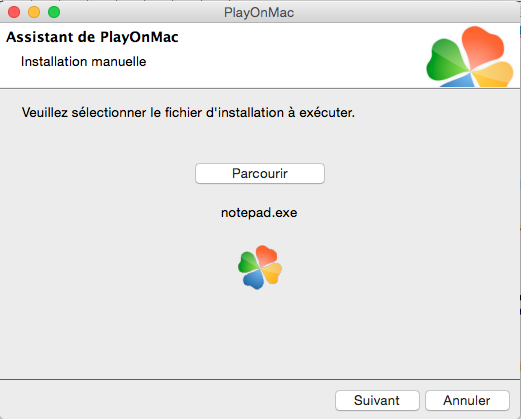
Notepad launches, we just need to exit it via the File menu.
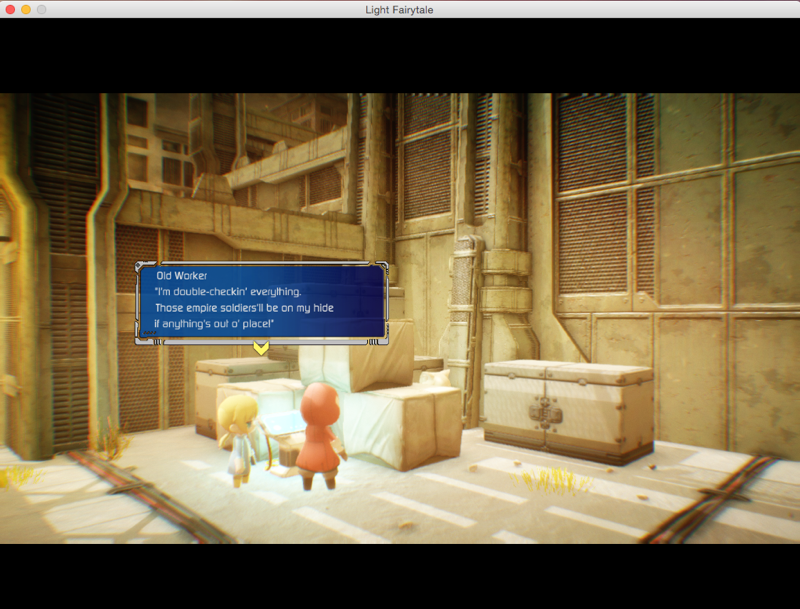
All that remains is to choose your program and launch the game.
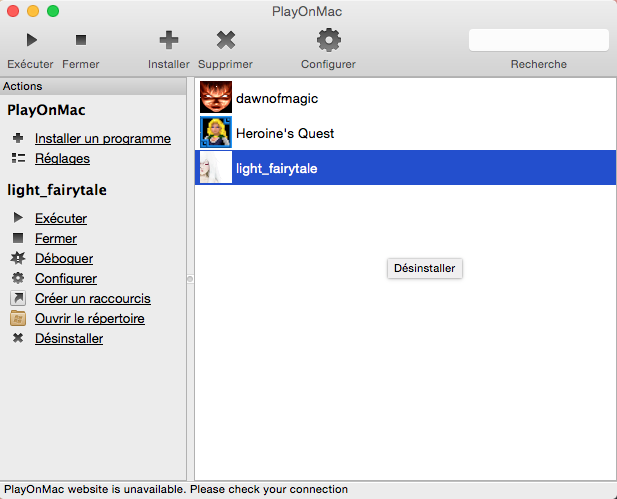
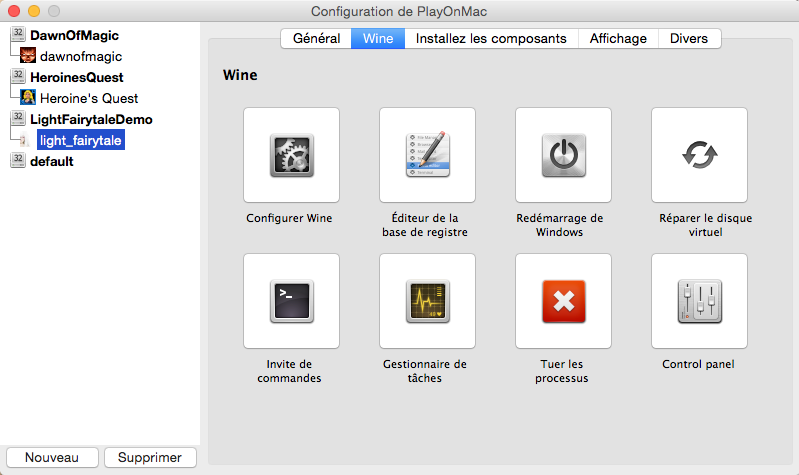
To go further, you will surely notice that the Control Panel allows you to monitor your program under Wine, edit the registry, install components, manage display, etc.
CrossOver
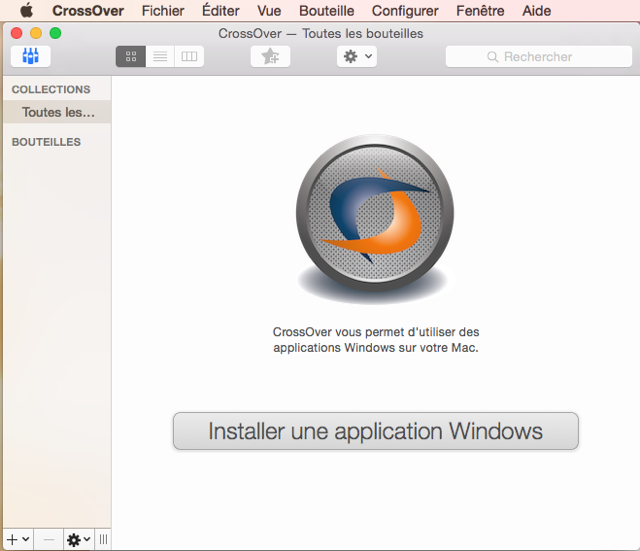
We conclude with CrossOver, whose existence we mention. It is based on Wine and is paid with support and updates. Still, it actively contributes to Wine development. Its usage is similar to PlayOnMac, but unlike the others, CrossOver includes 64-bit builds of Wine.
In summary
While Wine is an excellent alternative to traditional virtual machines that require a lot of resources, it is not a guaranteed Windows alternative. However, it supports more and more applications. So, if not all programs—especially those relying on certain libraries—are compatible, Wine remains a good free choice. Now it's up to you to enjoy Windows applications on your Macintosh.
Related software
Reply on the forum
A question or a hands-on report? Open the discussion on the forum.