Beginner’s Guide to Emulation on macOS
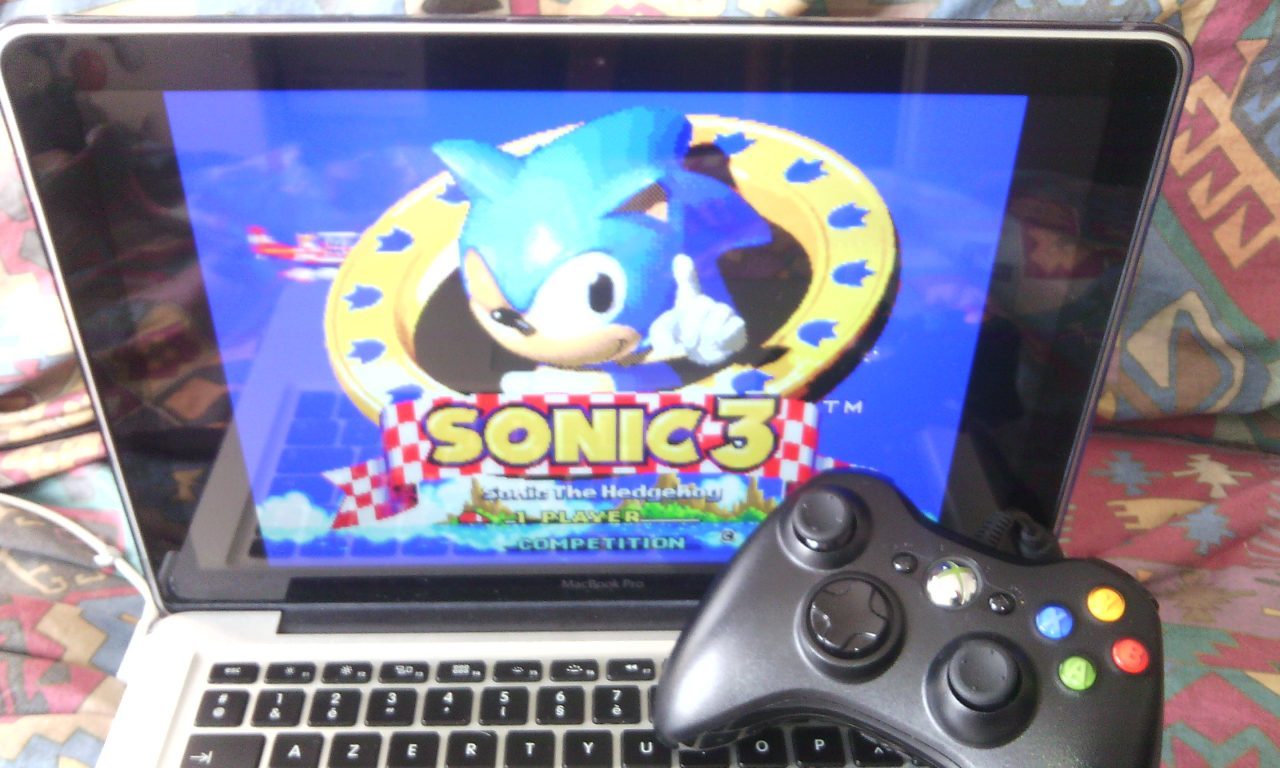
If this guide was created using a MacBook Pro with an Intel processor running Yosemite, or macOS 10.10, the methodology remains very similar even for users of Mac OS X running on PowerPC G3, G4, or G5 processors, and especially for ARM64 Macs. You will simply need to retrieve versions of the emulators compatible with your architecture. For users of Mac OS versions prior to OS X, refer to the dedicated article.

There are several types of emulators, to the point that some have abandoned this terminology to call themselves virtualizers or interpreters. Since that is not the focus of this guide, we will keep the terms "emulation" and "emulators" for all. If you would like to learn a bit more about the history of emulation, we invite you to read our article. In essence, an emulator is a program that allows understanding an original file and executing it on the host platform as if it were running on the target machine. In short, if the application Snes9X is the emulator and the file Zelda.smc is the original game ROM for "The Legend of Zelda: A Link to the Past", by launching the Snes9X application on your Mac and asking it to open the file Zelda.smc, you will be able to play The Legend of Zelda: A Link to the Past on your Mac, as on a Super Nintendo (almost).
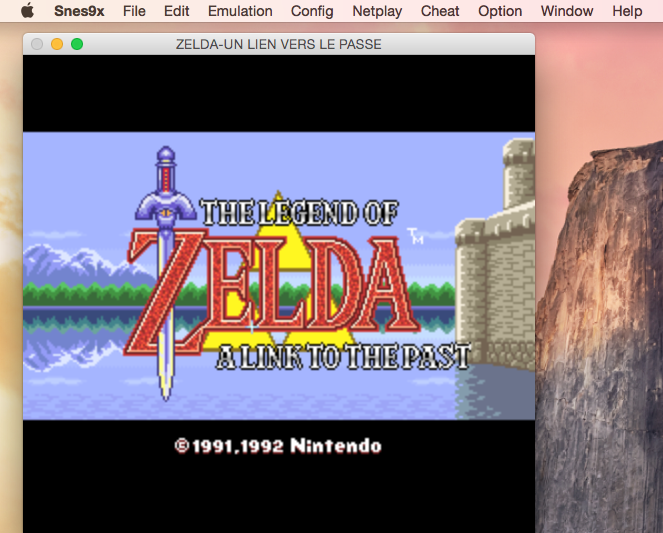
Emulation is as simple as that in principle. You just need to provide the emulator with the original files so it can execute them on your Mac. However, there are often some differences between theory and practice.
In short, for most emulators handling old consoles, the process will proceed as previously described, but for more complex machines or microcomputers, you will often need to retrieve specific files, create them from scratch, modify configuration files, or even type commands in a terminal.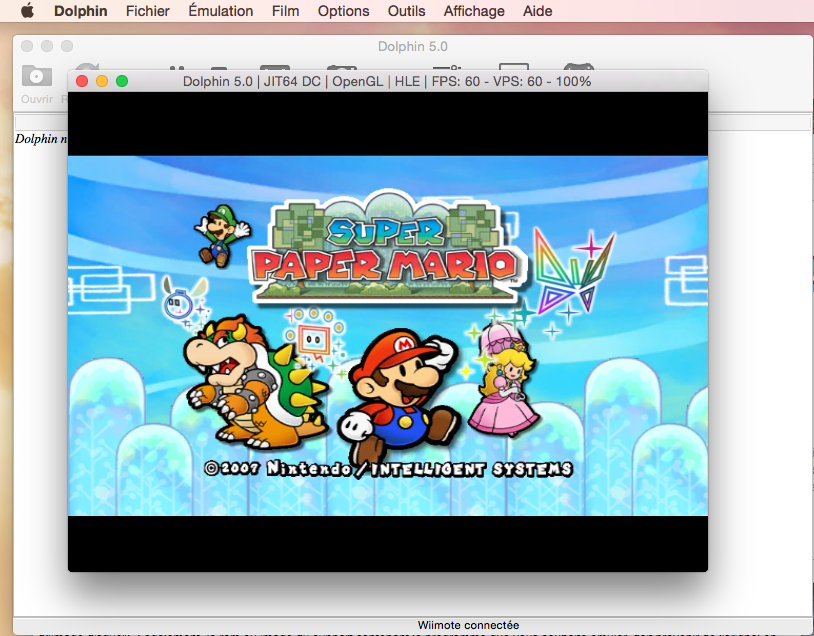
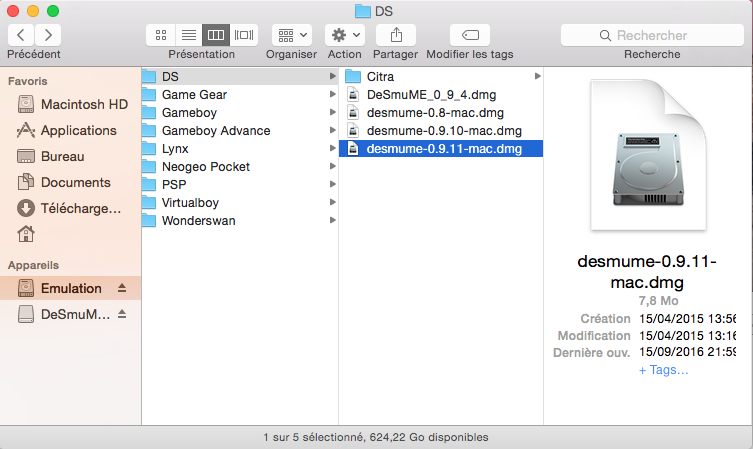
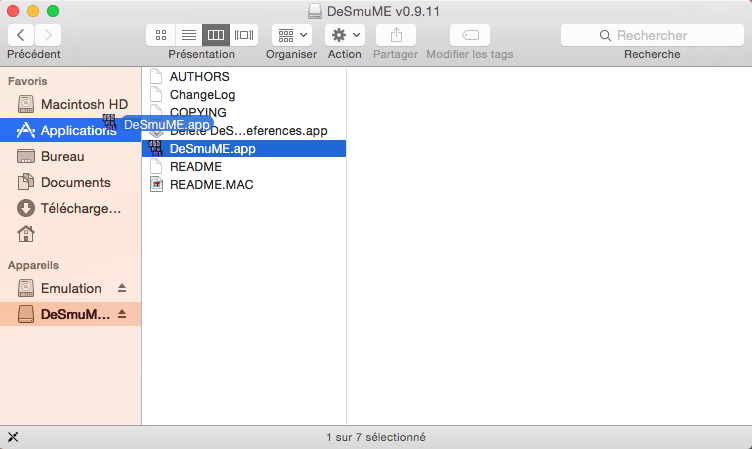
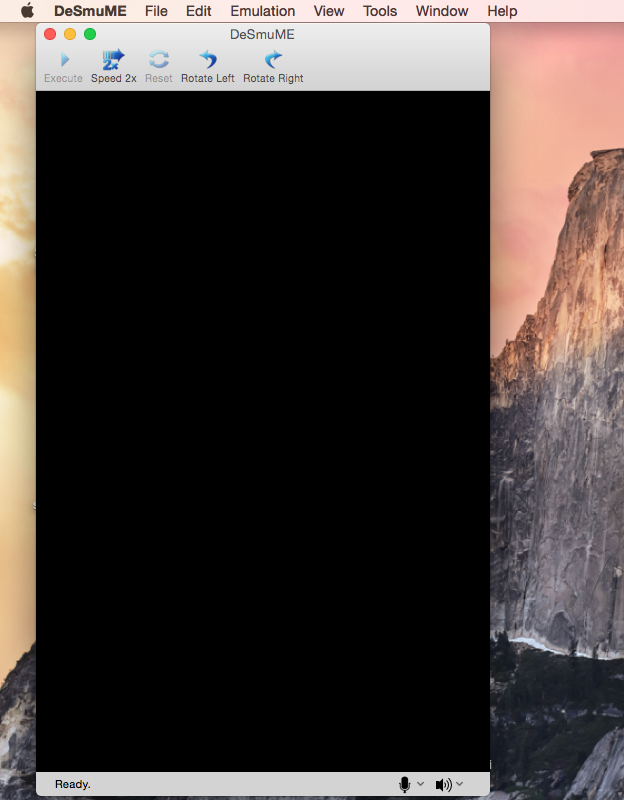
To achieve this, you often need a burner and the appropriate software for optical discs, but when it comes to cartridges, the software is usually only compatible with a Windows system and often requires specific hardware, which is generally expensive, if it is even available, not to mention the need for the original machine. As you may have understood, creating images is more or less easy depending on the protection of the medium, but for cartridges, you sometimes have to spend money to create your own "dump" (recovering the original data to create a digital file). This can quickly become very complex, even though it is simply a matter of making a personal copy of your property. That is why there are so many different "roms" circulating on the Internet and why there is a certain tolerance for owning a rom as long as you have the original on the same medium (having the "rom" for NES of Metroid if you own the NES cartridge). However, tolerance does not mean legality: if you own the original game for the same medium as the rom you downloaded, you are still breaking the law. Once this important point is understood, retrieve your game rom by whatever means you choose. As for us, we'll be using Children of Mana.
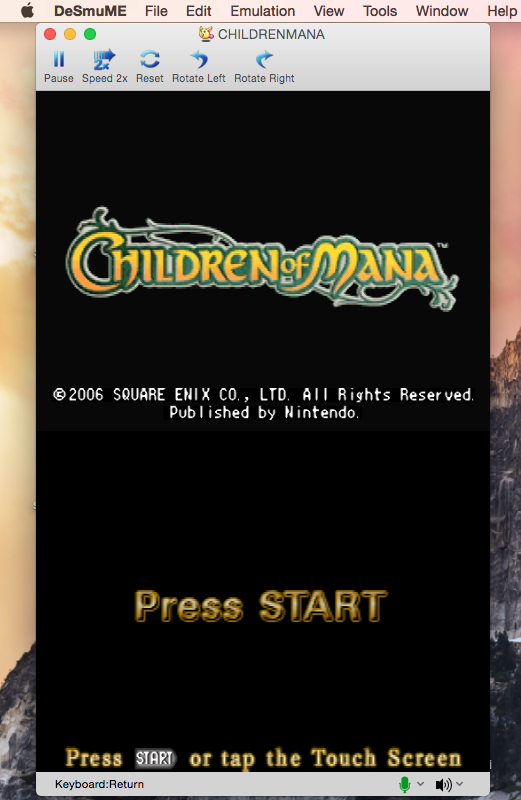
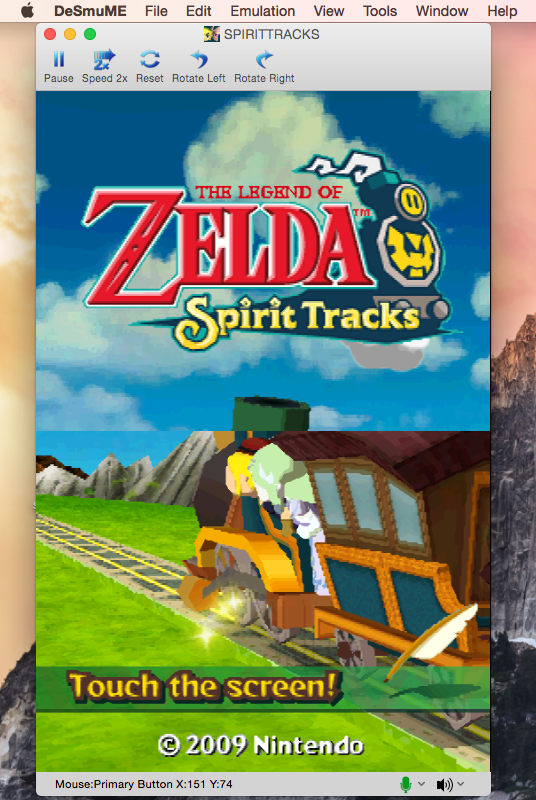
Starting the game is simple: from the "File" menu, click on "Load ROM..." (Open/Load file/game), then select your file and click on "Open" (Open).
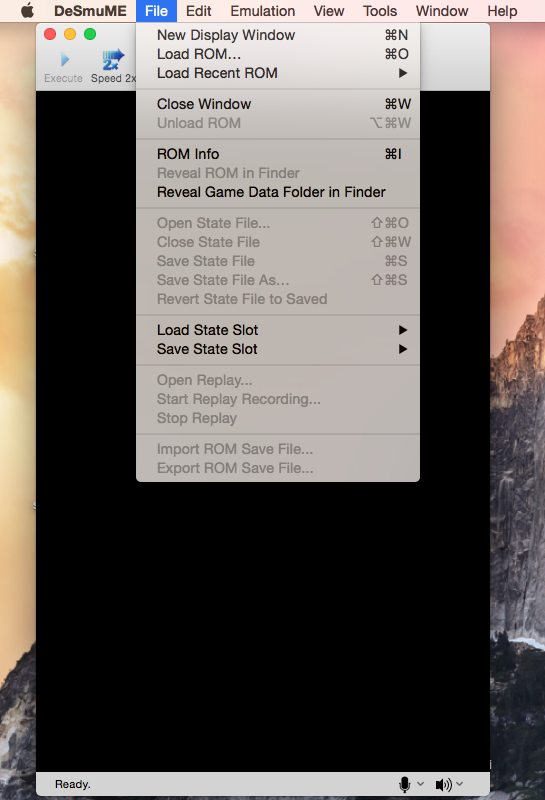
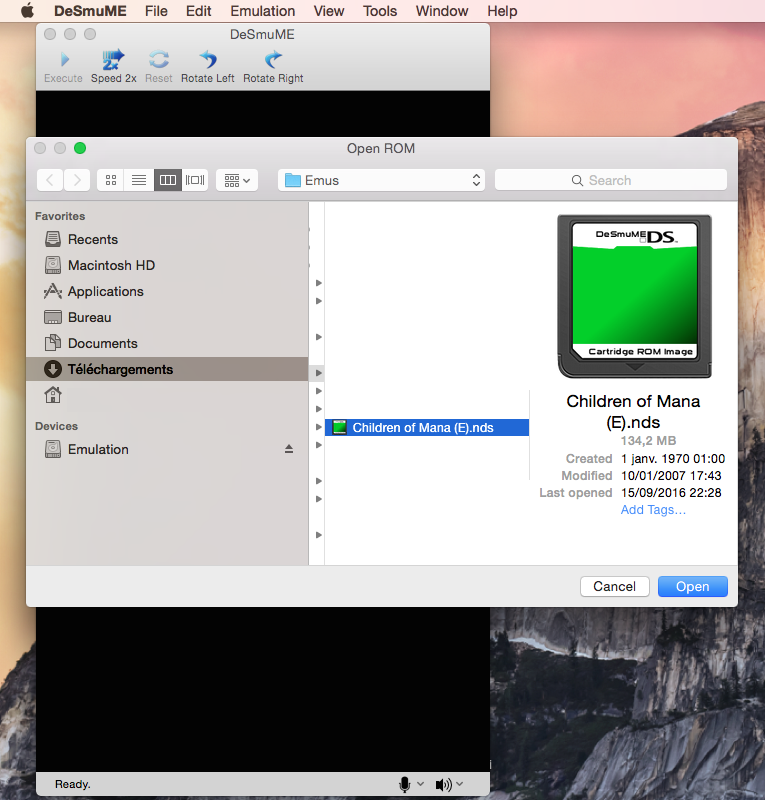
The game launches, but you might wonder which keys are useful in front of your keyboard.
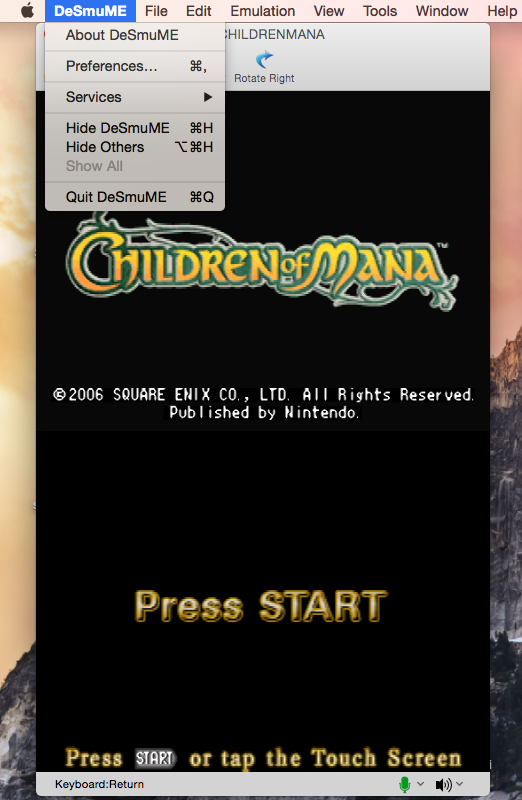
To do this, click on "DeSmuME" then "Preferences".
A window with options appears.
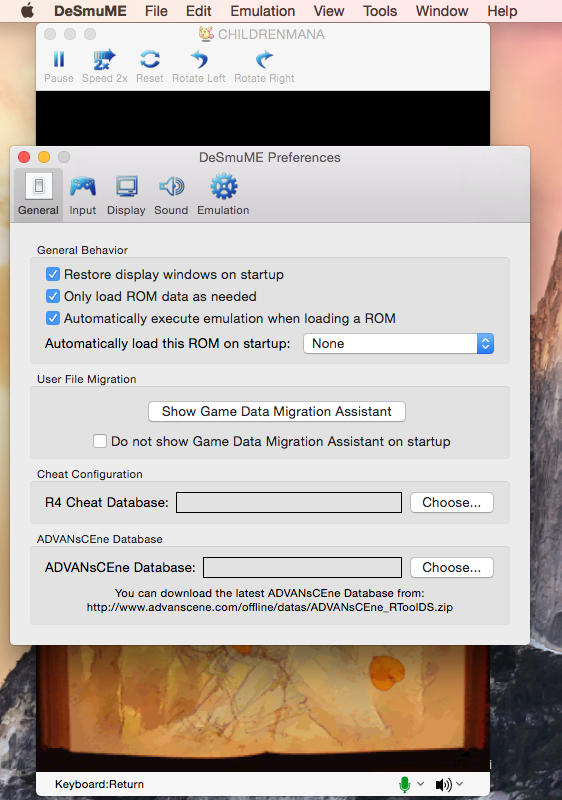
Click on the controller icon labeled "input" (input).
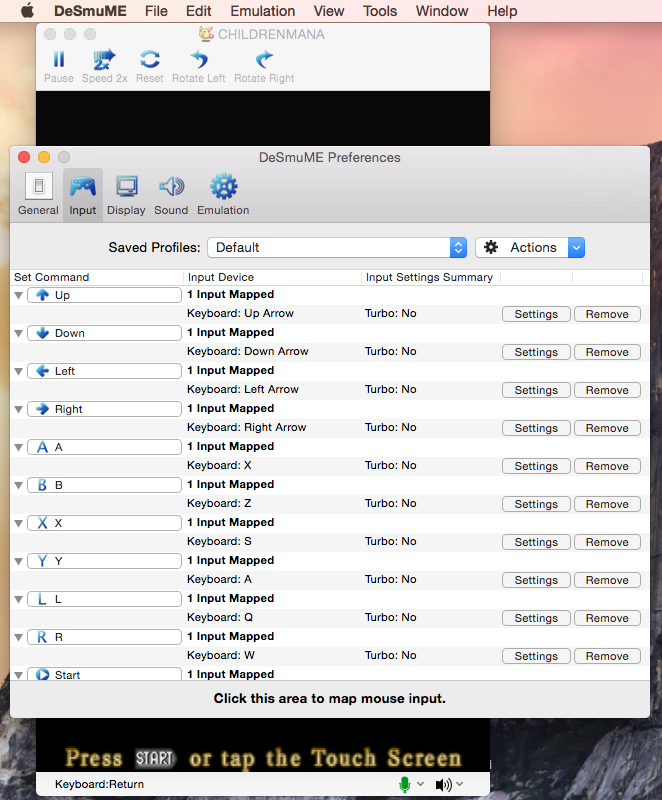
The keys on your keyboard that correspond to the original Nintendo DS controller buttons are described here. Note that some emulators recognize connected game controllers on your Mac, or utilities allow you to do so.
Generally, you can change the keyboard keys. Here, modifying the keys is quite complex, but for other emulators, you will simply need to click on the emulated controller button, either its name as shown here or its graphical representation, then press the keyboard key that corresponds to that button.
Other options are of course available depending on the emulators; in addition to controller configuration, you can modify the sound and display settings.
For video settings, click on the television labeled "display" (display).
We can adjust the display size using the "Display Size" parameter (display size) by multiplying or not by 2, 3, 4, and even 5, the image size.
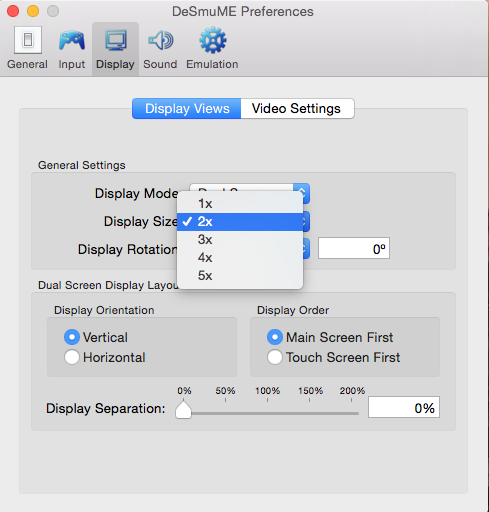
Be careful not to zoom in too much, making the game unreadable. The most interesting part is likely the one labeled "Video Settings" (video settings), allowing you to modify the image quality and filters.
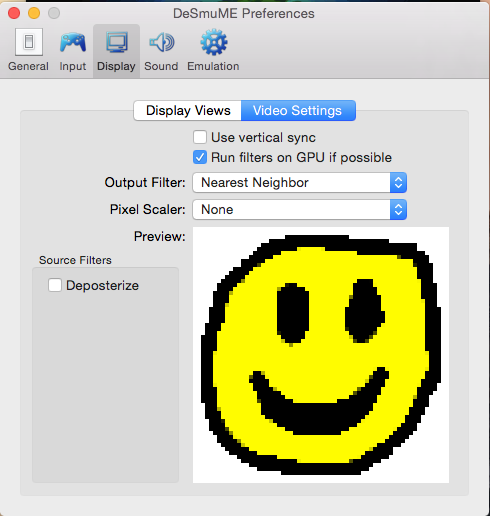
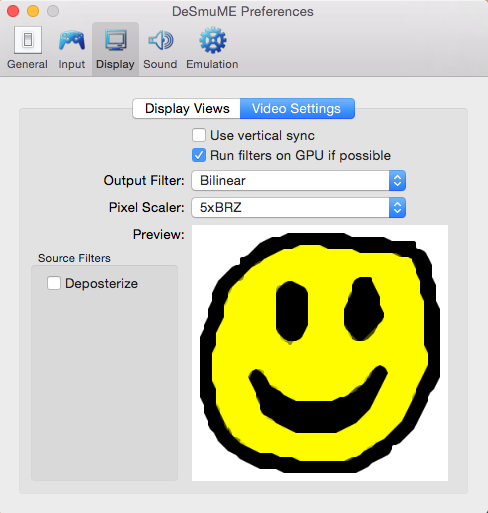
You can thus modify the output filter and pixel rendering algorithms. Feel free to adjust them to your liking to achieve the display that suits you best.
For audio quality, you will need to click on the speaker labeled "sound" (sound). DeSmuME does not offer many options in this panel compared to others. Here, apart from the audio volume, the other parameters are reserved for experienced users. However, for reference, note that some emulators will allow you to output sound in stereo or mono, or change the sampling frequency (8, 11, 22, 44, 48 kHz, etc.).
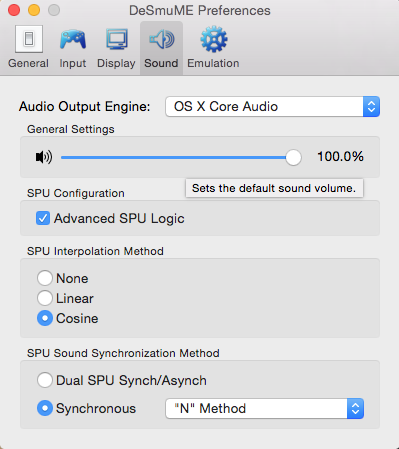
Other options, requiring some experience, exist and may sometimes differ entirely from one emulator to another.
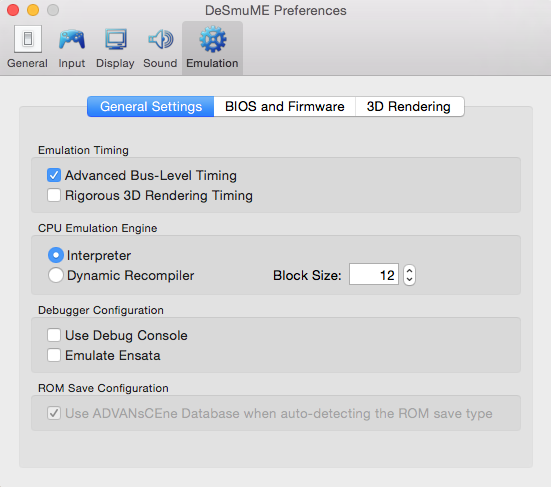
You will often find the "Dynamic Recompiler" or "Dynarec," or "DRC." This option allows you to enable or disable dynamic recompilation. This means that, instead of interpreting the code of the emulated machine, the emulator will take part of this code and translate it into code understandable by the host machine, sometimes allowing optimizations but potentially causing errors.
Enabling or disabling the "dynarec" is often the most tested advanced option in an emulator to improve or not its stability with the desired program.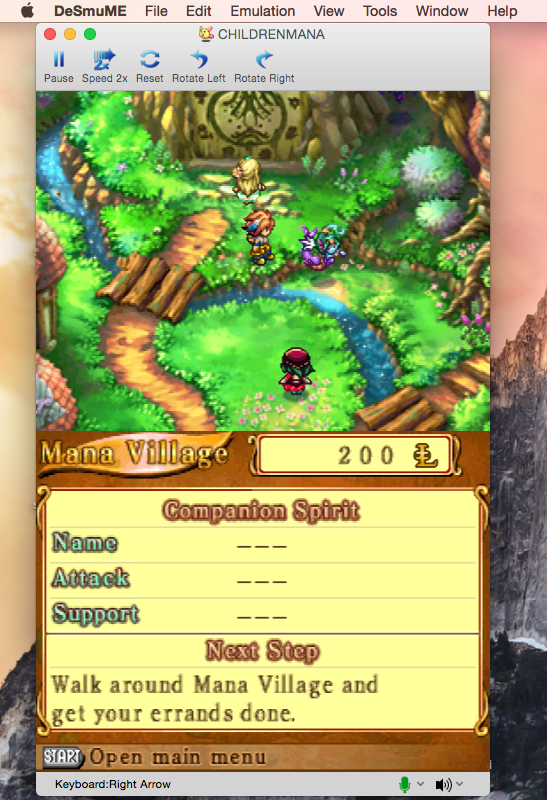
All these modifications can improve comfort, but they may reduce performance or even make the emulator unstable, prone to crashes, for a specific game or in general. However, since the options can be quite varied, some may have the opposite effect. Emulation is far from being an exact science, but certain emulators, more or less historical, are known for their stability and speed, if not their fidelity to the original hardware.
A feature common to most emulators is the save function. Although this feature has existed for a long time, emulation offers the ability to create "state saves," which do not correspond to saving game data to reload it later with the same game as normally done, but rather to saving the complete state of the machine at a specific moment 'T' to return to that same state at any time. This means it is possible to save the game at any point during the session, if the emulator allows it. This option is called "freeze state" (state freeze) and, when provided by the emulator, it is usually limited to a certain number of saves per game, but it can sometimes be unlimited.
In the case of DeSmuME, both options are available.
In the case of the limit to 10 saves, when you want to save, simply go to the "File" menu, then to the submenu "Save State Slot" (save state at location), and choose the number of your save (from 1 to 10).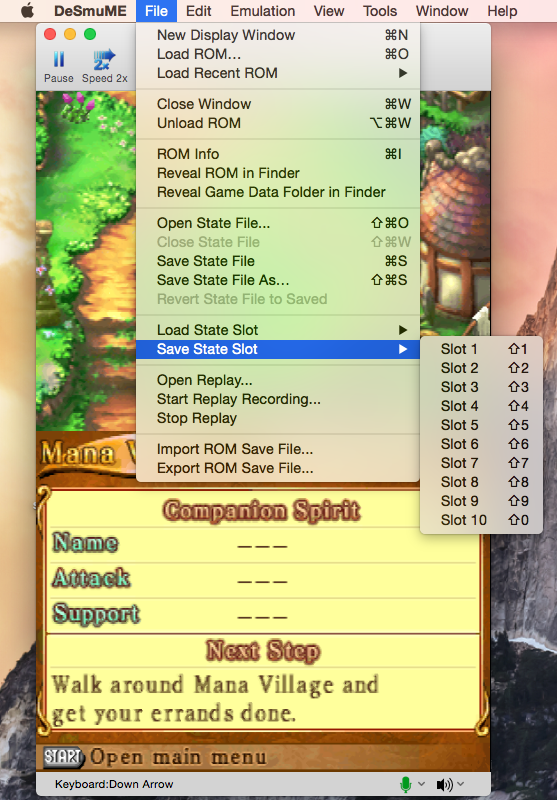
To reload the save, nothing complicated, in the same "File" menu, but the submenu "Load State Slot" (load save at location), choose the corresponding number to the save you want to load.
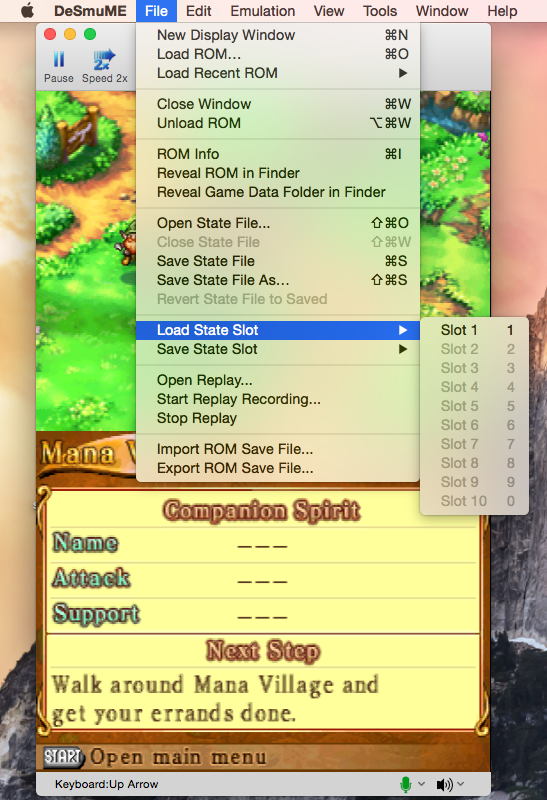
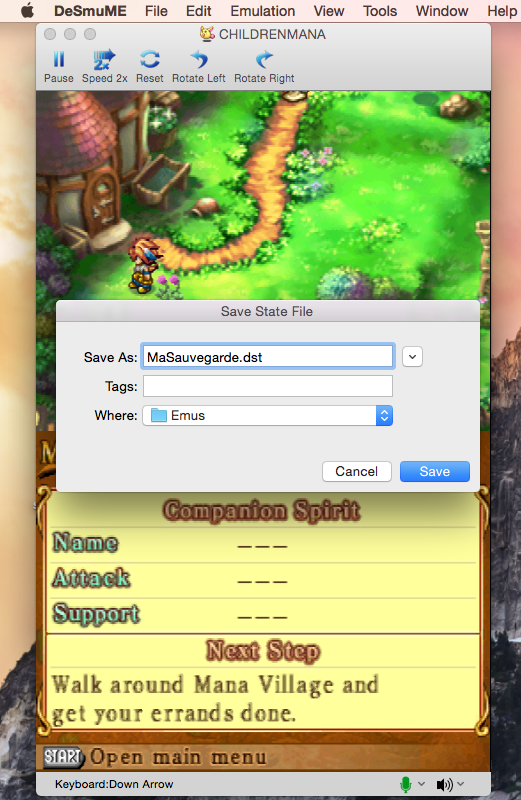
However, in DeSmuME, you are not limited to ten state saves as a simple click on "Save State File" (save state in file) or "Save State File As" (save state in file as), still in the "File" menu, allows you to save a save file wherever you want on your Mac with a chosen name.
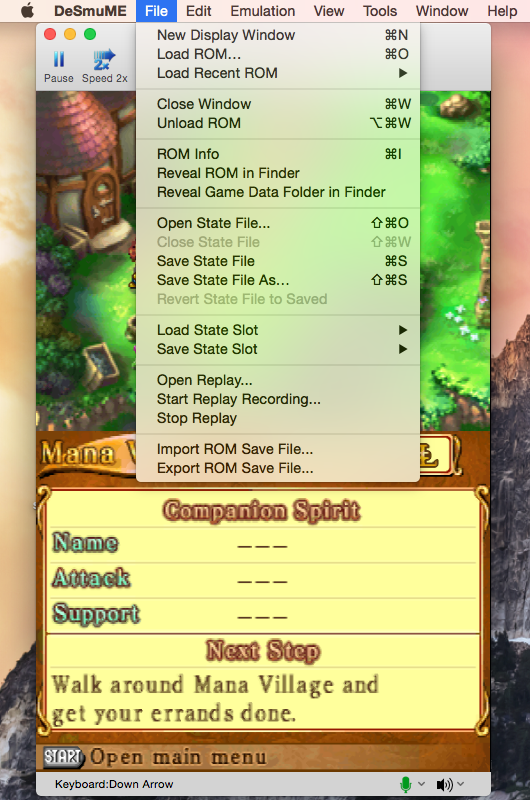
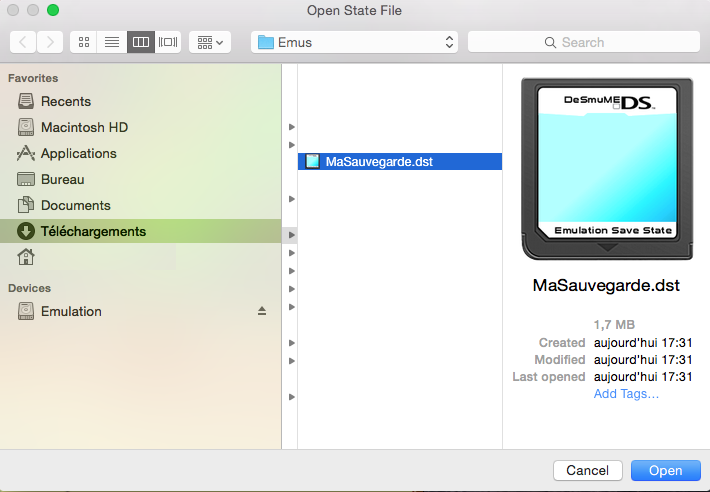
To reload it, always in the "File" menu, you will choose "Open State File..." (open state file) and indicate the save file you want to restore. Note that in some cases, this feature is named freeze/defrost state with "freeze" (freeze) for saving, and "defrost" (thaw) for loading.
Now that we understand the potential of an emulator, let's learn what a "bios" file is with the Sega Saturn emulator Yabause. A "bios" file is what many emulators require to function. It is, like a "rom", a file containing original data from the target machine. Often, this file represents the "firmware" of a microcomputer or even a gaming console. These are data that the machine cannot do without to start up and were often contained in a specific memory chip.
The emulator, which replicates the machine in question, therefore requires this file. Legally, this file must once again be retrieved from your console or microcomputer. This is a very complex task requiring the appropriate hardware. Moreover, it is often recommended to use Japanese or American console BIOS for better compatibility. Needless to say, most users obtain them via the Internet (this is not legal, but often tolerated if you own the original machine).
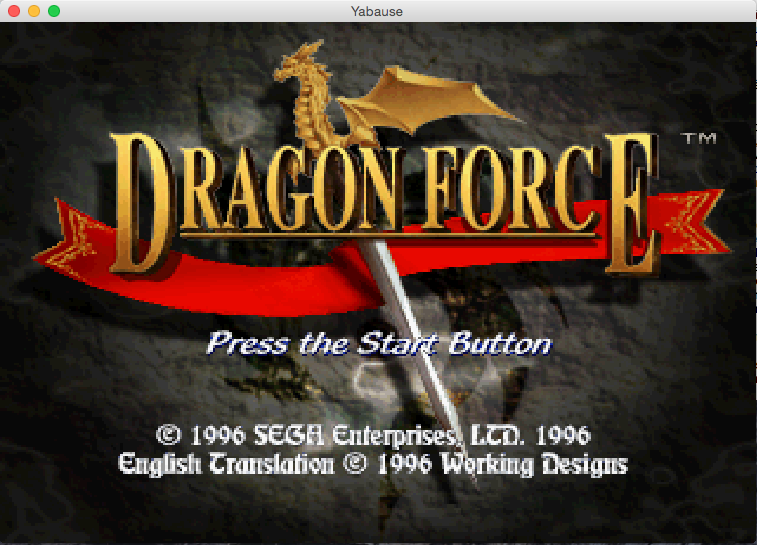
The emulator Yabause is the Sega Saturn emulator we will use.

Note that Yabause, like other emulators of this type, offers a "Run Bios" option (run BIOS) that allows you to check if it is properly recognized. We will quickly notice, through the message displayed below, that this is not the case.
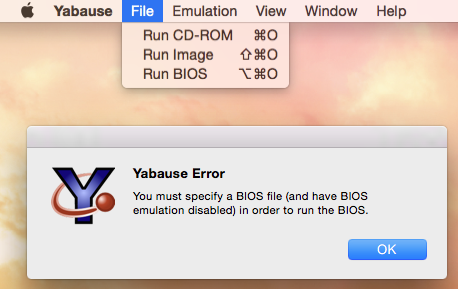
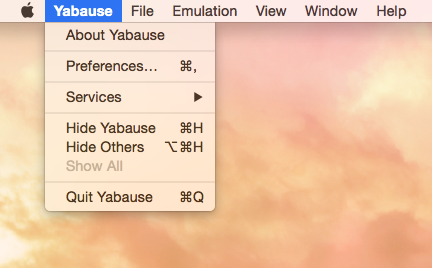
To fix this issue, once the BIOS file has been retrieved, go to the preferences.
We immediately realize that no BIOS file is specified.
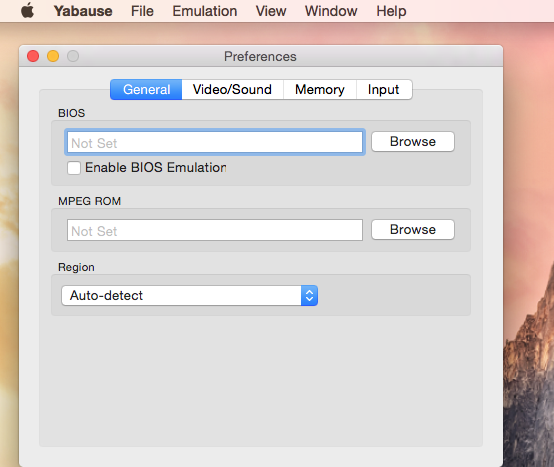
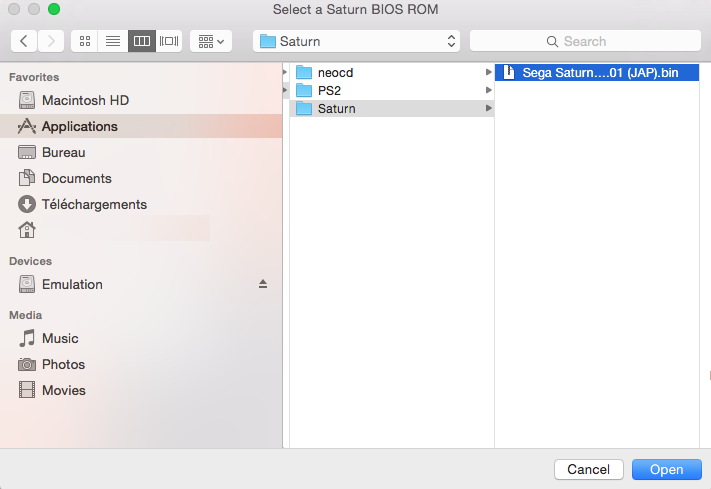
We will do this by clicking on the first "browse" button and indicating the location of the file.
Here is your emulator ready, and you will notice that it offers some options specific to the original machine, such as disk zoning. You can thus accept disks from anywhere, or restrict emulation to games from a specific geographic region.
The MPEG ROM is the file simulating the MPEG decompression card that allowed the console to play VCDs or video CDs, widely used in Asia.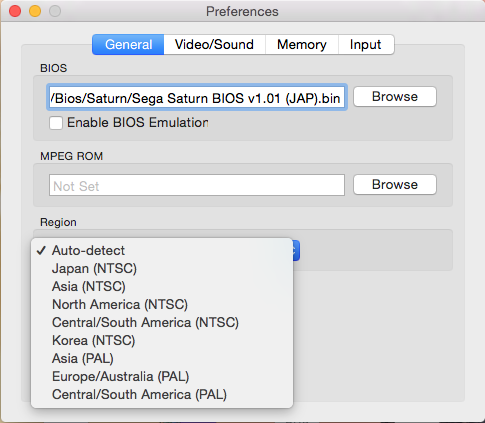
To modify the keys, once again, this is done in the preferences, in the "input" (input) tab.
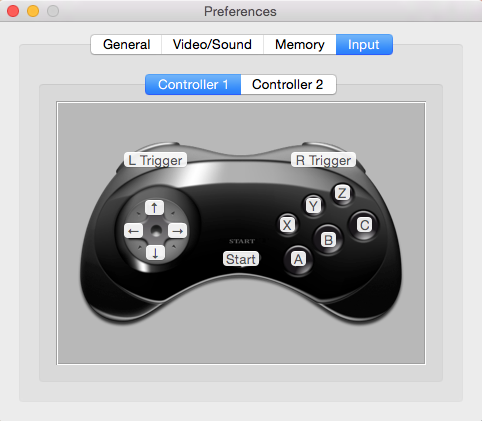
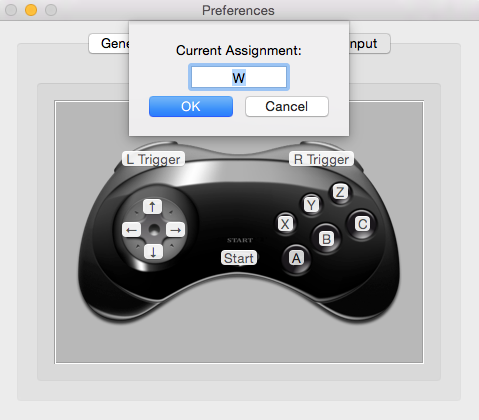
This time, you get the controller image, and to assign a keyboard key to a button, just click on the button shown in the image, then on the key of your Mac that will act as the button. As below, the 'w' key on the Mac will replace the original controller's 'A' button.
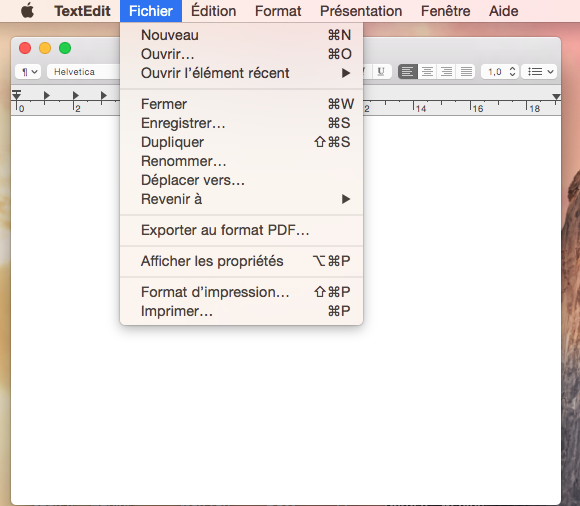
A small extra for Saturn emulator enthusiasts, the memory card. This is essential for saving, and the issue is that you'll have to do it manually. Some emulators offer to create it automatically, but others, like Yabause, will require you to do it yourself. In this case, refer to the online help, usually in English, which often describes the steps. Here it will remain simple as it will only be necessary to open TextEdit and save the blank file.
Here we save it in HTML format, but it should also work with RTF.
We can now exit TextEdit.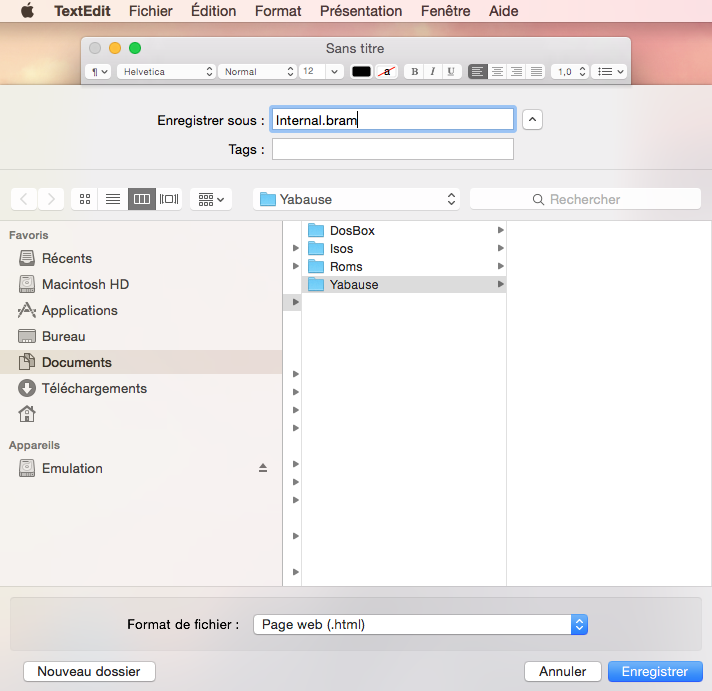
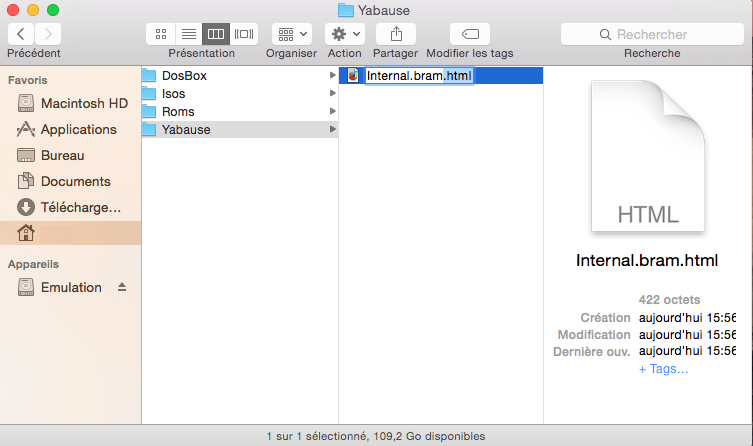
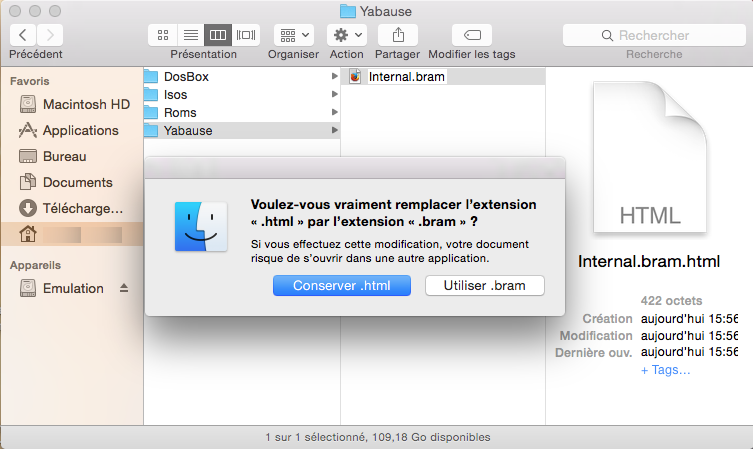
Go to the directory where you saved the file to remove the "html" suffix and keep only the "bram" one, then validate the change.
All that remains is to return to the emulator's preferences, in the "Memory" tab, then click the "Browse" button to specify where your memory card file is located.
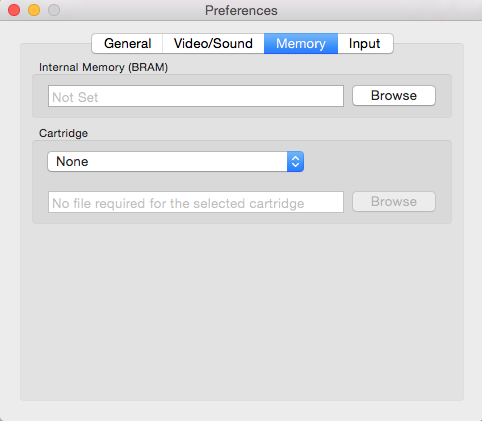
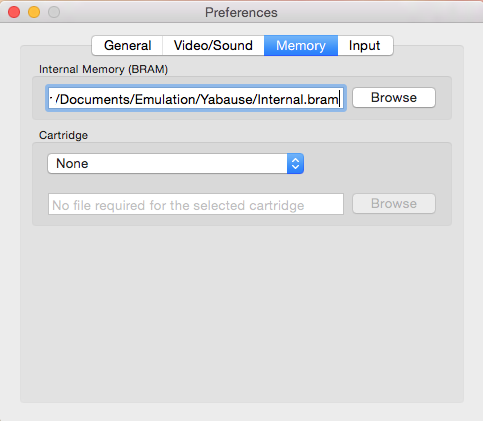
Note that the "Cartridge" section allows you to simulate inserting a cartridge. To simulate the cartridge that adds 4 MB of RAM to the console (DRAM 32 Mbit), you can simply select the option; Yabause will handle the rest. For the action-replay cartridge, you will also need to specify where the file representing the original cartridge dump is located.
Check that the BIOS is properly installed and, at the same time, initialize your memory file.
For this, click on "File" (File), then "Run Bios" (Run BIOS).
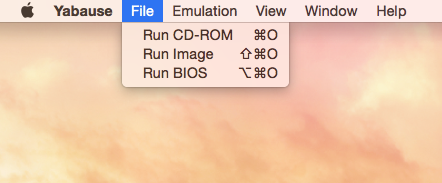
If your BIOS file is correctly recognized, the Sega Saturn logo should appear and your screen should look like the one below.
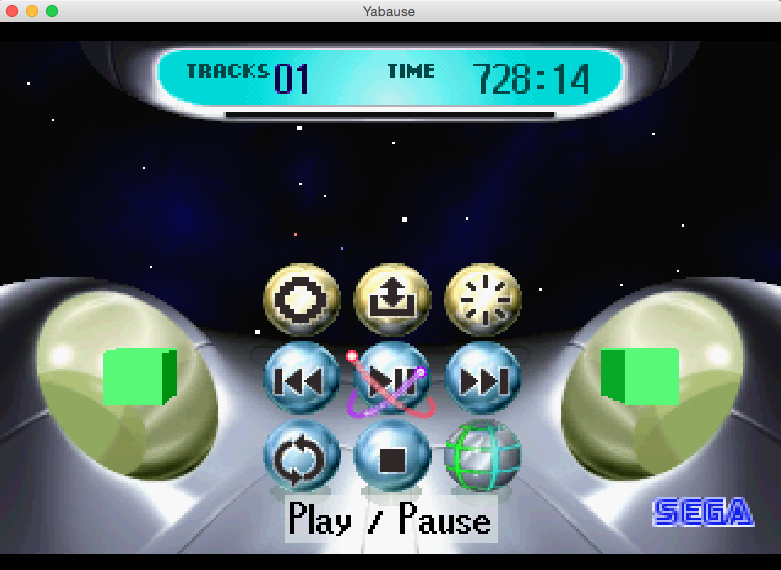
To initialize our memory card, we need to go back one step to select the "Manage Memory" (Memory Management) button in the interface.
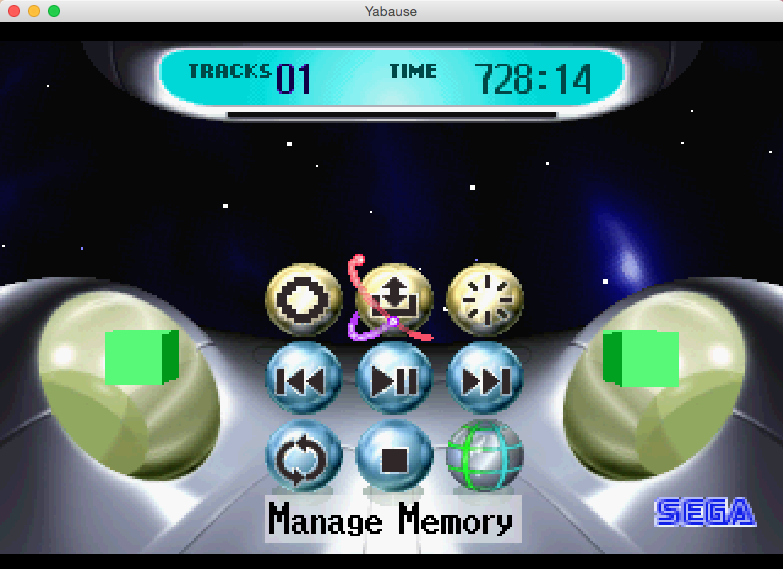
Note that we can change the language used for the interface, as well as the date, time, and other settings, by selecting "System Settings" (System Settings).
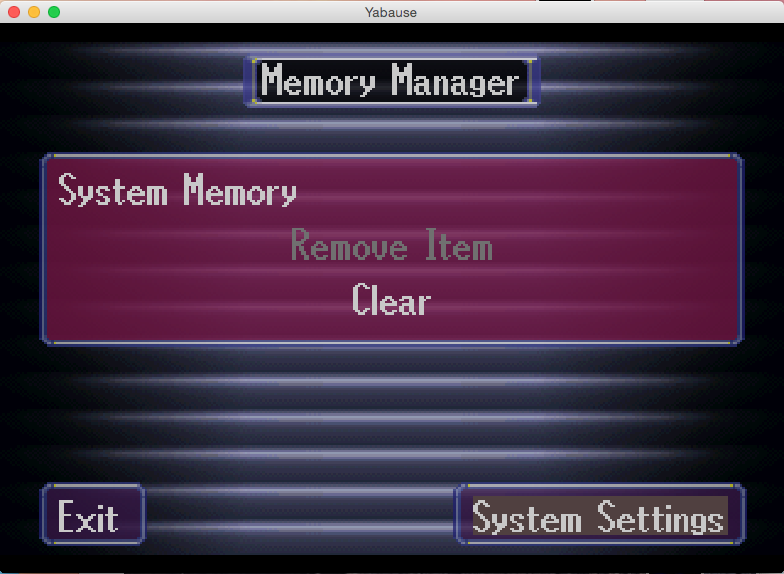
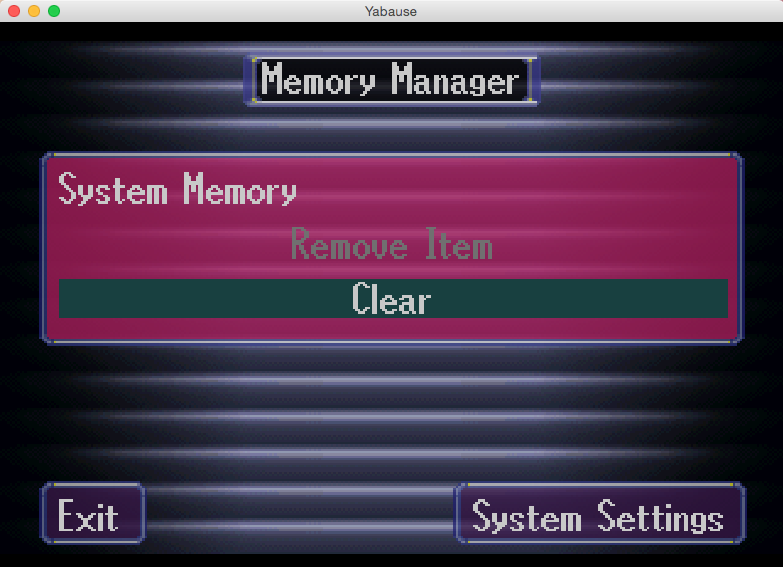
For now, let's choose to clear our file using "clear" (Clear).
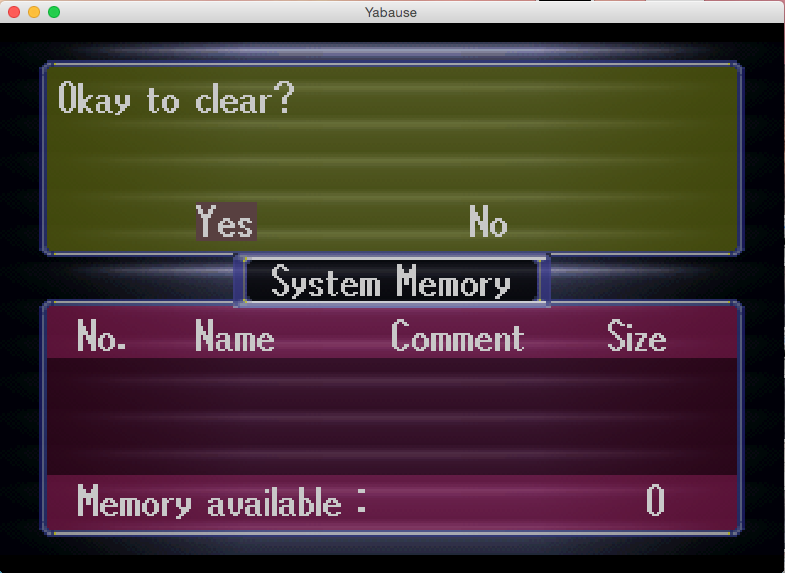
Confirm your choice, and if everything went well, the "Memory Available" (Available Memory) information at the bottom should no longer indicate zero.
Our emulator is ready; all that remains is to insert your original game disc into your Mac and choose "Run CD-ROM" (Play CD-ROM) via the "File" (File) menu, or create an image of your Sega Saturn game disc (ISO or BIN/CUE) and in that case choose "Run Image" (Play Image) in the same menu.
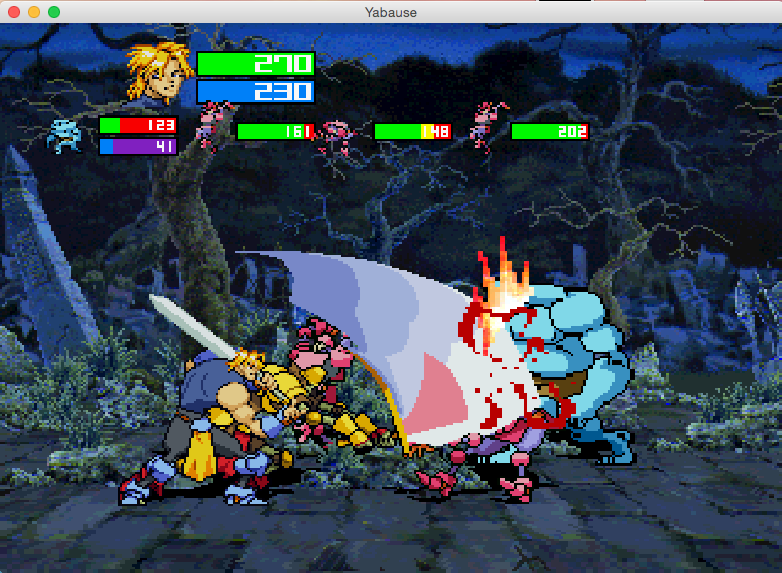
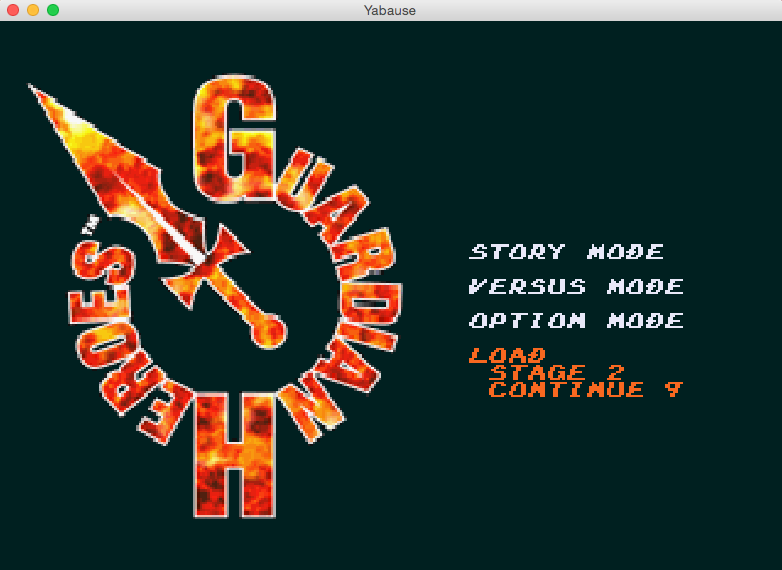
Now that we know how to use an emulator, let's move on to the small bonus: cheat codes.
For this, since it's what is most requested on the forum, let's cheat with a Pokémon game on the Nintendo Game Boy Advance using the mGBA emulator.
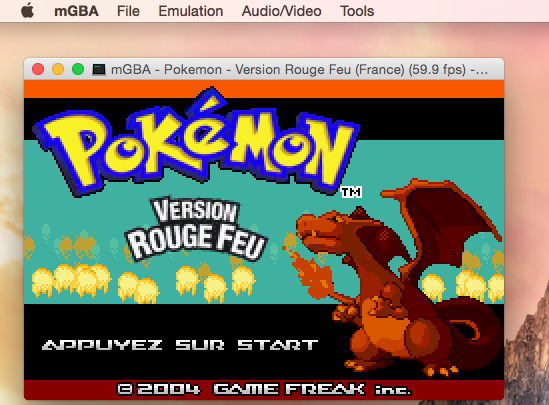
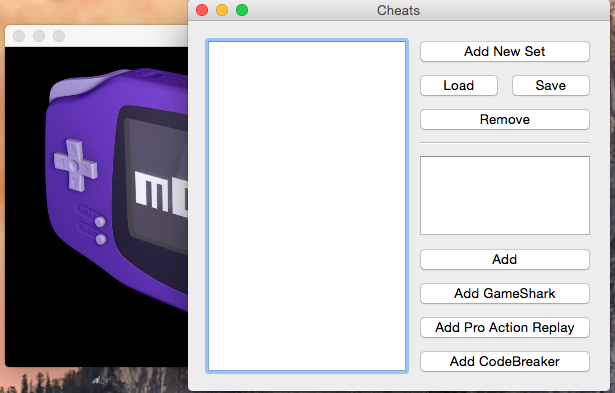
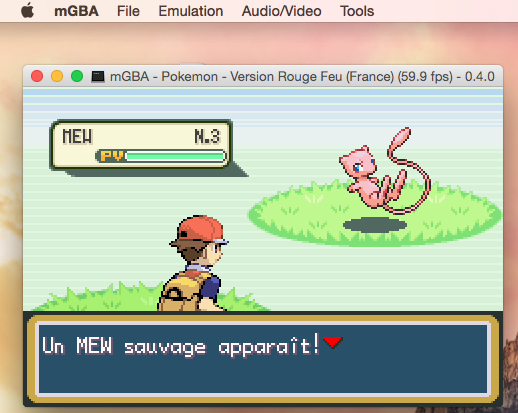
Note that "Action Replay", "GameShark", or "Code Breakers" codes are specific to a game, its version, and its region. This means a code for the North American Pokémon Red Fire version will not work for the European or North American Pokémon Green Leaf version, and there is a very high chance that the same code will not work for the European Pokémon Red Fire version (originally intended for the North American version). Pay close attention to all these parameters. Now, let's open mGBA and go to the "Tools" menu to select "cheats" to make "Mew", a rare Pokémon, appear during our encounters.
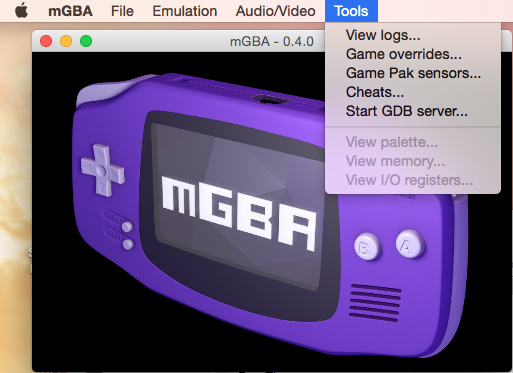
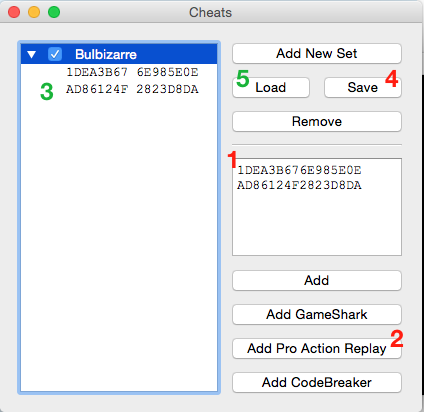
A window opens with some parameters, and we will start by entering the two codes intended to make a "Mew" appear in our game.
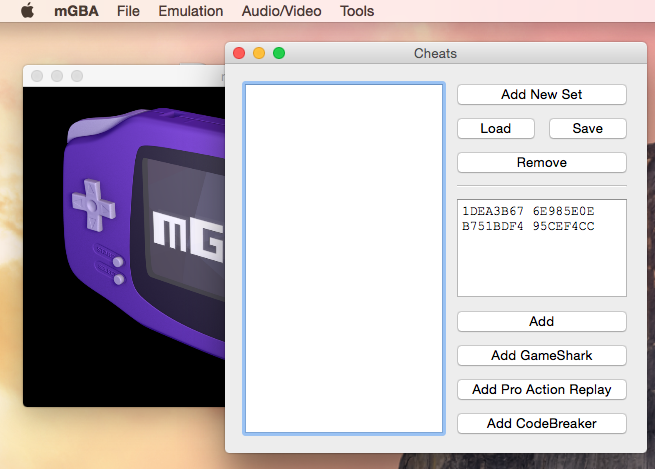
The first code corresponds to the specifications of our game, here Pokémon Red Fire European, and the second is used to make the Mews appear. Be careful, this kind of pre-code, which defines our game, is not always mandatory. Check beforehand before entering a code as there might be additional ones required for your cheat code to work.
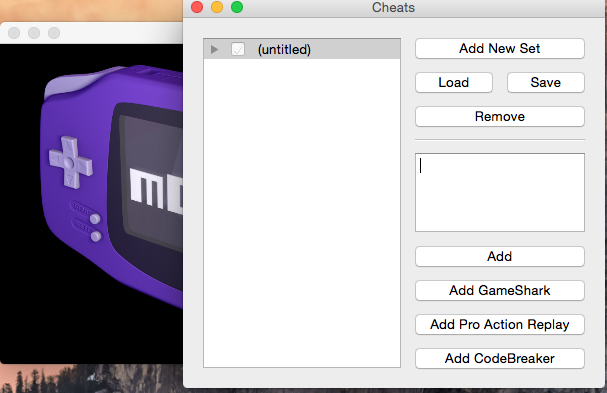
In our example, we used Action-Replay codes, so we need to click on "Add Pro Action Replay" to add them. They should then appear on the left side as "untitled".
We can then rename it to make the codes more explicit and check the box to activate them. It is also possible to save them using the "Save" button, so you don’t have to re-enter them every time you launch the emulator, and then reload them using the "Load" button.
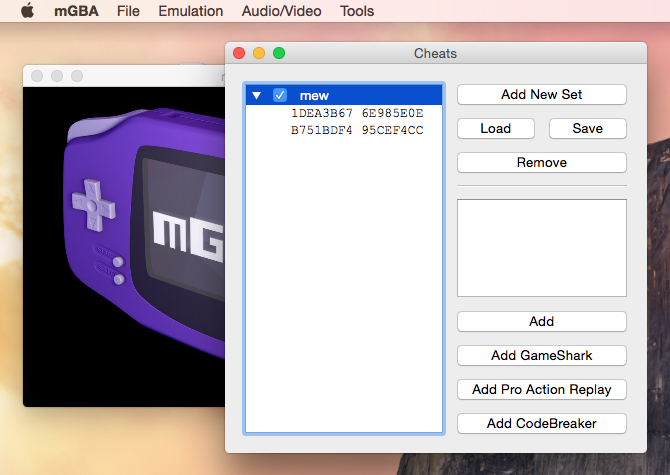
To summarize the steps:
- Enter the codes.
- Add the codes according to their type.
- Modify the name of the code set if needed and enable or disable them.
- Save the code set if needed.
- Load a previously saved code set.
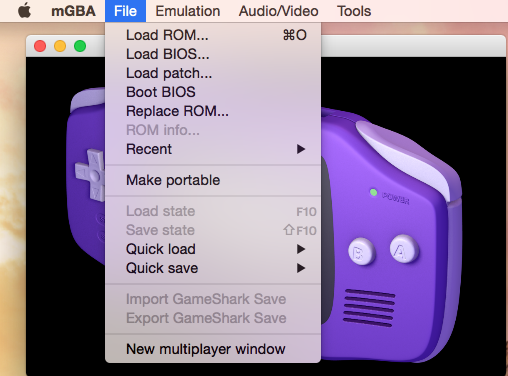
All that’s left is to launch the game using the "Load" function.
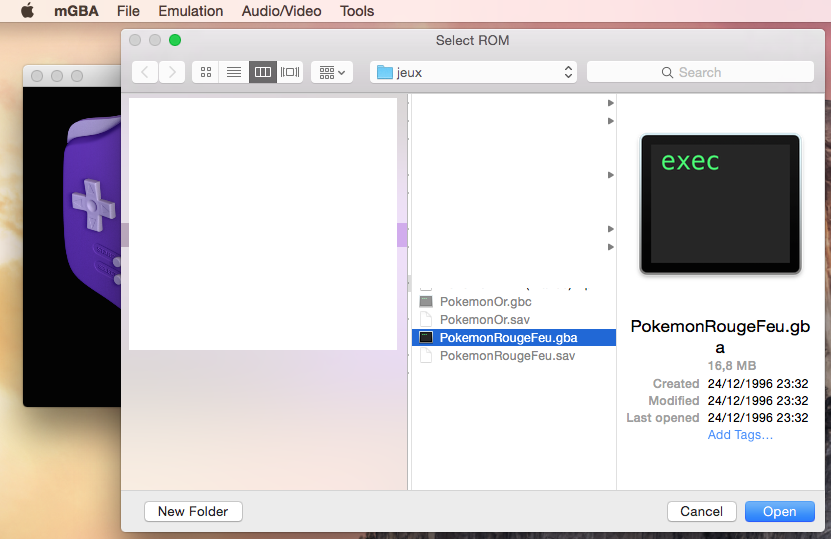
And most importantly, choose the appropriate game, otherwise the codes will be useless.
And here’s a new one.
You are now ready to embark on the adventure that is emulation on Mac. There are many emulators available, ranging from easy to use to more complex ones. Some will require knowledge of terminal usage and compilation to obtain the binary, while others will require several files related to the original machine. Emulation is not an exact science, and emulators do not all have the same reliability; you may sometimes need to modify certain options deeply, sometimes in configuration files, to achieve the desired result—or sometimes even get nothing at all.
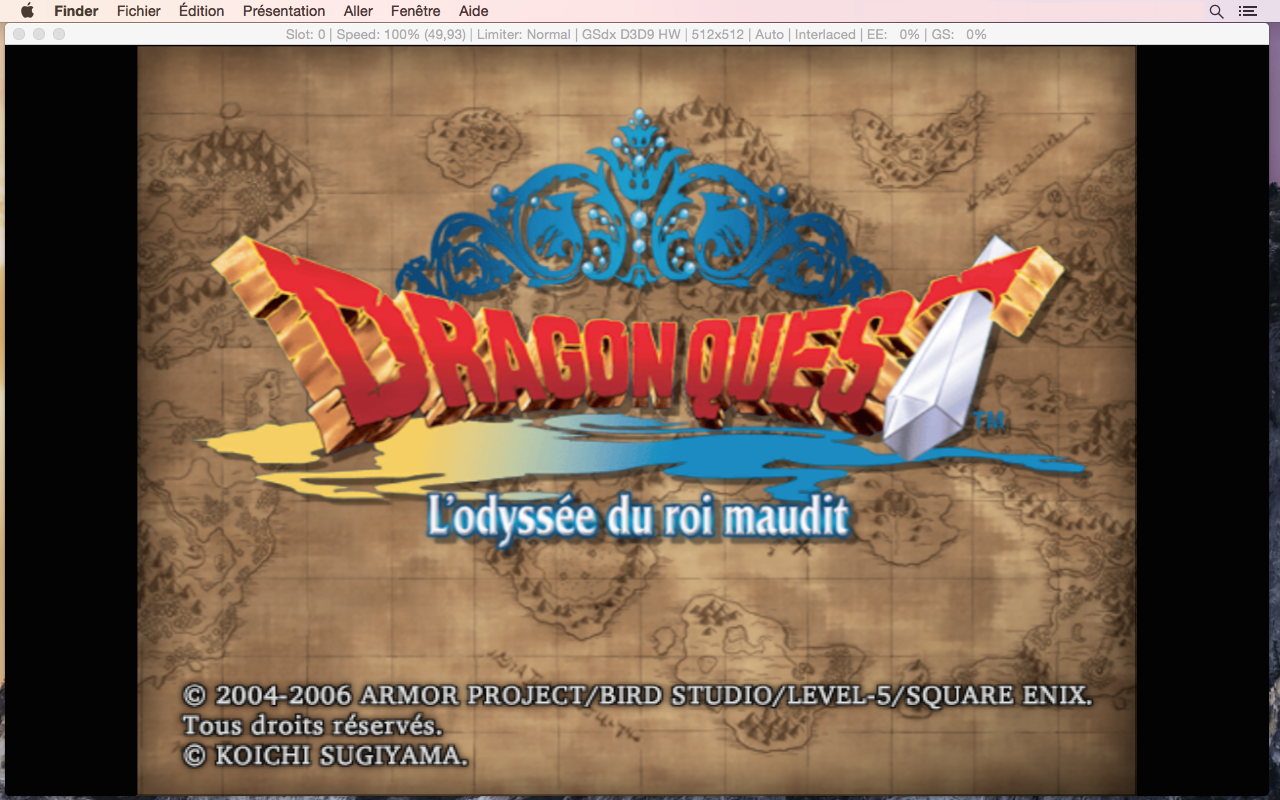
For this, do not hesitate to check out all available emulators, read other folders or ask your questions on our forum, and if English is not a problem for you, you will find valuable information on the official websites.
And since we are on Mac, if your macOS is recent enough, we can only strongly recommend testing the multimachines emulator exclusive to our Apple system, OpenEmu.
We hope this small tutorial has helped you discover the possibilities offered by this world of emulation on your Mac.
Reply on the forum
A question or a hands-on report? Open the discussion on the forum.