Hard Drive Amiga with E-UAE (1/2)
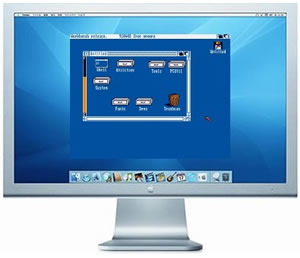
First, read the tutorial An Amiga in Your Mac with E-UAE by Gintonic to get started with a solid foundation.
Once the E-UAE emulator is installed, along with the SDL Library and Hi-Toro, here’s what remains to be done:

In fact, we will create a folder to serve as our hard drive. In this folder, we will simply place the system elements, a Workbench 1.3. I chose this version to maintain compatibility with 99% of games, in anticipation of the upcoming second part of the tutorial (see below), but it is possible to use other versions of Workbench.
- Download this file: HD.zip
- Extract it, and place the HD folder in your E-UAE folder
- When you launch Hi-Toro, simply click on the HDD tab
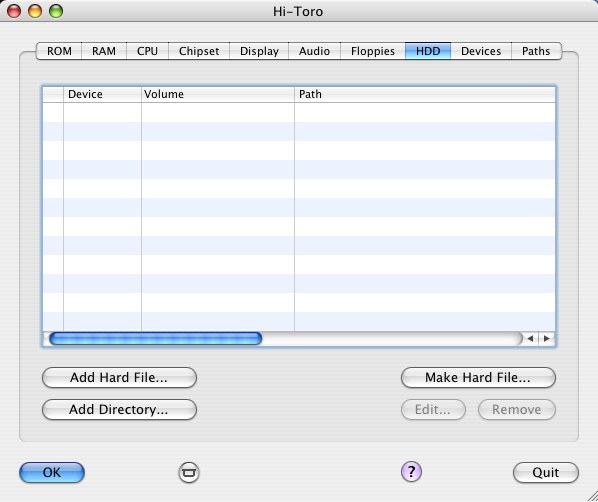
- Click on Add Directory
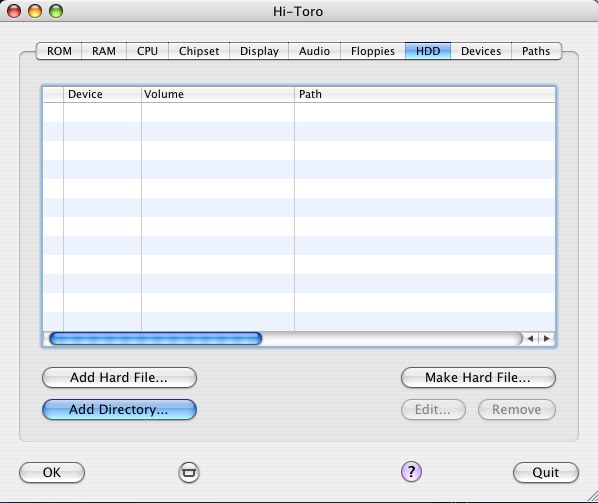
- Then select the HD folder that we placed in the E-UAE folder
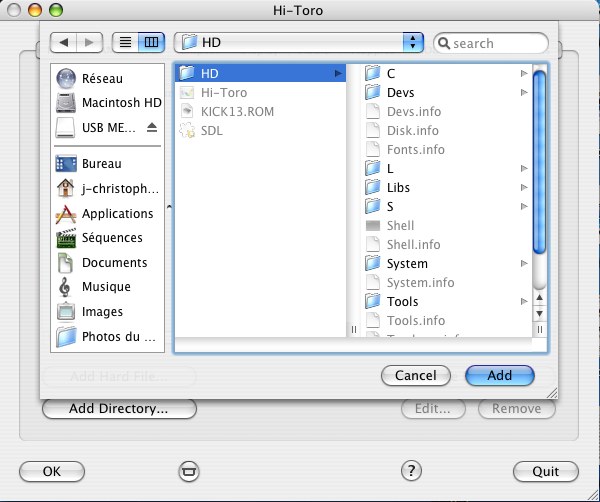
- Click on Add then OK and the emulator will launch. The Workbench configuration file is set to load the Workbench and exit the CLI.
⚠️ This guide is flagged as obsolete.
Related software
Reply on the forum
A question or a hands-on report? Open the discussion on the forum.