BasiliskII and Mac OS 7/8 in 68k
Introduction
Before anything else, if you want to install System 6 or earlier, know that you'll need mini vMac, possibly even if the Mac OS 7 you're emulating will be in black and white. For Mac OS 8.5 and above, SheepShaver will do the job since these systems do not support 68k processors but the PowerPC.
The explanations made, download the emulator and retrieve the ROM from a Quadra, legally from one of your old Macintosh computers.
Mac OS 8
Let's start with the simplest, installing Mac OS 8 using a previously captured installation CD image. Let's launch it and, at the same time, launch "BasiliskII GUI" to see a beautiful graphical interface appear.
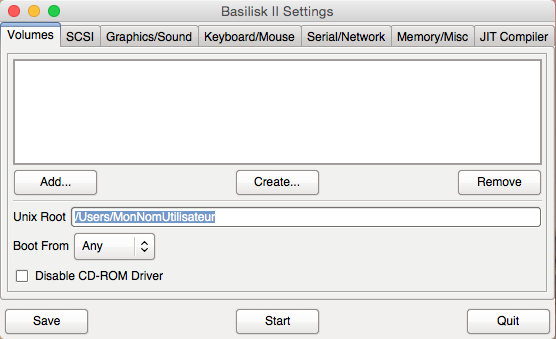
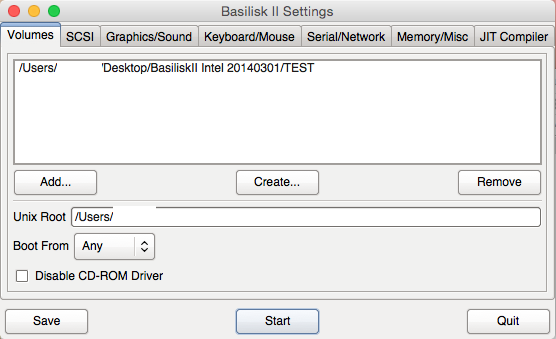
One of the parameters that may seem optional but will quickly become an important ally is the "Unix Root" path. This corresponds on your Mac to the folder that will act as the shared volume. Choose it carefully. For my part, it will be the root of my account.
Your directory determined, let's start with the essential and create the host hard drive by clicking on the "Create" button.
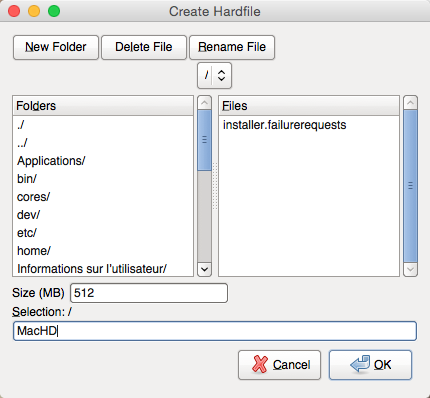
A window opens where we can choose the name of the file, its location, and most importantly, the size of the disk.
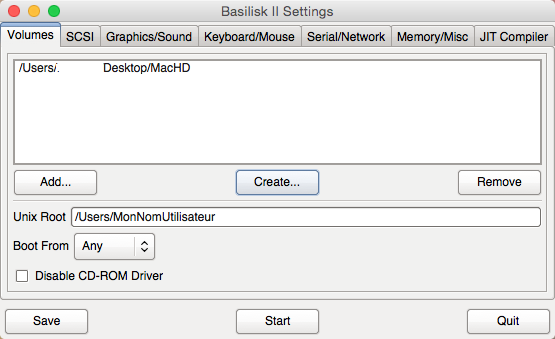
All that remains is to add your Mac OS installation CD image, which can be done by clicking the "Add" button and navigating through your directories to the said image.
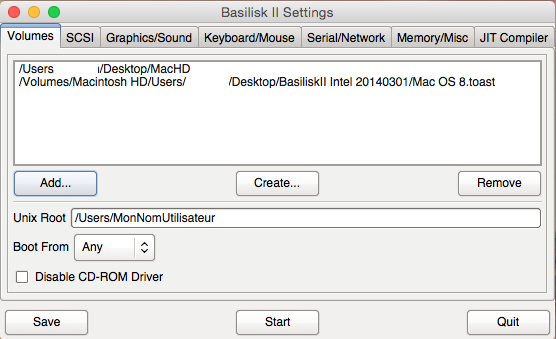
You might hope so, but your emulator is not yet configured. Navigate through the different tabs to make it operational.
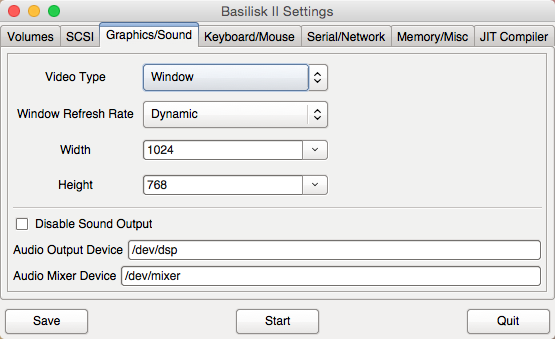
In the "Graphics/Sound" tab, you can choose whether to launch the emulator in windowed mode or fullscreen, and determine the resolution that seems most appropriate to you.
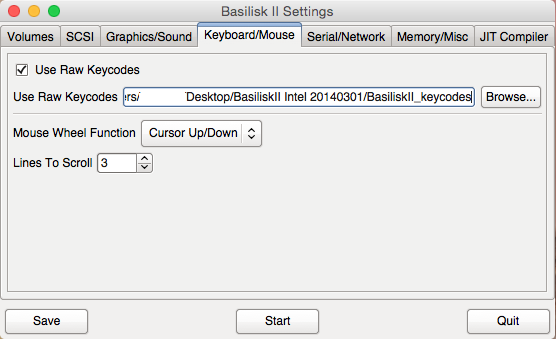
In "Keyboard/Mouse", use the keycodes file, normally included with the emulator or found on the website, for better keyboard integration.
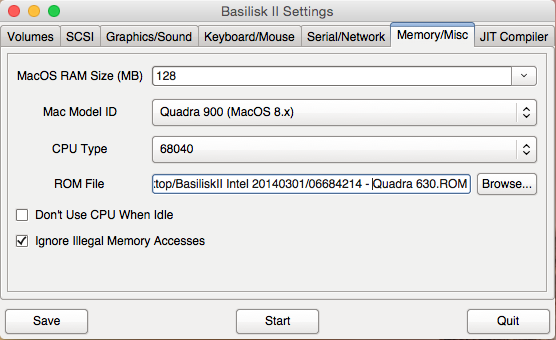
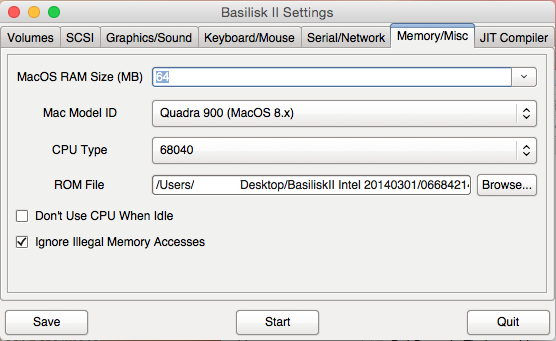
In the "Memory/Misc" tab, you will need to choose the allocated RAM, here 128 MB, which is a lot for Mac OS 8, since for example, a PowerMac 8100 came with a minimum of 8 MB and could not support more than 256 MB. However, the most important thing here is to select a Quadra 900 model Mac, otherwise OS 8 will not boot. And most importantly, do not forget to select your Quadra ROM file, otherwise the emulator will refuse to launch.
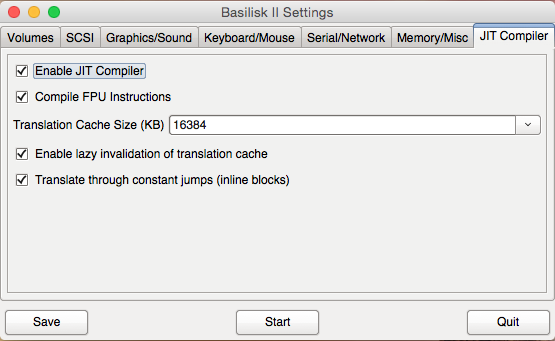
The last tab allows you to adjust Basilisk II's emulation options for better performance or stability.
The big news is that we're ready to press the "Start" button.
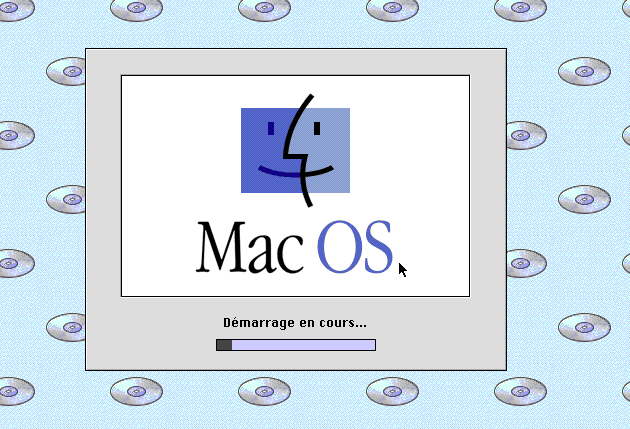
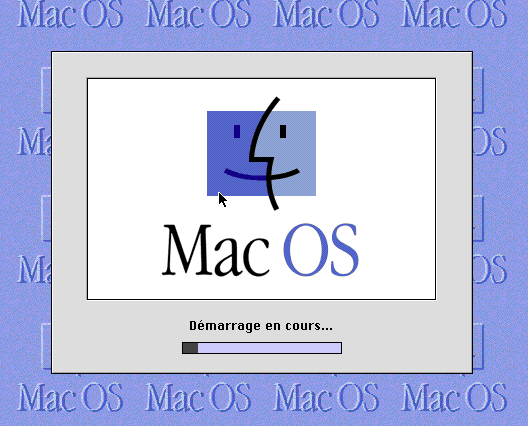
And Mac OS 8 boots up…
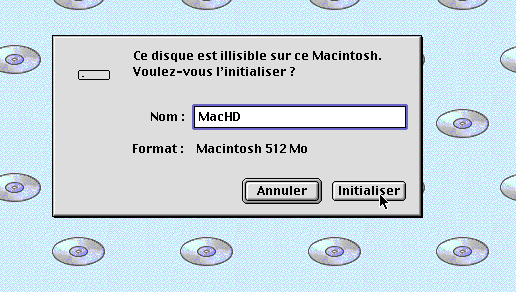
Don't celebrate too soon. The system on the emulated CD starts and correctly detects a hard drive that would definitely need formatting and a more appropriate name for its function.
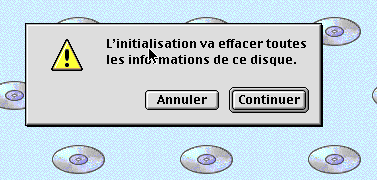
Let's make it ready to host our future system.
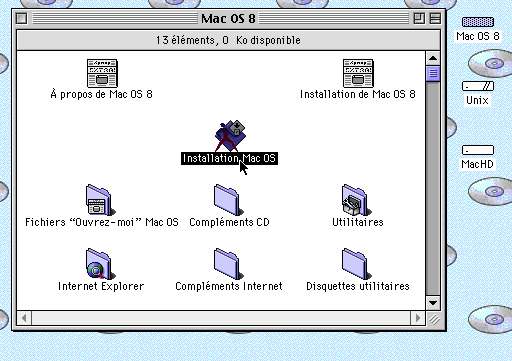
The installation of Mac OS 8 can now begin.
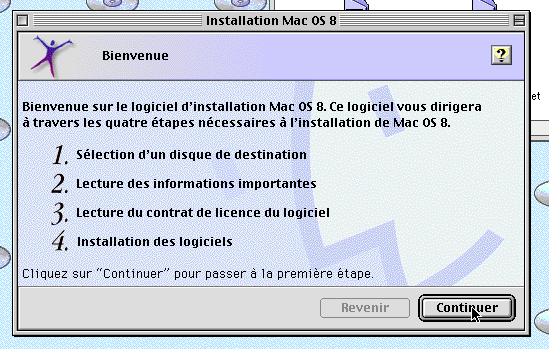
No need to guide you through the installation.
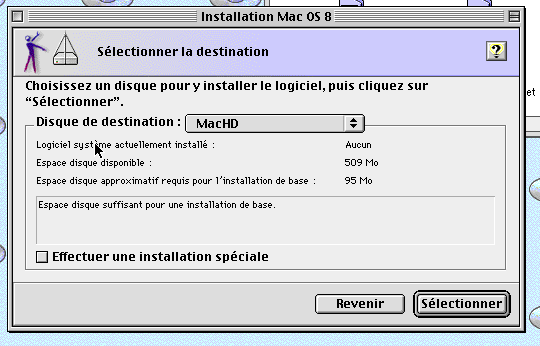
Just make sure to select your hard drive properly.
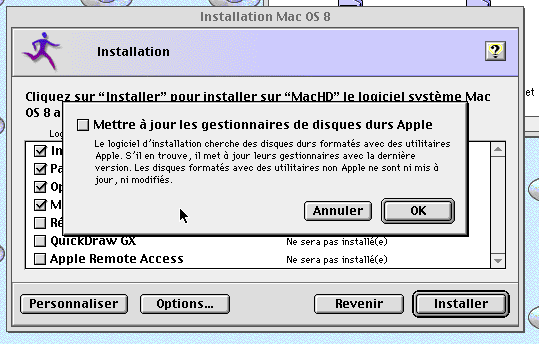
Note that it is preferable, in the options, to uncheck the disk drive manager updates. I noticed that this could completely block the installation or updates. Always do this, whether it's an upgrade to OS 8.1 or adding extensions and other control panels.
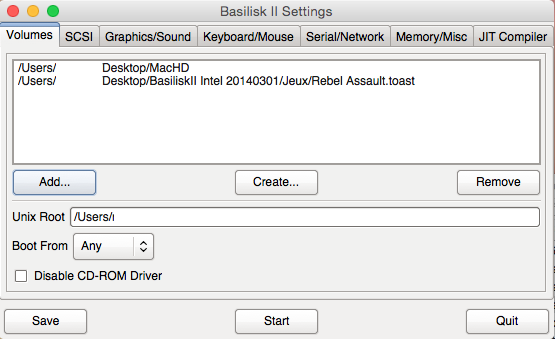
Once the installation is complete, we can shut down the emulated system, bringing us back to the BasiliskII interface. We can click on the line representing the path of the Mac OS 8 installation CD, then click the "Remove" button and add the desired CD images.
Now, every time you click the "Start" button, we will boot from your hard drive.

You can perform the necessary updates or not as you see fit.
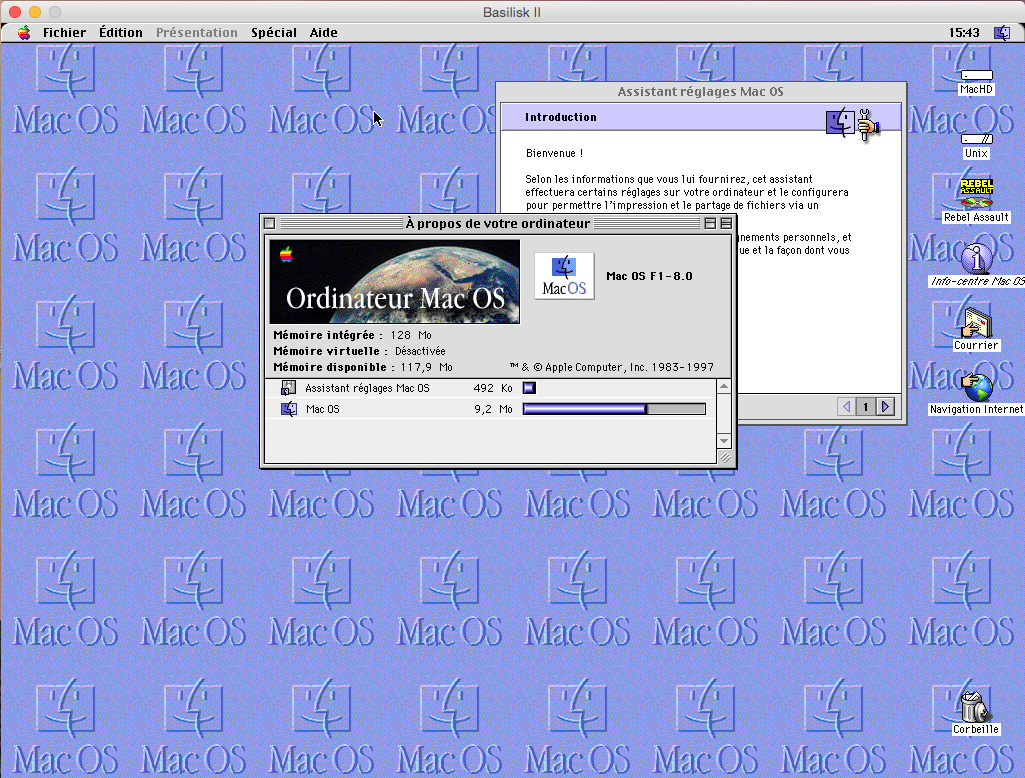
And enjoy your favorite software or games.
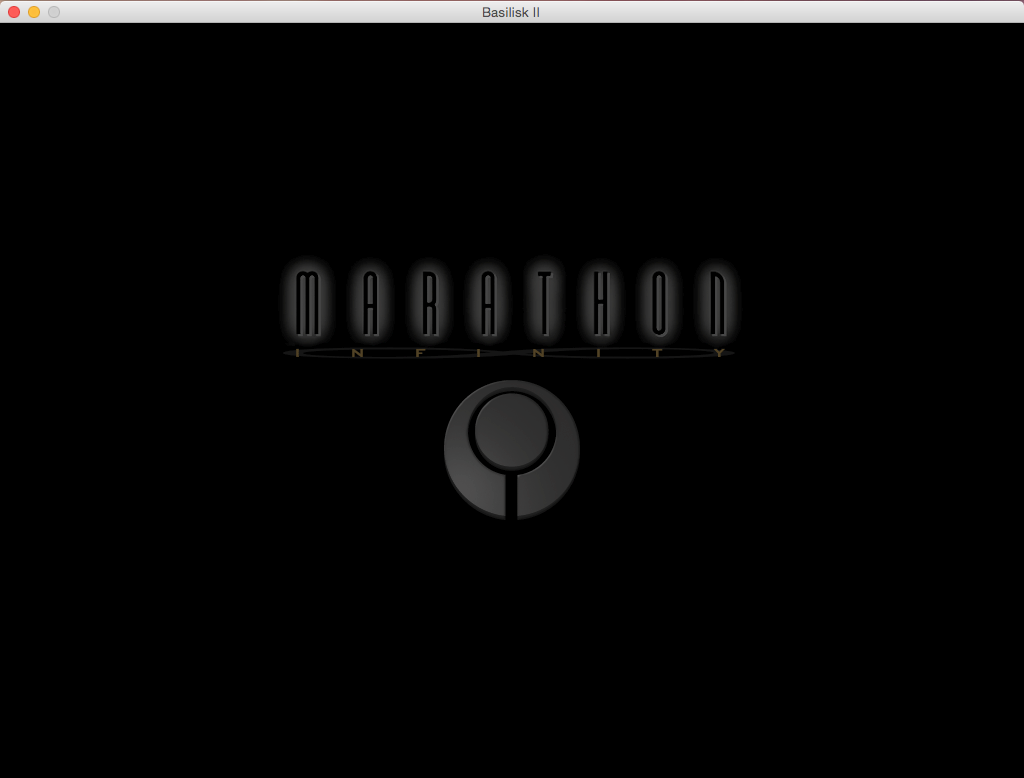
Such as Marathon, the first FPS from the Bungie studio, released exclusively on Apple platforms and introducing innovations like vertical dimension and, above all, a real plot with twists.
Mac OS 7
Perhaps you don’t have Mac OS 8 on hand but instead have a system 7.5 installation CD or installation floppy disk images. The issue is that the system 7.5.3 installation CD (I haven’t had the pleasure of testing a 7.5.5 as I don’t have one) is not recognized as "bootable". And for floppy disks, while the installation program launches, the hard drive image is not recognized, making it impossible to format.
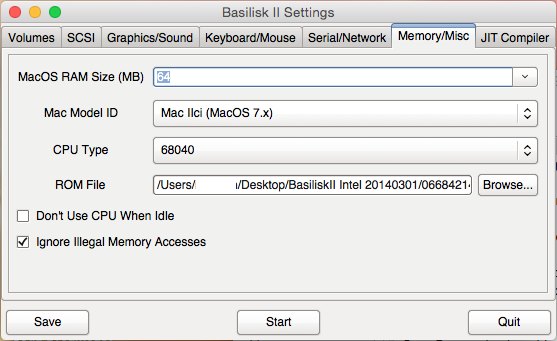
If you truly want to use Mac OS 7, there are two possibilities. The first is simple if you have the image of a Mac OS 8 installation disk. Just prepare your emulator configuration as if you were installing Mac OS 8 (see above) and, in the case of a system 7 CD image, add it to the list before launching the emulator. You will then be able to format your disk and start the installation from the OS 7 CD instead of the OS 8 CD. However, if you have floppy disk images, do not add any images. Launch the emulator as for an OS 8 installation and turn off the emulated Mac once the hard drive is formatted. You will only need to remove the OS 8 CD image from the list and add your floppy disk images, and most importantly, in the "Memory/Misc" tab, select the Mac IIci model so that System 7 is properly supported. At this stage, upon launching the emulator, you should be able to install System 7.
The second option is more complex as you need to be able to boot your Mac and format your disk.
Apple having once offered its systems 7 and below, I believe offering you a small boot disk is not reprehensible. That said, for support purposes and not for distributing a ready-to-use system, the disk image weighs only 3MB, meaning you won't be able to install anything on it, knowing that in addition to a French system, it is in black and white and does not include any control panel or other extension.
The first step is to list the volumes with the bootable image, the system 7 installation CD, and the file of your future hard drive. If you are using floppy disks, do not add them immediately.
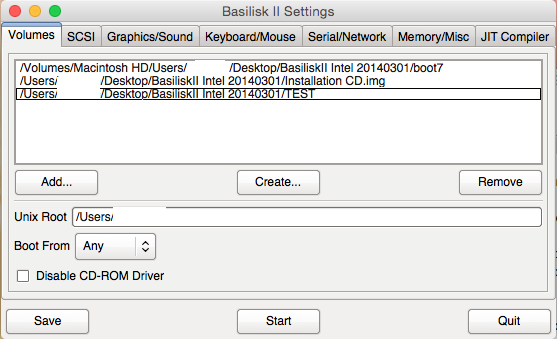
Do not forget to modify the Mac model you are emulating so that Mac OS 7 can function.
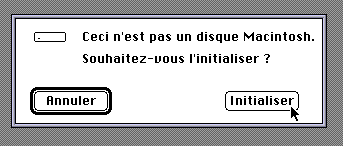
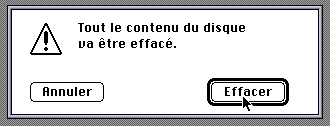
Like OS 8, you will then be able to format and rename your hard drive.
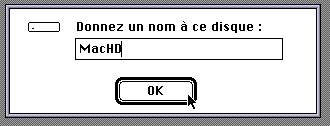
If you are using floppy disk images, once this step is completed, turn off the Mac to return to the emulator interface. Remove the boot disk and add the images of your floppy disks. All that remains is to restart the emulator.
For a CD image, you will need to manually launch the installation.
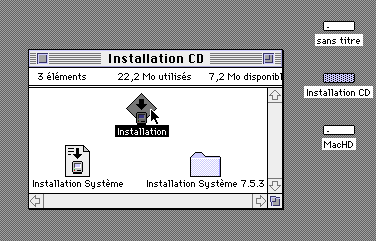
In both cases, the installation should start.
And normally end properly, if you choose the right target disk for your future system.
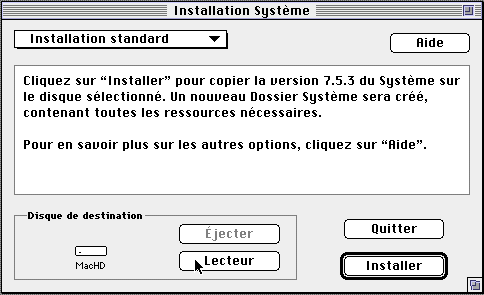
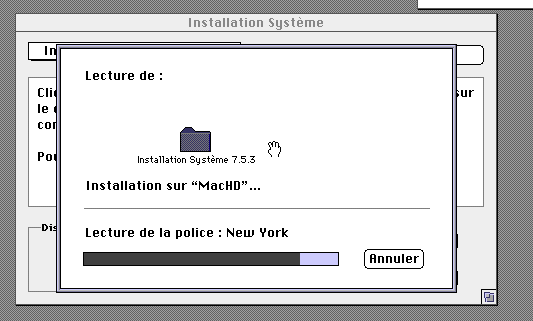
You just have to turn off BasiliskII to return to its interface and remove the installation disk(s). You are free to add game or software disk images.
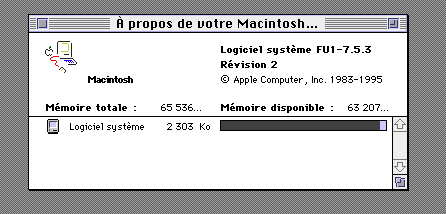
In the case of System 7.5, you can switch the model of your emulated Mac back to Quadra if you wish.
You now have a fully operational Mac OS 7.
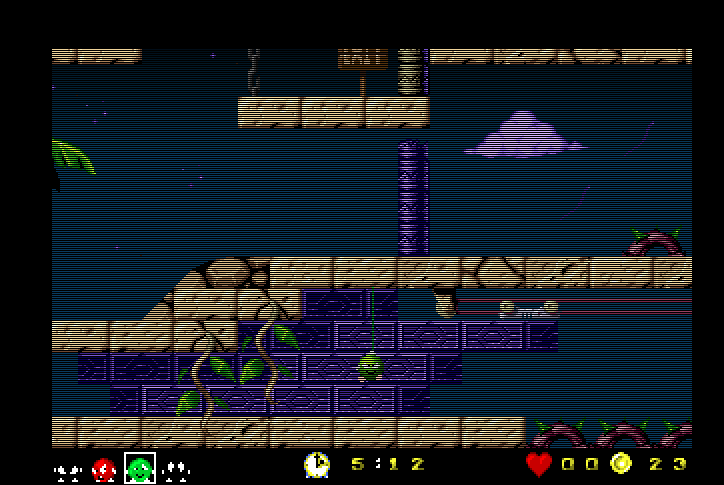
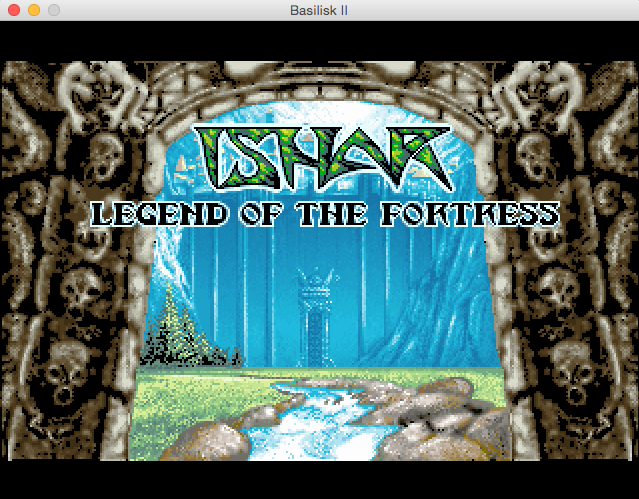
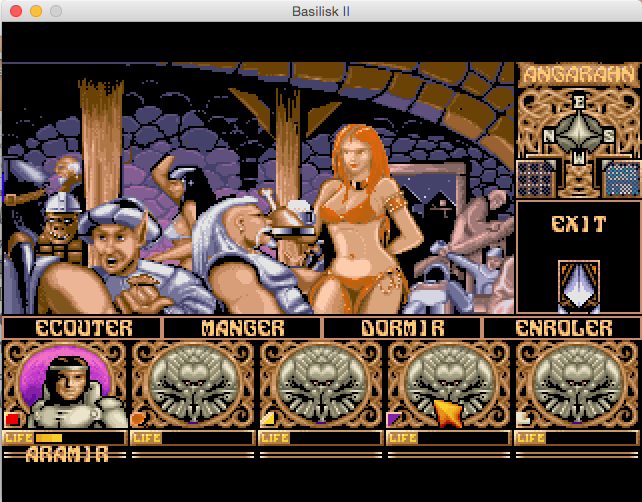
Enjoy your software and 256-color games.

Conclusion
Using BasiliskII is clearly not complex, thanks to its interface allowing you to configure many options. It is the installation of System 7 that may seem tedious, but you quickly forget the time spent by reliving your childhood games.
Related software
Reply on the forum
A question or a hands-on report? Open the discussion on the forum.