Terminal Usage
Introduction
Since the arrival of macOS, a multitude of software from the Unix world has been made available to Mac users. This was made possible by a complete change in the architecture of the system equipping our Macs to make it POSIX-compatible (UNIX Portable Operating System for Computer Environment).
The macOS Terminal is a key application in this evolution. It launches a command interpreter called shell, which allows communication with the operating system not through a graphical interface but by typing commands at the keyboard. This is what is known as the command line. Thus, with the help of the shell, we can navigate the directory structure of our hard drive and launch command-line applications to perform various tasks.
Note: Here, we will use the terminal iTerm (and Oh My Posh) which offers some additional options compared to the Terminal included with macOS. I use iTerm daily, but it is absolutely not necessary to follow this tutorial; you can use Apple's Terminal, which you will find in the folder /Applications/Utilities
How does it work?
Let's see how all this works.
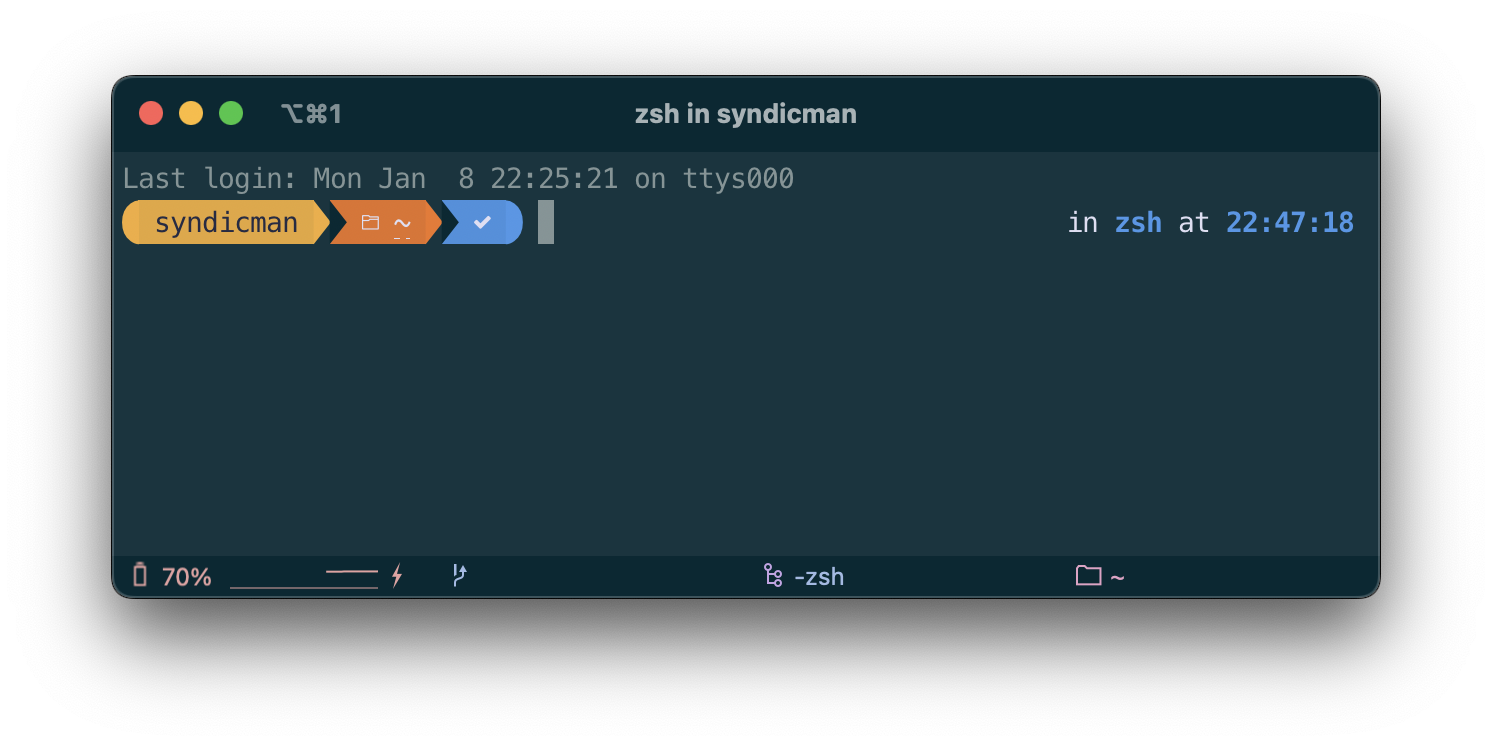
Here is an empty shell window, without any command. It shows the date and time of the last connection to a shell (possibly followed by a welcome message), then a more important line. This line indicates where you are in the directory structure, under which login, and you can also find the name of your machine.
In the previous screen, I am therefore connected to my machine as "syndicman" and my active directory is my user directory represented by the tilde~ (Alt-N on a Mac keyboard).
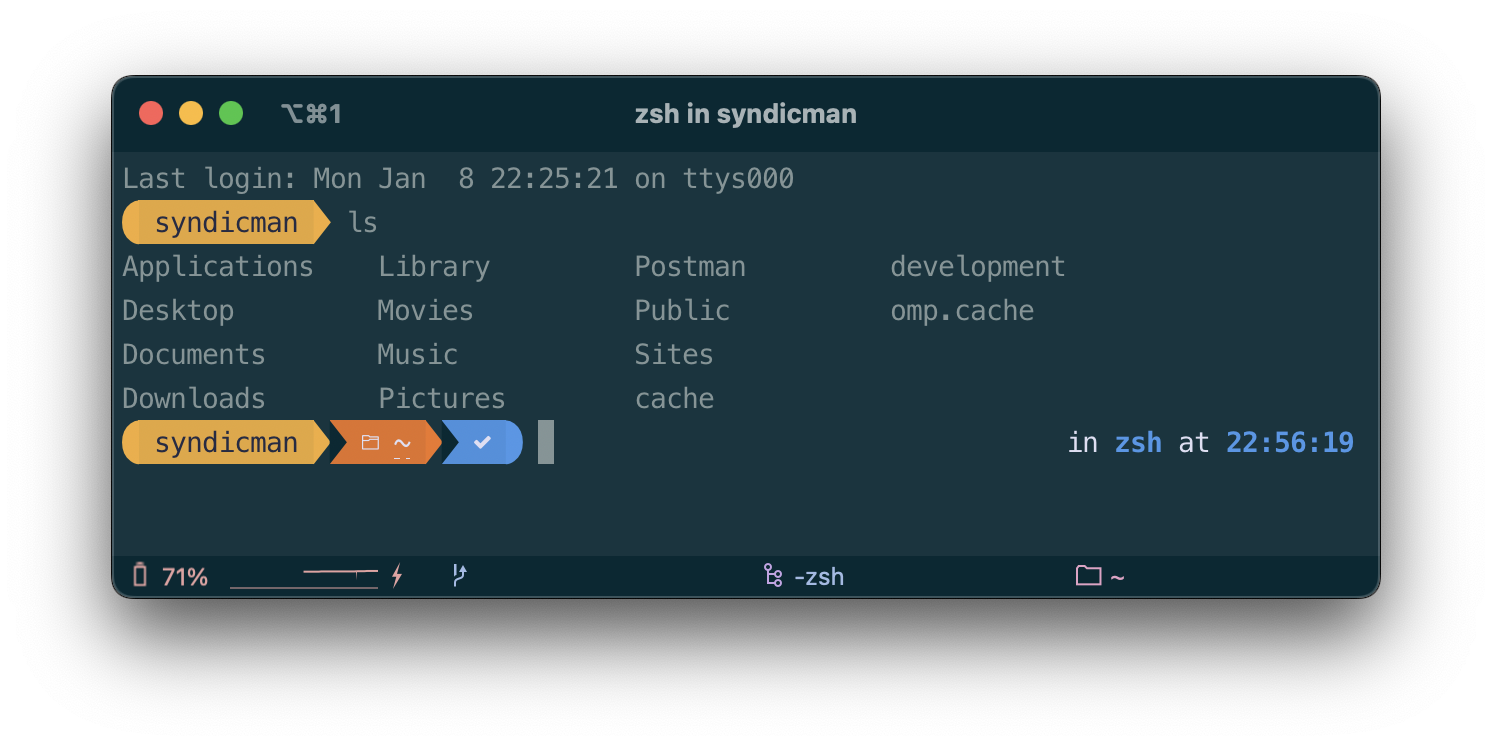
There are many Unix commands, they are composed of a name and may sometimes be followed by options and parameters. An option is a letter preceded by a hyphen. A space separates the different elements of a command, and the latter is taken into account by the system as soon as you press the [Return] or [Enter] key. Let's look at an example using the ls (list) command, which allows you to display the contents of a directory:
Now we want to obtain the list of files and directories (folders) contained in the directory "Music/iTunes/iTunes\ Media/Music" of my user directory (current directory). However, we do not want to simply display its contents, but also the information corresponding to permissions, sizes, dates, etc. We will therefore use the option l along with the argument Music/iTunes/iTunes\ Media/Music, which specifies the directory to list. Note that a space in a file name requires having a backslash \ before it. Here, the folder iTunes Media becomes iTunes\ Media in the terminal.
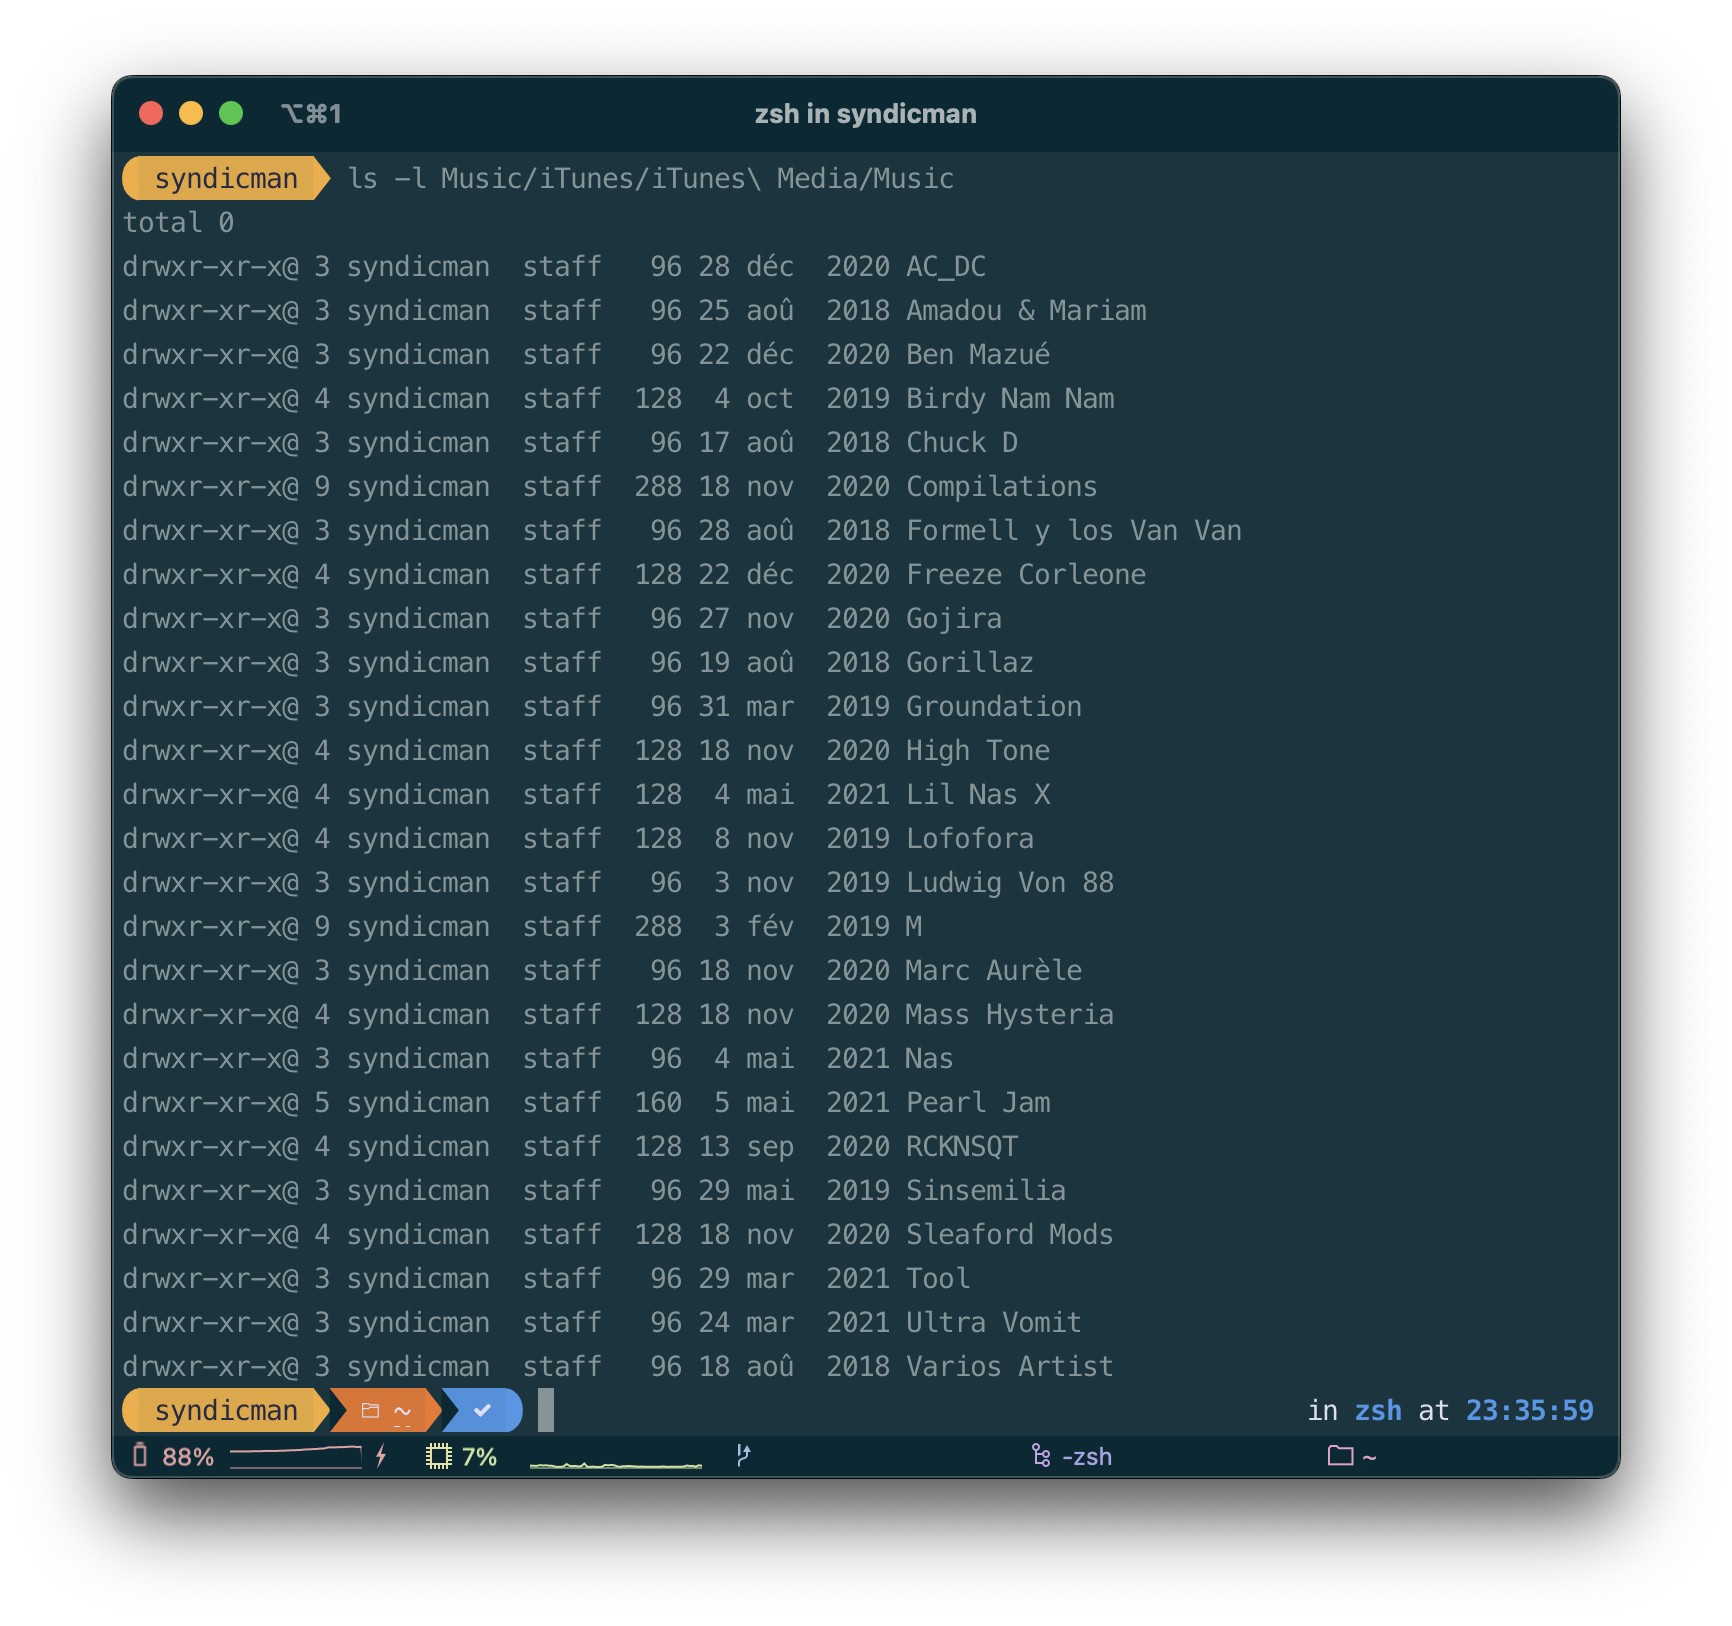
In this last case, Music/iTunes/iTunes\ Media/Music is a relative path. Since my current directory is the user directory (or Home represented by a ~ in the terminal), there is no need to type the full path from the system root. However, it would be equivalent to writing:
ls -l /Users/syndicman/Music/iTunes/iTunes\ Media/MusicThis is an absolute path that starts with the / from the root.
Each directory (or folder) is also separated by a slash /.
For example, if you want to list the files contained in the root directory, simply type ls /:
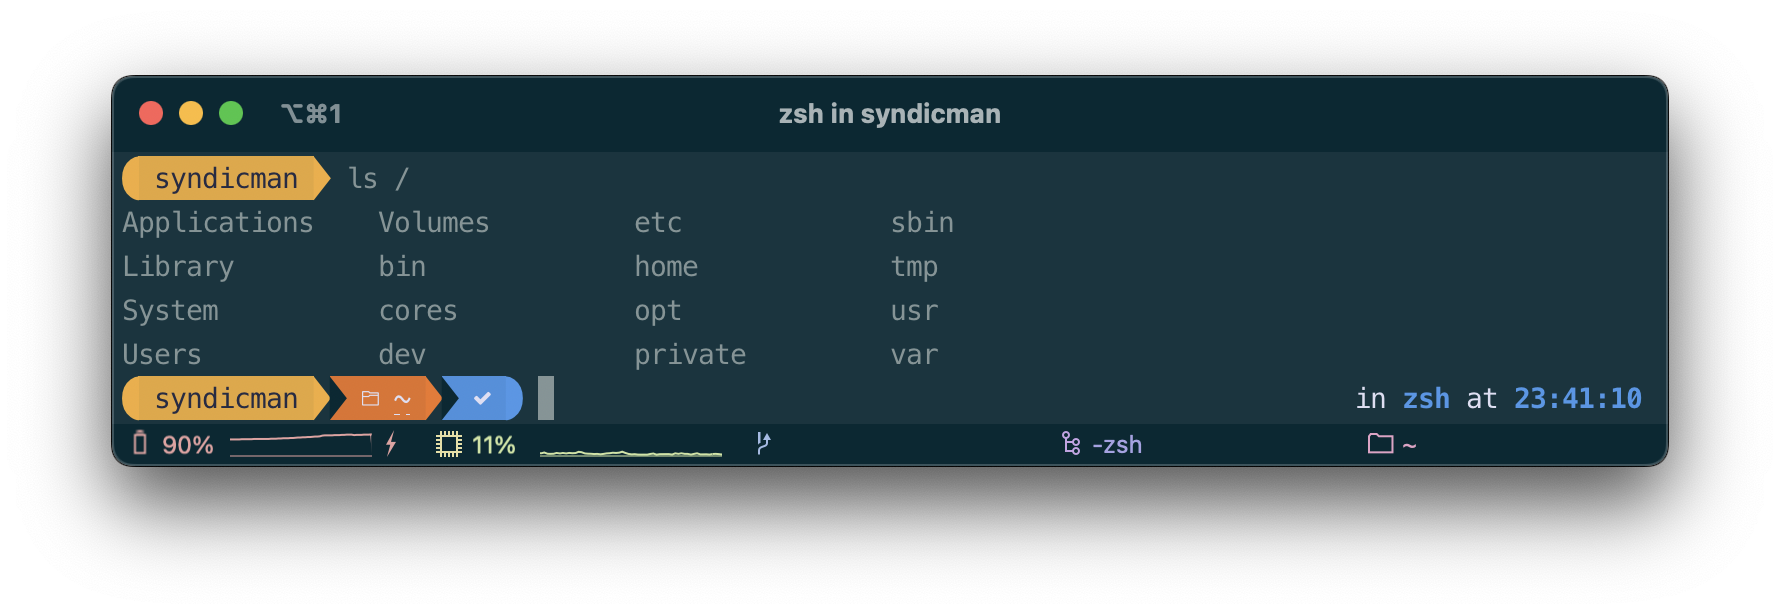
a option also shows files that start with a dot (which are hidden by default on all Unix systems).
Another basic command is the one used to change the current directory: cd (change directory). For example, type cd /:
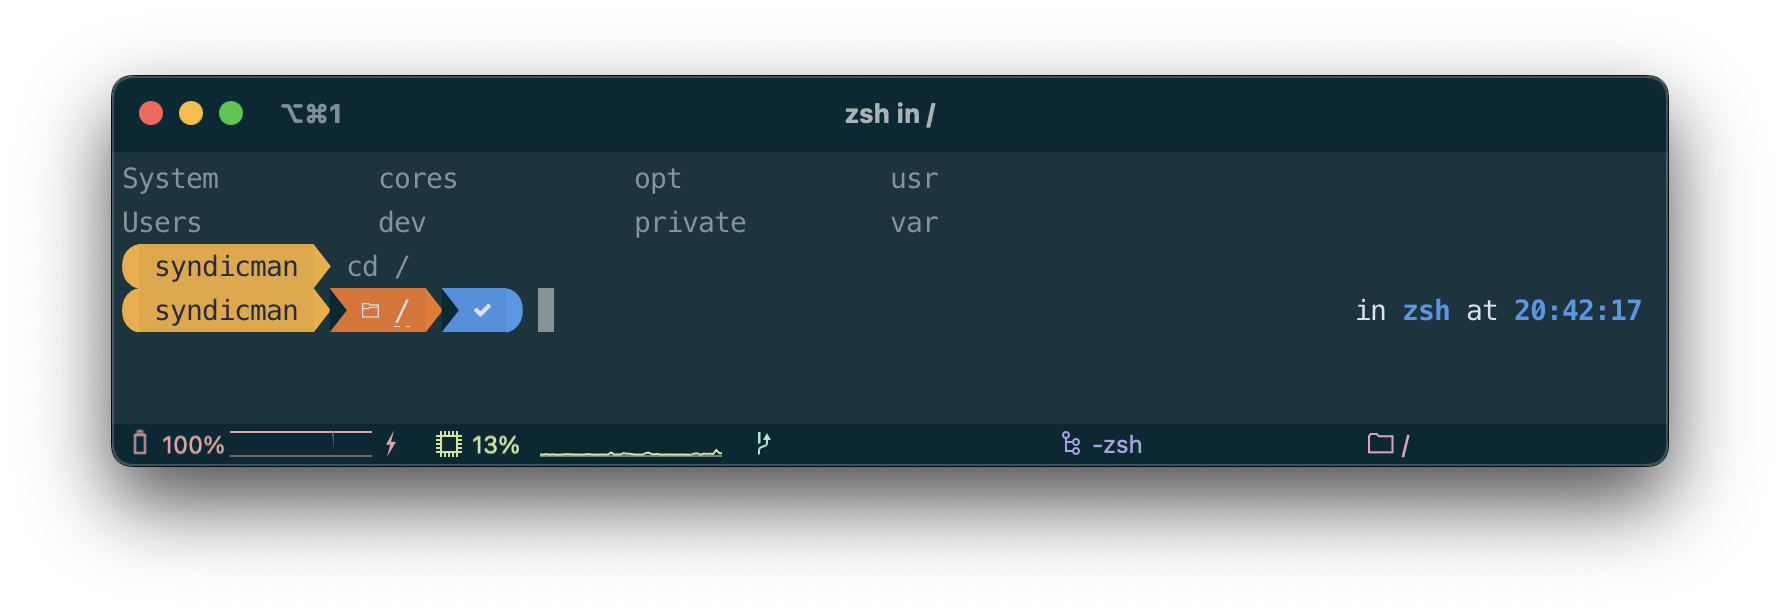
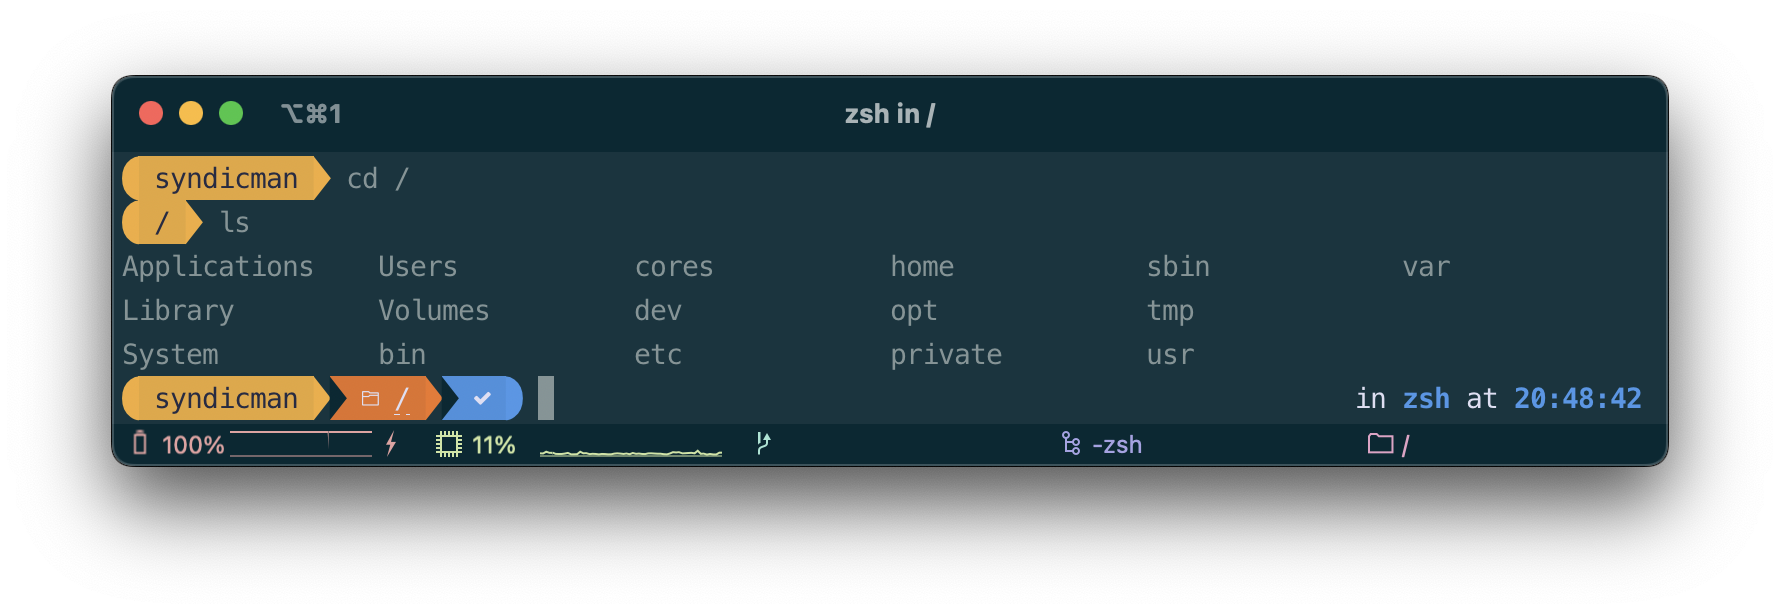
/. Simply type ls to confirm:
Running a Software via Command Line
I just downloaded an emulator for macOS, but it is an executable to be run in the terminal. How do I do it?
It is often necessary to read the help file(s) provided with the software. You may need to edit a configuration file or perform other small tasks to properly install the software on your hard drive. Installing an external library for the emulator is not out of the question (the SDL Library is often required for emulators).
Place the executable in the directory of your choice, navigate to that directory using the cd command, then run it like this:
./software_nameFor example, I downloaded the latest version of SDLMAME, a famous emulator for macOS. I moved the folder containing the mame executable to another volume than the system.
I need to navigate to this directory by doing the following:
cd /Volumes/APPLICATIONS/Emulation/Emulators/mame0261-x86
You can drag a folder or file from Finder into the terminal window to automatically display its location in the directory tree, so you can type cd and then drag the mame0261-x86 folder from Finder. Be sure not to forget the space after cd.
Once in the correct directory, I launch the emulator like this:
./mame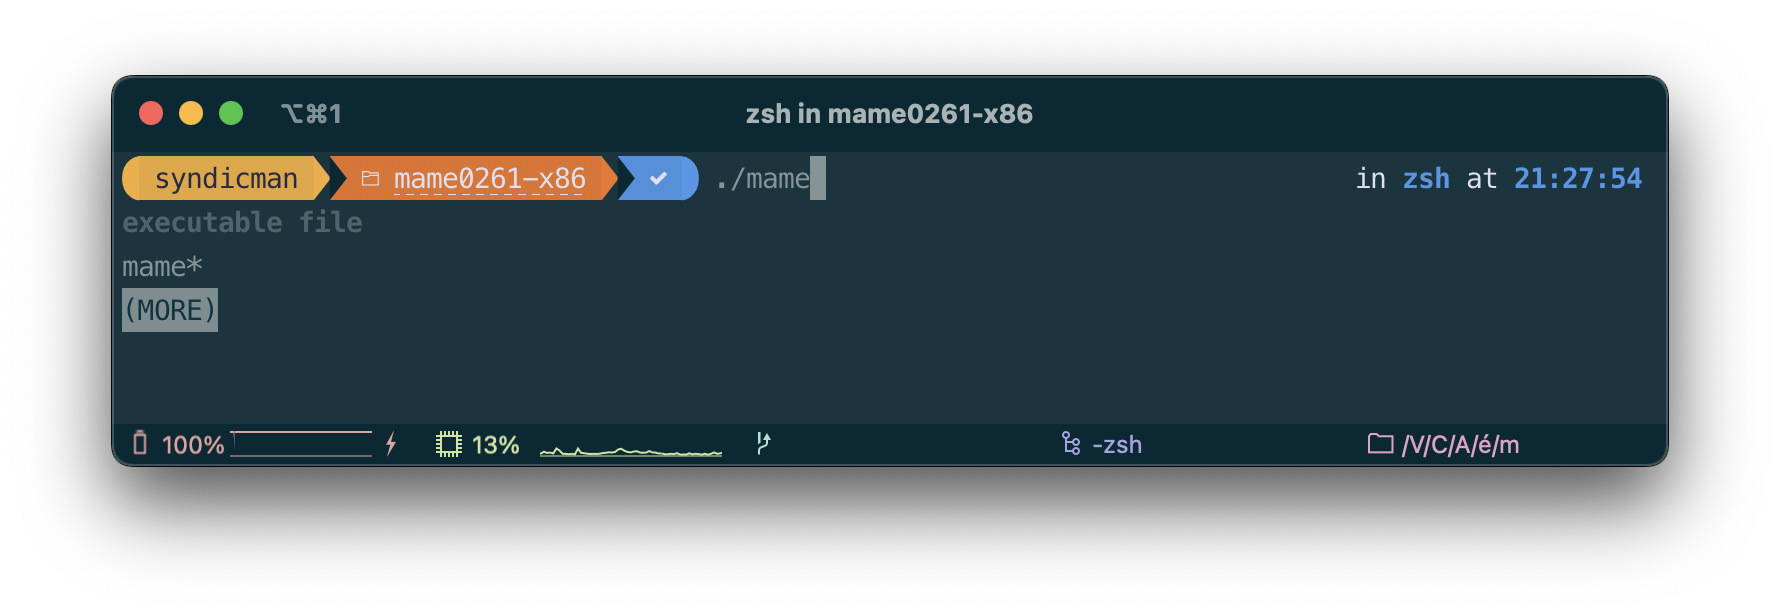
Security
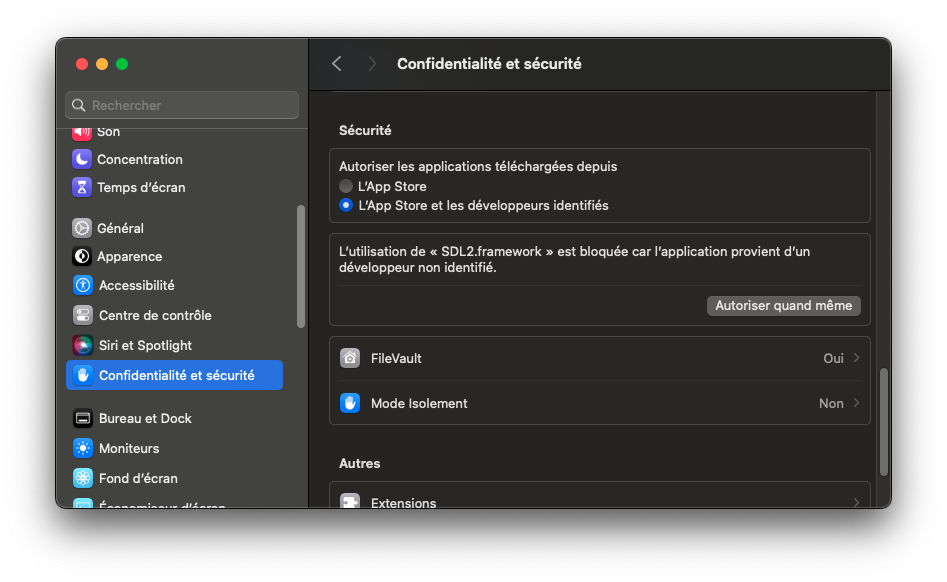
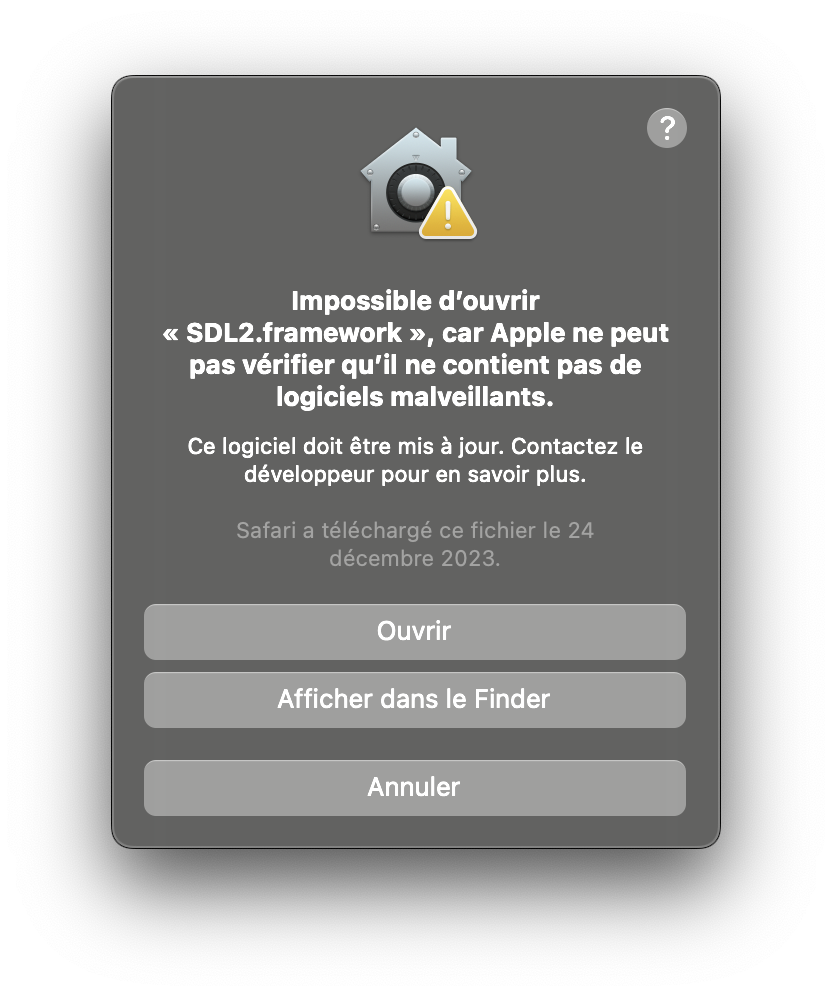
If macOS tells you it cannot verify whether there is any malicious software and refuses to launch your executable, it is because the developer has not "notarized" the application with Apple. This is the case with SDLMAME and the SDL library. Usually, it is enough to right-click on the application and select Open. This may still cause more problems for a library, but there is a workaround. You will find the applications blocked by Apple in System Settings -> Security & Privacy and you can allow them here by clicking on Allow Anyway. You must also, of course, allow applications downloaded outside the App Store.
The option to open the application will then be available. Click on Open.
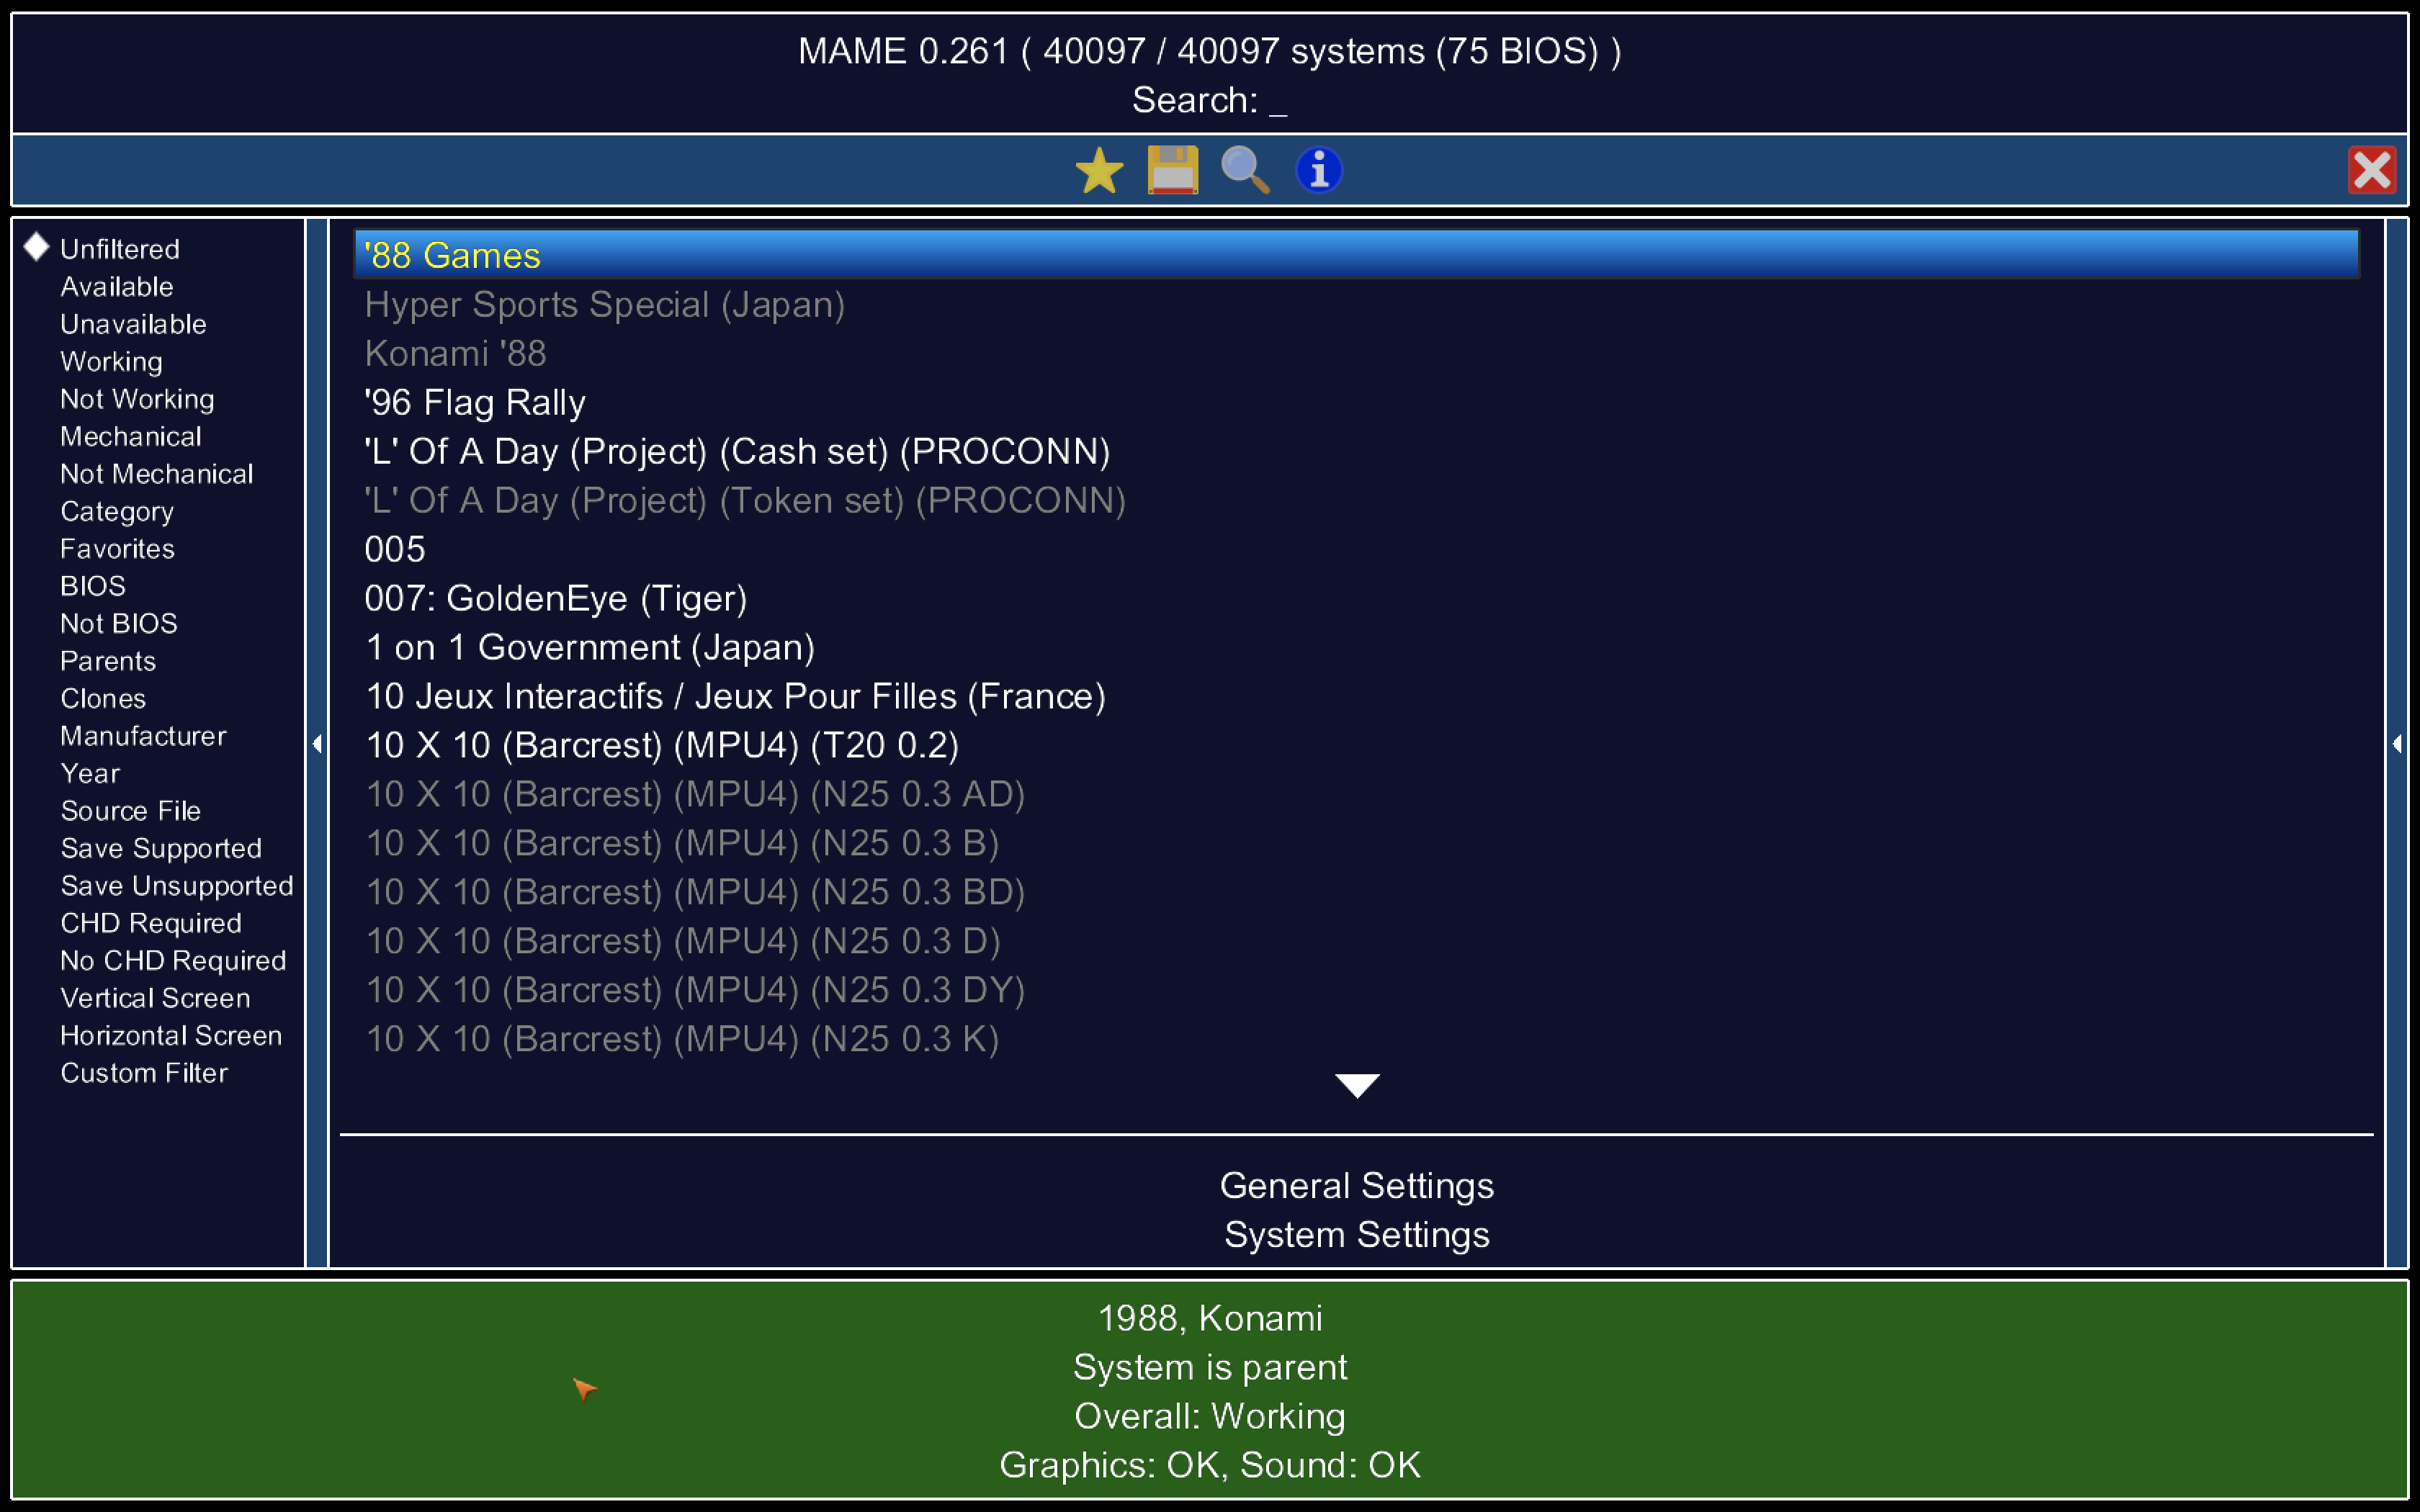
SDLMAME finally launches. Don't hesitate to read the excellent series of articles by sky on this essential emulator.
Compiling the source code of a software
When software has been ported to macOS, it may be that only the source code is available.
In this case, it is usually enough to navigate to the directory where the source code is located (using the cd command) and follow these steps:
- Type
./configureto generate a configuration file based on your system specifications. - Type
maketo compile the software. - Sometimes additional steps are required, but they are likely indicated in a
READMEfile or the documentation.
These steps are unnecessary if the source code is provided with an Xcode project file, which you can simply double-click to launch the compiler, then click the hammer icon in the Xcode interface to compile the code and obtain your desired software.
Note: You must have installed Xcode (or its command line tools, Command line tool) available for free on the developer.apple.com website (Apple account required) or on the Mac App Store.
Little things to know
- The
--helpoption displays all available options for a command. man nom_de_commandeallows you to retrieve the manual for the command in question if it exists.- Under Unix, everything is treated as files (yes, even directories/folders).
- Avoid using special characters or accented characters in file names, as the terminal may not understand them.
Reply on the forum
A question or a hands-on report? Open the discussion on the forum.