An Amiga on Your Mac with E-UAE
Download
To get started, you need to download the latest version for Mac OS X of E-UAE (note that you must install the SDL libraries), then the Hi-Toro GUI.
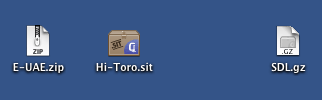
We have almost everything ready, all that remains is an Amiga Kickstart (which is essentially the machine's BIOS) and the ADF, meaning the ROM of the game you want to play. Since these are still under copyright, I leave it up to you to find games and Kickstart versions yourself. For the latter, I recommend using version 1.3, which mainly corresponds to an Amiga 500 and is almost compatible with all games...
Installation
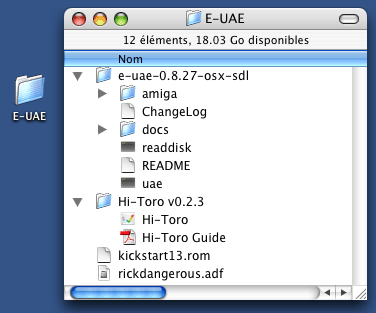
First, if not already done, install libSDL, then extract E-UAE and Hi-Toro.
Personally, I created an E-UAE folder on my desktop, into which I inserted the two extracted folders, along with the Kickstart and ADF of my game (for example, I used the excellent Rick Dangerous, the first one).
Avoid spaces between words, accents, and other special characters!
Hi-Toro Configuration
Now, all that remains is to configure the Hi-Toro program.
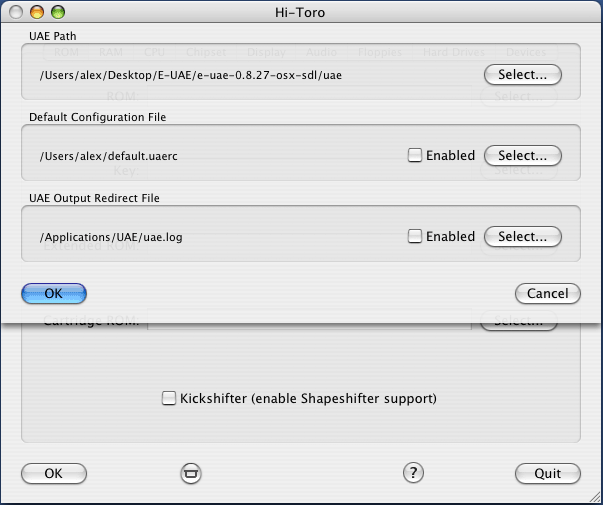
We launch it and first go into the preferences.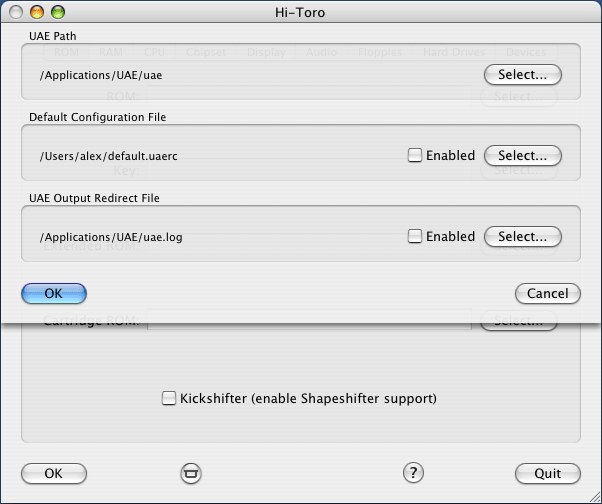
First Configuration: Emulating an Amiga 500
We will now create our first Amiga configuration. In fact, it's very simple: go to the "Configuration/New" menu and select A500 (or use the keyboard shortcut Command+F5) to emulate an Amiga 500.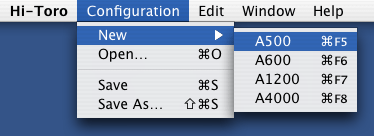
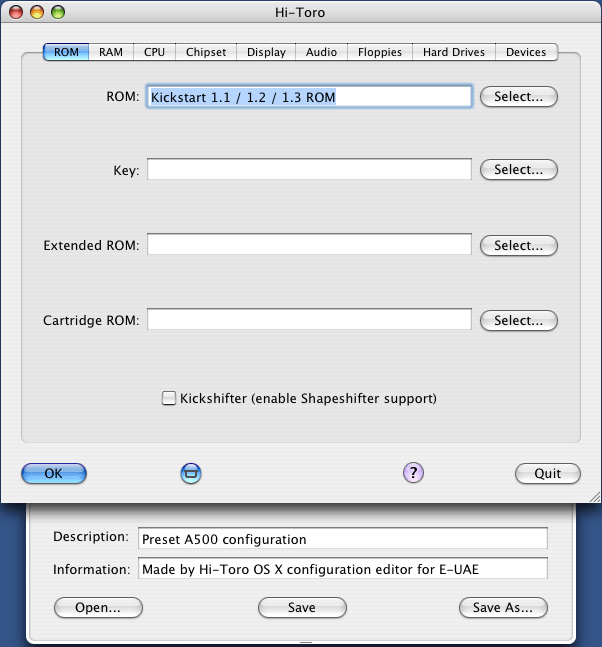
For finr, we save our file, naming it, for example, "essai" with "Save as…".
Launching the Amiga Emulation
All that remains is to click the "OK" button at the bottom left.
If everything goes well, a window opens after a few seconds with the famous hand holding a floppy disk.
Launching a Game
To launch our game Rick Dangerous, you need to load it into the floppy disk drive called DF0 (this is the boot drive, named after the first floppy disk drive of the Amiga; the second is DF1, the third DF2, and the fourth DF3—yes, I know, it’s not the most logical, but that’s how it is, there’s nothing we can do about it).
To insert the games, we press F11 and F1 simultaneously (F1 corresponds to DF0, F2 to DF1, F3 for DF2, and F4 for DF3), then select our ADF file.
You can play using the keys 8 (up), 4 (left), 6 (right), 2 (down), and 0 (fire), or with a Joypad. You can configure the latter using [USB Overdrive User Guide](https://[your-site]/dossiers/usb-overdrive-mode-demploi).
When you’re done playing, pressing F11 and Q simultaneously will exit everything.
Different Configurations and Options
You can now try several configurations by changing the parameters in the different tabs to find the best Amiga emulation on your Mac.
Personally, one of the options I find important is the one for the LED indicators showing the progress of floppy disk loading, as well as CPU usage. You can display all this information by going to the Hi-Toro tab named "Display" and checking "LED in display", which will give you all these details at the bottom right of your emulation window. You can also load your ADF files from the start by selecting them in the "Floppies" tab. For the more adventurous, you can edit your `essai.uaerc` (or other) file using TextEdit. Have fun... PS: For those who want to go further, we recommend [creating an Amiga hard drive with E-UAE](https://www.yourwebsite.com/dossiers/disque-dur-amiga-avec-e-uae-12).
⚠️ This guide is flagged as obsolete.
Related software
Reply on the forum
A question or a hands-on report? Open the discussion on the forum.