SheepShaver: A Mac Inside Your Mac
The various tests in this article were all conducted on an Intel processor Mac. Some of the information provided may not be accurate for PowerPC processor Macs.
Let's start by installing this software
We used the version available at this address. Simply decompress the file and place the folder where you want it. Be careful, SheepShaver relies heavily on absolute paths, so it's better to place the folder in a permanent location to avoid having to reconfigure everything.
To run the application, you will need a ROM of Mac OS version 1.6 or earlier. You will find these ROMs on your Mac OS 8.5 to 9.0 CDs in the System Folder. Simply place it in the folder of your choice.
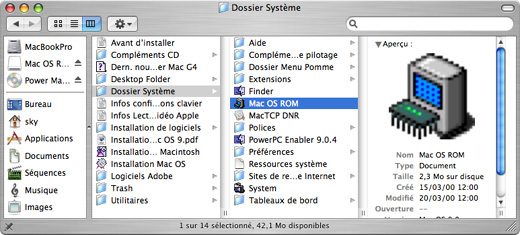
According to the author, version 1.6 works best and offers the best performance, as it takes advantage of the Altivec functions of the G4. We will therefore see how to retrieve this ROM.
To use this ROM, you will need a Mac with Classic or a PowerMac running Mac OS 9. Yes, it's a bit contradictory, since we are trying to get rid of these old machines while still needing them.
First, you need to retrieve the Mac OS ROM Update 1.0 file. Decompress it and open it. You should have a disk image with 4 files.
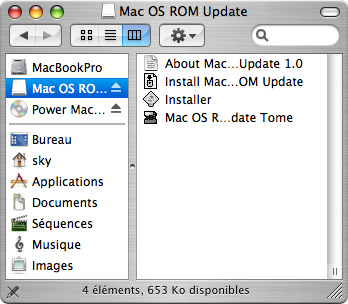
Download the software TomeViewer. For the more experienced tinkerers among you, you will remember this fantastic software that allowed you to open and retrieve system extensions from the installers provided by Apple. This is a Mac OS 9 equivalent of Pacifist that you can find on Mac OS X.

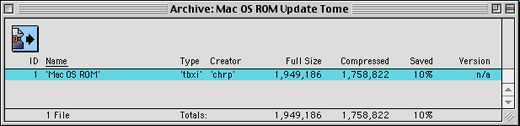
To retrieve the ROM, open the Mac OS ROM Update Tome file with TomeViewer, decompress it into the folder of your choice. In the rest of the article, we will place it, like most files, in the SheepShaver folder.
You can finally launch the software
Open SheepShaverGUI.app, a brand new and well-designed graphical interface that will help you configure the emulator. You should know that without this small interface, you would have had to configure the entire software in a configuration file that is not always very clear (almost identical to the one for Basilisk II for those who are familiar with it).
SheepShaverGUI.app has 6 configuration tabs arranged by category. In the Volumes tab, we will manage the volumes we will use in SheepShaver. Only one volume (disk image) will be necessary for the tutorial's needs, but if you need more space, you can create as many as you wish and your hard drive can hold.
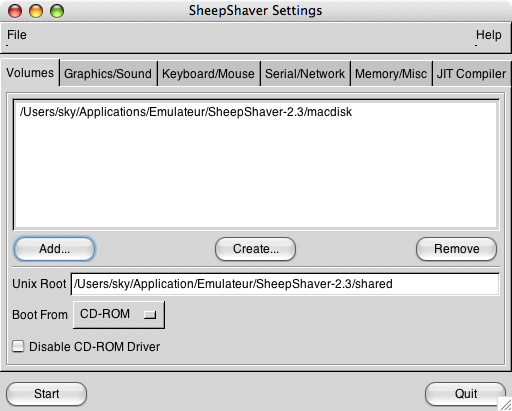
Click on the "create" button to create this volume, a window will then open, and you will first need to select where you want to place the disk image. Be careful, everything is in a non-localized version of Mac OS X and hidden folders and files appear.
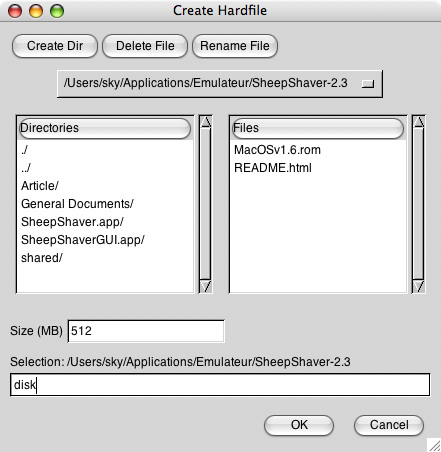
In the example above, you can see that the file will be 512MB and placed in the SheepShaver subfolder of your user directory (Home). Once you click OK, wait, as it may take some time. Indeed, the emulator creates a file of the size you specified. The volume automatically appears in the list of disk images to mount.
Next, you will need to fill in the "Unix root" field. You will indicate the path to a folder. This folder will prove very useful as it will allow you to easily transfer files from the host Mac to the emulated Mac. I recommend creating a dedicated folder for this purpose. Make sure not to place any folder containing your personal files. In the example, this folder is a newly created one in the SheepShaver directory. We named it shared (Shared in English). For the first boot, it is advisable to choose the "Boot From CDROM" option, which will allow you to install the software from a Mac OS CD.
It is clearly better to have a standalone Mac OS CD rather than one provided with a machine. We tested a Mac OS 9.0.4 CD from a first-generation G4 AGP and a Mac OS 8.6 CD from an iMac G3, both without success.
In the Graphics/Sounds tab, you will mainly be able to adjust the screen size of your virtual Mac, as well as the display mode (Windowed or Fullscreen). By modifying the "Windows refresh rate," you modify the time between each refresh of the virtual Mac's screen; the higher its value, the more your Mac's main processor will be strained.
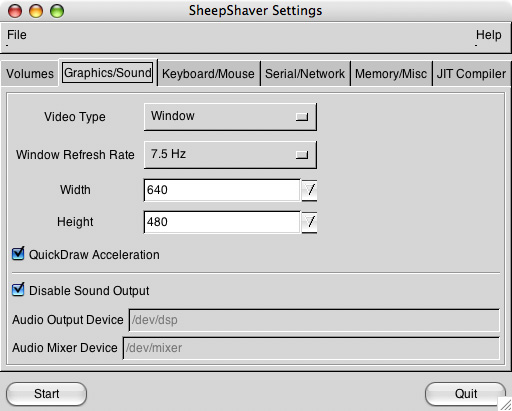
The QuickDraw emulation appears to be buggy, and we recommend disabling it until a fix is applied.
If you need sound, you can uncheck the "Disable sound" option without modifying the following settings. Adding sound significantly slows down the emulation.
The Keyboard/Mouse and Serial/Network tabs, as well as the JIT section at the end, are intended for advanced users; we will not dwell on them.
The Memory/Misc tab concerns the memory allocated to your virtual Mac; the more memory you allocate, the more comfortable your host will be with the many applications you want to open. However, be careful not to exceed the amount of memory available on your Mac. You risk not only reducing the performance of the emulator but also that of your Mac. In the example, we will allocate 128MB, which will be more than enough to test 2/3 of the applications.
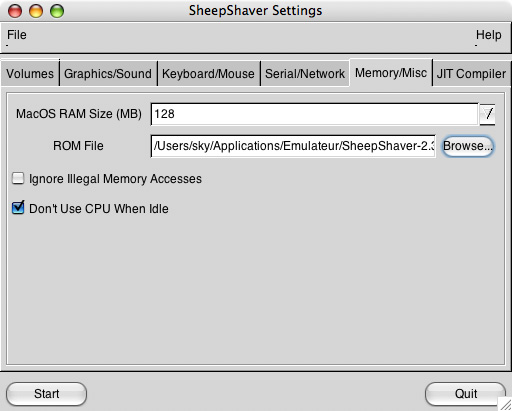
Next, specify the path to the ROM using the Browse... button.
At this stage, your SheepShaver should be properly configured. Insert a Mac OS installation CD-ROM and click on Start.
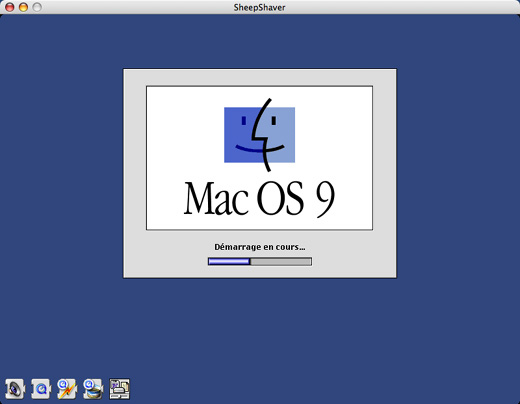
If you see the smiling Mac, congratulations, your virtual Mac will soon start up. If instead you get an error message, go back to the configuration; you likely missed a step or made a mistake in one of the paths.
Once started, you should have a virtual disk that will ask you to initialize it and a disk named Unix, which will be your shared folder. If either is missing, check the paths provided in the Volumes tab.
If you have a compatible Mac OS installation CD-ROM, you just need to run the installation. Otherwise, once your virtual Mac is functional, you must install Mac OS on a compatible computer and copy the resulting folders to the virtual hard drive. Then, place them in the image that can be opened with Mac OS X (rename it to .dmg if necessary).
Once your Mac OS is installed, remember to reset "Boot From Any" in the Volumes tab.
Usage
Once everything is installed, it's time to start the virtual Mac, and there you go, it's surprisingly fast (for an emulated system). You finally arrive at a fresh Mac OS, completely independent of Classic.
Everything happens as if you had a classic Mac OS 8 or 9, but in a window. The mouse is shared between Mac OS X and the virtual Mac OS. The keyboard, however, is in QWERTY layout, so you'll have to get used to it if you're accustomed to AZERTY or QWERTZ.
If you enabled sound in SheepShaverGUI, you must also activate it in Mac OS 9 in the "Sound" control panel. On Mac OS 8.5 or 8.6, you must find the "Sound" application in the Apple Extra folder and activate it.
The Unix folder for transferring files is a great idea and a practical way that you will keep using.
However, converting a file destroys its resources (those used by Mac OS before the Mac OS X era), so it's better to pass applications and other sensitive files compressed to keep them unchanged.
As you can see, the installed Mac is a 9500/9600 with a G4 100 MHz processor, an unbelievable configuration. The allocated memory is indeed present. To maintain decent performance and a lightweight virtual disk image, do not enable virtual memory; instead, allocate a bit more RAM in SheepshaverGUI.
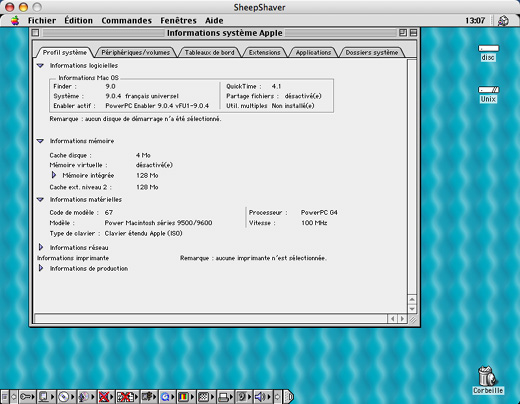
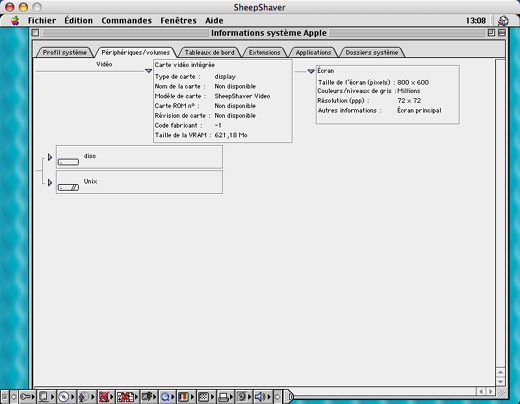
The performance on a MacBookPro Core Duo 1.83GHz is excellent, and even quite impressive for a computer emulator. The processors are rarely used at 100%, leaving room to open other software in Mac OS X.
Like any proper emulation, nothing is perfect. Installing certain software can cause issues and harm the stability of the emulated OS. The many crashes will remind you of the hours spent cursing at the latent instability of these old versions of Mac OS. For example, the installer for Stuffit Expander 7.0.3 crashes the OS and corrupts the system folder, forcing you to reinstall your MacOS. For my part, I installed Stuffit the "old-school" way, meaning I placed the correct extensions and files in the right locations.
On this note, we strongly recommend you back up your virtual system as often as possible. This is extremely simple. You just need to copy the image file (here, the macdisk file) to a CD-ROM (or DVD-ROM) or create a duplicate on another disk. If the host crashes completely, you will only need to restore your backup in place of the original file; however, you will lose any modifications made since your last backup.
As seen during installation, you also have the option to mount the virtual disk image in macOS to retrieve or place files or folders.
For those who have long used Mac OS before its X version, habits return quickly; you'll find everything you loved as well as everything that pushed you to switch to macOS X.
Including old alerts for the most nostalgic.
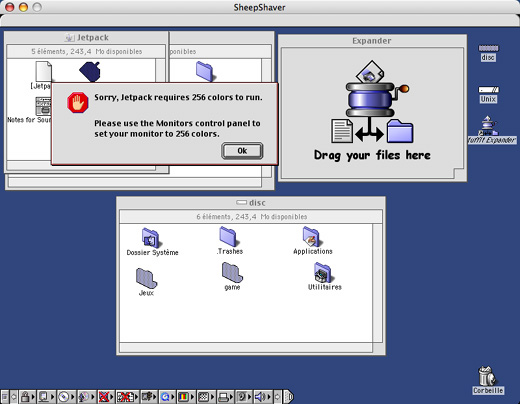
We tested some games and software for you:
- Abuse:
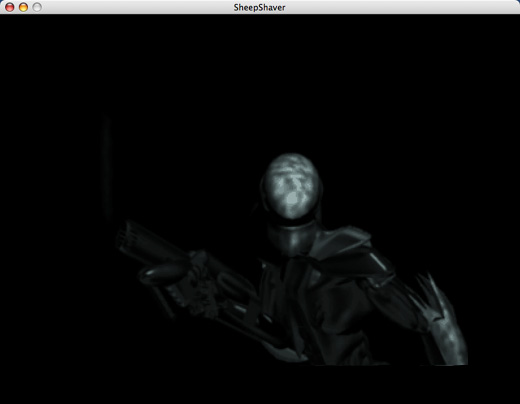
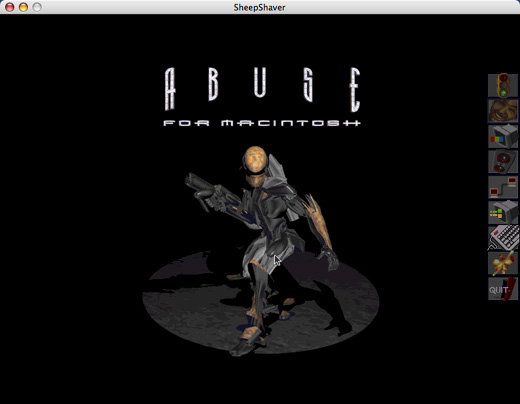
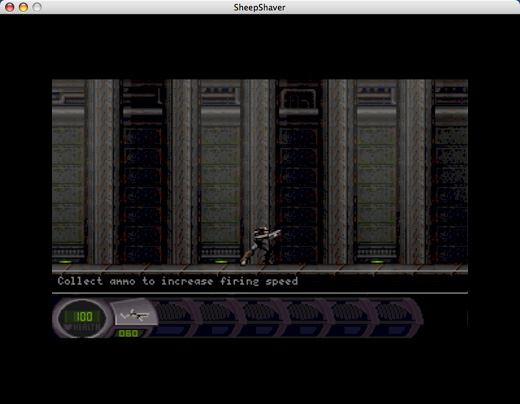
- Al Unser Jr.
Arcade Racing (with QuickDraw emulation disabled):
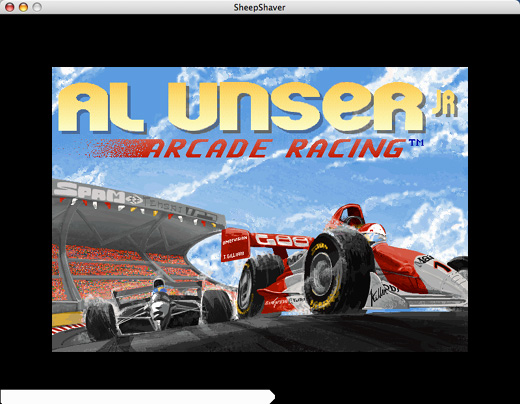
- Chaos Overlords
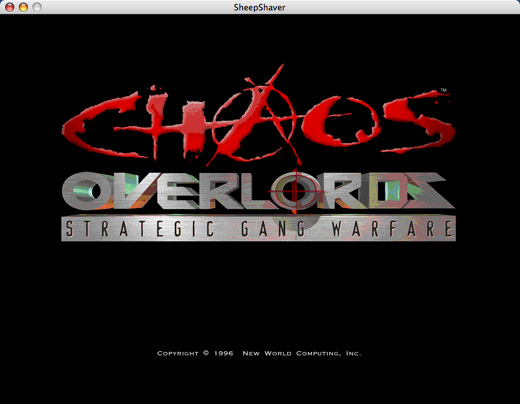
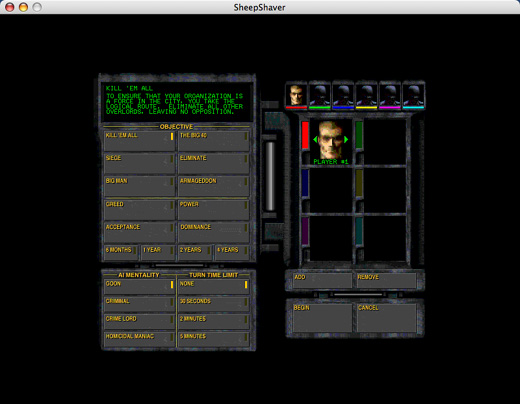
- Doom & Doom 2 (works only with sound enabled):
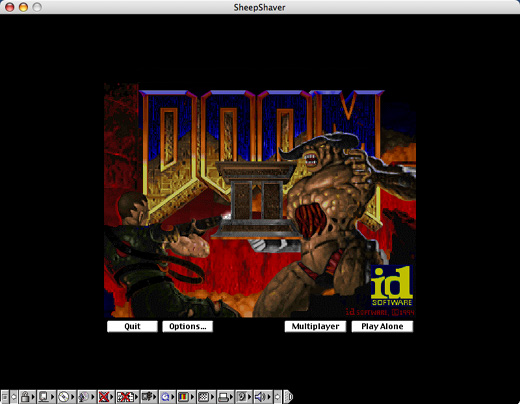
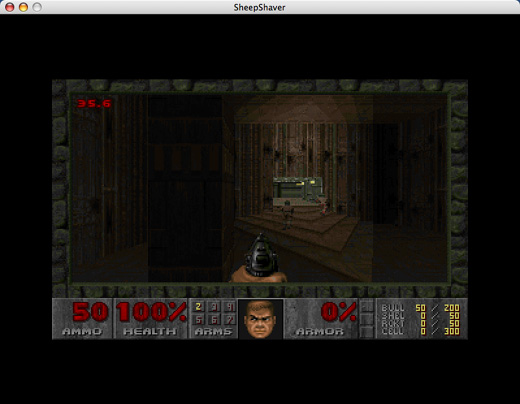
- FA/18 Hornet (with QuickDraw emulation disabled):
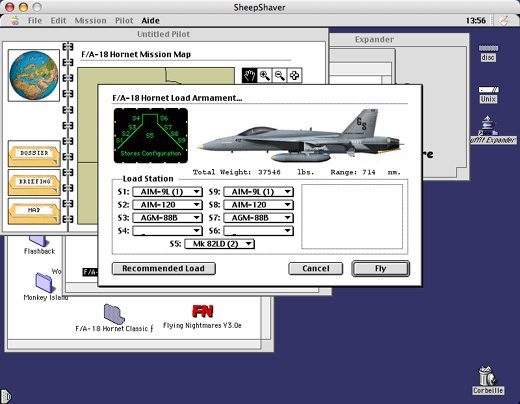
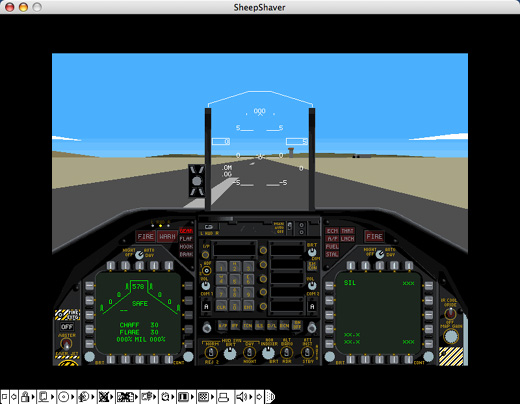
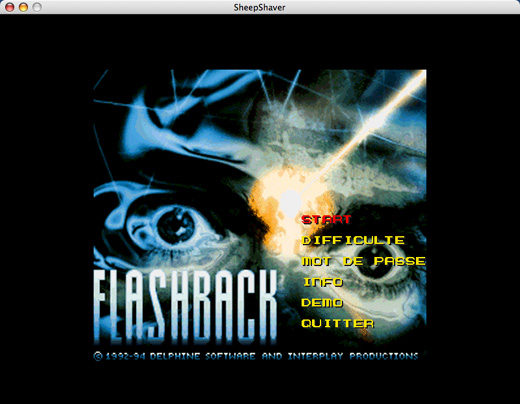
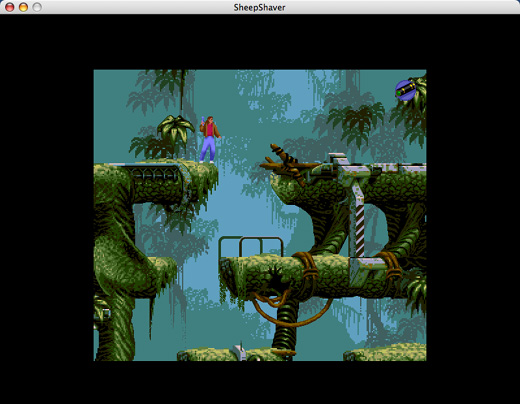
- Flashback (if like me, you have it on five disk images, remember to mount all of them before starting the installation):
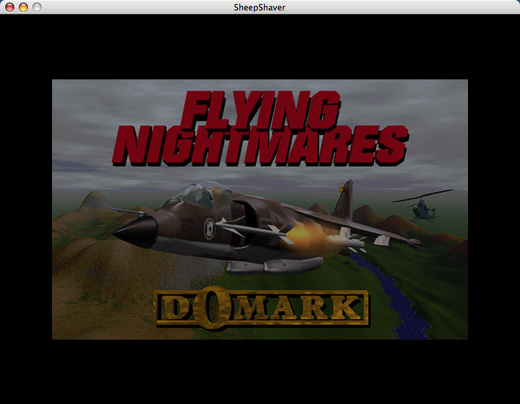
- Flying Nightmares
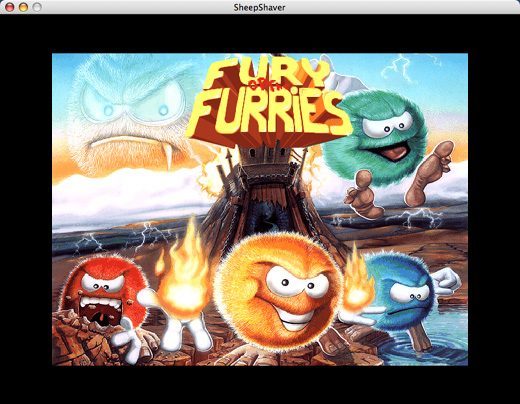
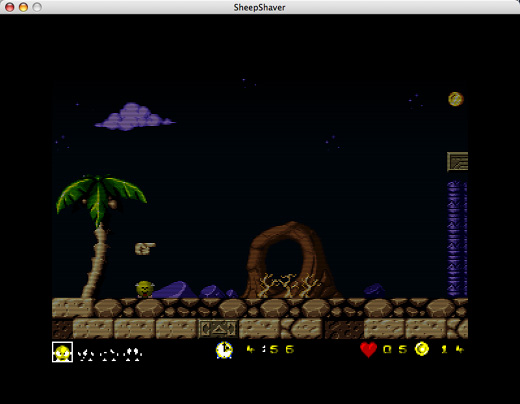
- Fury Of The Furries (with QuickDraw emulation disabled):

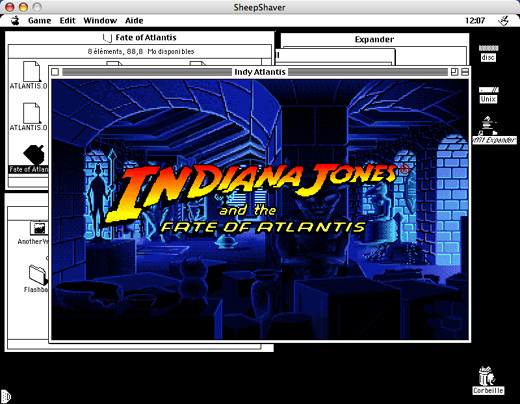
- Indiana Jones and The Fate of Atlantis:
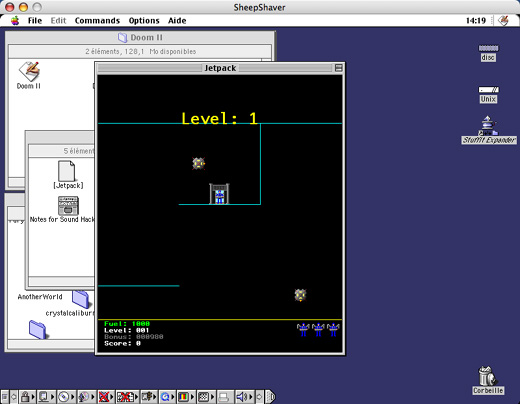
- JetPacks (works only with sound enabled):
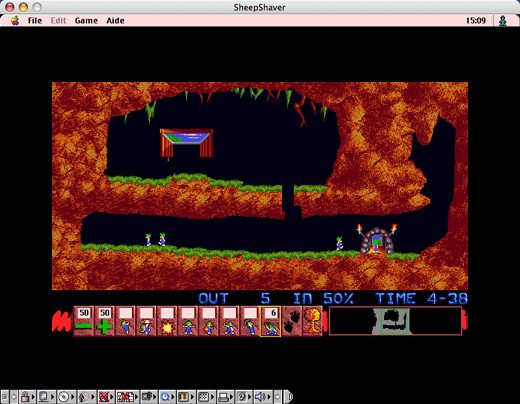
- Lemmings works perfectly, the only issue is the cursor is black and hard to spot.
- Marathon:
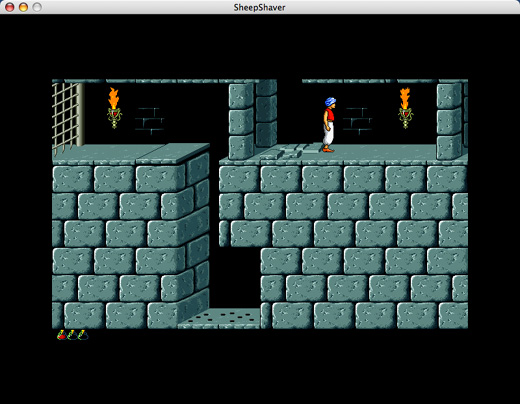
- Prince of Persia:
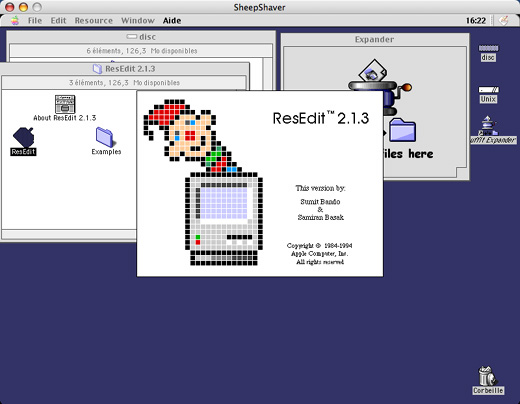
- Resedit, the essential resource editor:
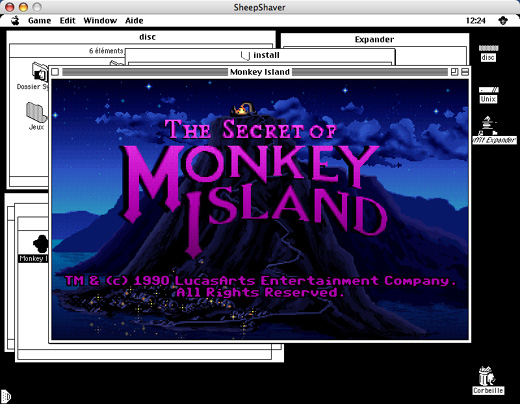
- Secret of Monkey Island:
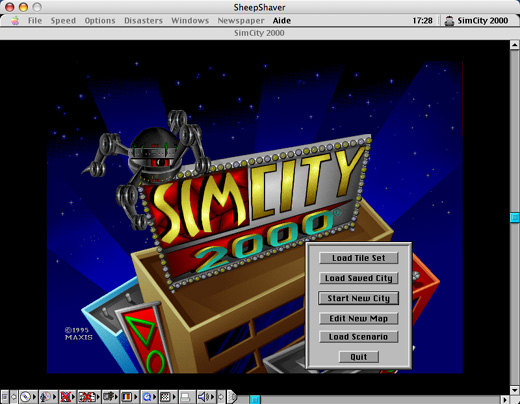
- SimCity 2000:
- SimTower:
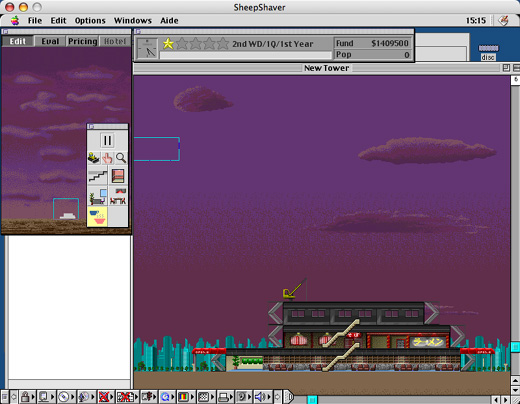
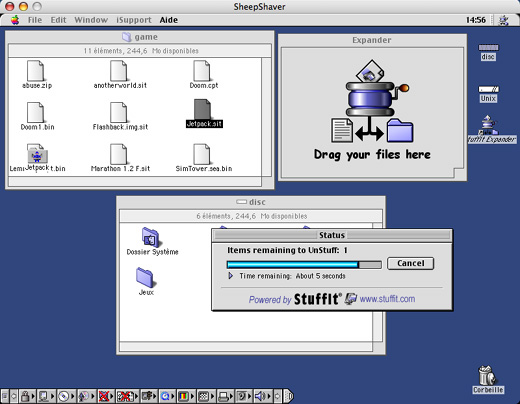
- Stuffit Expander 7.0.3 works perfectly after a manual installation:
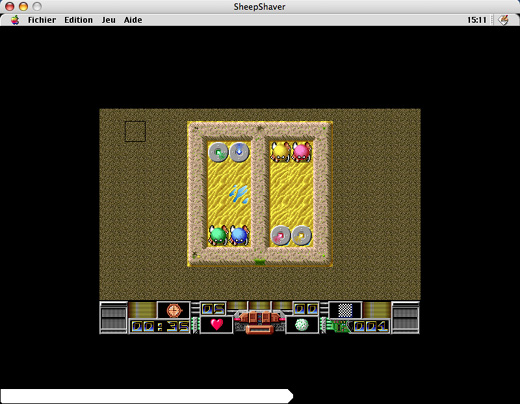
- The Tinies:
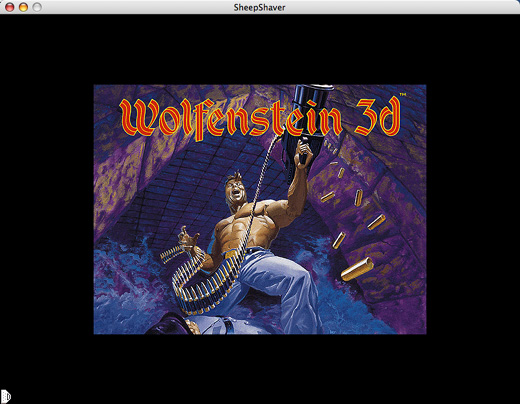
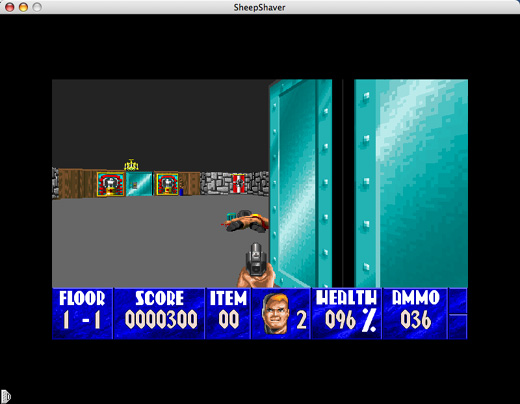
- Wolfenstein 3D:
Unfortunately, some do not work:
- Another World: Crashes the emulator.
- Gobliins2: Crashes Mac OS in a messy way.
- Ishar 3: Crashes the emulator
- Targhan: Crashes the emulator
- Worms: Works but the game's cursor does not follow the mouse and unfortunately nothing can be done.
In summary, this Mac emulator is a perfect alternative to the classic mode, which is often unstable and no longer available on Intel-based Macs.
Even though the installation is quite complex, it's worth it just for the many games listed above or all the others available for Mac OS 8.5/8.6/9.PS: If you are comfortable with configuring emulators and OS9/OSX utilities in general, you will find some additional tips in the following folder, SheepShaver: Some Tips and even information on networking, not always successful, in the article Networking Mac OS 9 through Qemu or SheepShaver.
Related software
Reply on the forum
A question or a hands-on report? Open the discussion on the forum.