Creating a SBI Compilation for Dreamcast Emulation
What Are SBI Files?
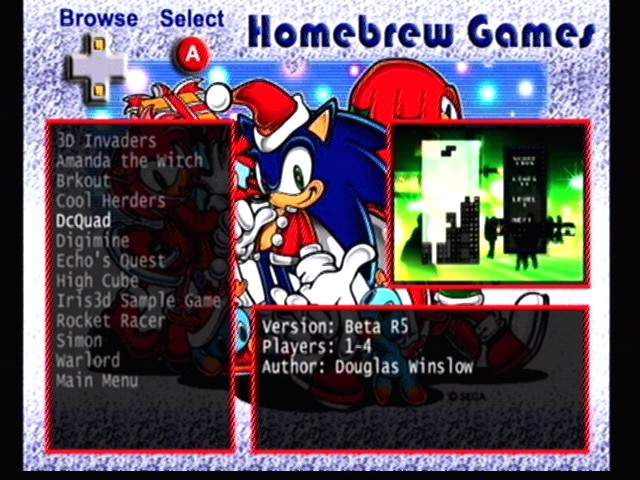
For those interested, SBI files are actually Plain Files (raw files) zipped and with their extension changed (it is perfectly possible to rename a file like truc.sbi to truc.zip to see what's inside). SBI files are burned to be launched with a Dreamcast software named Dream Incuder. This program displays a beautiful menu (100% customizable since it is made of XML files and graphic files) allowing the selection of emulators to launch (but it is also possible to launch HomeBrew games and Dreamcast applications, of course). For a long time on Mac, it was necessary to deal with lines and lines of Unix commands to create a CD containing SBI files (ok, I might be exaggerating a bit), now you can do all this with just a few clicks thanks to the software: Mac Dream Tool.
- Requirements
- Mac OS X
- Toast
- A CD-R (preferably with blue or black surfaces)
- .sbi files
- Mac Dream Tool (v3 for PPC)
- Dummy Creator (v2 for PPC)
Phase 01: The .sbi Files
The .sbi files can be found everywhere. For amateur game .sbi files, check out dchomebrew.org (dead link), otherwise for general SBI files (emulators, programs, etc.), there is consolevision.com/members/sbiffy/files (dead link). All the SBI files offered are legal, so no issues there.
Phase 02: Creating the Incuder
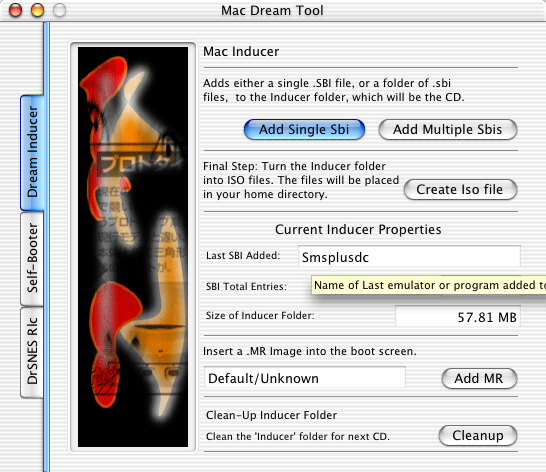
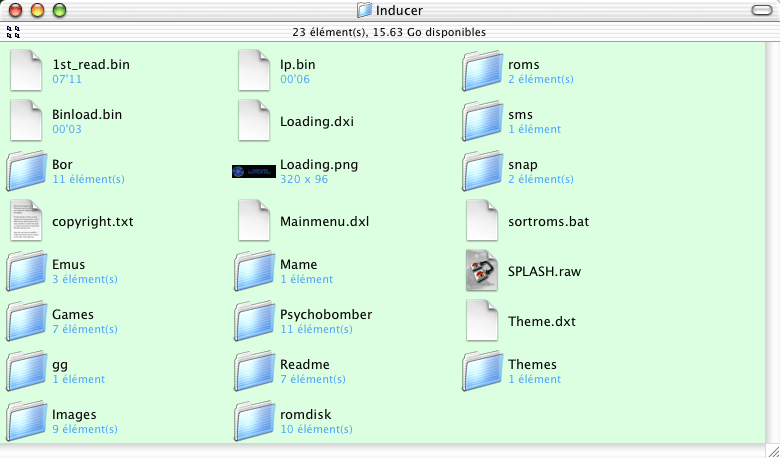
Place all your .sbi files in the same directory, then download Mac Dream Tool and make sure to put it in the /Applications folder! (The software works with AppleScripts, so do not touch the file organization in the MDT folder!). Launch the software, activate the "Dream Inducer" tab, then "Add multiple Sbis". The software will perform several manipulations. Then go to the "Inducer" folder, which should now be well-filled.
Phase 03: Burning
Launch Toast and burn a CD as "MultiTrack CD-ROM XA (Multi-Track CD-ROM XA)" then burn a first session (at 8x, Buffer Underrun Prevention, DAO) with the file "Fixed.iso". Then burn a second session (but close the disk this time) with the file "Header.iso". For more details, refer to the previous guide on Dreamcast burning.

Bonus Phase: The Dummy
If I recommend using blue or black CDs, it is to prevent damage to the optical drive. But you likely already know that the Dreamcast reads discs backward, meaning the laser starts from the outside and moves inward. This means that when you have little data (300-400 MB for a 700 MB CD, for example), the lens will have to travel a much longer path each time to access the data. Result: longer load times and wear on the optical drive. To address this issue, a solution exists: push the data towards the edges of the CD. But how? It’s simple, using an empty file named 000dummy.dat. You will need Dummy Creator for this. Before launching it, you will have to perform a small calculation (yes, really!). If you are really bad at math, there is a calculator in the Applications folder.
First, press Command+i on the Incuder folder to get its size (after having added everything you wanted to burn). Then do this: CD size - 50 MB safety margin - Incuder size. For example: 700 MB - 50 MB - 100 MB. So, 550 MB. Open Dummy Creator and type 550. Why 550 MB?
I noticed that once converted to ISO files, they tended to grow in size (you are free to perform several tests). In any case, the dummy file MUST be placed in the root of the CD (Include directory).
Further with MDT
MDT also allows creating self-booting ISOs with Plain Files (self-booter tab), I still recommend placing a dummy file.
Reply on the forum
A question or a hands-on report? Open the discussion on the forum.