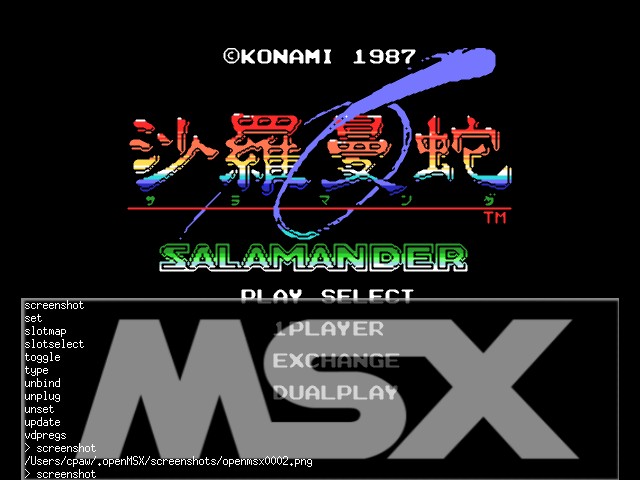
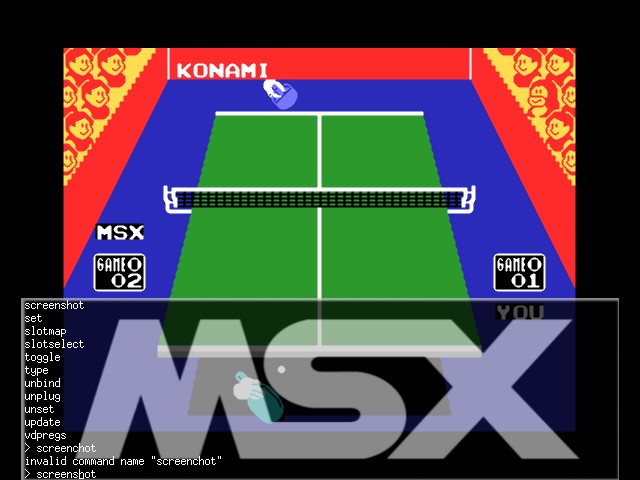
Welcome to the wonderful world of MSX, a famous computer known for being one of the first standards in microcomputing. In the early 1980s, the Japanese manufacturer Ascii developed a computer based on the famous Z80 processor. Their engineers had the idea of creating a new concept: a standard computer with compatibility between different manufacturers. The first challenge was to find who could provide a powerful and easy-to-use system for these machines, and it was Microsoft that offered a solution with its Microsoft BASIC 1.0 (ancestor of DOS).
When the prototype was ready, a huge number of Japanese manufacturers showed extraordinary enthusiasm for this project. Sony, Panasonic, Philips, Canon, Toshiba, Goldstar, and others, each produced their own MSX, the first of its name. It was a tremendous success in Japan, to the point that the most European manufacturers launched the MSX in the Netherlands, France, Spain...
However, things did not always go as planned. After the incredible success of MSX, a new standard appeared: the MSX2, bringing major graphical and audio innovations. It was adored in the land of the rising sun but ignored by the French, notably. The MSX2+ and MSX Turbo R were never distributed in France, and after a fantastic adventure, MSX faded away in the early 1990s.
It was on this platform that the famous Japanese company Konami began a new chapter in the history of video games. Be careful not to confuse MSX with a mere gaming console. On the contrary, it is a computer that allows text editing, spreadsheets, drawings... It is an excellent machine for sound production and program creation.
It supports thousands of peripherals, from modems to printers, not forgetting our famous two-button mouse.
OpenMSX 0.5.2-RC1 is an 'open source' emulator available on numerous platforms and through which the Macintosh community will be able to discover or rediscover the joys of MSX.
This tutorial aims to fill the gap in French information about this emulator and above all to provide the basics to use openMSX from the command line. The graphical interface Catapult 0.5.1 does not work under Mac OS X, and the solution proposed by the famous Neko does not seem satisfactory, limiting the emulator's capabilities.
This tutorial is for users of Mac OS X (10.4 and above) who wish to experience the joys of MSX.
I. PREPARATION
Like a recipe, you need the right ingredients. You must therefore obtain the following items:
Apple Developer Tools
You install the developer tools from one of the Mac OS X 10.4 Tiger CDs or DVDs, or you retrieve them online: https://developer.apple.com/xcode/
Fink
Download Fink 0.8.0 (Mac OS X 10.4) from the following address https://www.finkproject.org and install the package.
First of all, Mac OS X (10.4) uses GCC 4.0 by default and you must absolutely use GCC 3.3. To do this, open a new Terminal shell and type:
sudo gcc_select 3.3
First, you will need to install, using Fink, the dependencies required for OpenMSX to function properly.
It is necessary to install the following libraries:
libpng (1.0.12-7)
libxml2 (2.6-17.1)
libjpeg (6b-16)
sdl (1.2.8-1)
sdl-shlibs (1.2.8-1)
sdl-image (1.2.3-1)
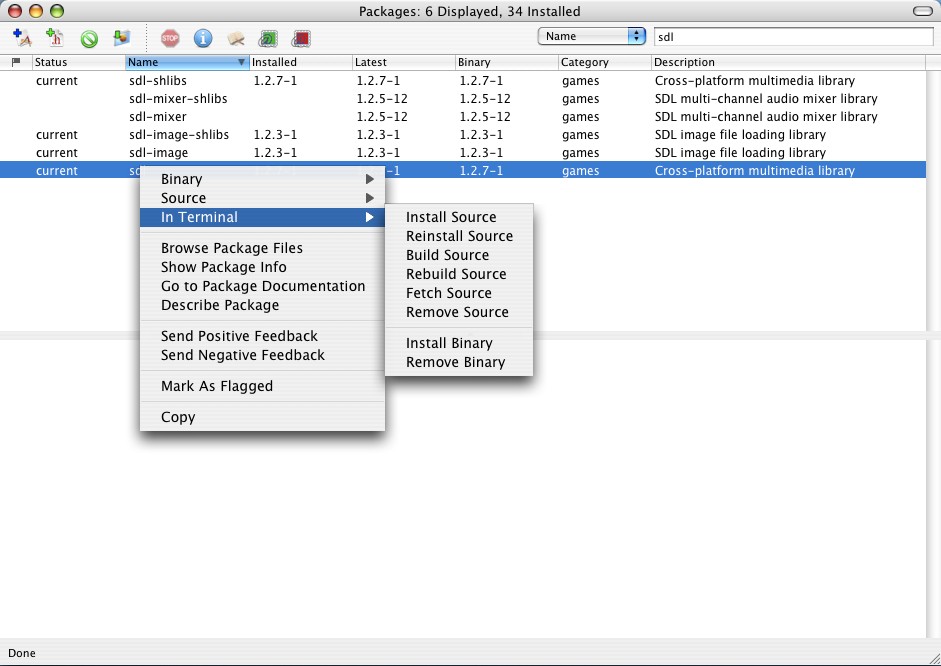
To install them correctly, select the library you want, then right-click your mouse to display a context menu. Choose 'In Terminal' then 'Install Source' to start installing the package as shown in the image below.
You can obviously skip FinkCommander and use the Terminal directly to install your libraries.
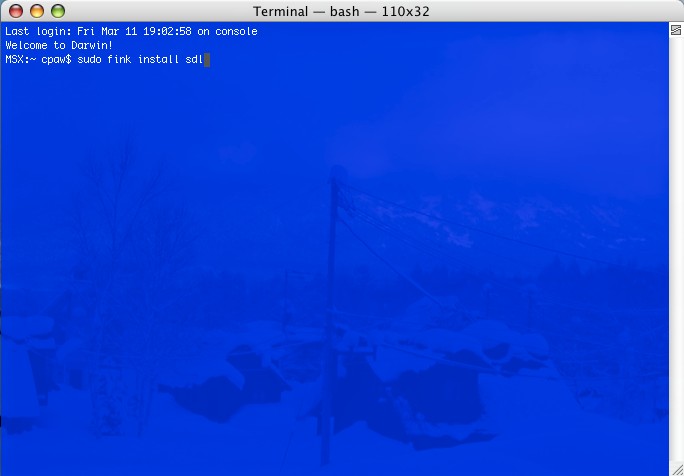
fink install xxx # (xxx = package name)
Note that compiling a library requires you to be connected to an administrator account on macOS X. If your system refuses to install a Fink library claiming a user rights issue, start a new Terminal shell and note the following to force the installation:
sudo fink install xxx # (xxx = package name)
Once the dependencies are installed, you can finally proceed to compiling OpenMSX 0.5.2-RC1. Unzip your file and leave the 'openmsx-0.5.2-RC1' folder on your desktop. Start a new Terminal shell and type:
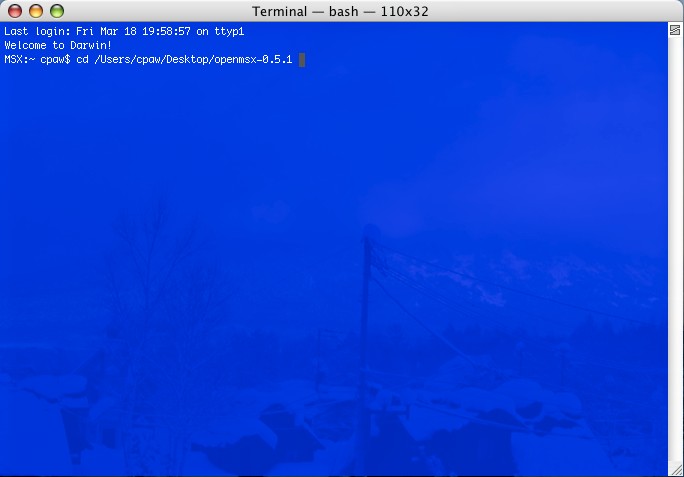
"cd" followed by a space and drag your folder onto this Terminal window. Press Enter!
Then, type the following command:
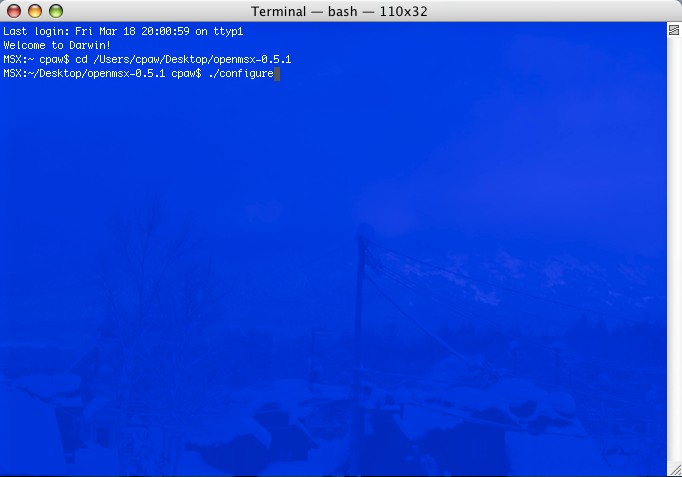
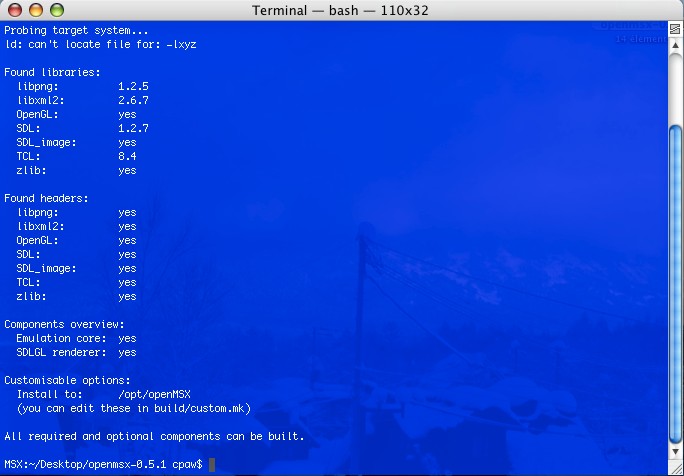
./configure
You will get the following result:
Normally, you should get 'yes' for all the libraries that OpenMSX requests as shown in the image above.
Let's proceed to compiling OpenMSX.
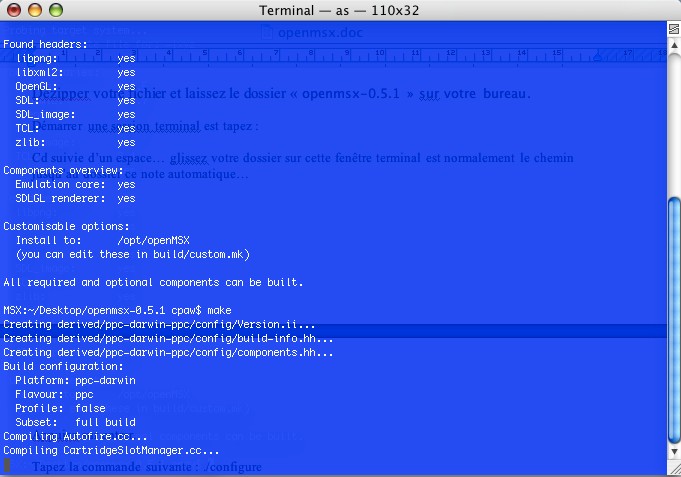
Type in the Terminal window the following command:
make
The compilation of the program may take more or less time depending on the power of your processor!
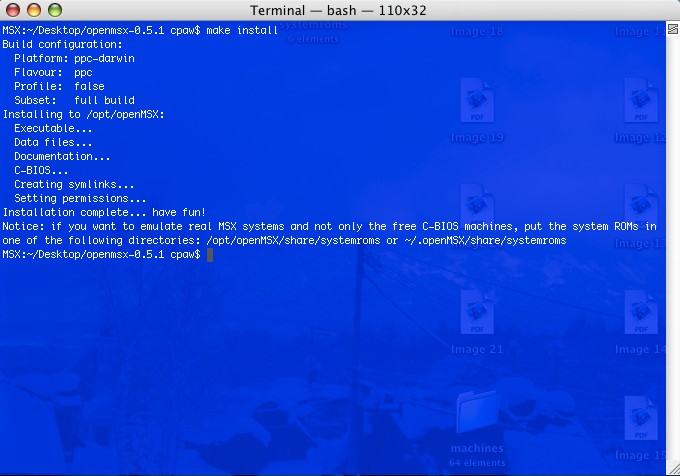
Once completed, run the final command to install OpenMSX:
make install
III. INSTALLATION
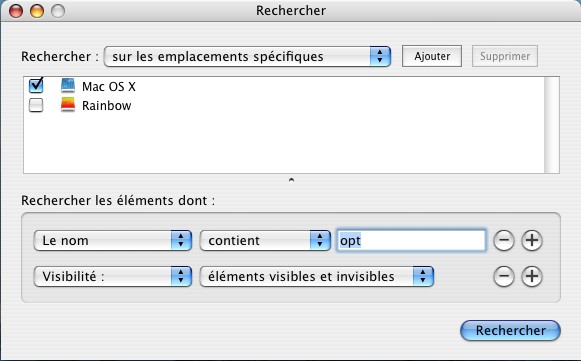
OpenMSX is installed in /opt/openMSX. This is a hidden folder under Mac OS X (10.3) 'Panther', but since Mac OS X (10.4) 'Tiger', it appears in the root of the hard drive where the system is installed. To find it from 'Panther', you can launch a search with Command + F from the Finder, integrated into Mac OS X, specifying to include hidden files and folders.
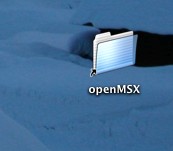
Still under 'Panther', I recommend creating a shortcut to the 'openMSX' folder on your desktop for quick access to your emulator.
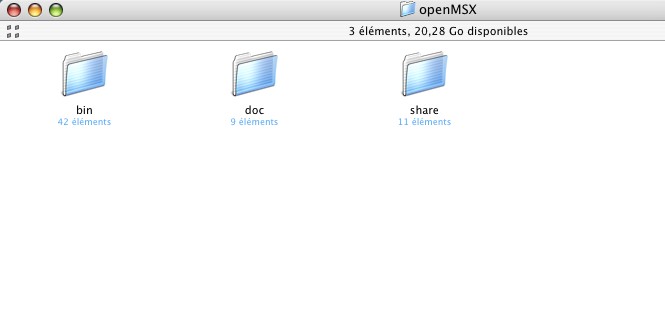
The 'openMSX' folder is organized as follows:
A 'bin' folder where you will find the OpenMSX application. This is also where you should drag your ROMs and disks by default. Indeed, you can change this with the command set user_directories
A 'doc' folder with all the documentation (in English) to answer all your questions (but then why am I making this tutorial?).
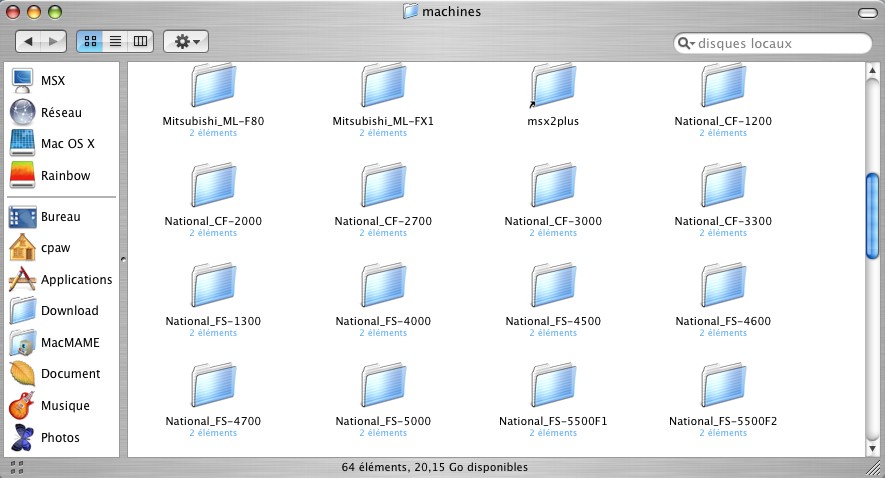
A 'share' folder which is the center of extension management as well as BIOS for different machines...
You must install your BIOS files in the respective folders for each machine! Games and other software are available to the average user via the internet.
You can search using a search engine, for example.
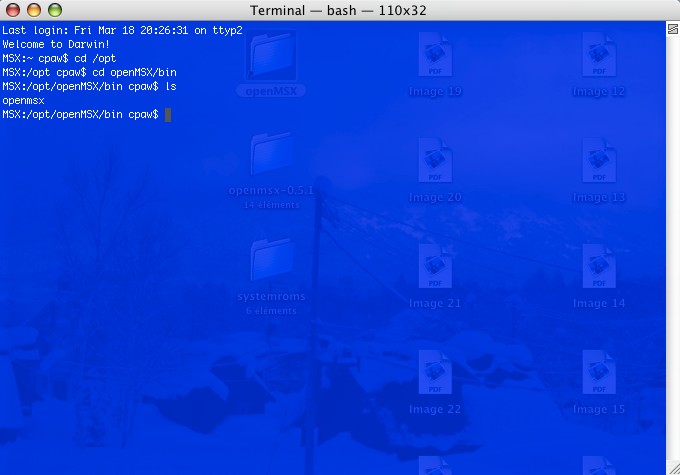
To launch the OpenMSX application, you must be in the 'bin' folder of the 'openMSX' directory. Open a Terminal window and type:
cd /opt/openMSX/bin
You are now in the correct folder. To launch OpenMSX, type:
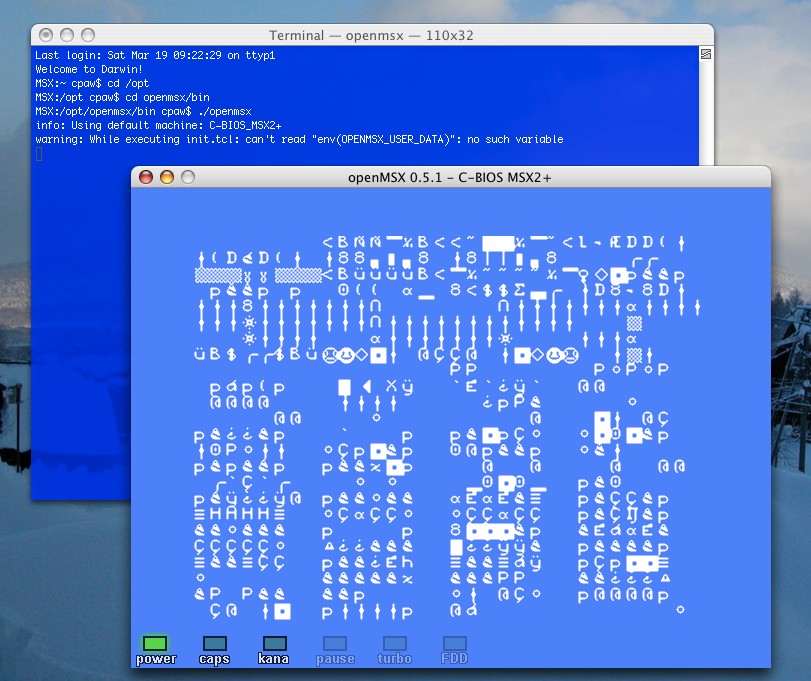
./openmsx
By typing this, you start OpenMSX with a default BIOS c-bios 0.21 on https://cbios.sourceforge.net/, but you can ask the emulator to copy the machine you want and whose specific ROMs or BIOS you have retrieved.
How do you ask OpenMSX to open a machine for which you have downloaded and correctly installed the BIOS?
./openmsx -machine xxx # (xxx = machine name)
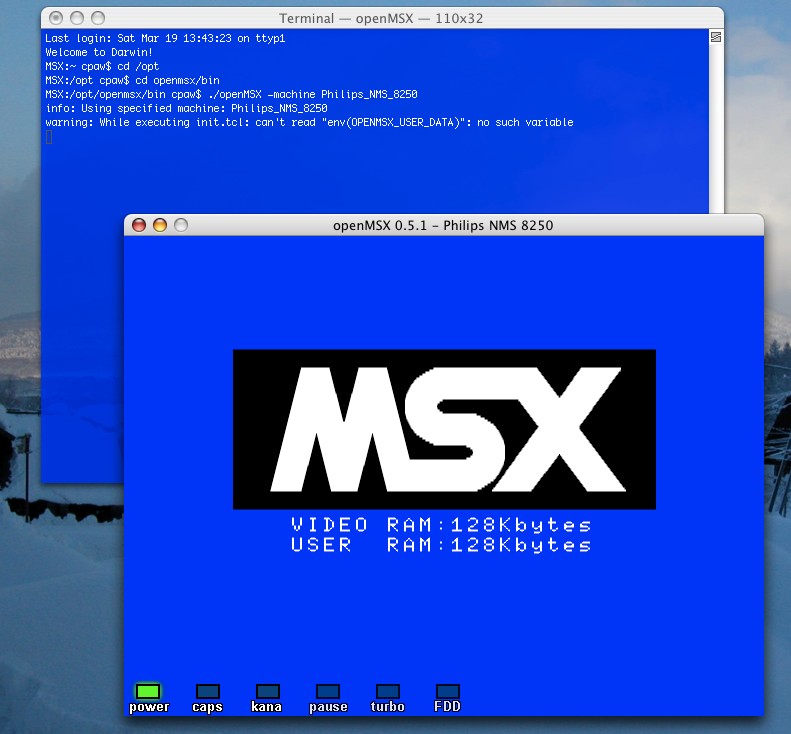
For example, I want to start on a Philips NMS 8250 (MSX 2). I must type:
./openmsx -machine Philips_NMS_8250
To start a ROM:
./openmsx xxx.rom # (xxx = name of the ROM which must be located in the 'bin' folder)
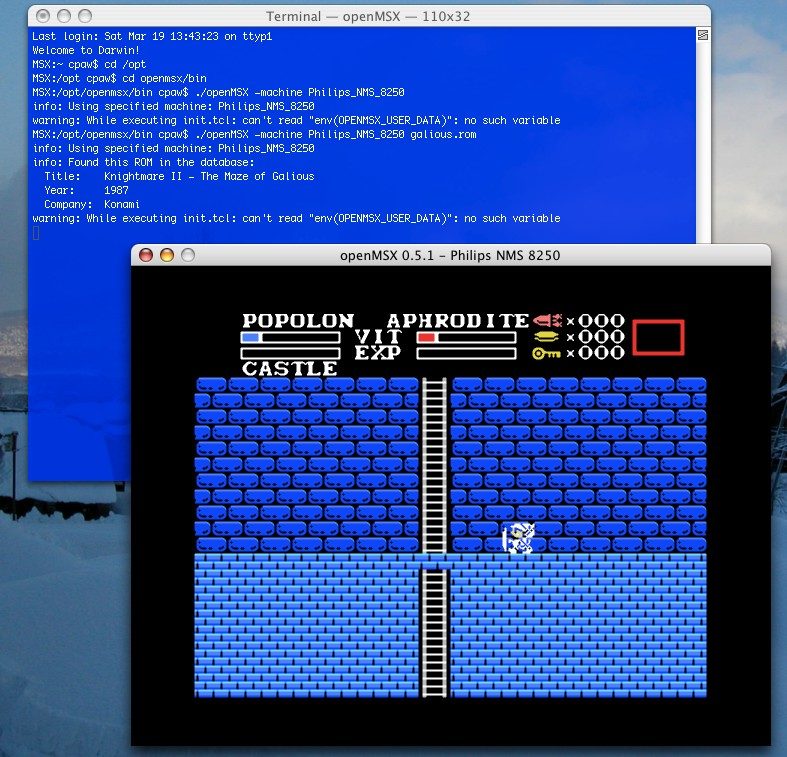
For example, I want to start on a Philips NMS 8250 (MSX 2) Maze of Galious (galious.rom):
./openmsx -machine Philips_NMS_8250 galious.rom
Using disks (3.5" floppy disk format) requires disk drive emulation. Here’s how to launch the disk command:
./openmsx -diska xxx.dsk # (xxx = disk name located in the 'bin' folder)
How to change a game or application that has two disks?
:
./openmsx -diska xxxa.dsk -diskb xxxb.dsk
You can obviously eject a floppy disk by typing:
./openmsx -diska eject
If you have games or applications in 3.5" floppy disk format, you can use them by specifying the path of your floppy drive to OpenMSX.
To change a specific extension, for example the Sony HBD-F1 which is nothing more than a floppy disk drive, you must type:
./openmsx -ext Sony_HBD-F1
For general help, type:
./openmsx -h
The use of MSX cassettes (audio cassette format) is possible with OpenMSX. To play a cassette tape, use the command:
./openmsx cas xxx.cas # (xxx = name of the cassette file)
To eject an audio cassette, type:
./openmsx cas eject
IV. SETTINGS
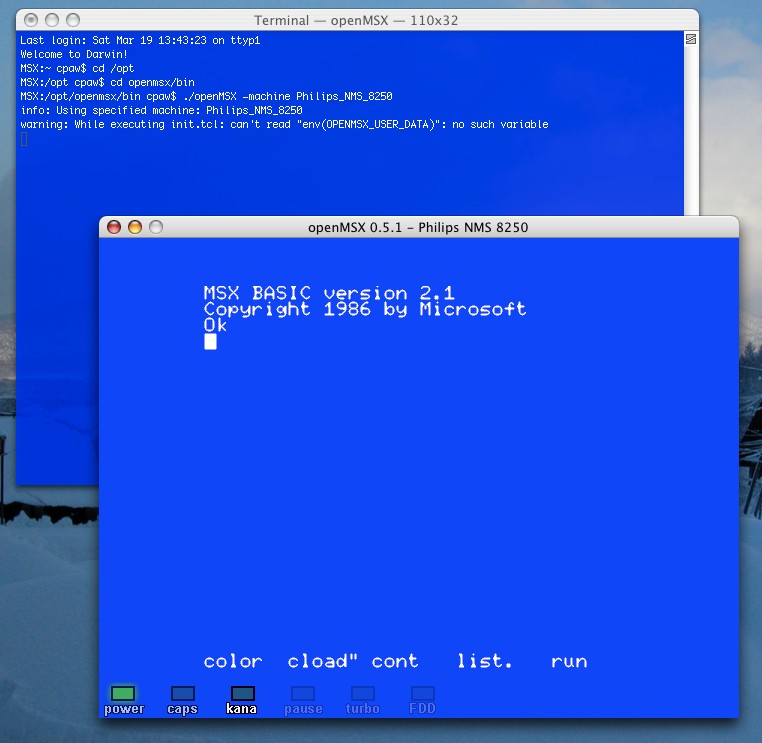
As soon as you launch OpenMSX, an execution window opens with the selected program or defaults to MSX Basic.
A. THE KEYBOARD
To enter fullscreen mode, you need to press Command + F via your keyboard. To return to window mode, press Command + F again. You can also use 'fullscreen' by typing the command set fullscreen on in the OpenMSX terminal.
Command + D = Screenshot
Command + L = Calls the OpenMSX terminal
Command + P = Pause
Command + Q = Quit
Command + T = Turbo Mode
Command + U = Sound On/Off
The main MSX key equivalents are:
MSX CTRL = Left-CTRL
MSX DEL = Right-CTRL
MSX GRAPH = Left-ALT
MSX CODE = Right-ALT
MSX STOP = Command + P
MSX TURBO = Command + T
The owners of iBook & PowerBook do not have a keypad, but they can indirectly use a virtual keypad via the 'Num Lock' key. In OpenMSX, you must press the 'fn' key along with the letter or number corresponding to the numeric keypad key.
For example, press 'fn' + J = 1, 'fn' + K = 2, 'fn' + L = 3.
NB: Some users with iBook & PowerBook report being unable to use the numbers and symbols from the second row (from top to bottom) on their keyboard. The only solution found is to use an American keyboard layout before launching the OpenMSX application. You can select it via the 'international' preferences menu.
B. VIDEO
The OpenMSX terminal is essential for most settings. Press the F10 key in full-screen mode to display the terminal.
The MSX initially displays at 256x212, but under OpenMSX, three display modes are available:
Sdllo uses a 320x240 display, which is not problematic for running MSX1 programs. It is the graphical rendering intended for slow computers. To activate it, use the following command in the OpenMSX terminal:
set renderer sdllo
SdlHi is the default display mode. It uses a 640x480 resolution without any graphical acceleration. It is not very demanding: a G4-500 MHz processor suffices. To activate it, type the following command in the OpenMSX terminal:
set renderer sdlhi
Sdlgl is a display mode using OpenGL that allows MSX programs to enjoy a new visual youth. Its use is demanding as it requires a G4 processor of at least 1 GHz and a high-performance OpenGL graphics card. Type the following line in the OpenMSX terminal to activate it:
set renderer sdlgl
Finally, to check the display mode used by OpenMSX, type:
set renderer
C. GRAPHICS FILTERS
Most of the time, an MSX display does not exceed 256x212, but using the SdlHi display mode increases this resolution to 640x480. The image conversion will result in a loss of quality. That is why 3 graphics filters are available with OpenMSX to achieve a high-resolution image.
Scale2x is a filter that smooths sprites only at their edges, thus avoiding a blurry appearance in the image.
It does not slow down the display, but it rounds off many angles, which is not always very nice.
set scaler scale2X
2xSaI is a filter that smooths by pixel interpolation. It works well on most graphics except images with a contrasted background: this is the case when white text is displayed on a black background. To activate it, simply type:
set scaler 2xSAI
hq2x is a filter somewhat similar to 2xSaI, but with an even more stunning result. Since its algorithm is very heavy for a friendly little processor, it is useful to activate it on a machine with at least 1 GHz.
set scaler hq2x
D. REFRESH RATE
The synchronization or refresh rate of the graphics goes through the accurancy command. There are three different refresh modes.
Screen is a synchronization mode that occurs once per second across the entire screen. It is sufficient for some MSX1 programs, but it is too weak for the rest.
set accurancy screen
Line is the second synchronization mode. At the start of each line display, the video is refreshed. This is sufficient for most programs.
set accurancy line
Pixel is the third synchronization mode that occurs pixel by pixel. Indeed, with each display of a new pixel, the entire video is refreshed. This is the best configuration and therefore the one that should be enabled by default.
E. GAMMA CORRECTION
Since your monitor may have different gamma values than an MSX monitor, you can compensate for this with gamma correction. The default value is 1.0; a lower value makes the image darker and a higher value makes it brighter. To enter the value you want, type:
set gamma 1.0 # (for example)
F.
SPECIAL EFFECTS
OpenMSX includes various special effects that can be applied to the video output (TV).
Deinterlace:
Interlacing is a technique that doubles the vertical resolution of an image by doubling it across two lines. After blurring from the TV, the brain combines the two fields into a single image. Sometimes, this process is imperfect and causes the image to flicker. It is enabled by default and works with the SdlHi and Sdlgl displays.
set deinterlace on # (off)
Scanlines:
On MSX TVs and monitors, you can see a small black space between the display lines, especially when using the NTSC standard. The scanlines function improves this with SdlHi and Sdlgl renders.
set scanlines on # (off)
blur:
MSX TVs and monitors are less sharp than our beloved Macintosh screens: pixels tend to blend into each other. The blur mode hides this by giving a soft blur effect. The default value is 50, 0 corresponds to no blur, and 100 gives maximum blur like on a TV. This function only works in the SdlHi and Sdlgl display modes.
set blur 50 # (0 to 100)
After glow:
Mode that allows blending each frame with the previous frame. This creates a trail effect for moving objects. A value of 0 means no blur effect, and a value of 100 means maximum motion blur. This mode only works in Sdlgl.
set after_glow 0 # (100)
AUDIO
The audio volume can be controlled via the master_volume command. It controls the overall output volume of openMSX. A value of zero (0) means no sound, and a value of 100 means maximum volume.
set master_volume 75 # (0 to 100)
I remind you that there is a key to mute the sound in fullscreen mode: F11.
Some MSX models have a MIDI interface, such as the Panasonic MSX FS-A1GT (Turbo R). To use this device, you must start the desired machine with OpenMSX.
You must then type the following function in the OpenMSX terminal.
plug msx-midi-out midi-out-logger
This records all MIDI interface input information in a file. It can be useful to connect MSX-MIDI to an external device such as a PC MIDI box or a synthesizer.
H. GAMEPAD/MOUSE
It is possible to use a gamepad with OpenMSX. To do so, connect your joypad and type in the OpenMSX terminal:
plug joyporta joystick1
Note, the only way to edit your gamepad keys is to modify the 'settings.xml' file located at the following address:
/opt/openMSX/share/settings.xml
It is also possible for OpenMSX to emulate a mouse. To do so, type:
plug joyporta mouse
If you want an emulated mouse device, such as the Philips SBC-3810 mouse or the Sony MOS-1, to be used by default, press the left mouse button when connecting it. To make the mouse usable only in OpenMSX windowed mode and thus not interfere with its use, you must enter the following command in the OpenMSX terminal:
set grabinput on # (off)
I. OTHER FUNCTIONS
These functions are to be used in the OpenMSX terminal.
help : lists all available commands in OpenMSX.
quit : to stop OpenMSX.
reset : restart the MSX with the same initial options.
cassetteplayer eject : ejects the current tape from the emulator.
diska eject or diskb eject : ejects the floppy disk from the emulator.
screenshot : screenshot of the OpenMSX activity window. The image in .png format is saved at the following address '/usr/.openmsx/screenshot'.
set firmwareswitch : allows the use of BIOS provided by some machines (Panasonic FS-A1GT).
Example: `set firmwareswitch on` (off)
set maxframeskip : this function allows you to adjust the frames per second rate. For example, to display a maximum of 20 frames per second, type: `set maxframeskip 20
set minframeskip : same for the acceptable lower limit of frames per second.
set speed : when a program runs too fast or too slow, use this command. Example: `set speed 120` (120%)
set save_settings_on_exit : command that allows automatic saving of all settings when OpenMSX is closed. To enable it, type: `set save_settings_on_exit true` (false)
set user_directories : allows you to choose the location for `.rom`, `.dsk` & `.cas` files by default. For example, if you want OpenMSX to know that all your programs are located in `/opt/openMSX/ROMs/`, type: `set user_directories "/opt/openMSX/ROMs/"
V. FAQ
1) Where to find the C-BIOS?
They can be found at https://cbios.sourceforge.net/. The latest C-BIOS are essential to run OpenMSX. The C-BIOS 0.21 is for OpenMSX 0.5.2-RC1.
2) How to remove the LEDs that appeared since version 0.5.2-RC1?
You will need to open the OpenMSX console by pressing Command + L and type: `load_icons none
VI. HELP/CONTACT
You can find help at https://openmsx.org/docs.html and also on the IRC channel #openMSX located on irc.freenode.net.