Multi-Machine Emulators (MESS, Mednafen, RetroArch, OpenEmu, etc.)
Before diving into this article, keep a few things in mind. First, it will be essential to have some knowledge of emulation, but above all, for most of the projects presented, a certain ease with the terminal, or even compiling source code. Regardless of your choice of application for certain target platforms, using a BIOS will be mandatory. These files may be specific to the application and sometimes need to have a precise name, or be compressed or not, making it too lengthy to detail the entire procedure for each one. That’s why this article does not aim to be a complete tutorial but rather an overview, and we assume your experience in this area will be sufficient. Note that the official documentation for each, although in English, is often quite adequate.
Introduction
As usual, we must clarify that for writing this article, tests were conducted on a MacBook Pro Intel Core i5 2.5 GHz with 4 GB of DDR3 RAM and an Intel Graphics 4000 1024 MB chipset under macOS X 10.10.5, and at the time these lines were written, we are only discussing the most well-known multi-machine emulators available for macOS X.
MESS

As is customary, we pay homage to the master. MESS, or Multi Emulator Super System, now merged with the indispensable MAME, is the oldest known multi-platform emulator. Unlike many others, it does not use dedicated emulator engines in the form of libraries, but instead uses a single binary to emulate an incredible number of platforms. While the sources are easily compilable, you can always retrieve binaries from the web.
Those who knew Mac OS 9 and MacOS X PPC may regret the beautiful interface that disappeared to make way for the SDL one. Still, it allows for a unified interface, regardless of the OS, and remains quite simple to use as we will see. Let those who love the terminal be reassured, the command line works too. In fact, it is the latter that you will need to use to get started. Assuming you have a mess binary named "mess64", the first thing to do in your terminal will be to type the following line:./mess64 -createconfig
A text file named "mess.ini" should then be created next to your binary. It is this file that you will need to modify to make the emulator functional. First, make sure that paths are specified for each value in the "CORE SEARCH PATH" section and note that the one dedicated to firmware and BIOS files is "rompath". If some have a value but do not exist, you will need to create these folders.
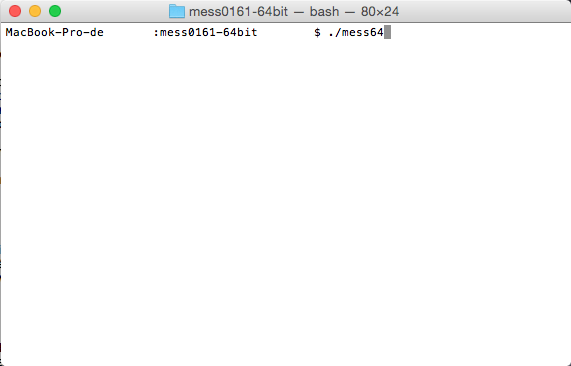
The particularity of mess is that almost every system requires a BIOS, so you will need to retrieve, rename, and possibly compress them, then install them in the folder specified by "rompath". Once done, you are able to launch mess with the simple command line:
./mess64
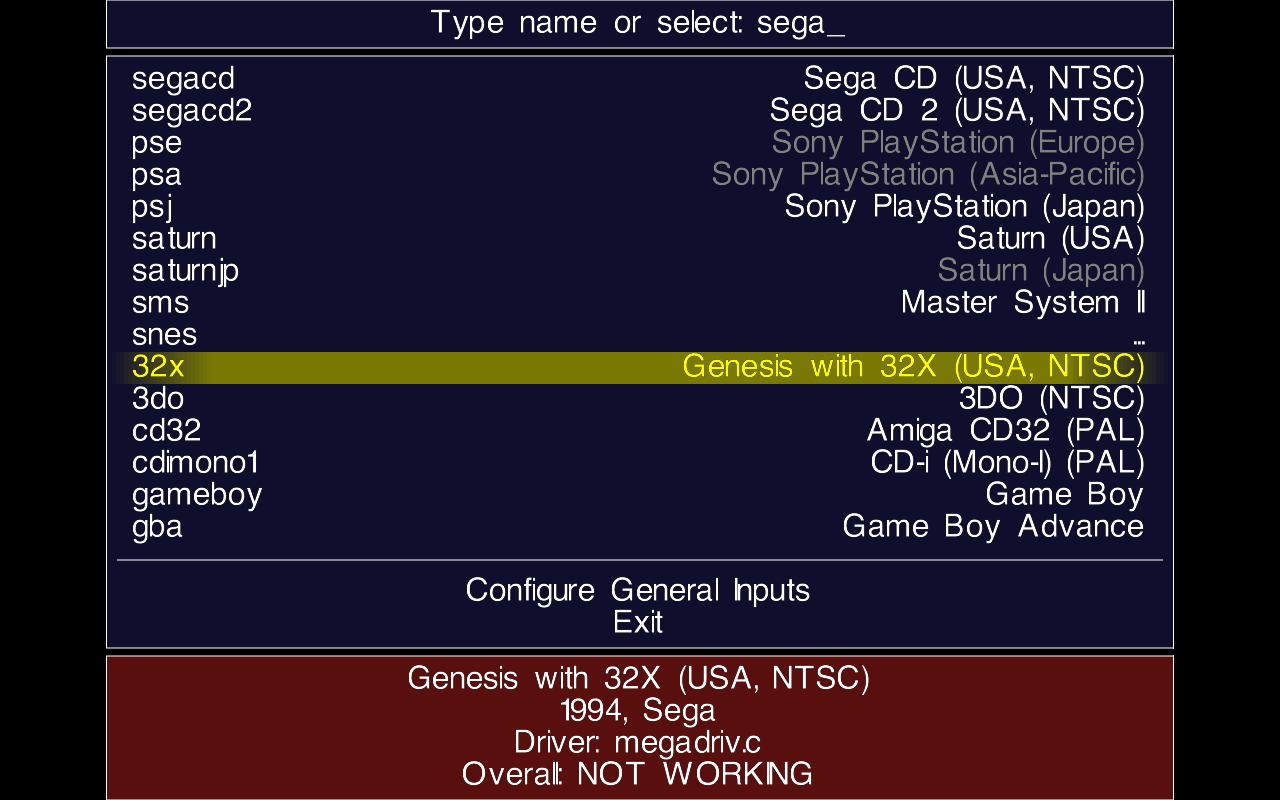
A beautiful interface appears and prompts you to type the name of the system you wish to emulate. Note that European names are rarely recognized for the search and it is better to use North American names, such as "genesis" for the Megadrive.
Once your system is chosen, it launches, unfortunately without a pre-loaded program. That is why the application will then offer you to choose one.
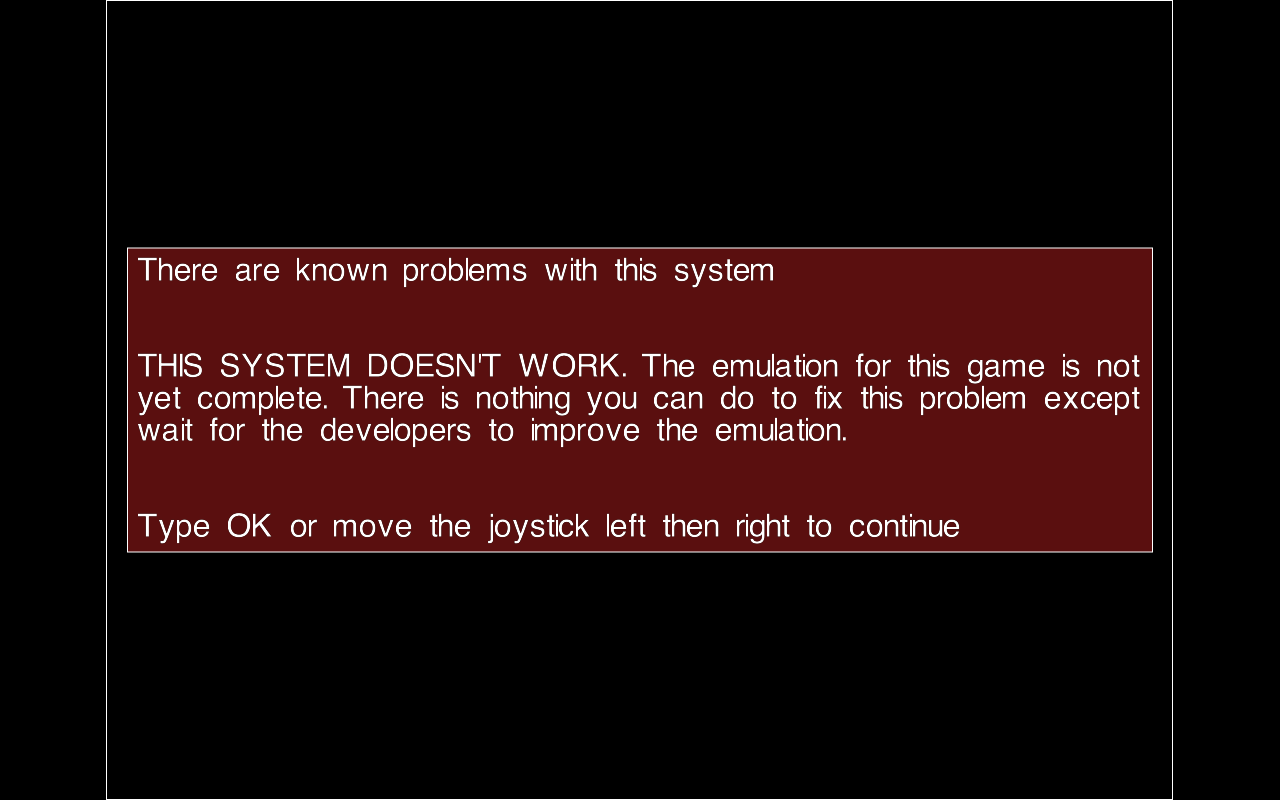
Note that one or more informational and alert messages will ask you to confirm by typing OK (press the 'o' then 'k' keys on the keyboard).
Afterward, confirm the device type, often a cartridge, hence "cart", then select your file.
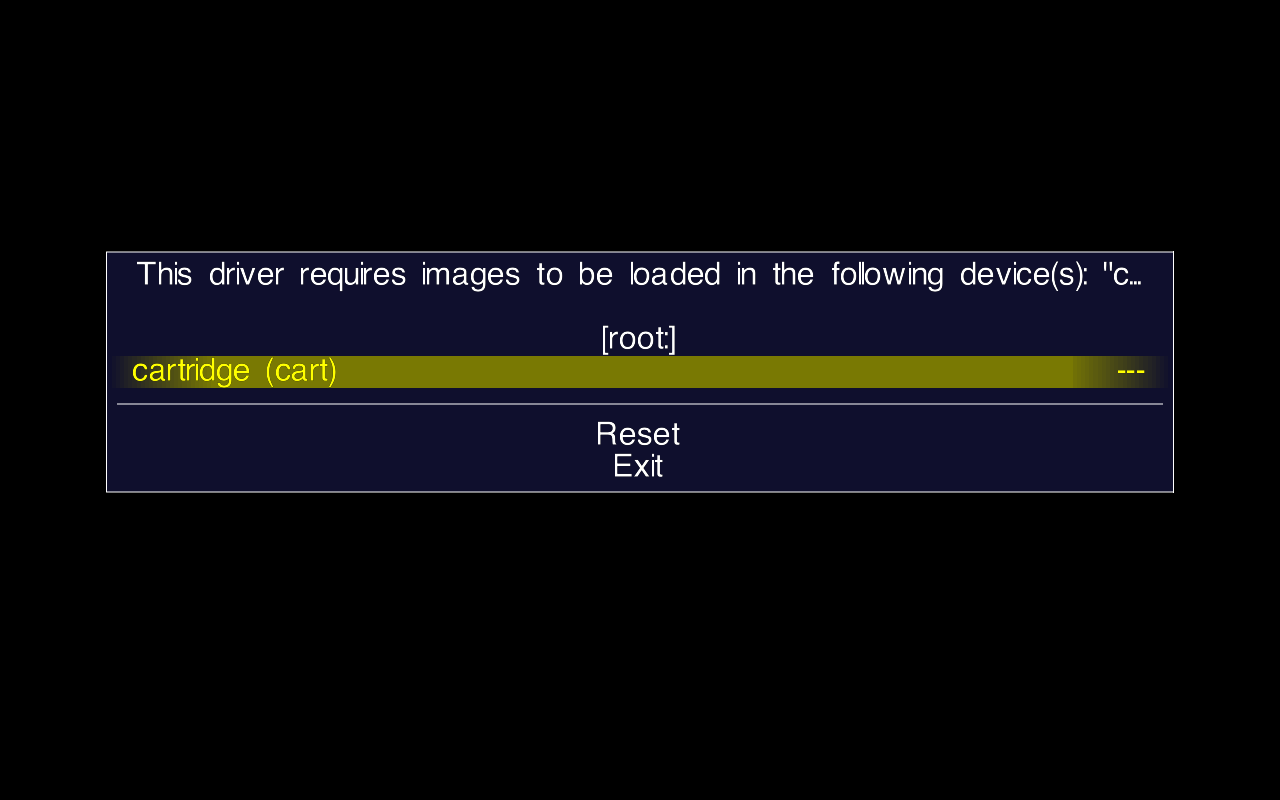
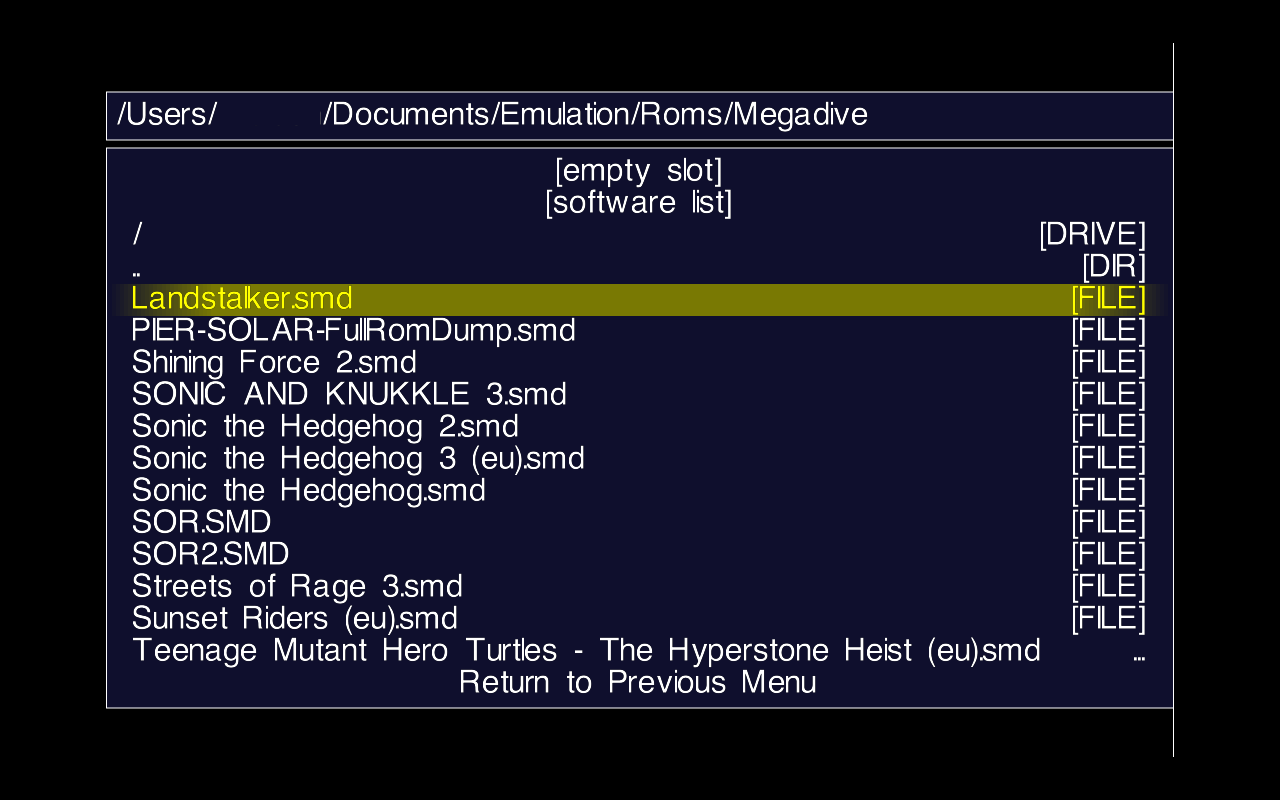
All that remains is to perform a "Reset" to start everything.
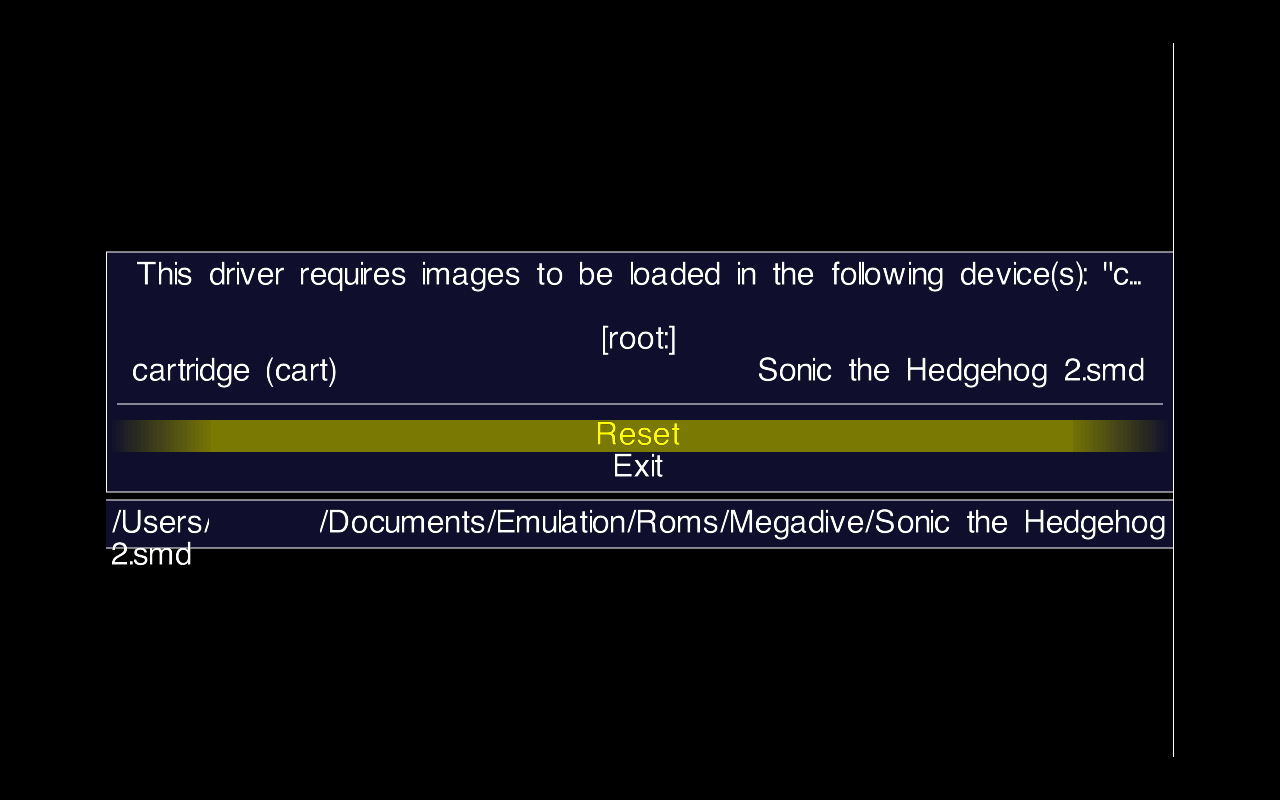
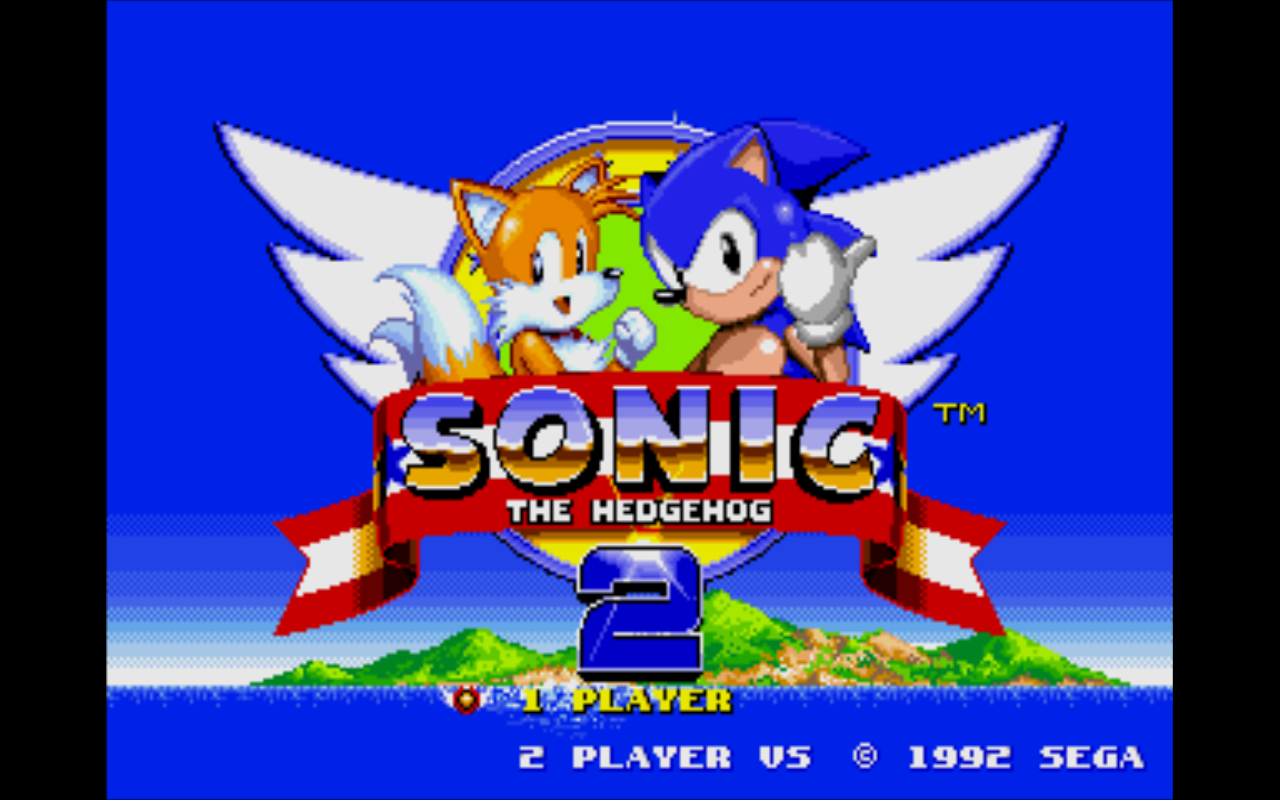
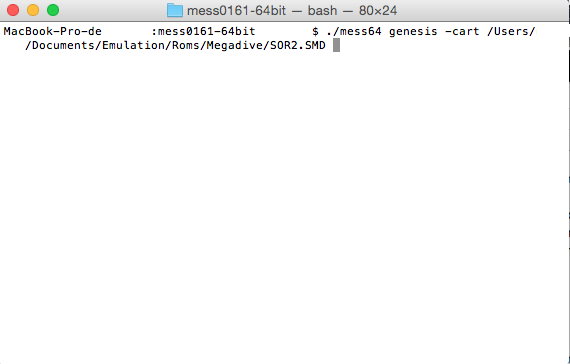
How to do the same via the command line? In reality, it's simple: you just need to follow this format: ./mess64 [system] [device] [file]
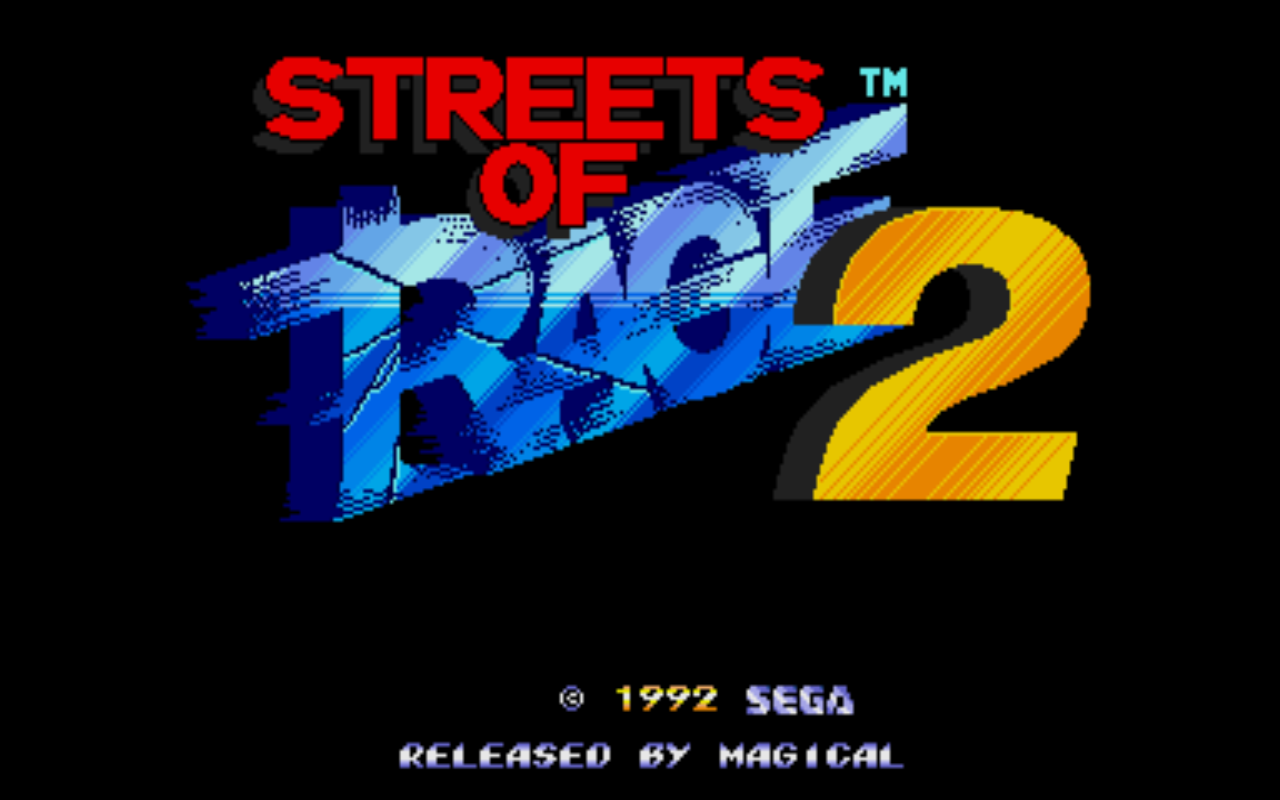
Thus, to launch Streets of Rage 2 on megadrive, assuming my ROM file is next to the emulator, I just need to enter: ./mess64 genesis -cart SOR2.SMD
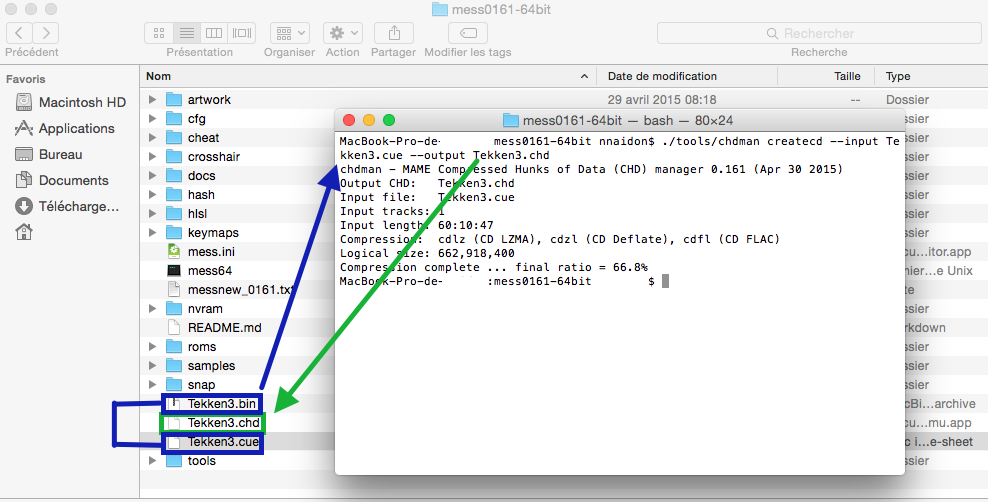
As for optical disc emulation, you will need to convert your bin/cue files into a chd file, a raw format specific to MAME and its derivatives. If I mention bin/cue, it's because the chdman tool, which normally resides in the "tools" directory of mess, seems to only know how to convert this type of file. I don't know if PowerISO properly converts ISO files to bin/cue, but Toast, a paid application, creates bin/cue files from your originals. Regarding the conversion utility, it is used as follows: ./chdman [format] --input [cue file] --output [chd file]. For my game Tekken3, whose image I made in bin/cue format, I just need to type: ./chdman createcd --input Tekken3.cue --output Tekken3.chd.
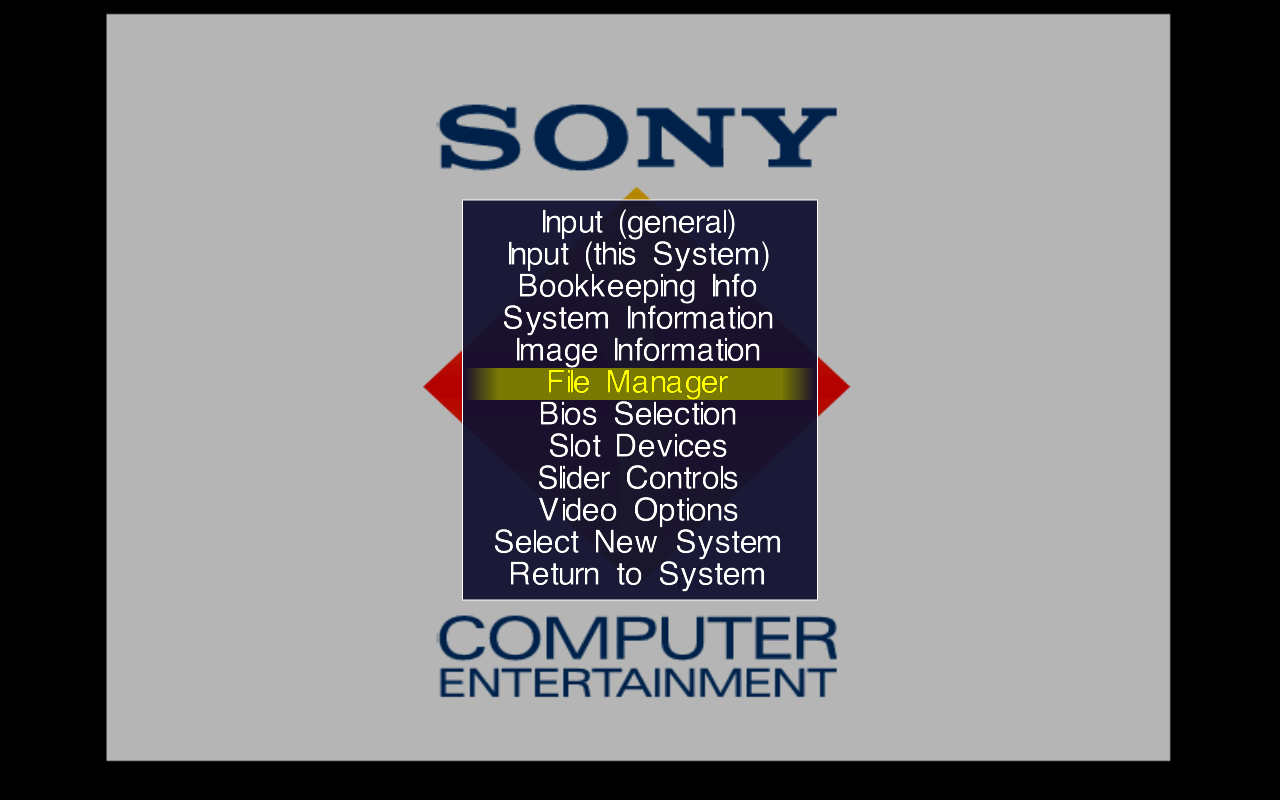
Once the images are created, you can restart mess and your preferred system. If no file is requested, often because the BIOS is self-sufficient, you will need to manually select the file using the SDL interface by pressing the 'Tab' key and then choosing the "File Manager" option.
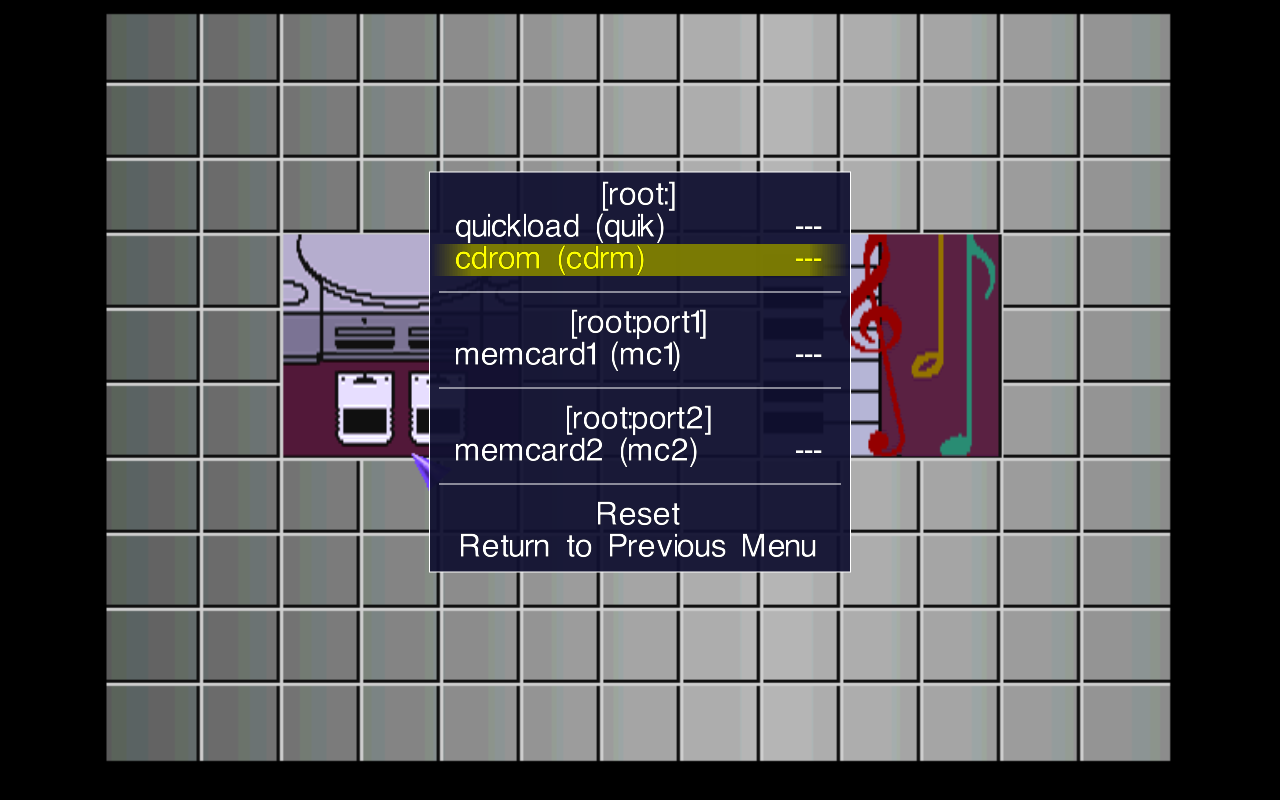
The "cdrom" option should then appear, which can be used as we did before with the "cart" option.
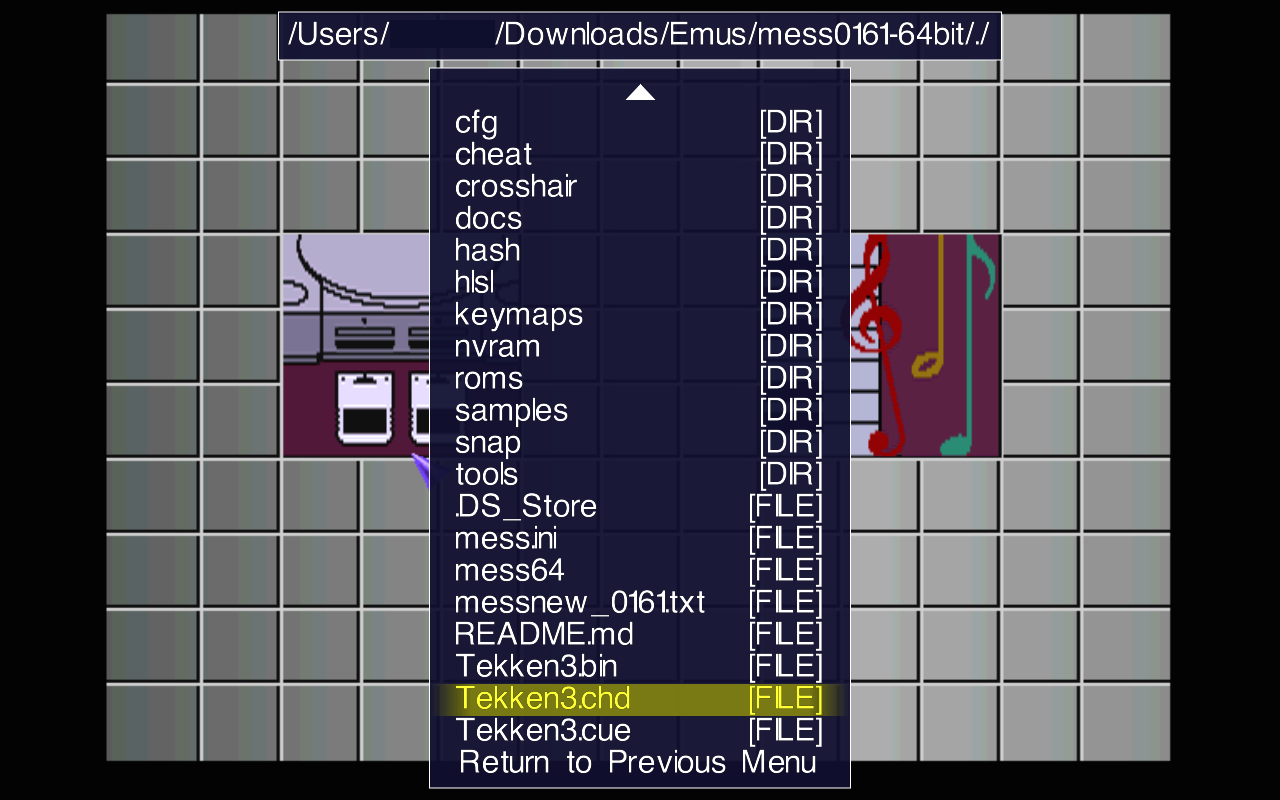
Once the CHD file is loaded, you just need to press "Reset" again for everything to start normally.
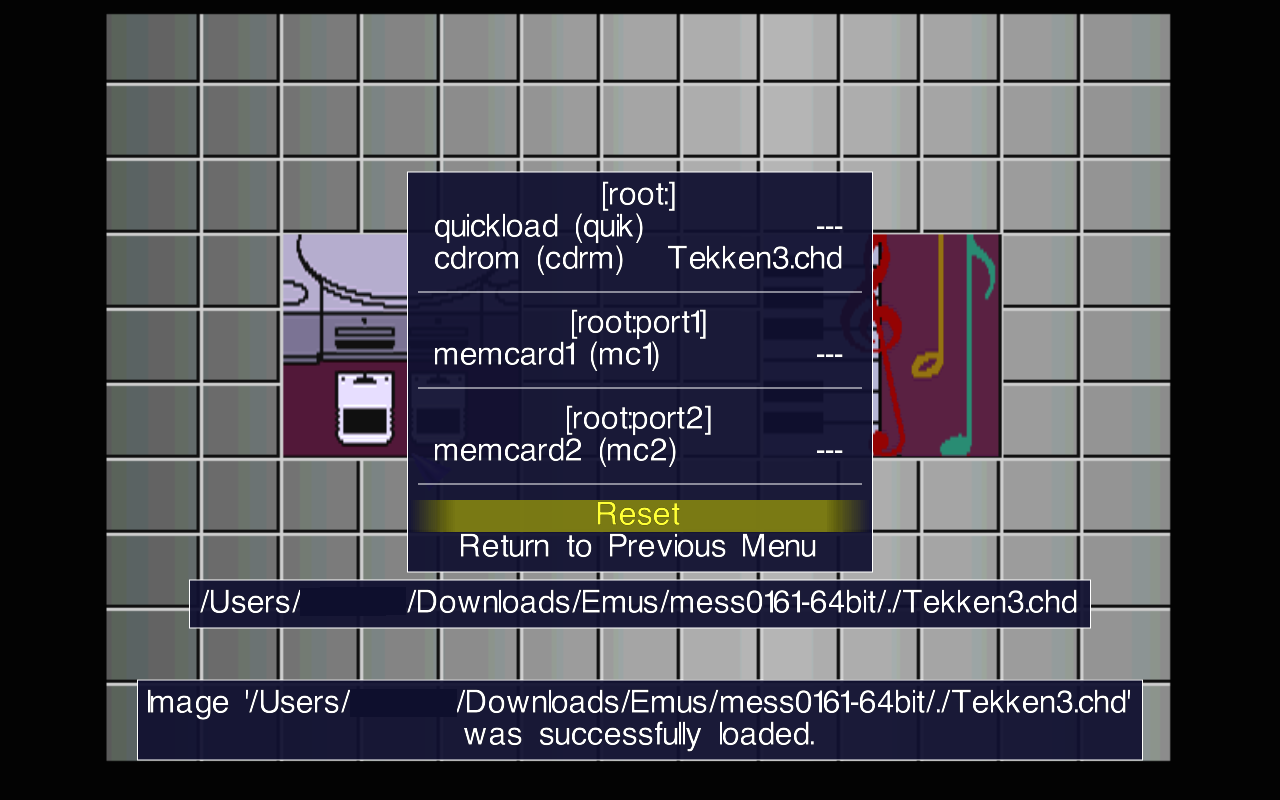
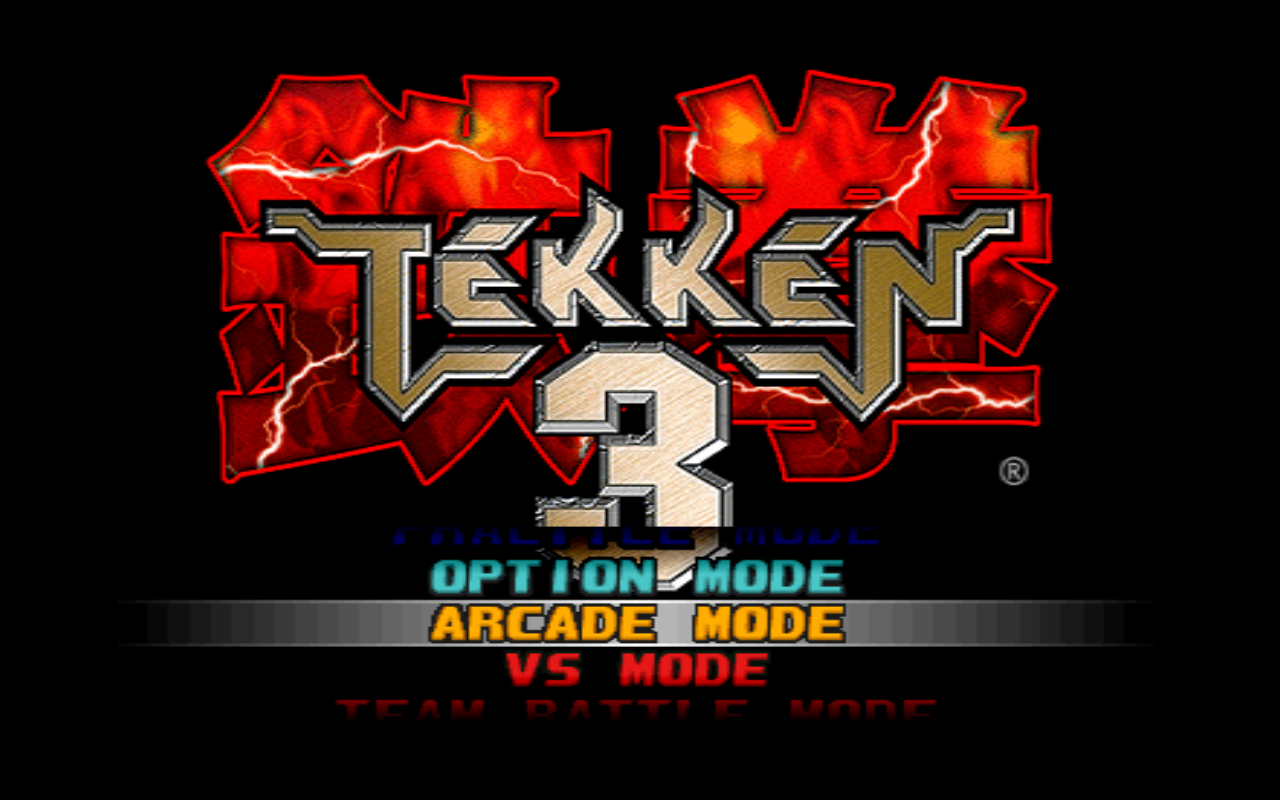
All of this can also be done via the command line by replacing the -cart option with -cdrom.
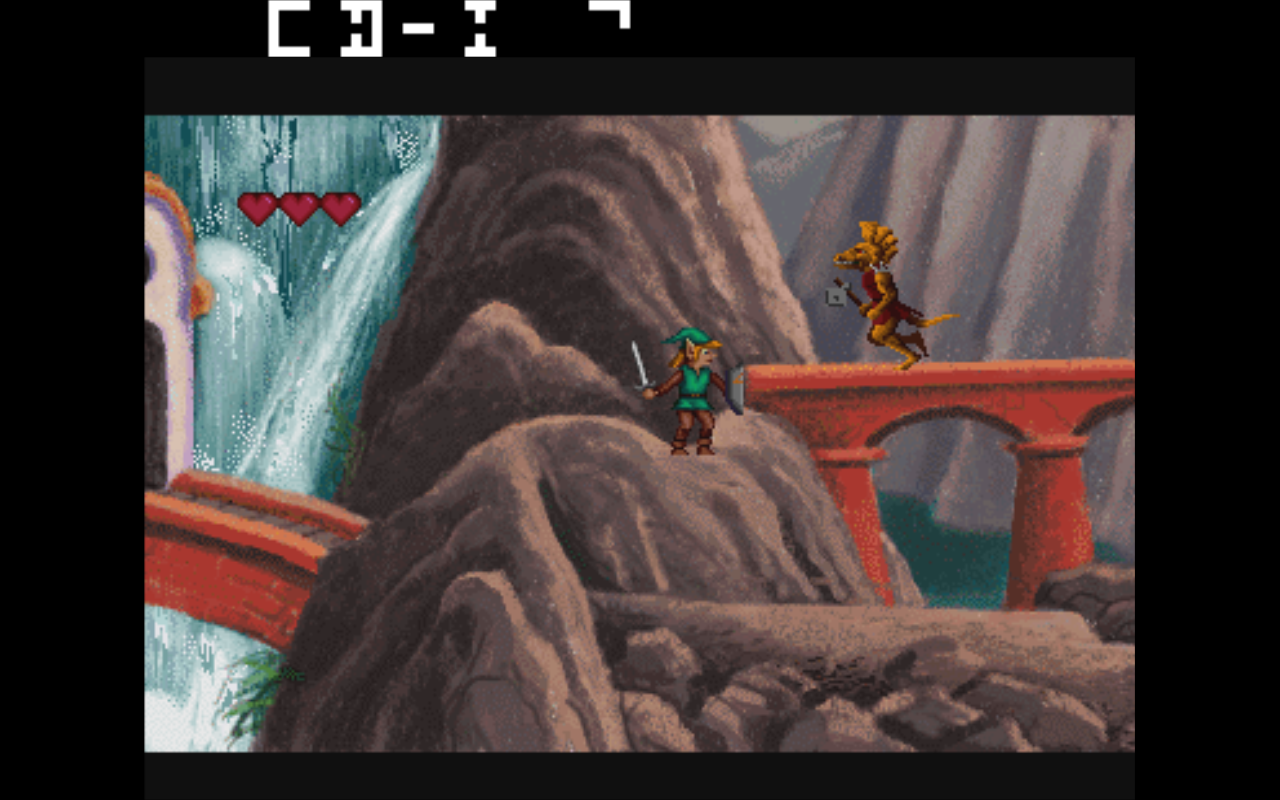
./mess cdimono1 -cdrom Link.chd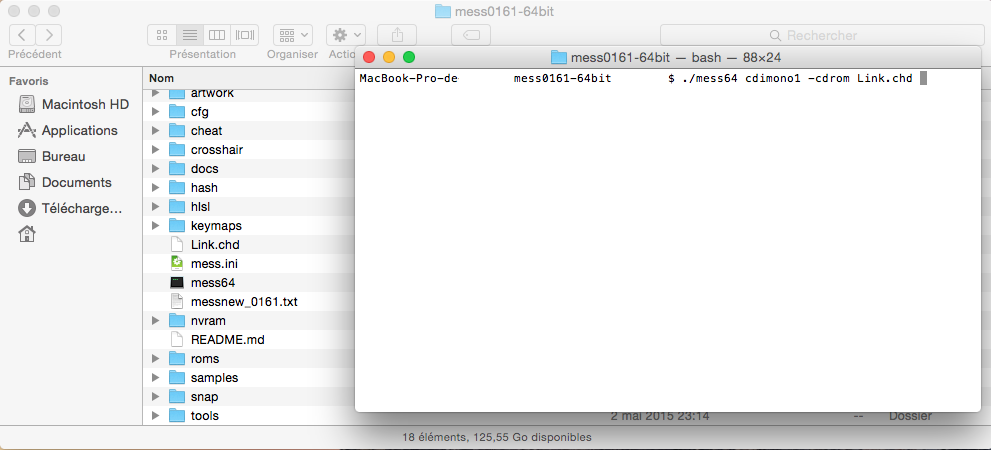
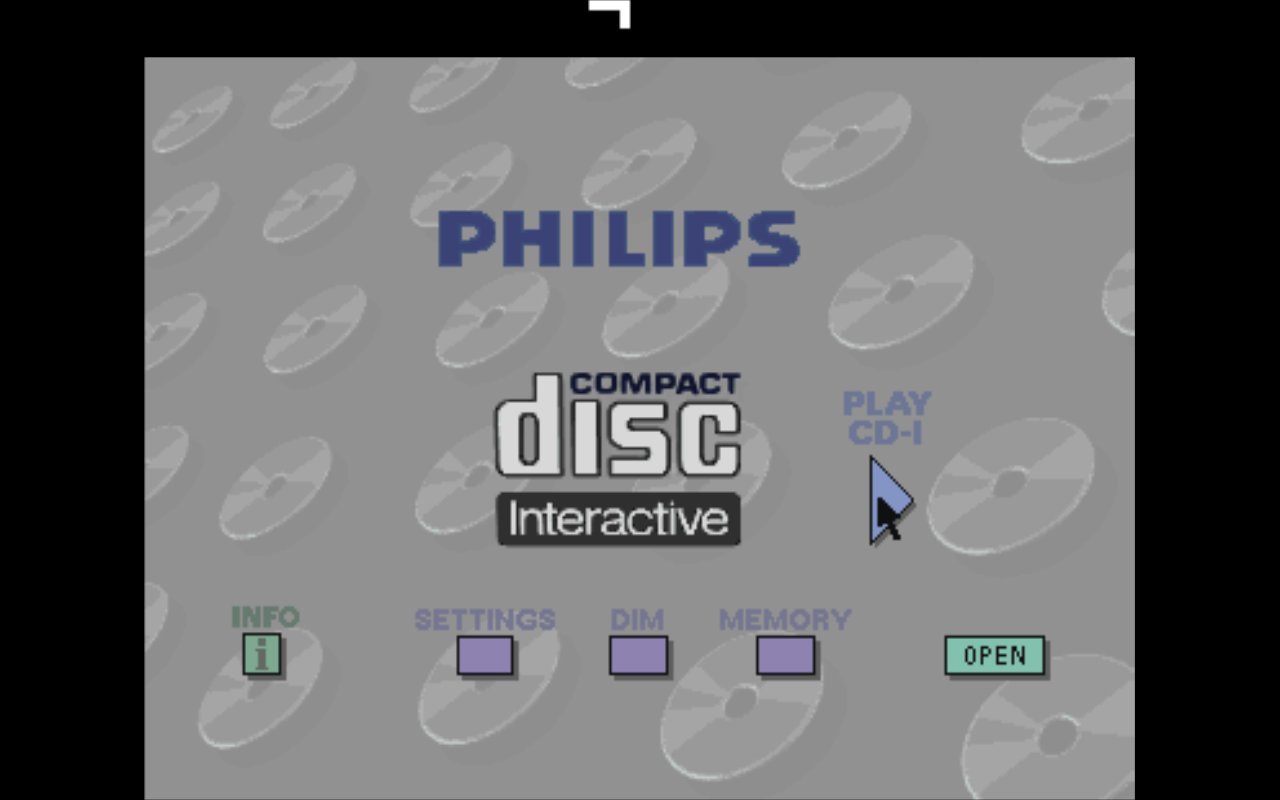
Regarding the CD-i, by default, the "w" key is used to start CD-ROM playback.
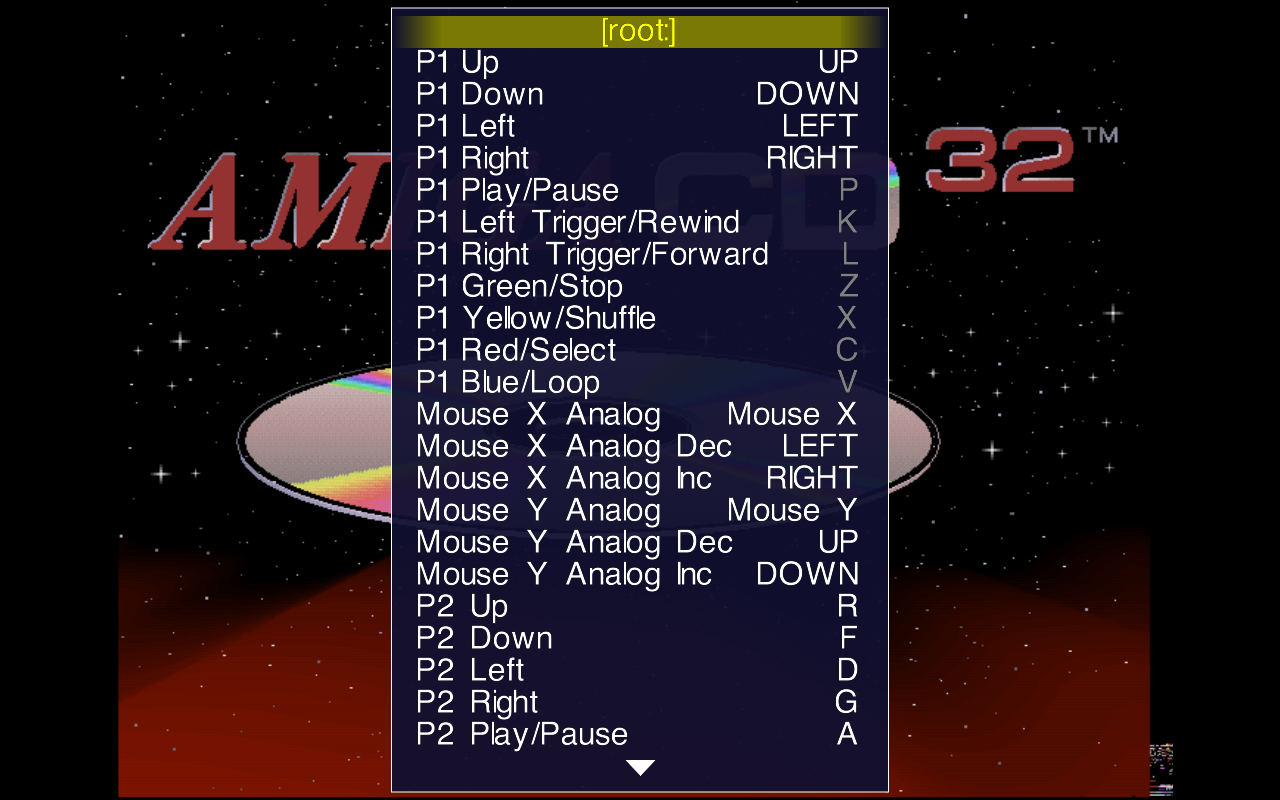
You are now ready to use MESS, either through the terminal or the SDL interface. You will likely need to modify the keys specific to the emulated system using the "Input (this system)" option.
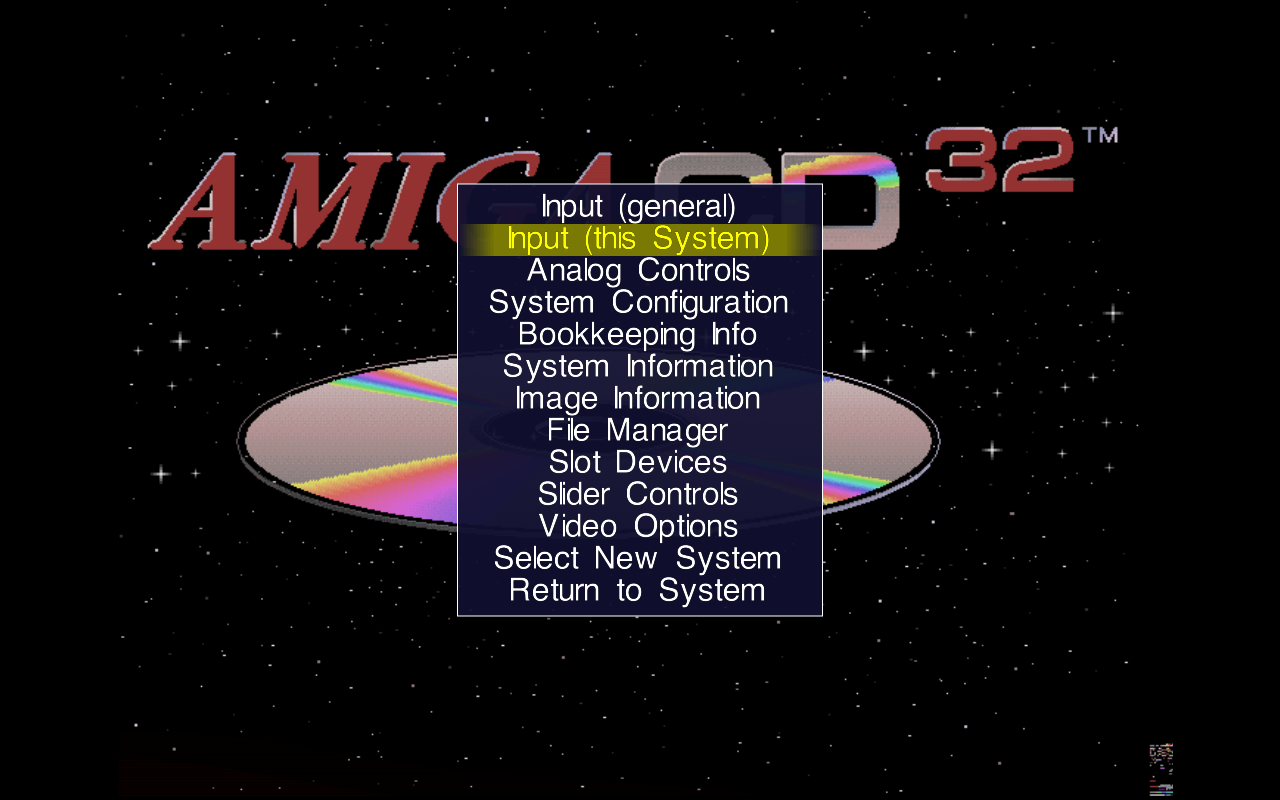
For those who miss the more intuitive interface offered by the Classic MacMess version, similar to MacMame, unfortunately, I have nothing identical to propose. However, it is worth noting that while interfaces are not abundant, there is at least one called QMC2.
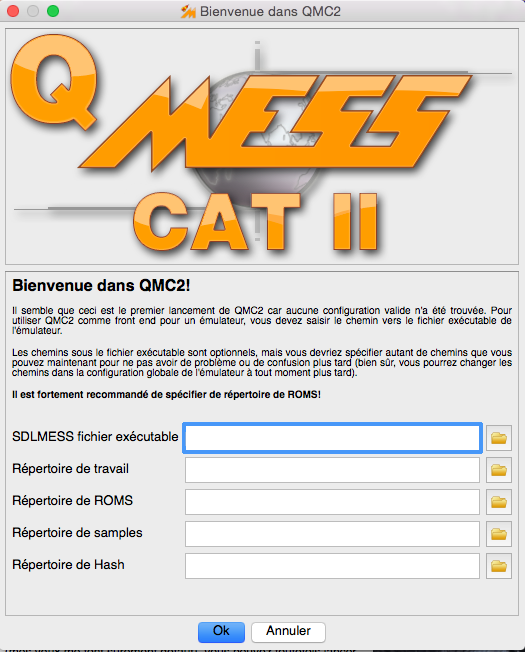
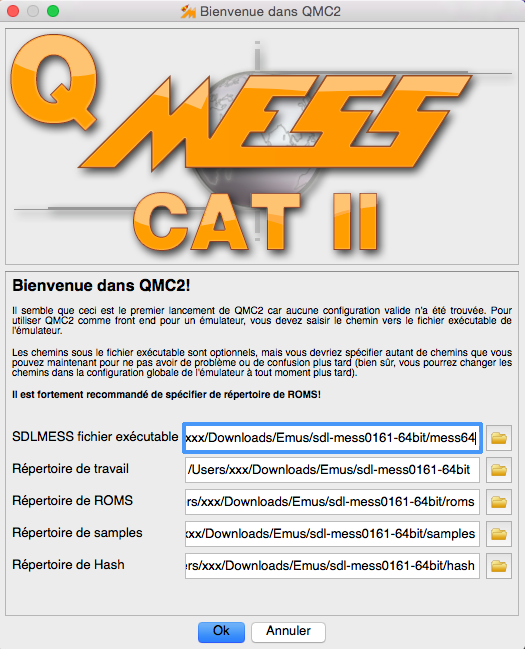
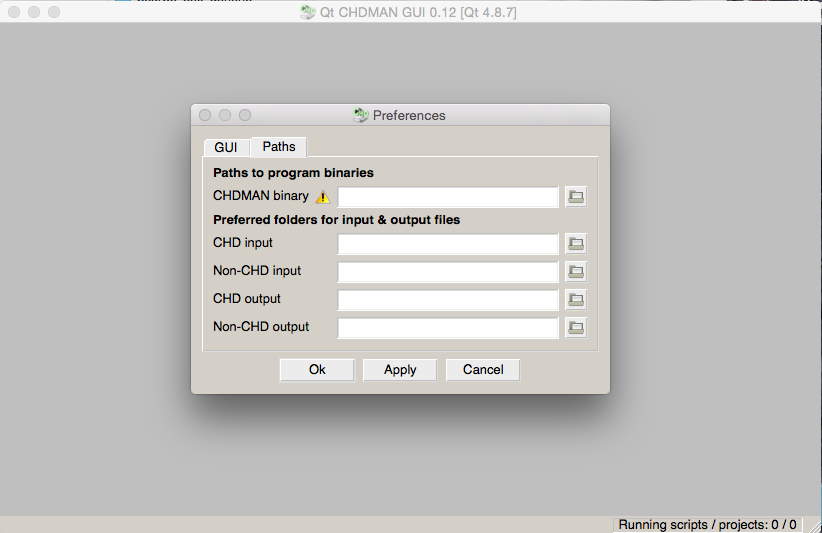
First, you need to specify the location of the executable and some directories, including the ROMs folder where the BIOS files for the machines you want to emulate should be placed.
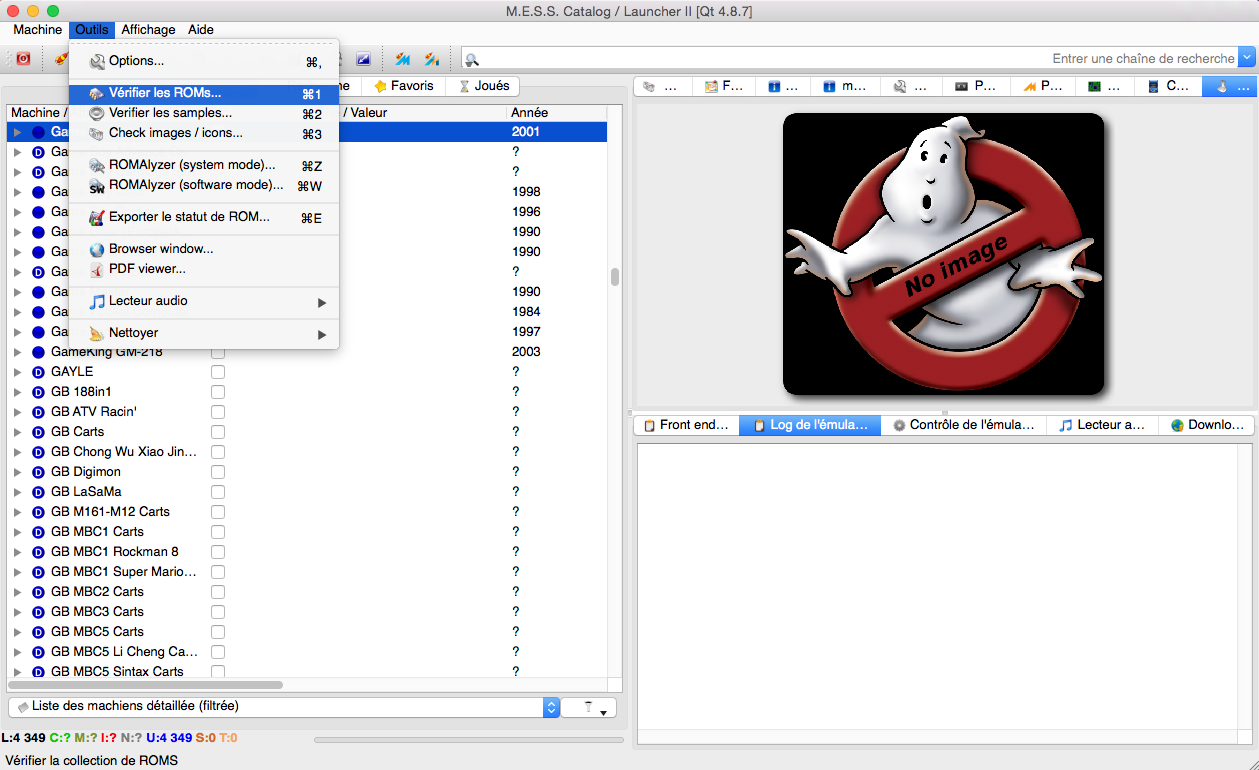
We will use the example of the Nintendo Game Boy Advance for which we placed the firmware "gba.zip" in the "roms" folder defined above. To ensure your ROM files are properly recognized, run a ROM verification.
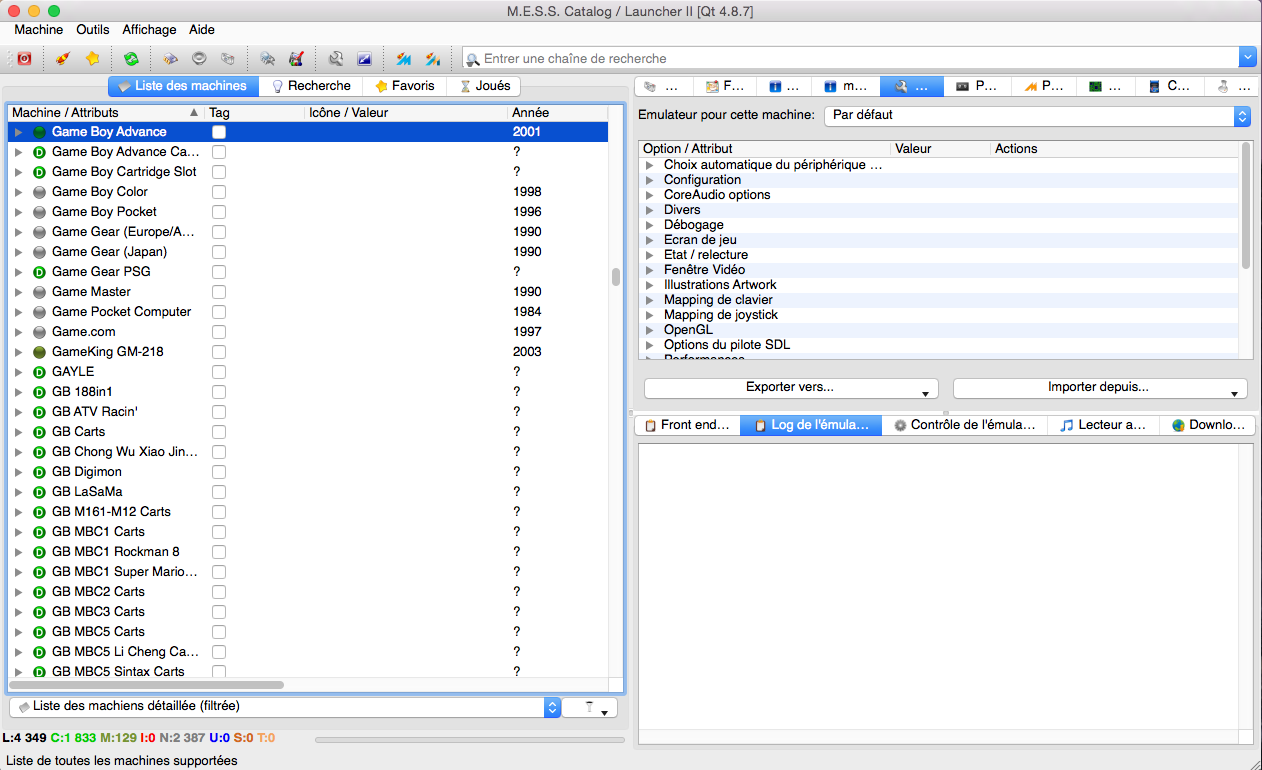
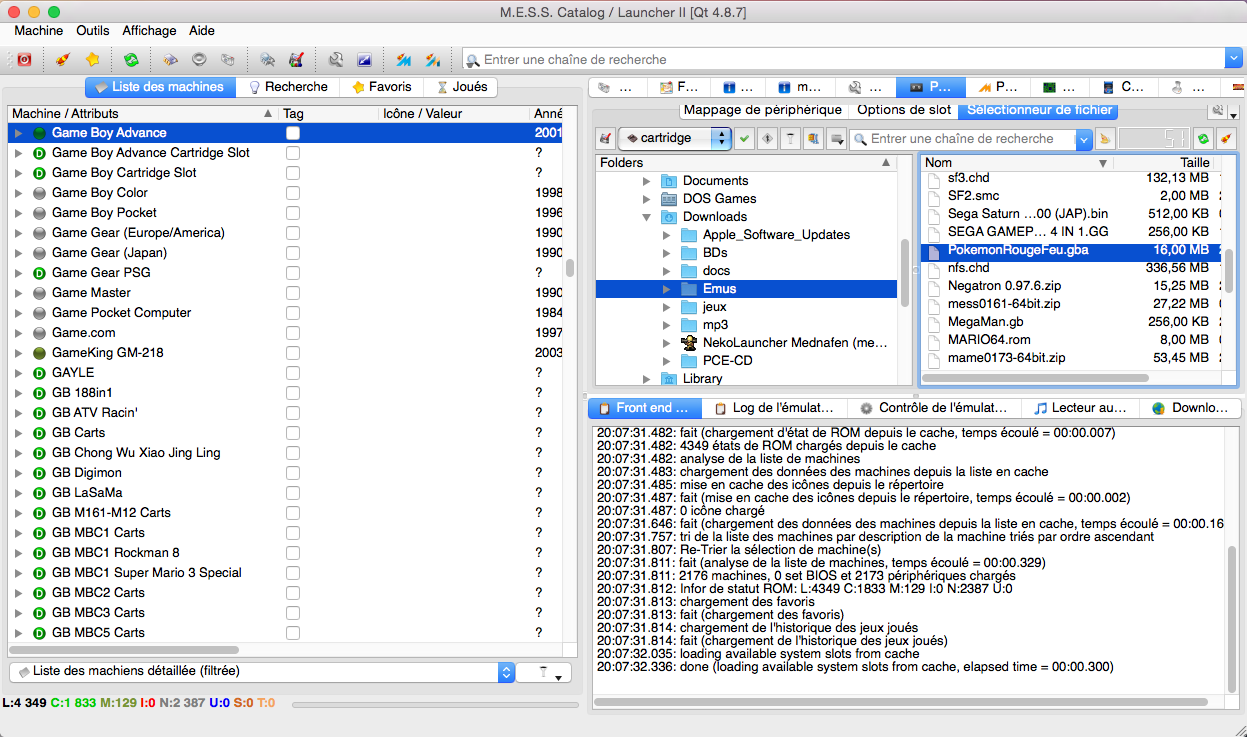
All that remains is to scroll through the tabs to display the file explorer as shown in the screenshot below, and double-click on the disk icon followed by the slash character to navigate through your directories.
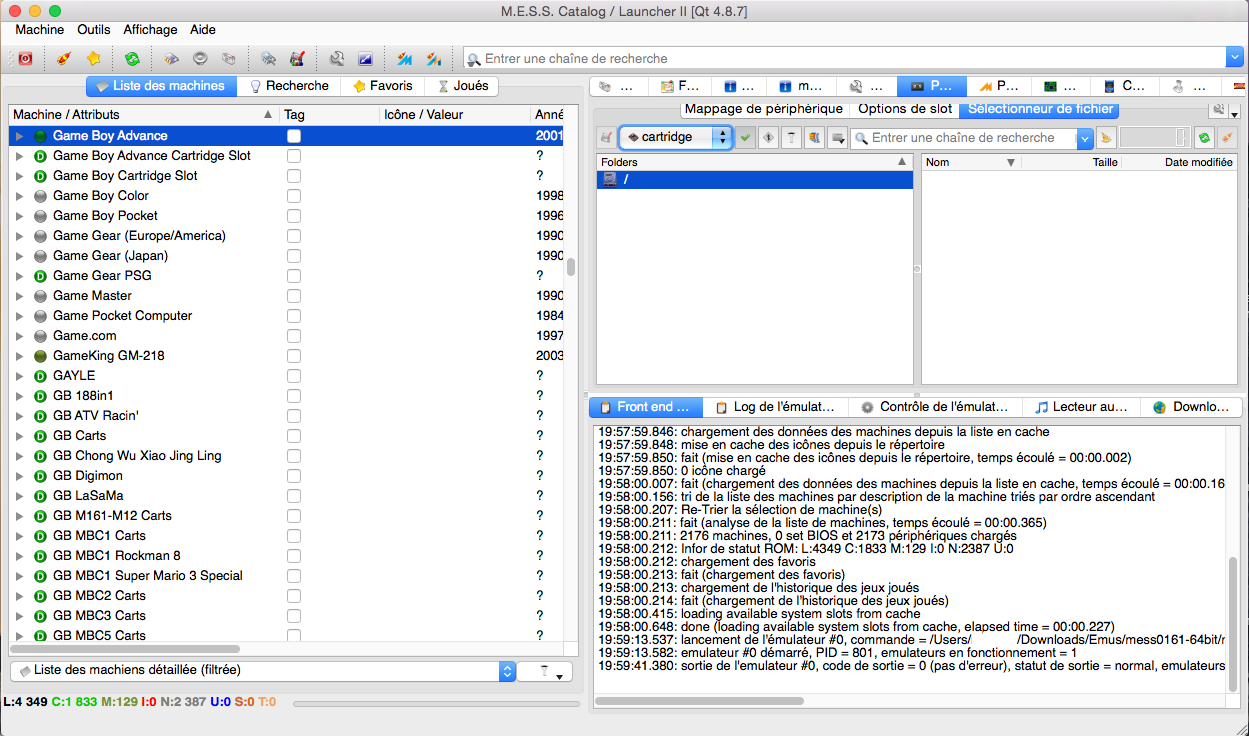
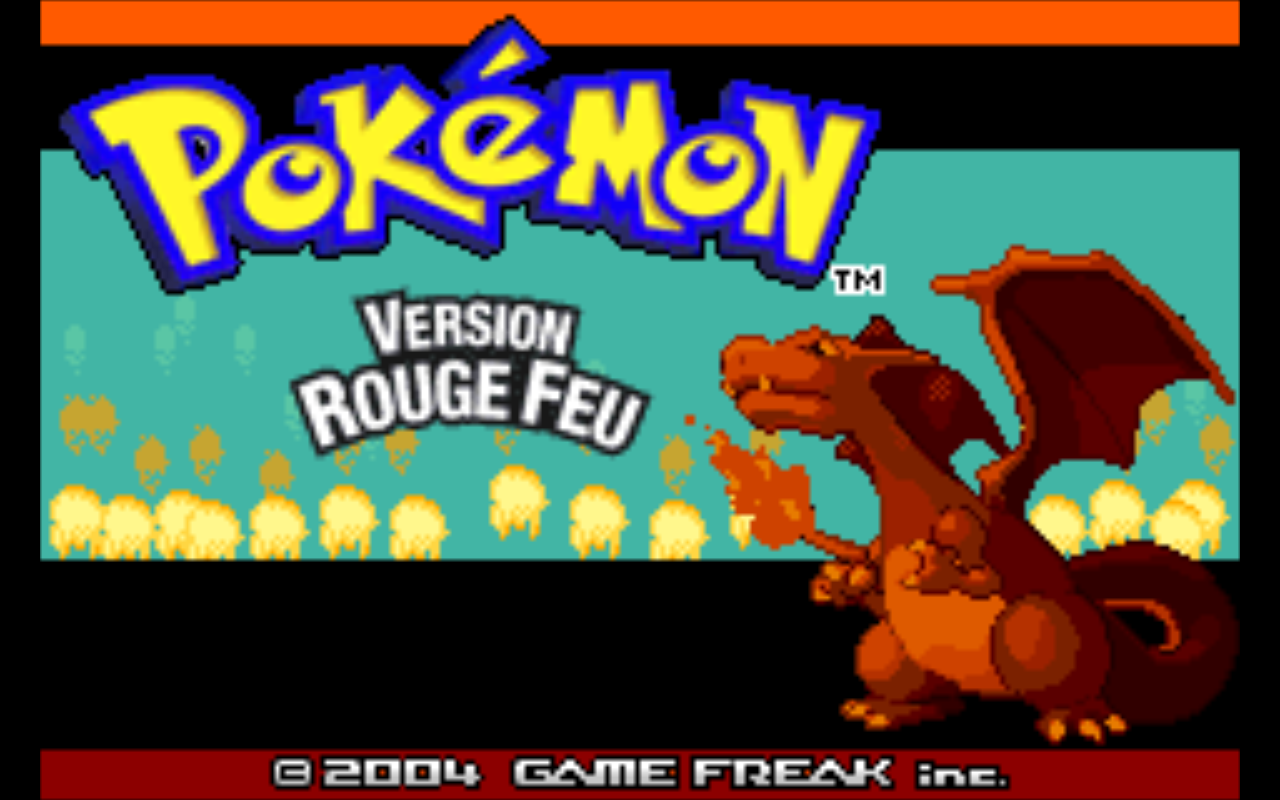
Once you find your ROM, double-click on the file to launch the game.
As a small bonus, know that with QMC2, there is a graphical interface for the chdman tool, which also requires specifying the location of the executable and optionally, different input/output directories.
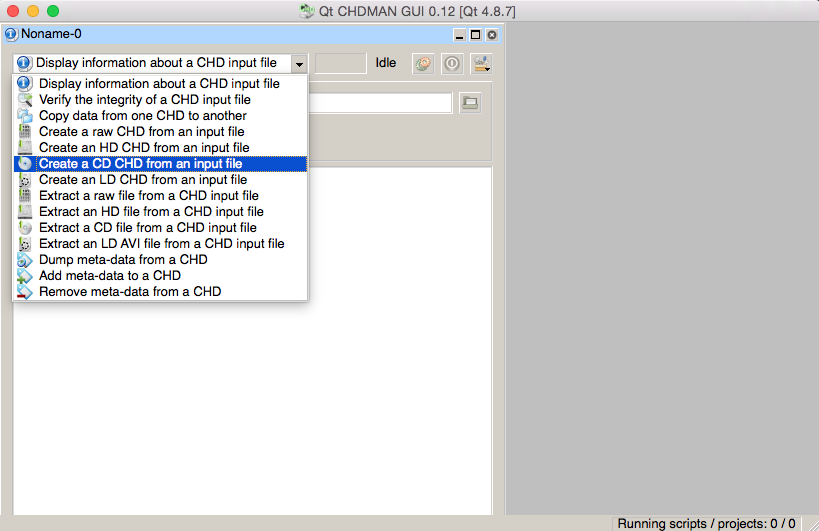
You just need to select "New Project" in the "File" menu and choose the context in which you want to use the tool. For example, creating an image from another one.
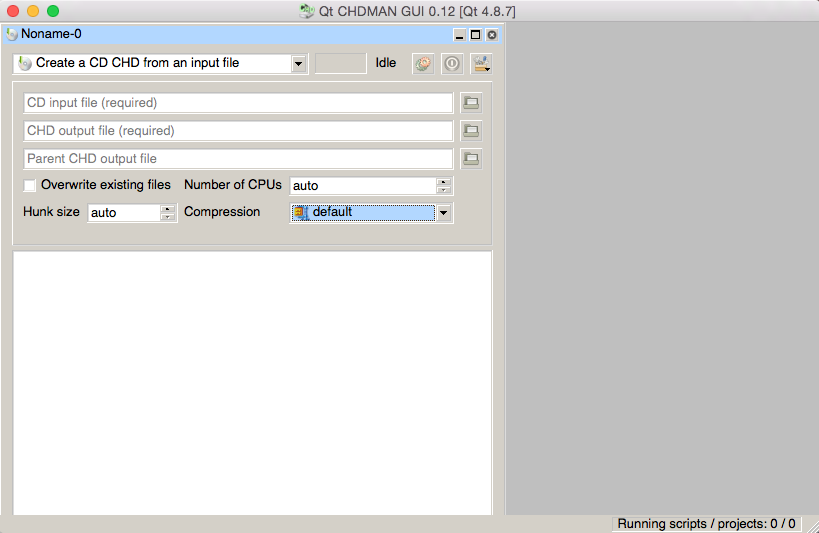
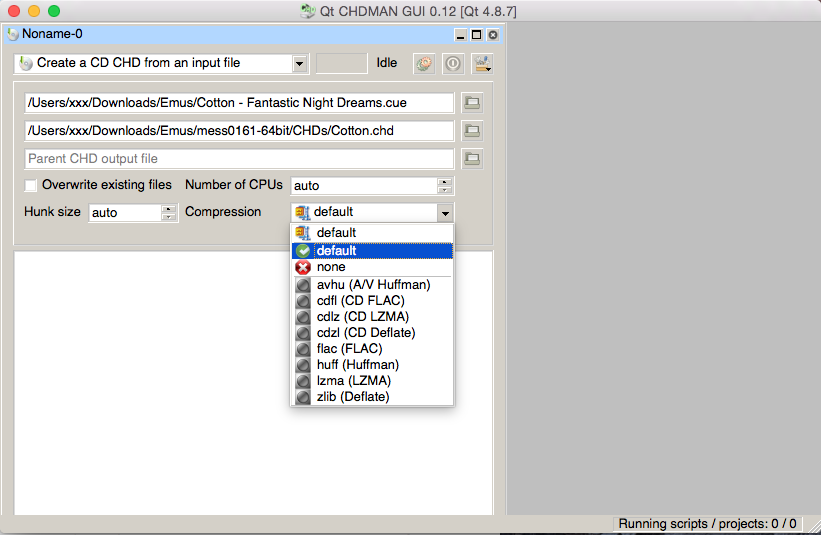
You simply need to specify the disk image you want to convert, as well as the CHD file to create. You can even choose the compression type before executing via the small gear-shaped button.
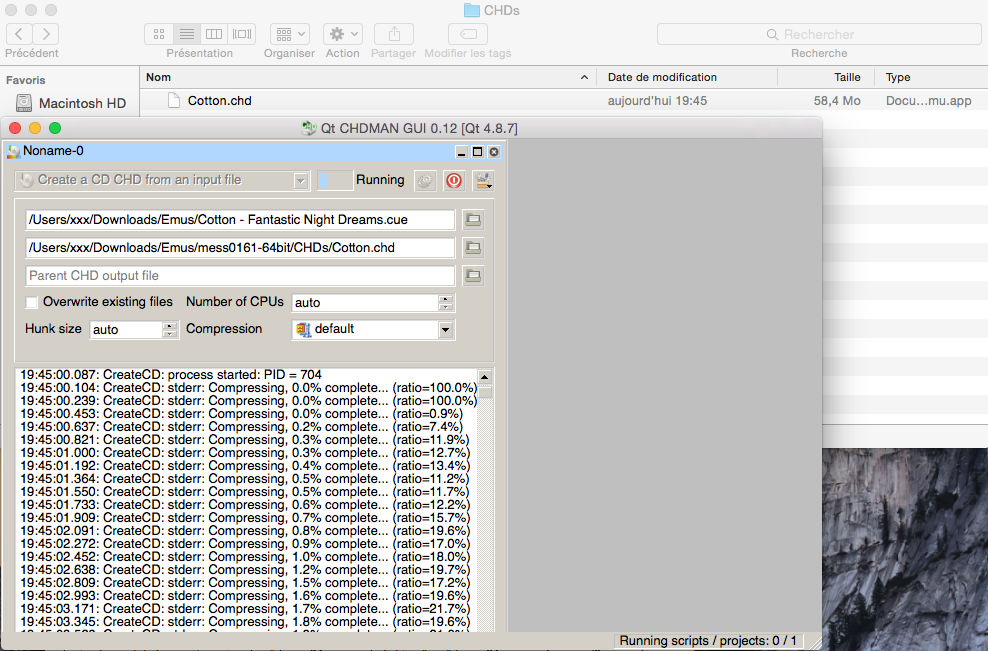
MAME is likely the emulator offering the most platforms, as it emulates both gaming consoles and microcomputers like the PC or Mac (see the English tutorials). Indeed, the chdman tool also allows creating disk images.
Unfortunately, MAME does not always seem very reliable.
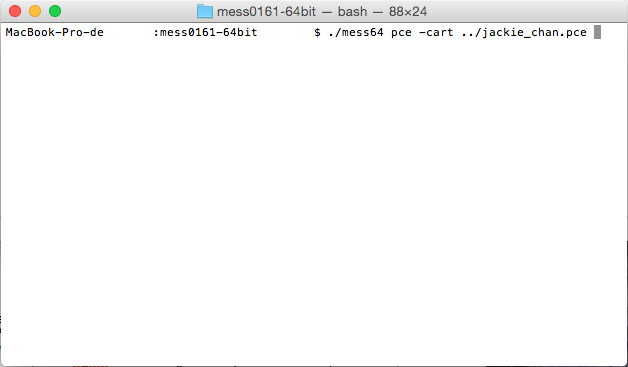
We were unable to emulate Slayer or Need for Speed for 3DO, nor did Shining Force, Virtua Fighter, or Dragon Force for Saturn launch, nor did the Cotton and Castlevania games for PC Engine-CD. As for this, you will not find the PC Engine, nor its CD variant, listed in the machine selection via the SDL interface (my eyes must be failing me). You can, however, launch your HuCard game from the terminal using:./mess64 pce -cart [file]
or
./mess64 pce -cart syscard3.pce -cdrom [file_chd]
for the CD-ROM version.
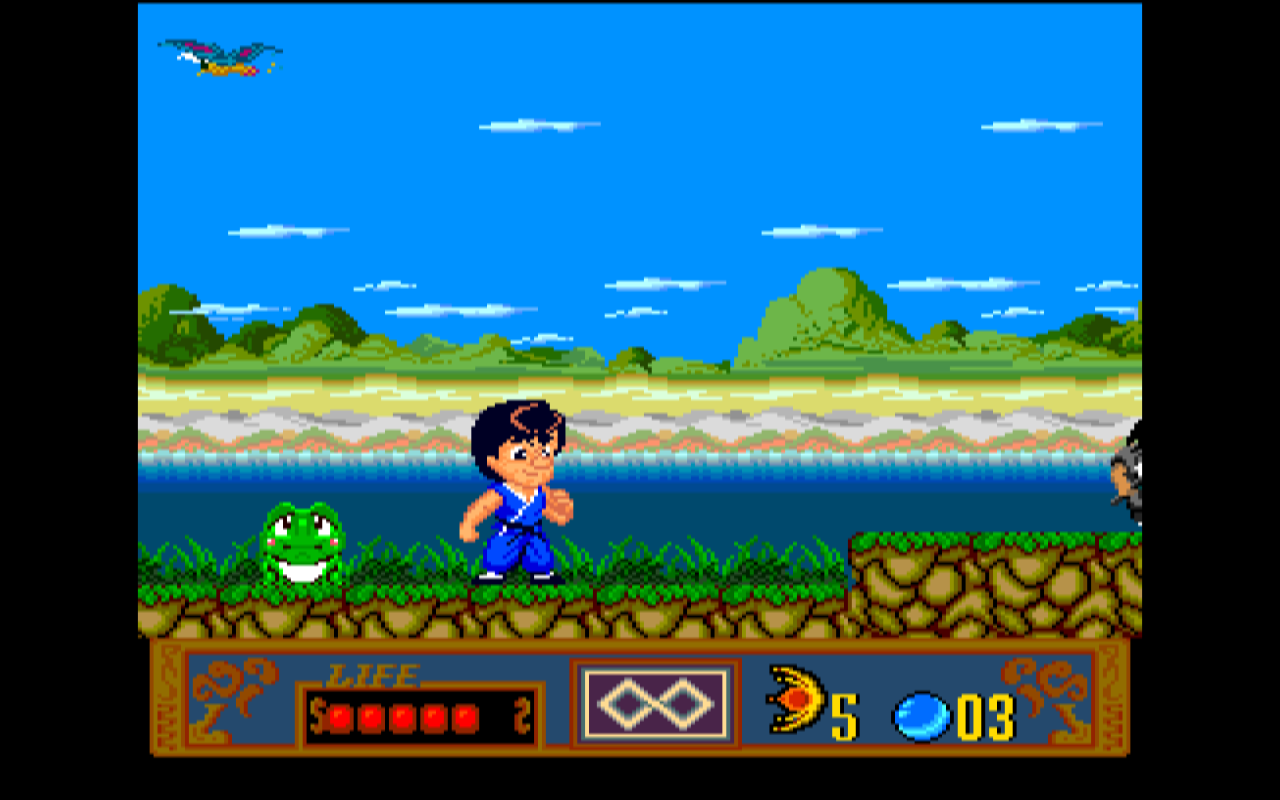
For more information on MESS, we strongly recommend the official MAME documentation, which integrated MESS in 2015.
MEDNAFEN

Mednafen follows the same principle as MESS, although it sometimes uses source code from more well-known emulators. It requires compilation with numerous libraries, including SDL, although old builds for Mac OS X are available on the official forum, unfortunately often non-functional due to these libraries. The Japanese site Nekocan offers a graphical interface for this emulator, but it does not handle key mapping.
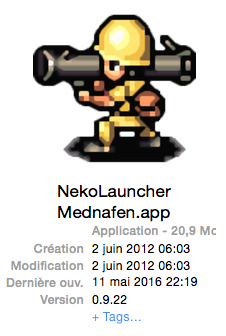
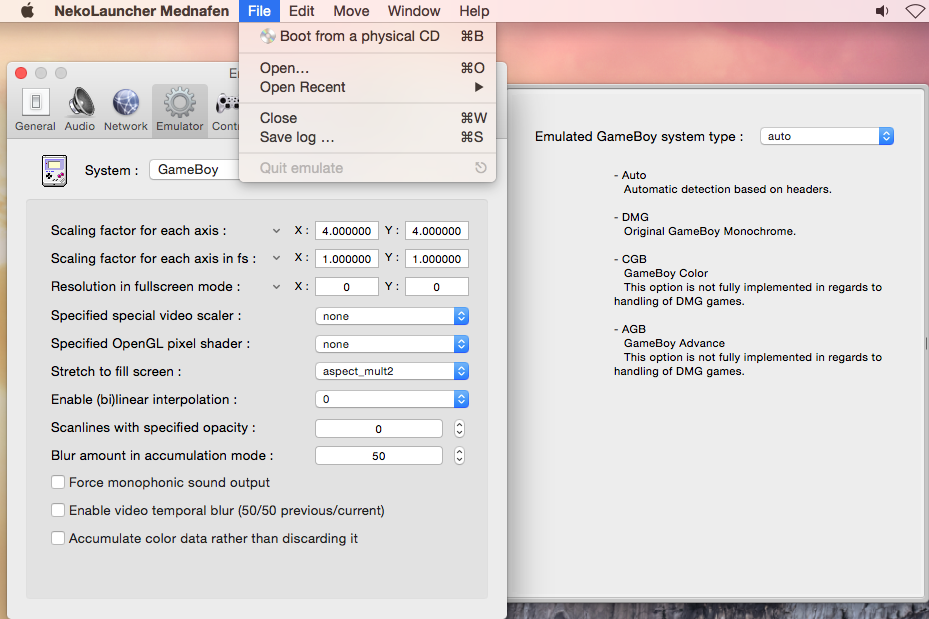
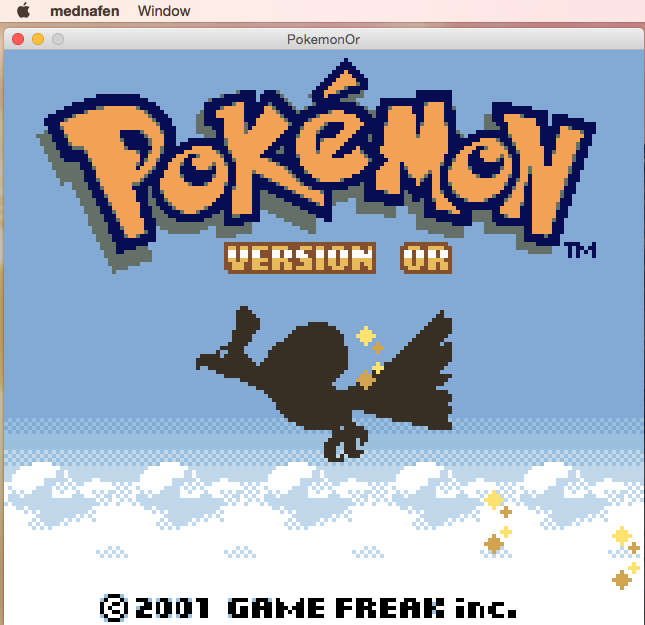
This emulator will therefore primarily be used via the command line, due to its architecture and management. The configuration file is located in a hidden directory at the root of your session.
It is therefore easier to open it with a command-line editor like "vi", example: vi /Users/[username]/.mednafen/mednafen-09x.cfg
In this file, check that you are using the SDL library by searching for this line:video.driver sdl
You can switch to fullscreen by setting the value of "video.fs" to 1.
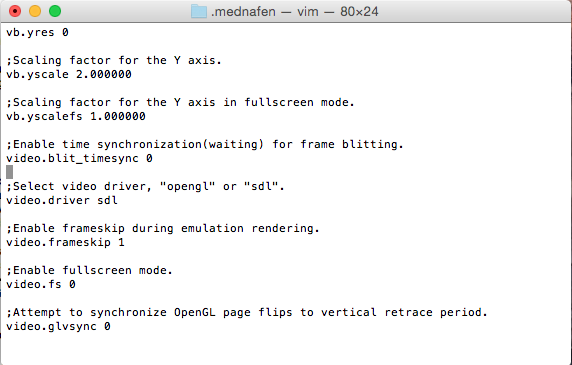
Regarding the keys for each machine, they are defined in this file and are generally configured as follows: [machine_name].input.[port_controller].[type_controller].[button_controller] keyboard [SDL_code]
If you want to map the Gameboy's top directional button to the top directional key of your Mac, you will therefore need to modify the corresponding line as follows:gb.input.builtin.gamepad.up keyboard 273
To make the "A" button of the Super Nintendo correspond to the "w" key on your Mac, you should do the following:snes.input.port1.gamepad.a keyboard 119
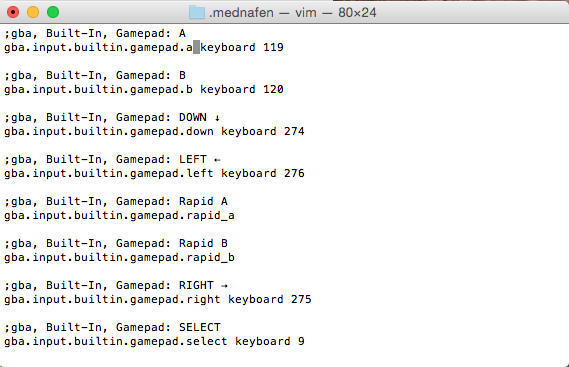
Easy, isn't it? Of course, it can be a bit tedious, and to avoid spending too much time learning the SDL codes, here is a link to help you: https://wiki.libsdl.org/SDLKeycodeLookup (dead link)
Mednafen is configured but not fully ready. Again, some machines will require the presence of a BIOS file. To find out which ones, the official wiki, even in English, will remain your most valuable resource. Once you have them, you will need to place these keys in the firmware directory located next to the configuration file.
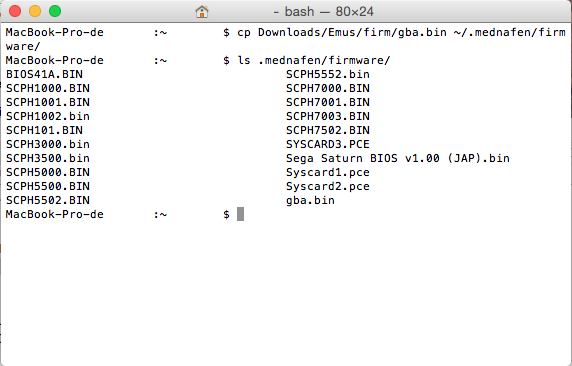
Once this last step is completed, Mednafen is used in the simplest way possible... via the command line.
All you need to do is type the following command: ./mednafen [rom_file]
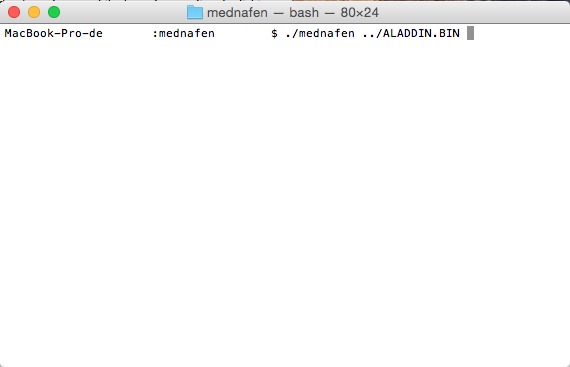
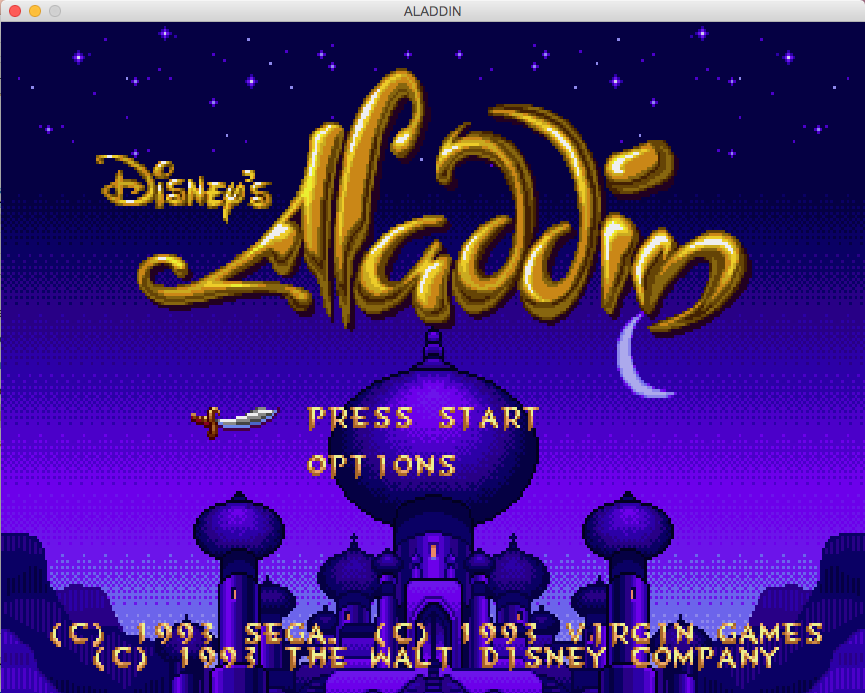
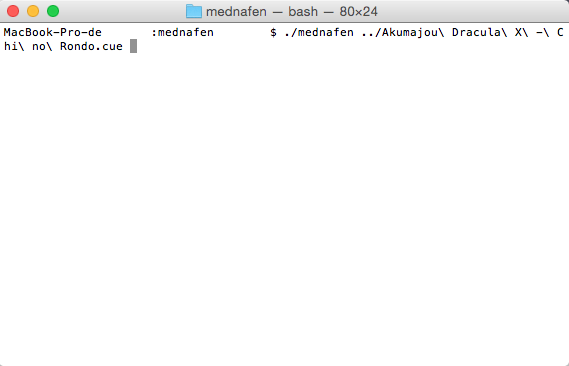
If you have read the wiki carefully, you already know that for CD-ROM images, you will need to use bin/cue files by specifying the ".cue" file in the command line.
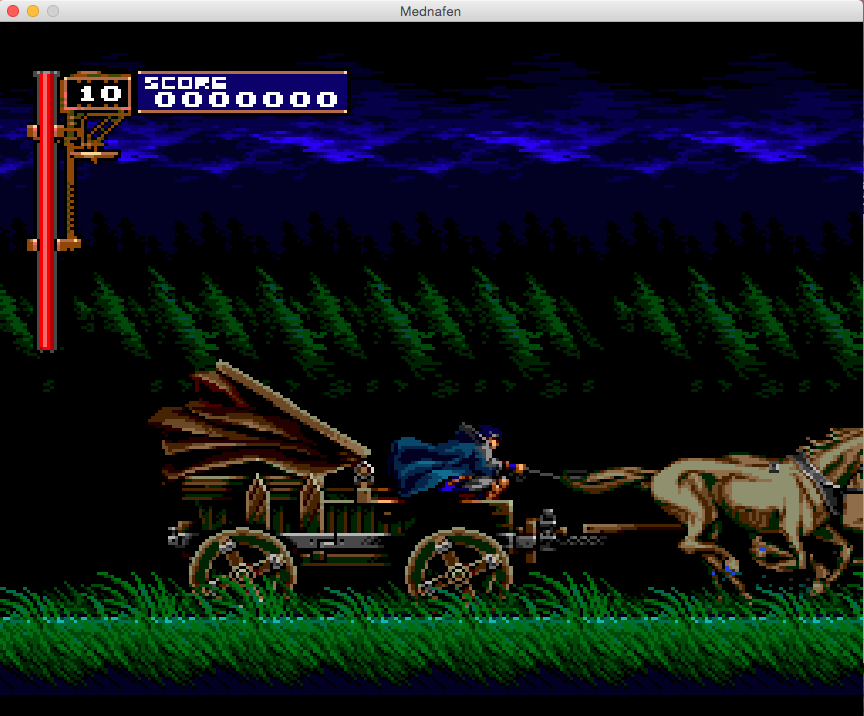
Attention, GBA Pokémon trainers, you will likely encounter a game launch issue due to the save type.
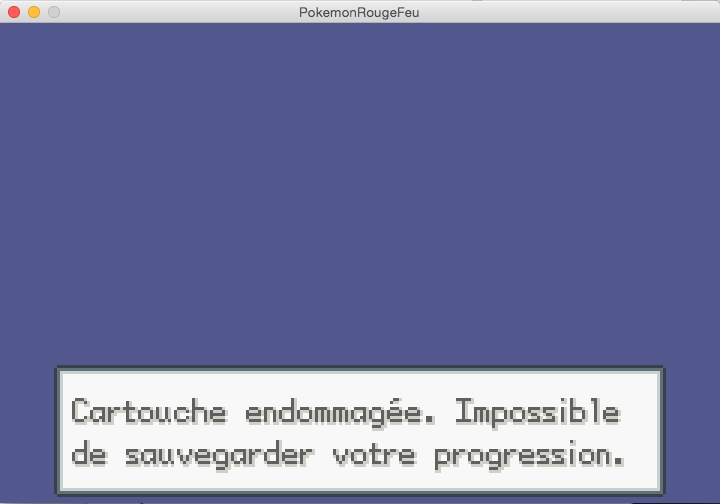
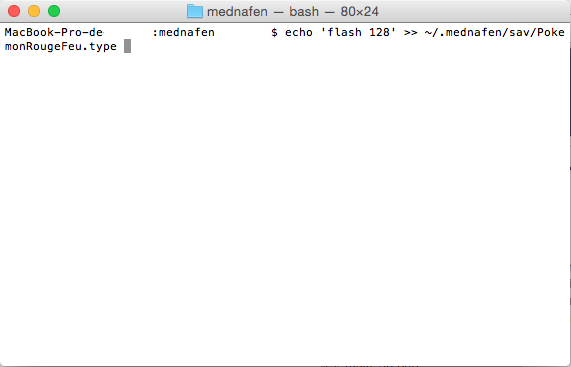
Don't panic, simply indicate that the type is flash 128 as follows:echo 'flash 128' >> /Users/[account_name]/.mednafen/sav/[rom_file_name].type
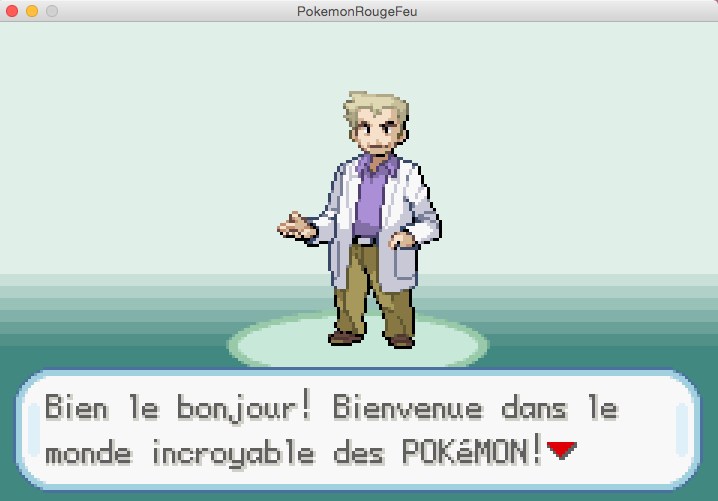
Now you just need to restart your favorite game and catch them all.
If you are not afraid of the terminal and are comfortable with a Unix environment, Mednafen remains quite simple to use, but it requires that your ROMs have a valid header; otherwise, it will not recognize the module type to launch. You can force it as follows, but be aware that if it did not recognize the type automatically, there is little chance the ROM will be recognized even if you force the module: ./mednafen --force_module [module] [rom_file]. Possible modules are listed in the help: ./mednafen --help
Experimentally, it also supports network play for certain machines only (see the wiki), but we have not tested it.
RETROARCH

In terms of pure emulation, RetroArch does not offer original code, with one exception (currently). It reuses the engines of the most well-known and often most powerful emulators in the emulation world, transforming them into libraries. These libraries are used by RetroArch when you request emulation of a particular system. So don’t be surprised if Saturn emulation appears identical to Yabause or if Nintendo DS emulation strongly resembles DeSmuME, since these are the engines of those emulators that are actually used.
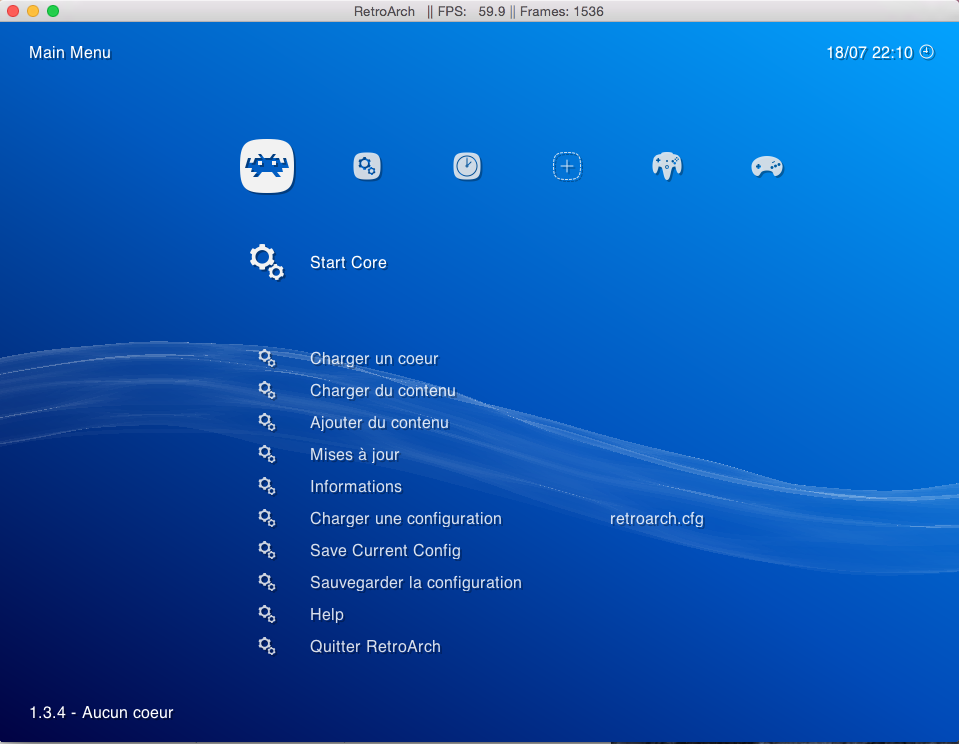
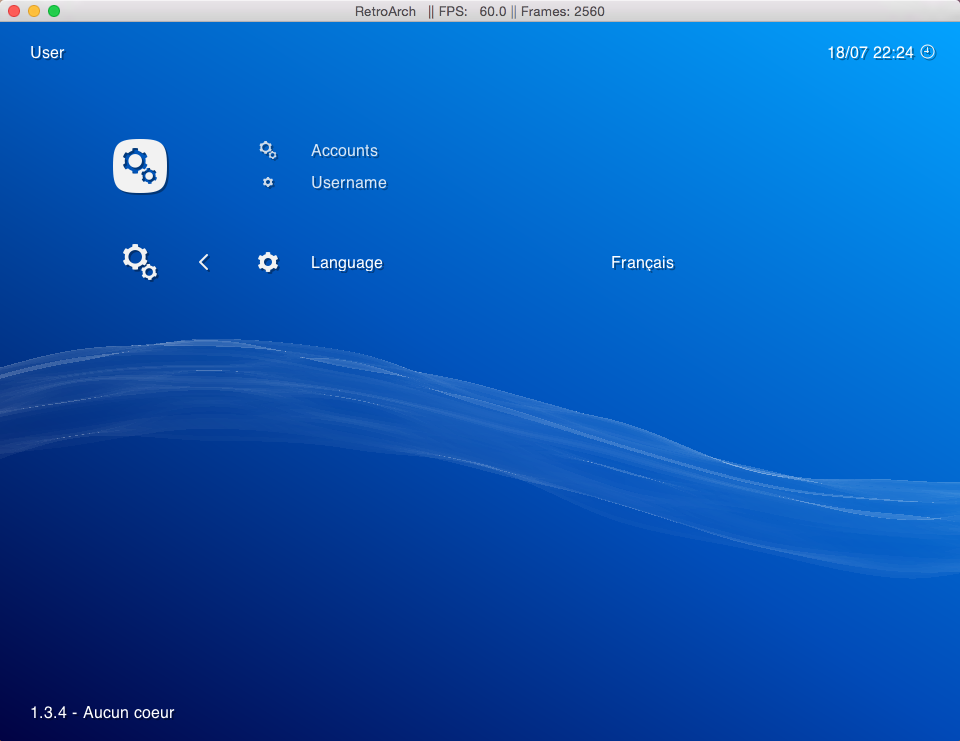
As you may have understood, due to its architecture, its installation requires some organization. First, you need to retrieve the binary. The interface is quite basic but functional. The keyboard shortcuts for confirming your choices may seem strangely configured: 'x' to confirm, 'w' to cancel, and 'esc' to quit. Note that the application is translated into French (settings → user → language).
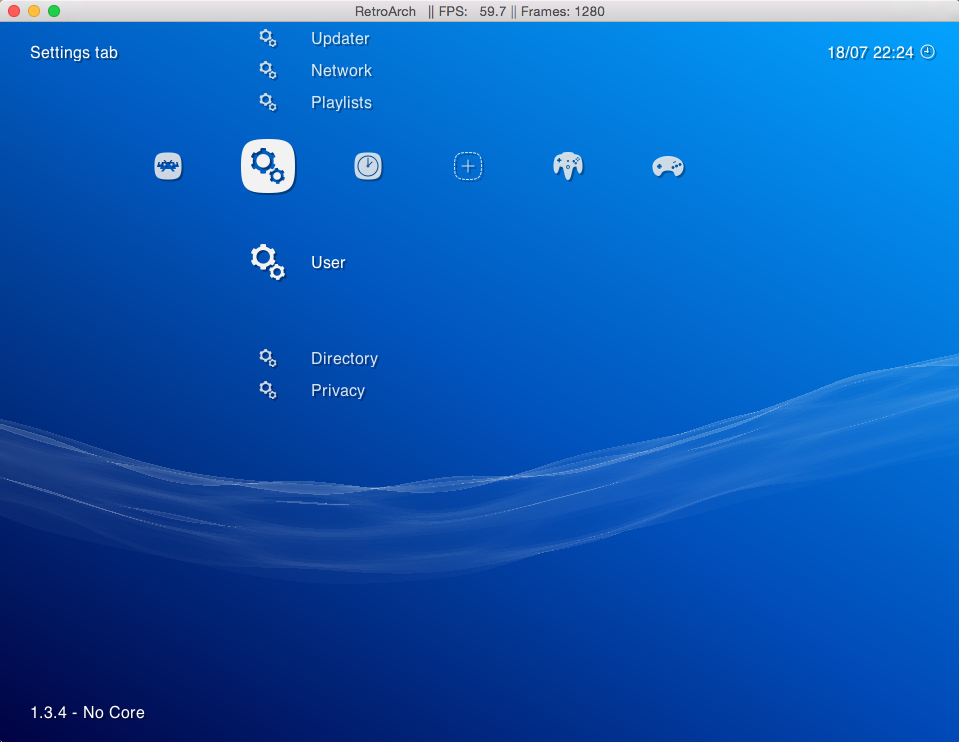
By default, the application is just an empty shell, and the simplest method is likely to use the online installation of the cores via the update menu.
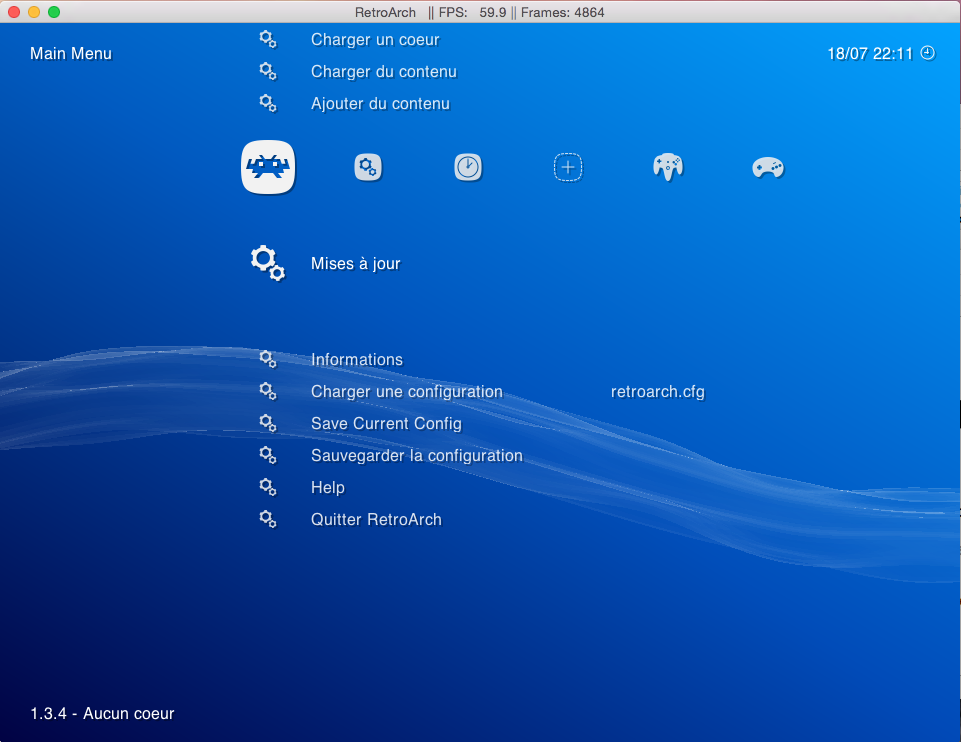
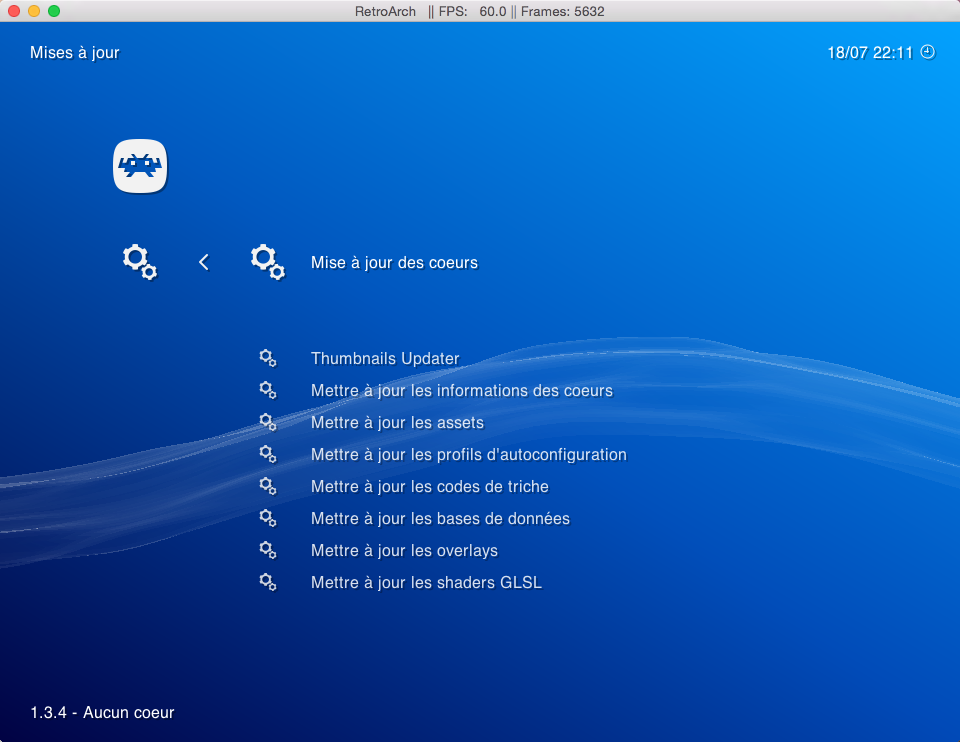
However, you can also install everything manually since the cores are available on the official website.
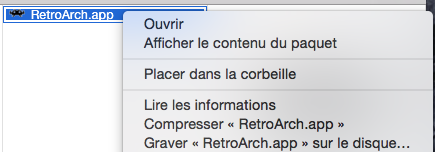
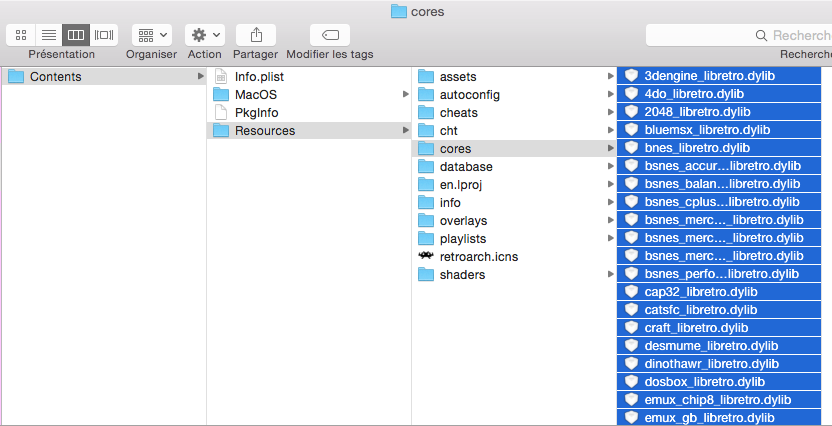
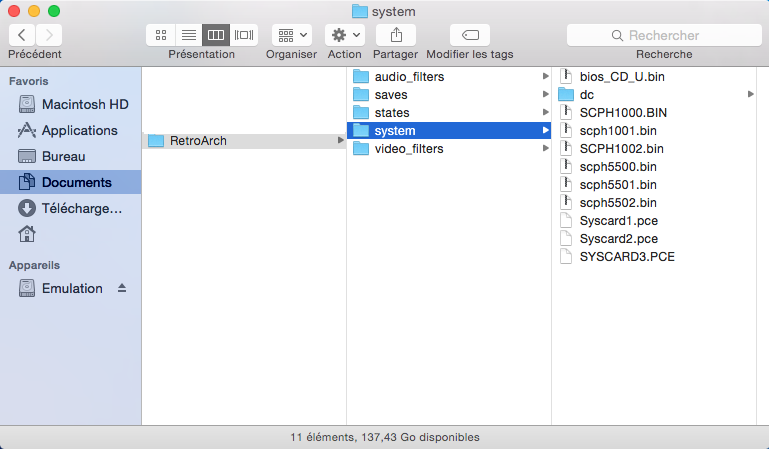
The BIOS files are installed in a separate folder, but you can modify this.
You will need to specify this via the application, in "settings" then "directory" where the folder containing the engines, BIOS files, save states, etc. is located.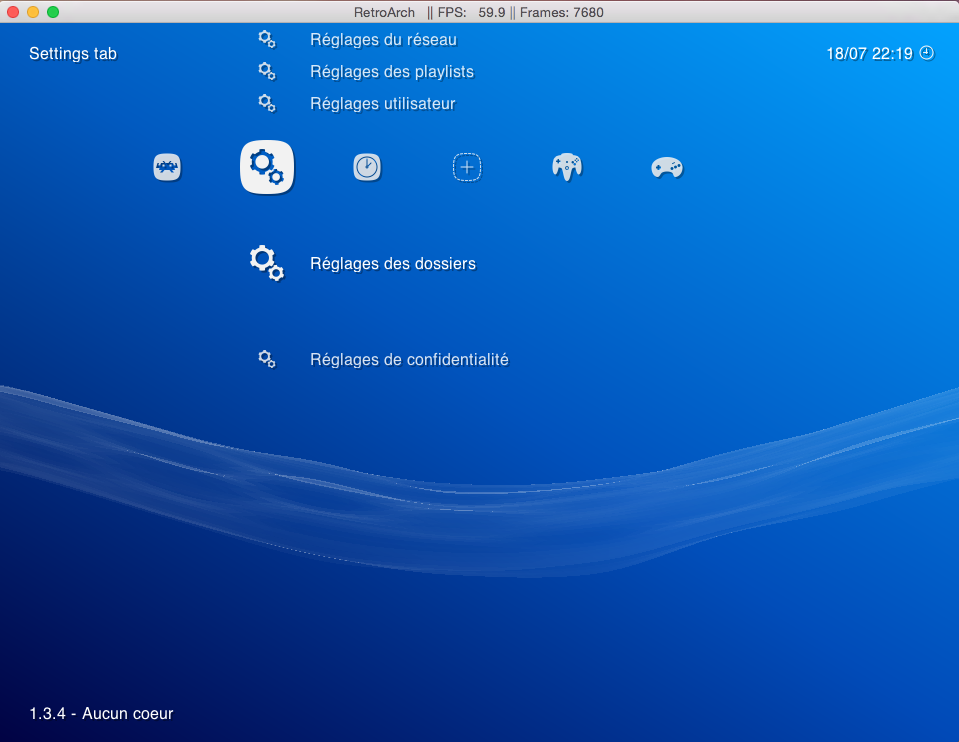
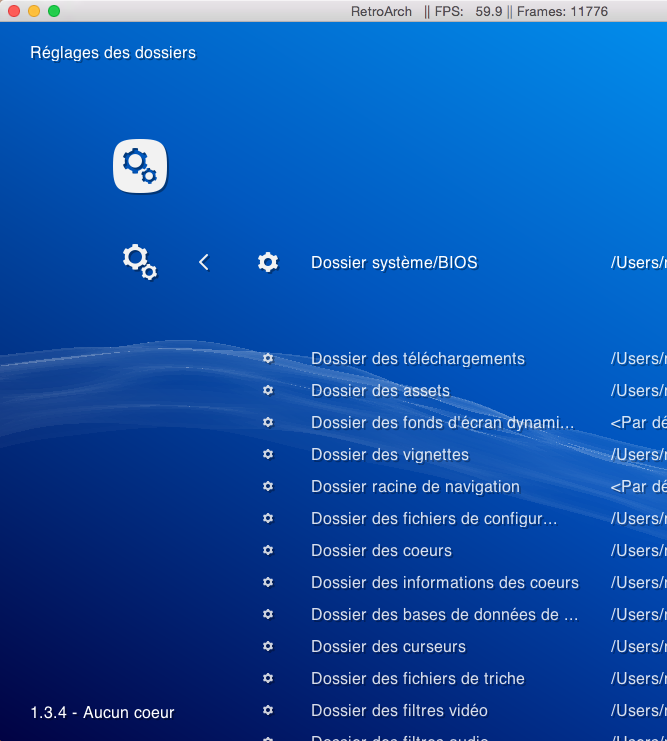
As for playing, you just need to load your 'core', then your ROM or CUE format image called 'content'. The 'load content' menu also allows you to automatically load the 'core' upon detecting the game type. If it doesn't know which one to load, the software will make a suggestion.
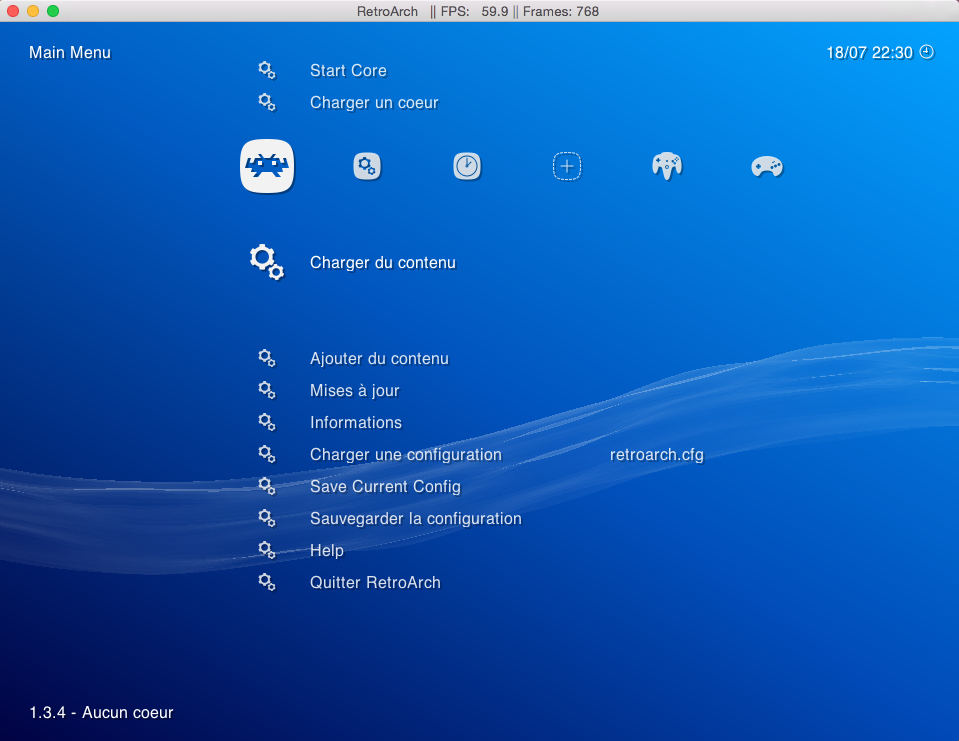
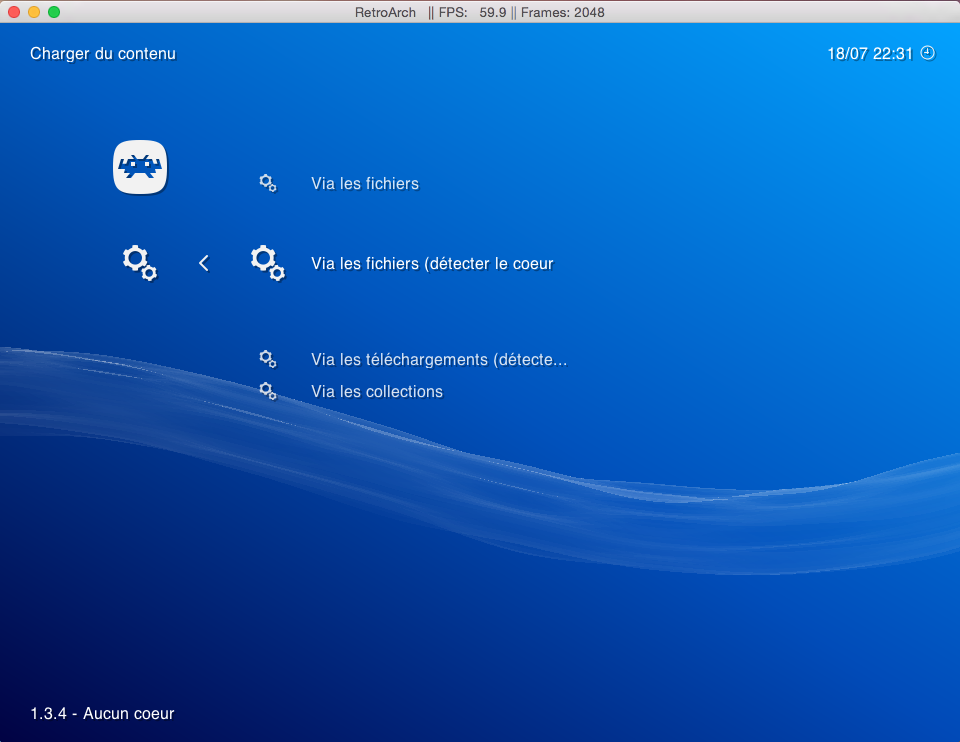
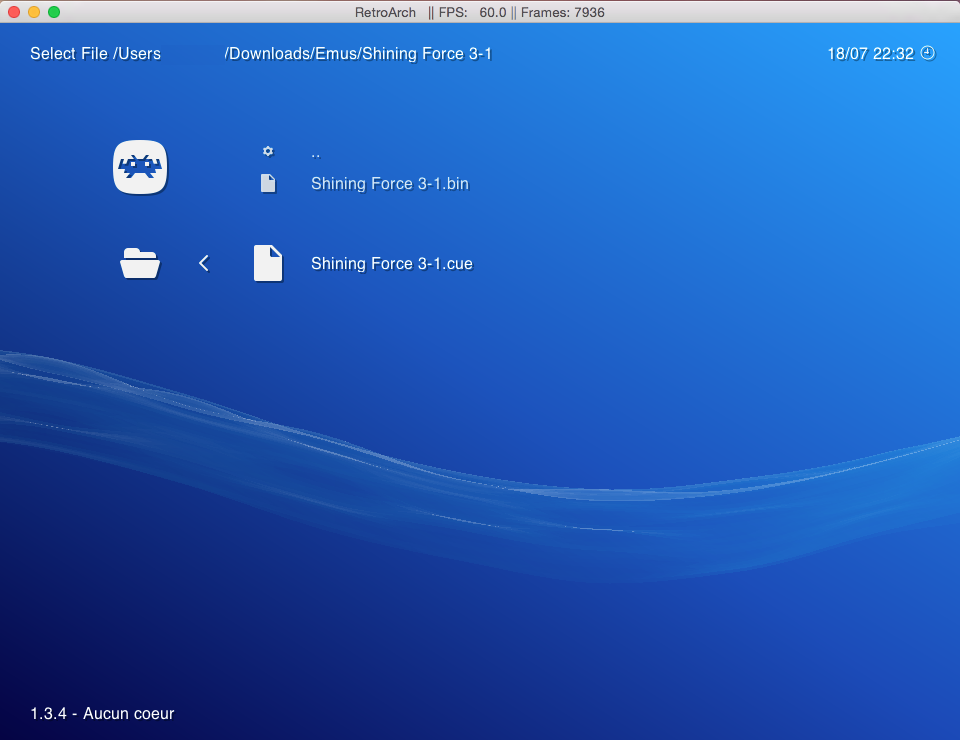
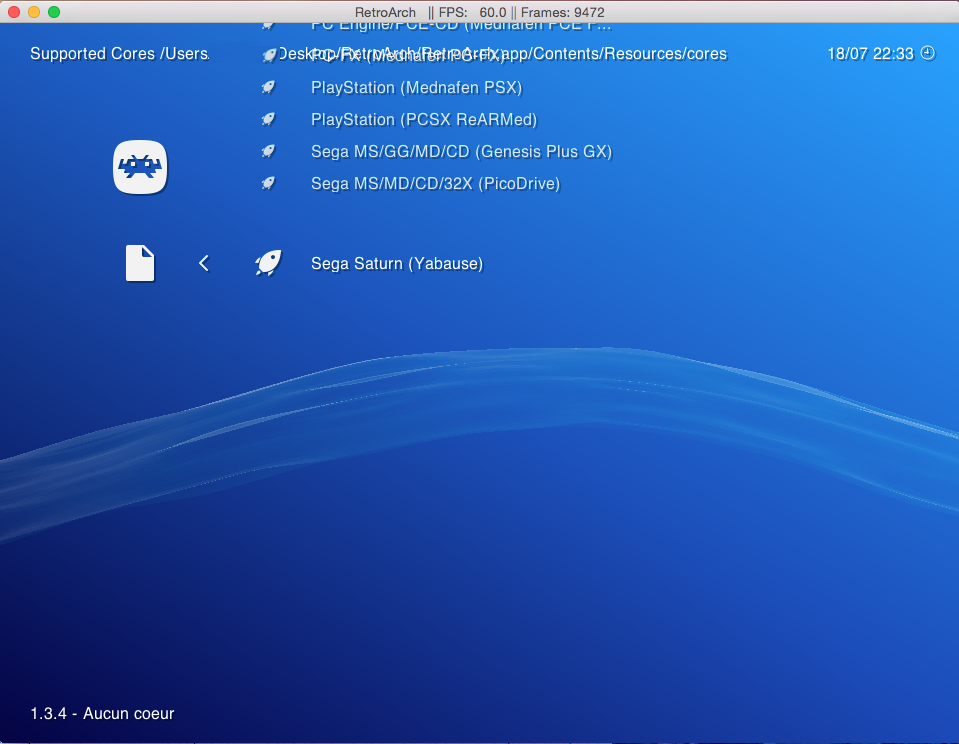
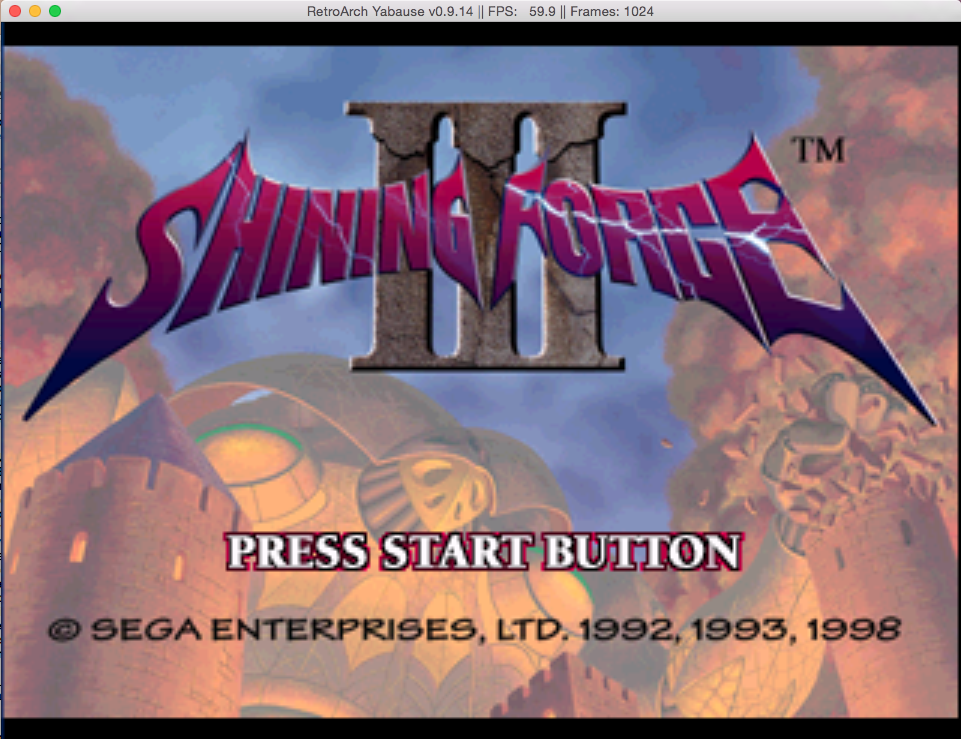
To make the process less tedious, you can ask to scan your folders. The detected ROMs, assuming they have a correct header with the expected MD5, will then be accessible directly via a new table or still through the "load content" menu by selecting the game in your collection.
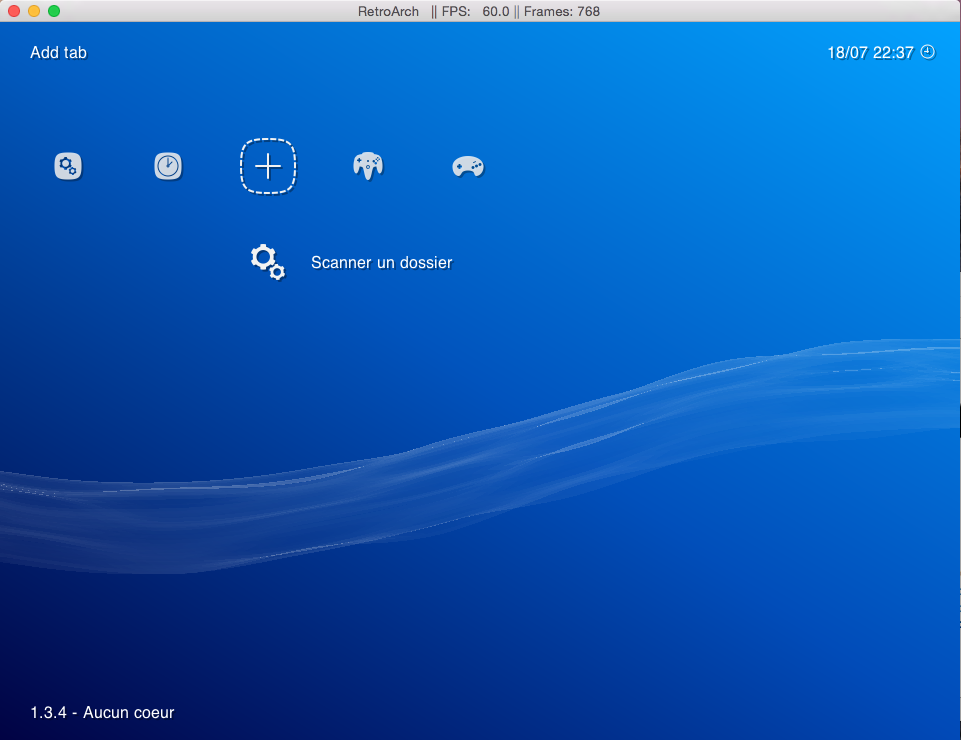
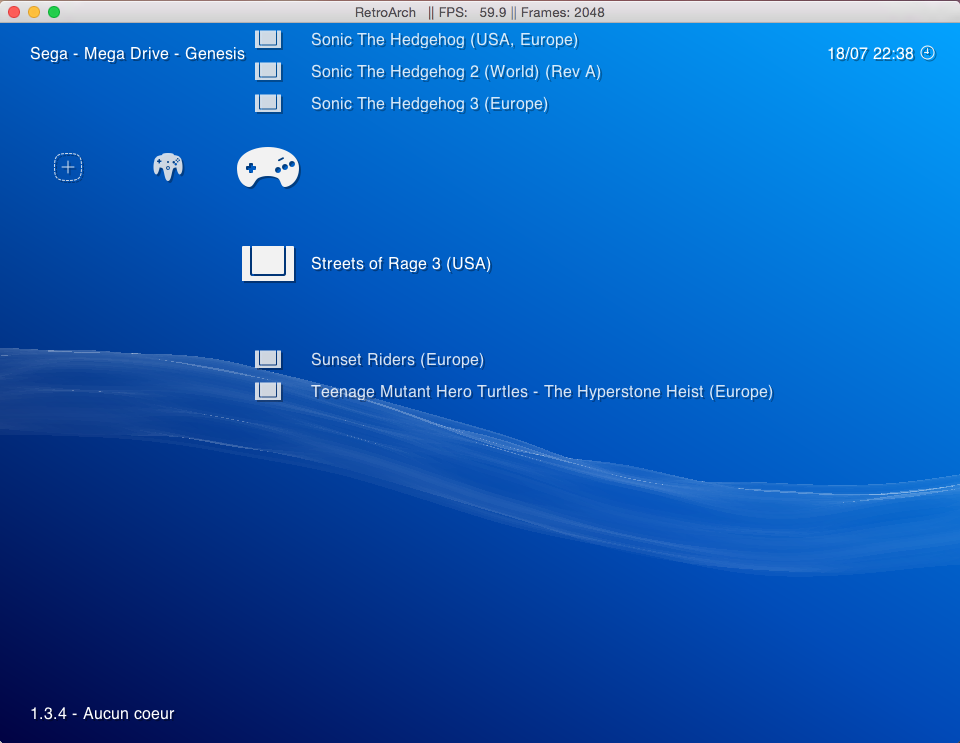
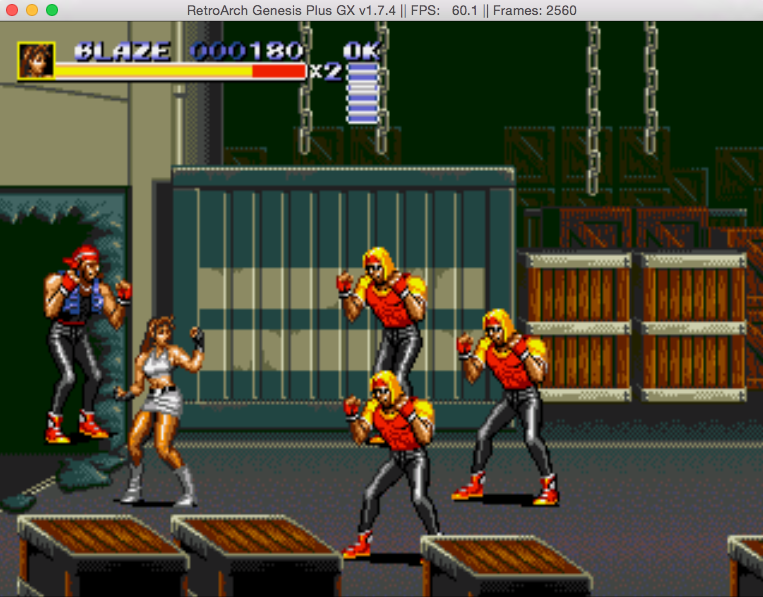
Note that some controllers are automatically recognized, such as the Xbox 360 controller. RetroArch offers a wide range of emulators, some of which did not have a dedicated application version for Mac OS X, like reicast, the Dreamcast emulator.
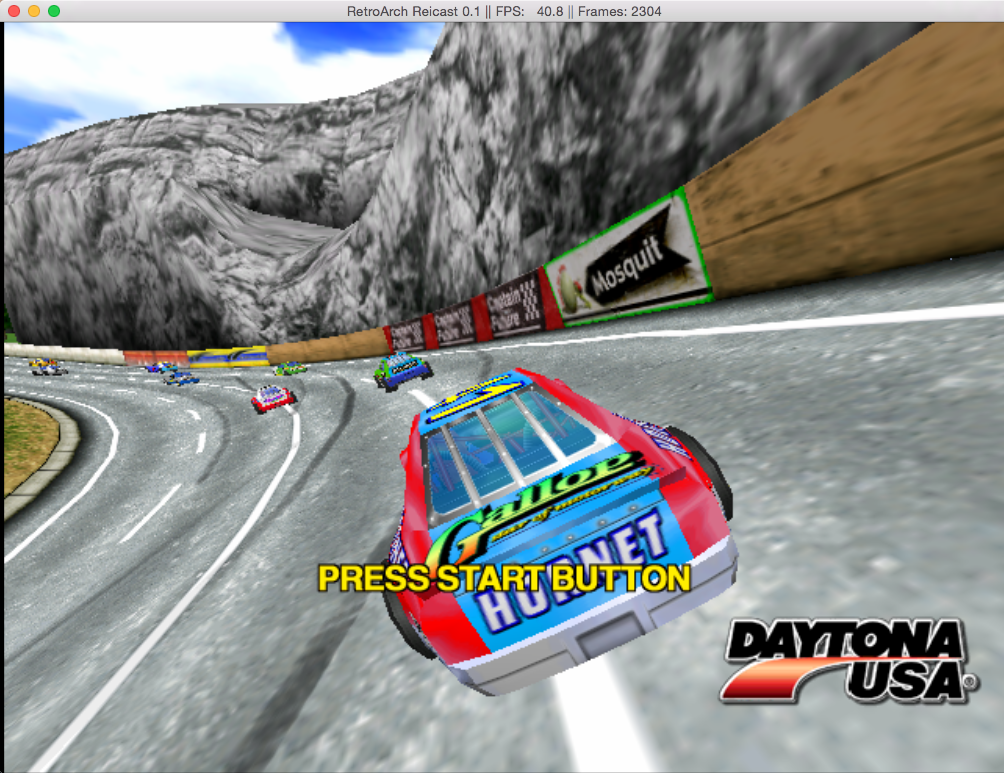
Clearly not simple to use, it is nevertheless very powerful, to the point of offering options to best adjust emulation and rendering. It is then possible to have a refresh rate as close as possible to the original game, such as for arcade games.
This will still require some calculations on your part, but if you are English-speaking, the developers seem very available on the official forum if needed.While RetroArch is the official interface for the open-source libretro project, a new, slightly more intuitive graphical interface has emerged, attempting to resemble OpenEmu (see below). Named Phoenix, it is still under development and currently does not include all cores.
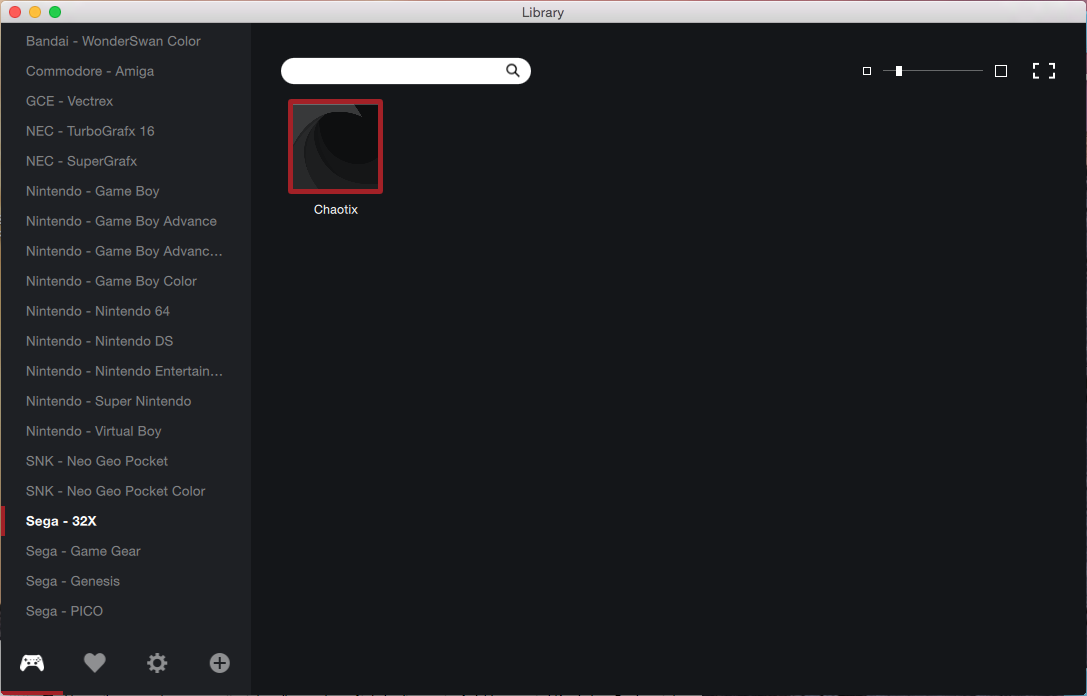
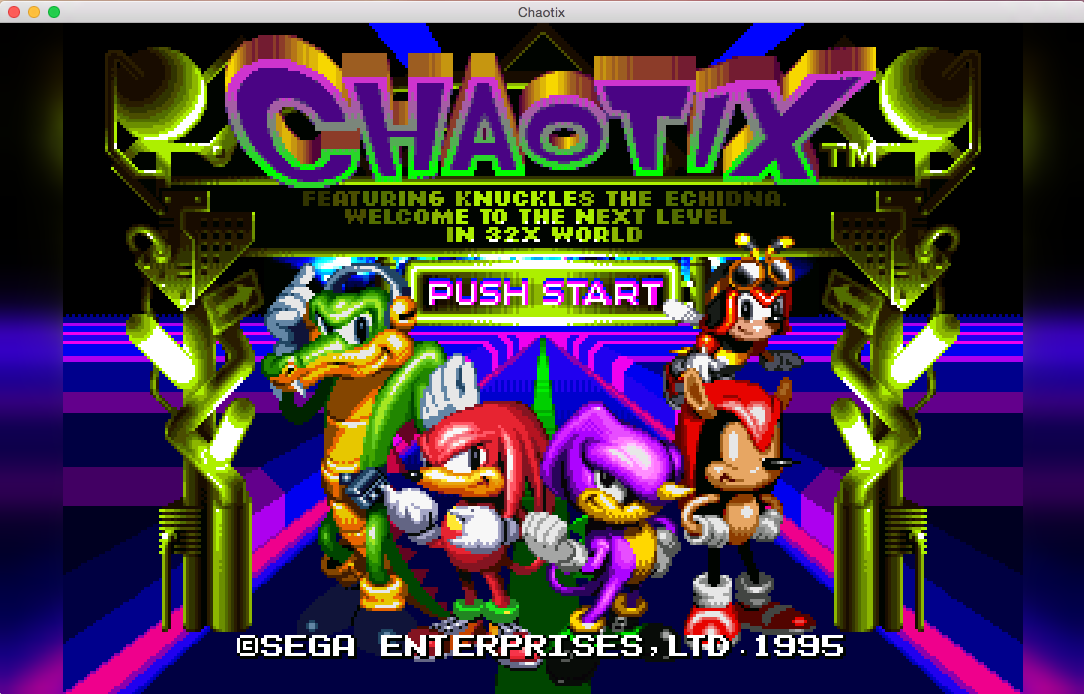
Note that since then, an official simplified interface for libretro named ludo has become available, with fewer built-in cores and consequently reduced game recognition, fewer options, and support only for wired Dual Shock 3/4 controllers, Xbox 360/One, and 8BitDo Nes30 Pro, all wired.
OPENEMU
OpenEmu follows the philosophy of RetroArch to the point that an OpenEmu developer has stated they have contacts with the libretro project developers. It is also based on a library system, although OpenEmu visibly offers fewer libraries than its predecessor, nor does it provide complex options to closely match the speed and video refresh rate of the games.
OpenEmu still has a strong point, making it almost indispensable.
Its integration with macOS is almost flawless, making it incredibly simple while also being visually appealing.
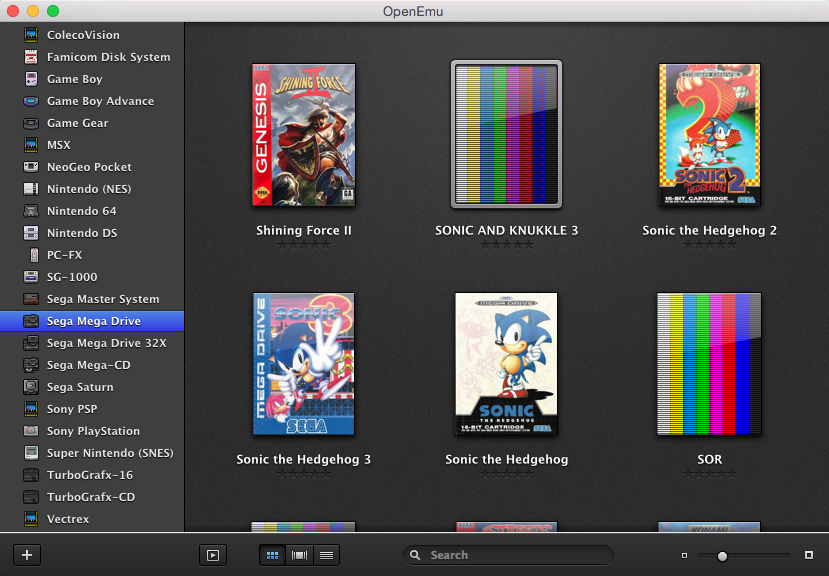
All you need to do is drop your ROM files and disk images into the interface, and your library will grow before your eyes, with beautiful cover art appearing above the game name, provided you have an internet connection.
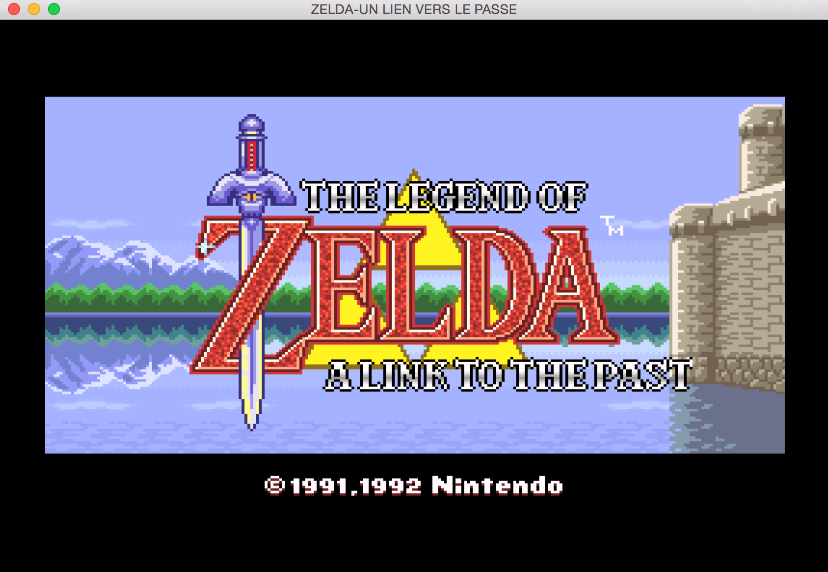
If this isn't the case due to a missing BIOS file, a message will indicate the missing file, which you only need to place in the "Bios" folder dedicated to OpenEmu within the "Application Support" folder of your library to resolve the issue.
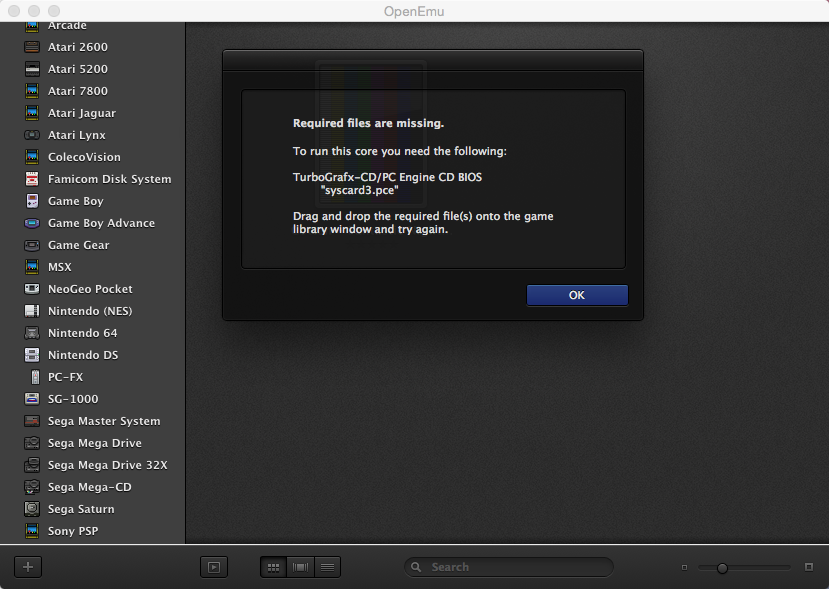
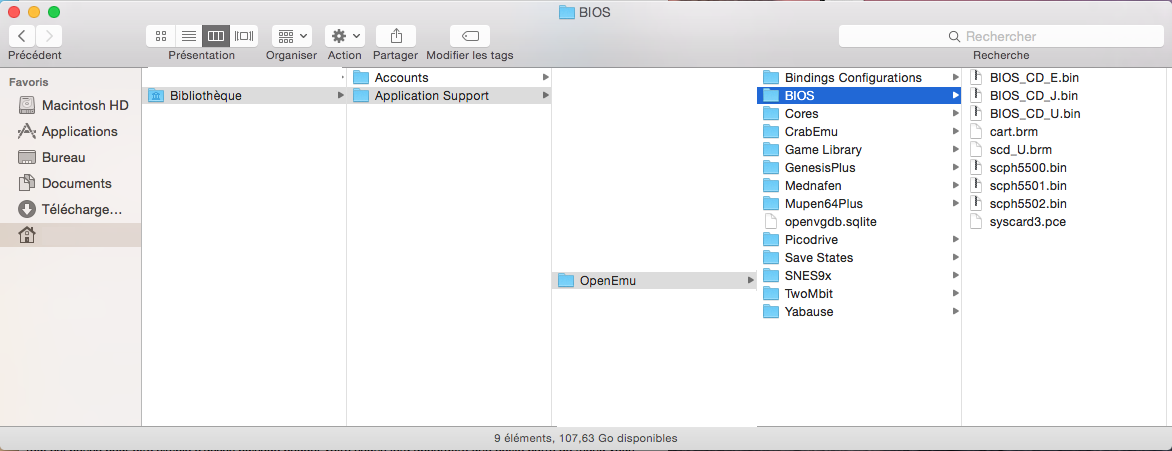
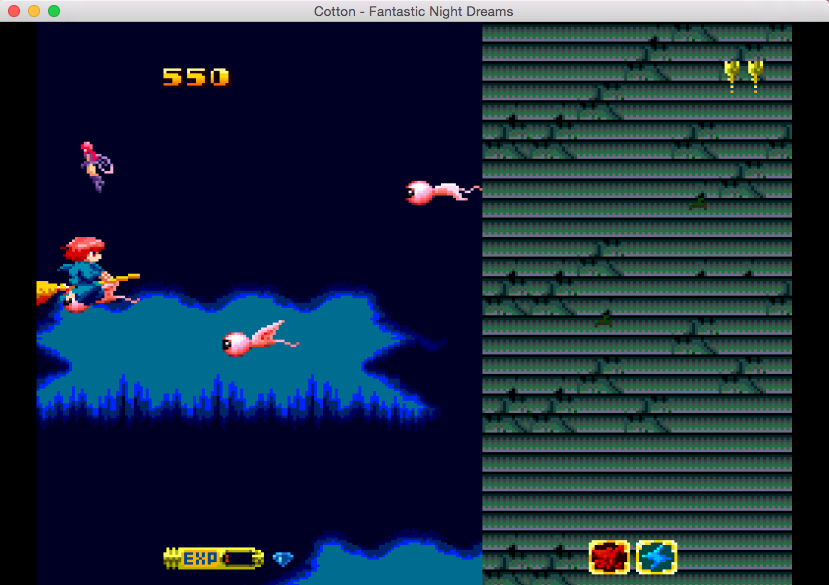
Everything is designed to be easily accessible, as moving your mouse will display a small menu bar offering most of the save options, controls, audio, and video settings. If you forgot to save before quitting the application, for each game launched, the application will prompt you to resume the game where you left off.
Furthermore, since OpenEmu is exclusively intended for our preferred platform, controllers supported by Apple's HID are automatically recognized.
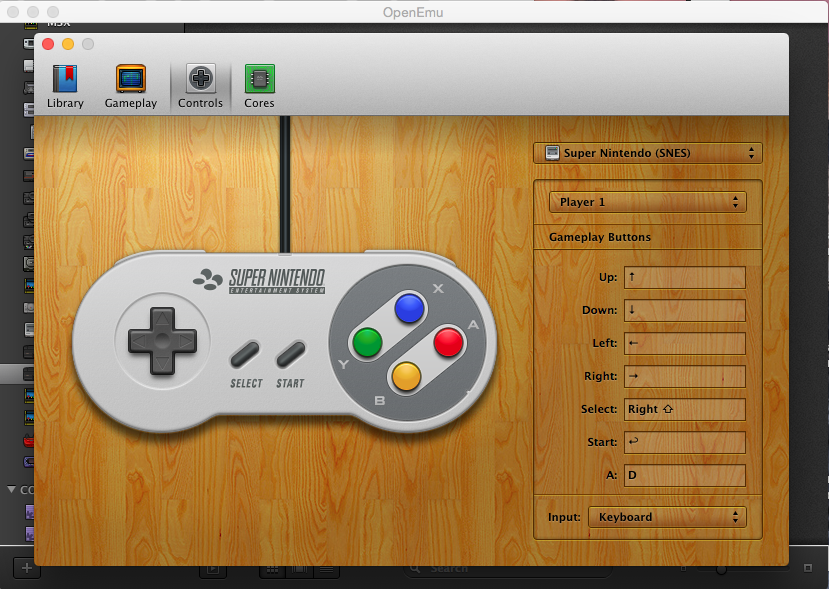
In short, the application is so simple that a tutorial seems unnecessary. Suffice it to say that if your need for emulation mostly involves common machines ranging from 8-bit to 32-bit systems as well as arcade, then there's no doubt OpenEmu will be your only and only application.
As they say: "a must-have on Mac".
To learn more about using OpenEmu, a dedicated dossier is available here.
DSP32 & BizHawk

For some time now, certain multi-emulators targeting Microsoft's system have started appearing on Mac. Unfortunately, for the first one, DSP32, it's impossible to make it work despite trying two different versions. For the second, BizHawk, it features a classic but simple interface to understand. Once again, BIOS files are essential, and you'll need to go to the "Firmware" menu to specify where the required specific files are located to then be able to open and play with your ROM.
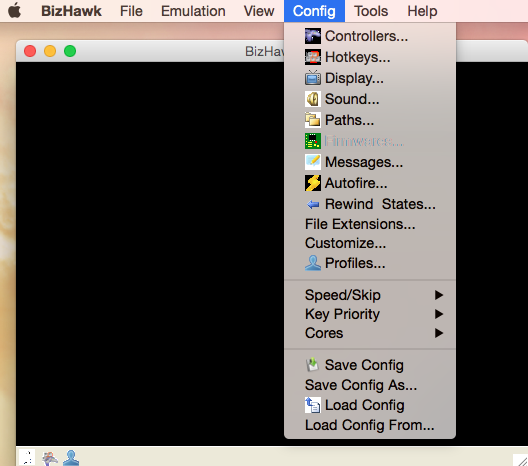
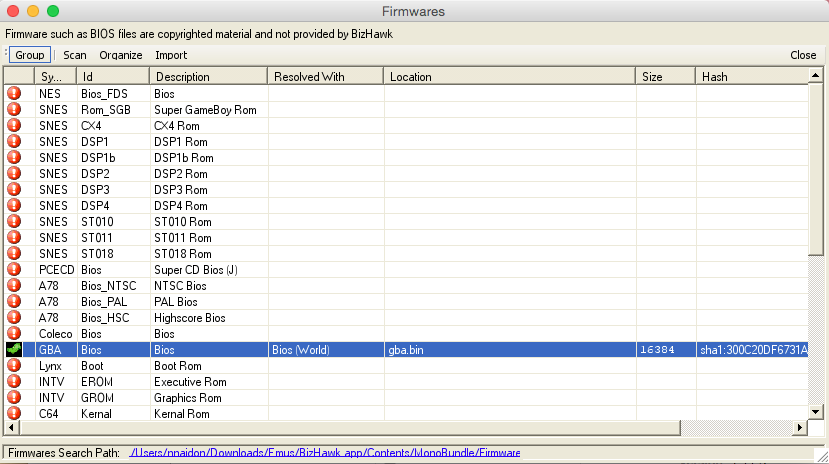
But let's not hide it, although BizHawk is a commendable effort from the developers—especially since it offers tools for speedrunning—the need to use Mono, a .NET Framework interpreter, to run an emulator makes the application somewhat slow depending on the emulated machine and sometimes even unstable with occasional crashes.
Conclusion
The ultimate all-in-one solution does not exist.
Faced with all these choices, you will surely find the one that suits you best. Developers have spent a lot of time providing us with a quality application, but each brings its own vision and philosophy. That's why most users will find what they need according to their requirements and constraints.
If your goal is to use an emulator as simple as possible without trying to support the maximum number of machines, OpenEmu is clearly the ideal choice.
RetroArch, offering a good number of proven emulator cores, along with its automatic support for the most common controllers, easily forgives its somewhat complex interface, especially thanks to exclusive cores like reicast.
It is also ideal for those seeking precise emulation at display refresh rates, though this remains reserved for those who are not afraid to configure it.
The more curious, wanting to explore or seeking out exotic machines, will dive right into Mess (included in MAME). The pioneer of the genre now runs either via the command line or through an interface and offers an impressive number of machines, not always well emulated, it is true. Some are only emulatable on Mac thanks to Mess, and in the end, the adaptation to the integrated SDL interface works quite well.
Mednafen is clearly the least user-friendly, as the case of Sky and Benjamin's latest attempts on the forum (in addition to the builds provided by others) demonstrates: you will need a certain knowledge of compilation and library installation under macOS. But that is no reason to overlook it. If the latest macOS binaries are not up to date and do not offer as many machines as others, do not forget that some of its cores are actually used by libretro and OpenEmu, and that others are unique and therefore sometimes the only alternative to dedicated emulators. Thus, the most tinkerers among you can enjoy modifying it as they please and benefit from a second Sega Saturn emulator, for example, still not available otherwise.
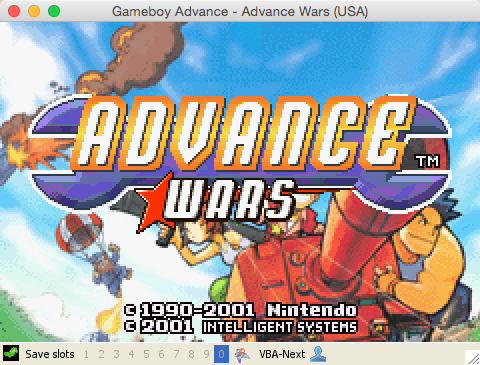
Finally, BizHawk, even if sometimes unstable, will allow some to test emulators previously reserved for Microsoft's OS, such as VBA-Next, or to familiarize themselves with speed-run tools.
As we repeat, this guide does not aim to say which is the best; the more choices we have, even those coming from the Windows or Linux world, the better. The goal is simply to inform you about the possibilities and uses of each, so that you can orient yourself toward the one that best suits your needs and skills.
As we have seen, some will promise you ease of use, sometimes at the expense of features offered by the dedicated emulator or having an engine that is not as up-to-date as the original, while others will offer you the exclusivity of a unique engine or even a single machine.
All that remains is for you to find your way and wish you happy emulation to all.
PS: If we do not list all the machines supported by the various emulators, it is simply because these are constantly evolving, adding support for other machines over time. We therefore advise you to refer to the relevant emulator section on our site for more information, or the official websites of each.
Related software
Reply on the forum
A question or a hands-on report? Open the discussion on the forum.