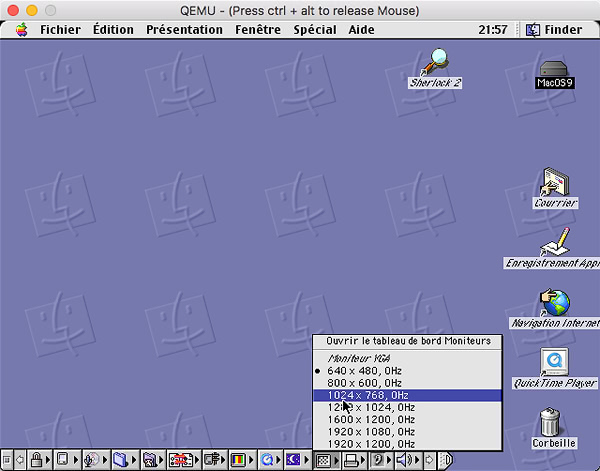
This guide is a step-by-step tutorial that requires installing brew and some basic knowledge of the terminal. You will also need an image of a Mac OS 9 installation disk. Note that installation disks dedicated to a specific machine seem to work perfectly. I installed Mac OS 9.2.2 in French from the installation disk of my G4 Sawtooth (dating from 1999, it doesn’t make us any younger).
Don’t expect to run qemu directly, you can try, you’ll get a surprise:
qemu
with the following response:
zsh: command not found: qemu
If you look at the last line of the qemu installation, you’ll find the installation location of the software:
🍺 /usr/local/Cellar/qemu/2.10.1: 131 files, 156MB
Let’s check it out:
cd /usr/local/Cellar/qemu/2.10.1
then in the applications folder (binaries, or bin).
cd bin
let’s see:
ls -l
with the following result:
We do not have a single application but a multitude, specifically one per emulated processor, along with 3 utilities.
Let’s return to our guide.
Once installed, choose or create a folder in which
You will store your virtual hard drive. In my case, it is a folder named "qemu" located in the Documents folder of my account. Don't forget to replace the path to the folder throughout the tutorial. Then navigate into it using the terminal.
cd ~/Documents/qemu
Let's create the disk image, take your time to customize the disk size according to your needs and the name of the image file.
Let's break it down to better understand the parameters that interest us and that you can modify according to your needs and the names of your files.
-boot d: boots from the emulated optical drive
-m 256: indicates that the virtual machine has 256 MB of RAM
-drive file=Power Mac G4 Install.toast,format=raw,media=cdrom: indicates the disk image used as an optical drive. Here it is our installation disk; you must replace the filename, "Power Mac G4 Install.toast", with the full path to your installation disk. Tip: Place the cursor where you need to type the path, after "file=" and drag-and-drop the file; its name and path should automatically be inserted.
-drive file=MacOS9-fr.img,format=raw,media=disk: indicates the disk image used as the hard drive for your MacOS 9, created earlier. Since we are in the folder containing it, we don't need to specify the path.
Be careful, every character and every space matters.
If this doesn't work, check each parameter, fix the issues, and restart.
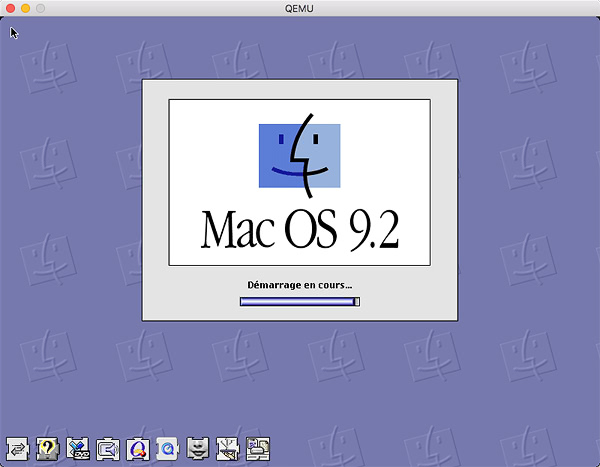
After a rather ugly yellow screen, which is actually a virtual BIOS replacing the Mac's firmware, it should begin to boot.
Installing Mac OS 9
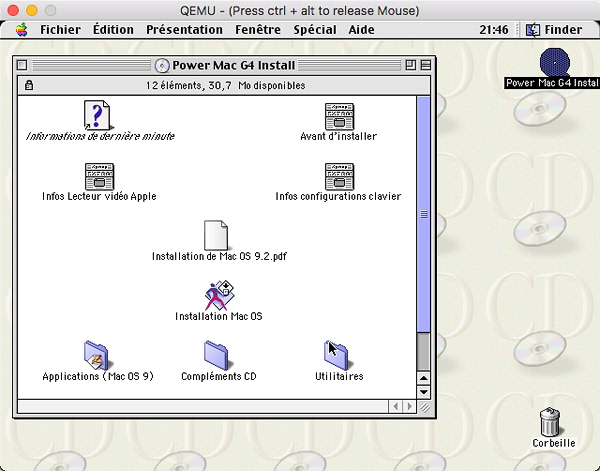
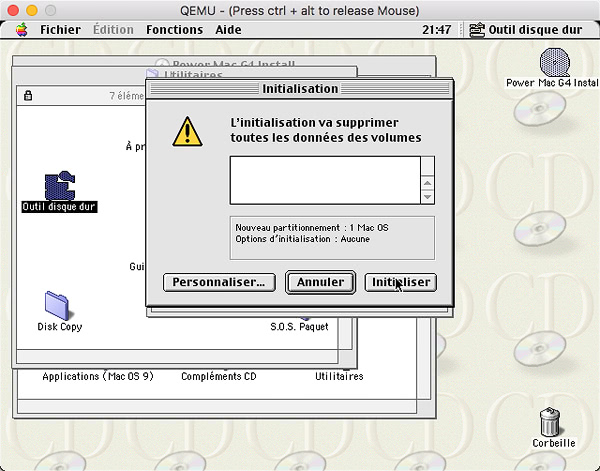
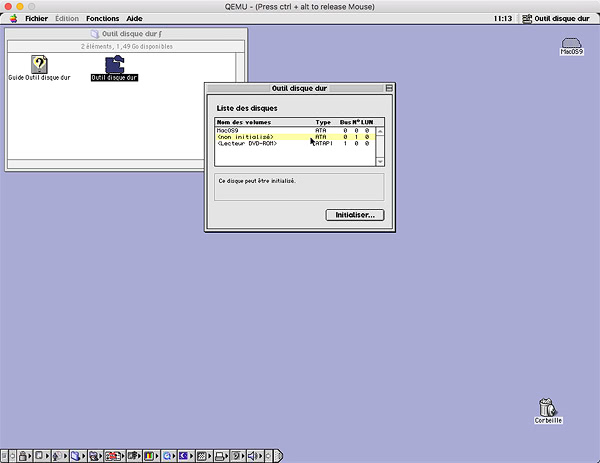
Once the operating system is launched, you can start installing Mac OS on the disk. However, as you can see, the disk does not appear on the desktop; you need to format it first.
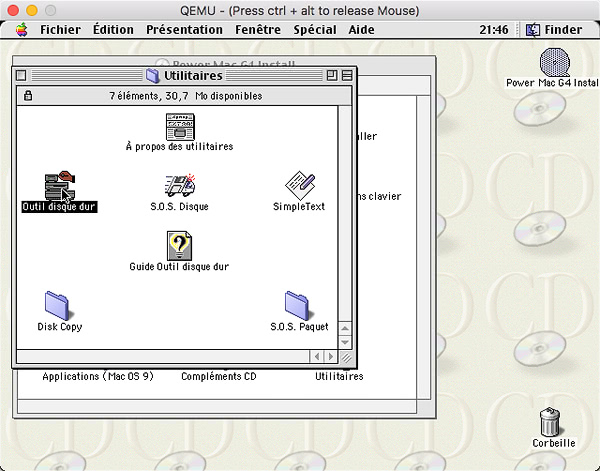
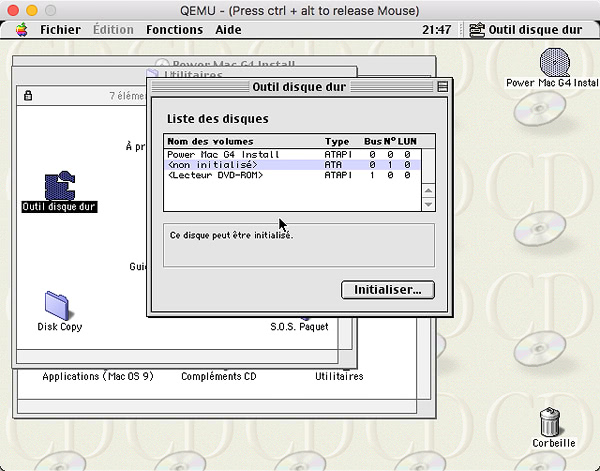
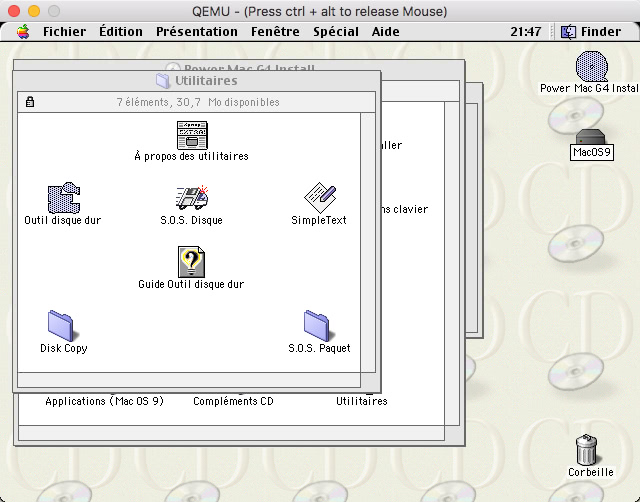
To do this, open Disk Utility in the Utilities folder. You should see a partition labeled "uninitialized." Simply format it as a Mac OS partition.
Once the partition is created, the disk will automatically appear on the desktop. Close Disk Utility. You can also rename the partition as desired (this has no effect on the name of the disk image container).
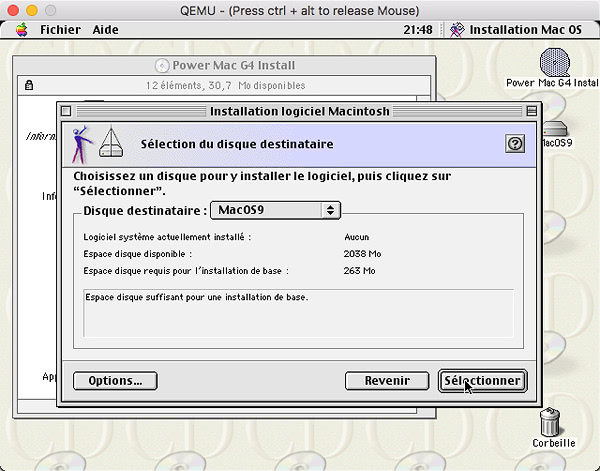
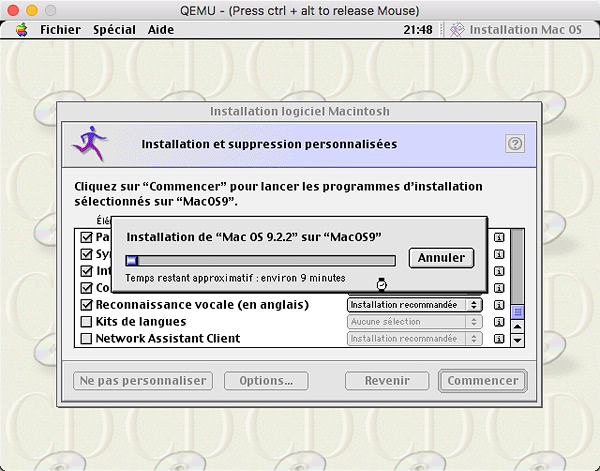
You can now begin installing Mac OS 9, just like in the good old days.
Take your time to customize the installation, many elements may not be useful for your needs.
Once the installation is complete, shut down your virtual Mac.
We now need to launch our virtual Mac; we no longer need to consider the virtual optical disc.
Remove the loading of the MacOS installation disk image
Specify that you are booting from the hard drive and not the optical disc, changing -boot d to -boot c
And you're off again. The system should start on the freshly installed system.
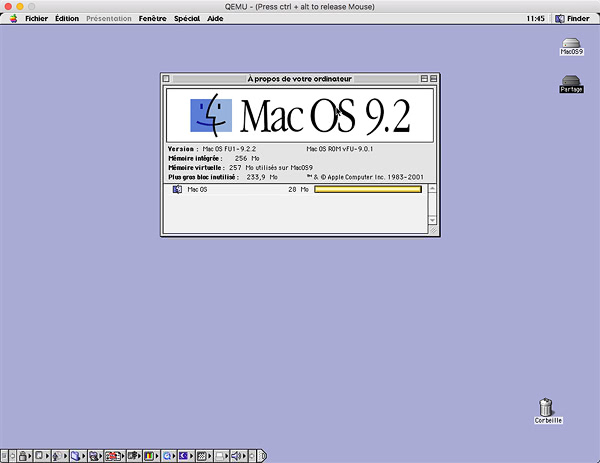
Here you are (again) on MacOS 9!
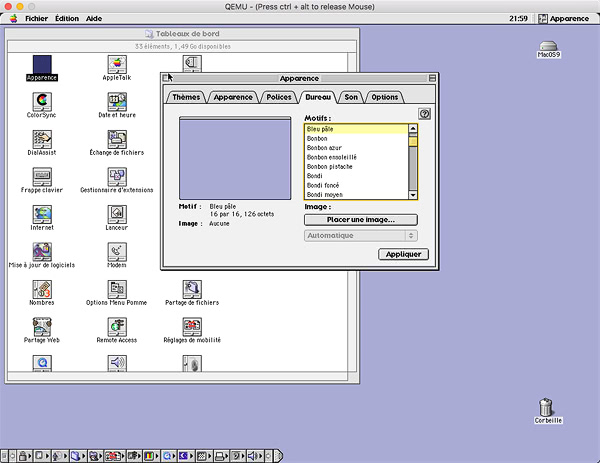
Start by adjusting the resolution and appearance of your emulated Mac. For the date, you may need to update it at each launch (I haven't found a solution yet).
Data Sharing
We still need to find a solution to transfer information from your host Mac to your emulated Mac. Unlike Sheepshaver, simply specifying a shared folder that would be automatically mounted as a disk on MacOS 9 is not sufficient.
However, we can open the Mac disk image on your Mac OS X to access the files, or even add some.
However, just like during the time when MacOS 9 and MacOS X coexisted, you risk adding all the hidden files from MacOS X or corrupting a file if you try to open it on MacOS X.
To address this, I chose an intermediate option: creating an additional partition solely for transferring data between the two Macs.
This step is optional; you can choose to use the Mac Classic image directly.
For this, I go back to the software included in the dedicated folder:
cd ~/Documents/qemu
qemu-img create -f raw -o size=1.5G Shared.img
with the following result
Formatting 'Shared.img', fmt=raw size=1610612736
Then restart MacOS 9, making sure to include the new hard drive in the settings.
Go to Applications (Mac OS 9) > Utilities > Disk Utility, and format the uninitialized partition again, then rename it.
Turn off MacOS 9, open the new partition in MacOS X, and copy the files you want to install there, remembering to eject the virtual disk before restarting Mac OS 9 again to find all the files.
By habit, I always start by installing all the utilities I might need, such as Resedit, Stuffit Expander, Toast, or VirtualCD.
Fullscreen
To launch the application in fullscreen mode, you need to add a parameter:
-full-screen
The size is not increased to fill the maximum of the screen; instead, there will be a large black border filling the space around the emulated Mac.
Save Configuration
Once you are satisfied with your settings, you have the option to save these parameters in a file.
You just need to rerun the command by adding the -writeconfig parameter followed by the name of the file.
In the folder, you will see a new file with the specified name. This is a simple text file that you can open and modify if needed.
The advantage is that now you can launch the emulator much more simply:
qemu-system-ppc -readconfig MacOS9.cfg
However, remember that you must be in the correct directory to execute it.
You can create multiple configuration files if you have several Mac OS images or other OS versions, regardless of the architecture. You will just need to remember the names.
Note that this works with all versions of Mac OS 9, or even Mac OS 8, but you can also install earlier versions using the m68k version of the emulator.
PS: To go further, know that QEMU uses an OpenBIOS that you can compile yourself to take advantage of the latest functional hardware support. Another article proposes to attempt a network setup.