Introduction to Emulating an Amiga with FS-UAE
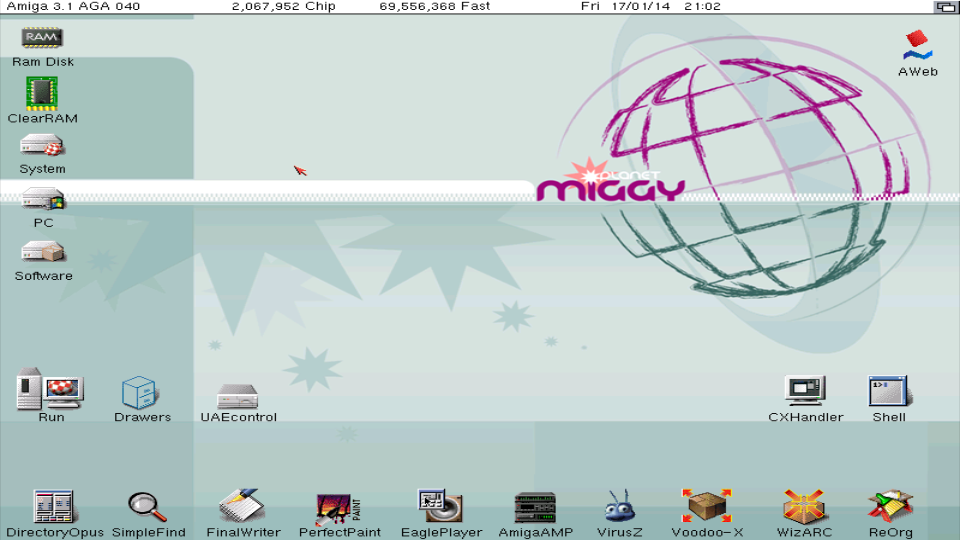
Already on Mac back then, I discovered the Amiga with a friend. Since then, this fantastic machine has always fascinated me. To the point where, intimidated, I never dared to get into its emulation. Until the day I decided to try out Crazy Cars III.
Not mastering everything about the machine or its emulation, this guide is just a starting point to help the most hesitant, who, like me, would be afraid to get started. In short, demystify this machine that can impress many with its complexity, which is actually quite relative in emulation.
1/ Installing the Emulator
Referring to the dedicated page on the site, there are many emulators for the Amiga and Commodore 64. To start emulating the Amiga, I chose FS-UAE, an emulator based on UAE that offers a graphical interface, simple and quick to configure. The emulator is fully translated into French, which makes discovery easier. Moreover, it is an emulator that is still maintained by its developers, and its latest update is not that old, dating back to 2021.
Go to the emulator's website to download the latest version.
Once downloaded, launch the application.
2/ Installing the Kickstarts
To start, the Amiga needs a micro-operating system called kickstart. Legally, the emulator cannot provide these for you, so you will have to find them online, which will not pose any issues with a simple search query on any search engine.
Each Amiga model requires a different kickstart. Depending on what you want to do, you may need to find several.
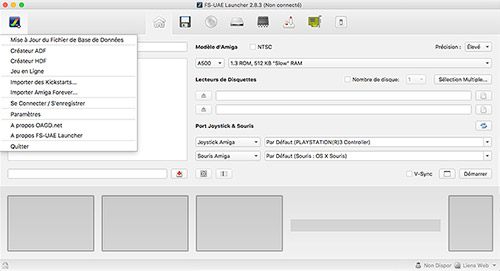
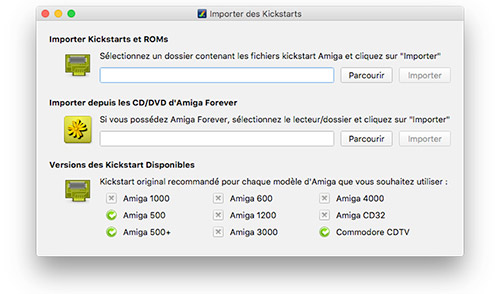
Once you have these kickstarts, import them into the application. For this, in the FS-UAE menu, select Import Kickstarts... in the first section, click on Browse to choose the folder containing the kickstarts, then click on Import.
The emulator will then copy the compatible files into its folder to have them available for the next launch. At the bottom of the window, you will see the Amiga models for which kickstarts have been found and installed.
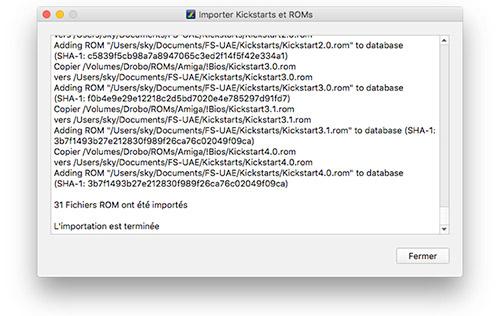
3/ Emulator Configuration
As previously mentioned, I am not yet very familiar with the entire emulator. However, during my numerous tests, I have found some interest in certain configuration elements.
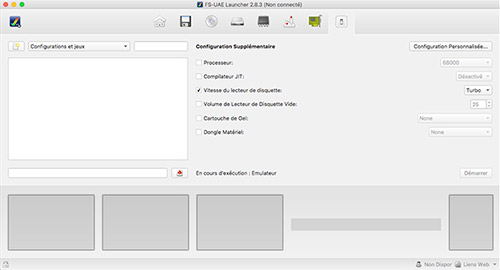
In the additional configurations tab, it is possible to speed up the floppy disk drive. This seems to shorten the loading times of games, which is not a drawback.
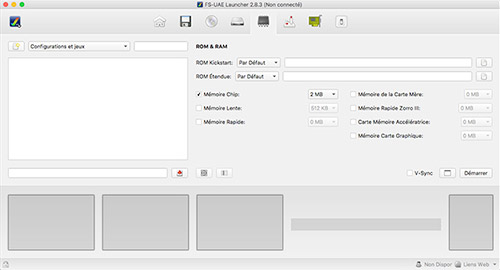
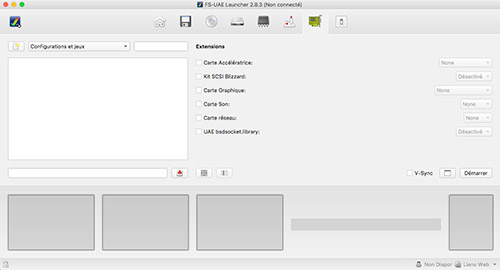
In the ROM & RAM tab, you can increase the memory of your virtual machine. Some games or software may require RAM expansion. Again, I am not very knowledgeable about the various expansion capabilities. But during the emulation of an Amiga 500, an increase in chip memory was detected in some of the launched games.
The advantage of this emulator and this platform is that, without any specific configuration, it is already possible to launch most of the games.
For advanced configurations, I hope that someone more knowledgeable about the capabilities of the machines will share their expertise.
4/ Launching a Game
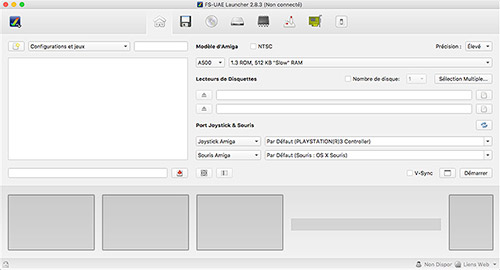
Let's get down to business: to launch a game, return to the first tab. We start by choosing the Amiga model you wish to use.
For my part, I started with the model I had the chance to test about 25/30 years ago: the Amiga 500.
Then select the diskettes that make up the software. Two are displayed by default, but it is possible to go up to 4 in the second tab. Very convenient, a multiple selection button is available to choose all the diskettes that make up the game (or the software).
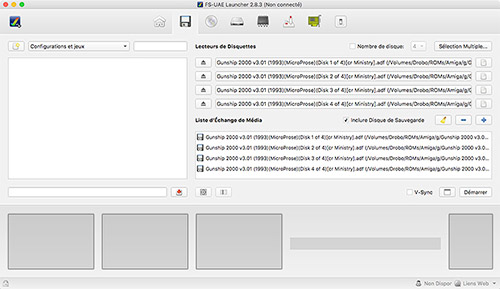
Finally, you need to choose the peripherals that will replace the mouse and joystick normally included with the computer. The Mac keyboard is automatically linked as the Amiga keyboard, the Mac mouse is by default used as the Amiga mouse, so only the joystick configuration remains, which is not standard on the Mac. If you don’t have a controller, the keyboard will be used, with the arrow keys indicating direction and the right Alt key acting as the "fire" button.
The emulator supports game controllers as a replacement for the joystick. I successfully tested the two I had available: a DualShock 3 and a DualShock 4. The PS3 controller is recognized more quickly and directly. For the DualShock 4, you need to click the Options button for it to activate on the Mac and sometimes restart the emulator for it to detect it.
According to the site, X-Box controllers are also recognized, but I was unable to confirm this personally.
The dedicated tab allows configuring a second mouse and a second joystick for two-player gaming.
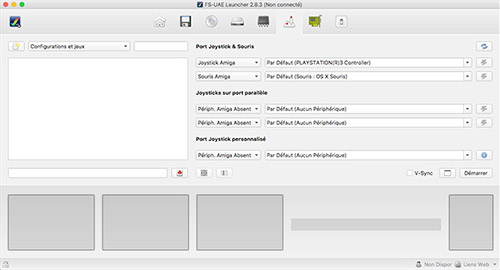
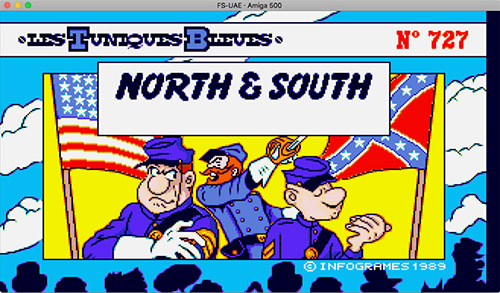
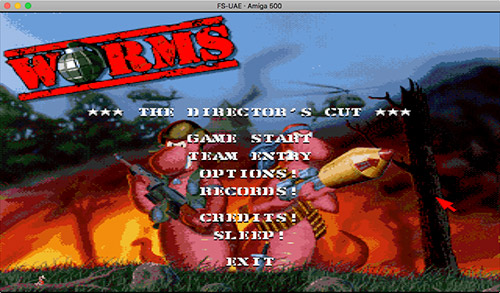
All that remains is to click Start and wait a little while, I remind you that this is a machine from the 1980s, resulting in the following outcome.
5/ Compatibility
Game compatibility is nearly 100%, I had a few failures during my tests, but I assume these are errors in the dumps rather than issues with the emulator itself.
The tested ROMs were all in the ADF format, compressed as ZIP.
The Zip file is ready to use, which is very convenient.Like the kickstarts, the ROMs are easily found online; they are neither provided with the emulator nor on this site.
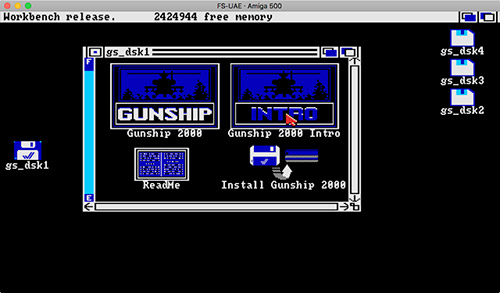
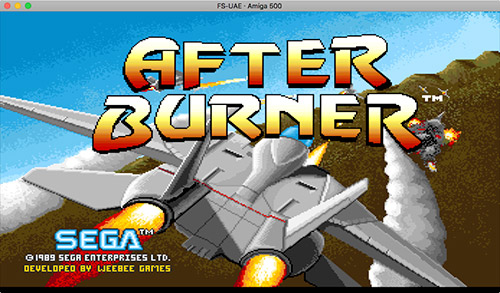
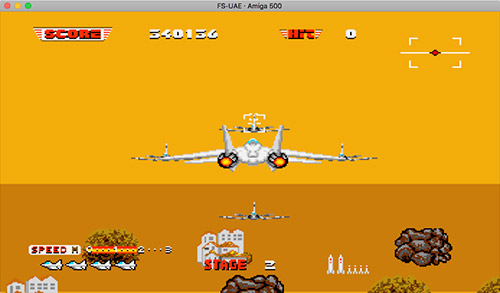
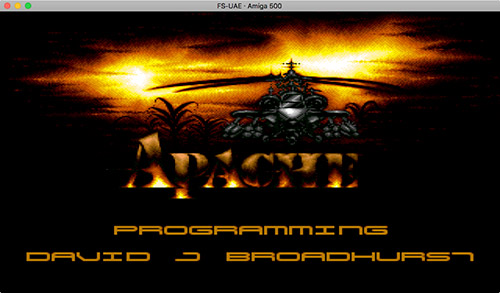
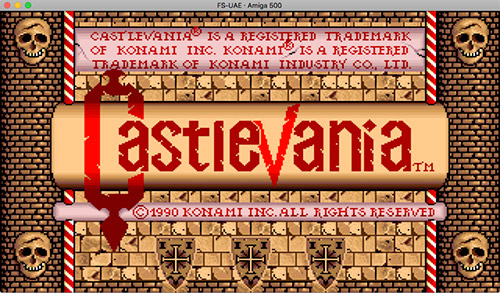
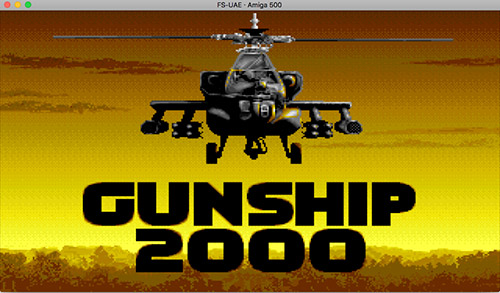
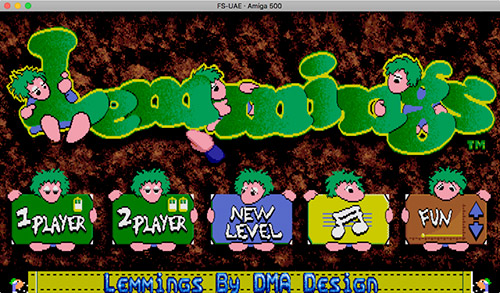
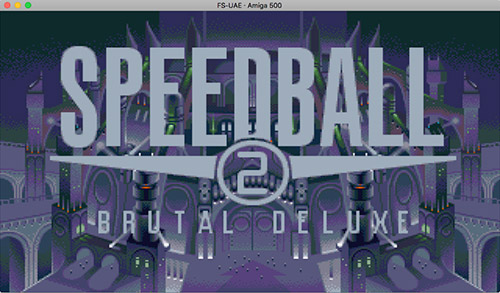
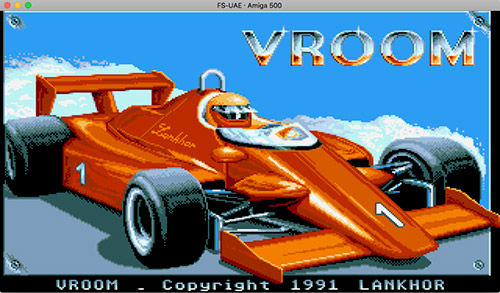
I had the time to test quite a few games, including many that have already been featured in previous retro-tests: Crazy Cars III, Lemmings, Sim City 2000, Worms, Speedball 2, but also many others more typical of the machine or at least those that did not have the good taste to be released on Mac, such as Vroom, Gunship 2000, After Burner, Castlevania, or the unforgettable North & South, one of my favorite discoveries on this machine.
Related software
Reply on the forum
A question or a hands-on report? Open the discussion on the forum.