GnGeo - Installation and Usage
Note: The disasters caused by improper use of the terminal can be enormous. The authors of this article as well as the Mac-Emu.net site cannot be held responsible for any system malfunction resulting from incorrect terminal usage. All commands provided here have been tested and validated on at least one Mac and are normally safe for your system's stability.
1. Installation Preparation
To begin, you need to install Xcode, X11, and fink. The easiest way is to follow steps 1 to 3 of this article written by me. All of this is essential for the rest of the installation.
2. Installation of Required Libraries
Two libraries are essential for the software to function properly. It is possible that you already have them installed; in that case, there is no need to reinstall them. If in doubt, you can reinstall them, they will simply be updated.
In a terminal, type:
fink install sdland confirm. A lengthy calculation will execute; once finished, type
fink install sdl_imageand confirm. Another calculation will execute. The two libraries are now installed.
3. Compilation and Installation of GnGeo
Extract the software archive to the location of your choice; this location will have no impact on the final placement of the application on your disk.
The installation of Mac OS X is slightly different from that of a standard BSD, as some files are not located where they should be. To avoid interfering with the proper functioning of macOS while allowing the installation of desired Linux software, create a symlink to a necessary file by typing:
sudo ln -s /usr/include/malloc/malloc.h /usr/include/malloc.hNormally, your password will be requested.
Still in a terminal, type cd followed by the path to the folder resulting from the decompression (you can drag & drop the folder into the terminal, it will retrieve the full path).
With the folder on my desktop, I have:
cd /Users/sky/Desktop/gngeo-0.6.7/Then type:
sudo ./configure --disable-i386asmYour password will be requested. Once again, let your Mac work on its own.
Then type:
sudo makeAs before, your computer will continue working on its own.
Finally, type:
sudo make installFrom here on, if you encountered no errors, GnGeo should normally be installed. To verify, type:
/usr/local/bin/gngeo -vYou should normally get the following response:
GnGeo 0.6.7
Copyright (C) 2001 Peponas Mathieu
If instead you get:
command not found: gngeoThis means it was not installed. In this case, go back to step 1 or go to the forum to report precisely your issue. We will try to resolve it with you.
4. GnGeo Configuration
The software configuration is done using a perfectly readable file located in your Home directory. However, this file is in an invisible folder.
Let's start by creating the folder. Type:
cdmkdir .gngeoopen .gngeo/Users/<html><your_login></html>/.gngeo/romrc/Users/sky/.gngeo/romrcpwd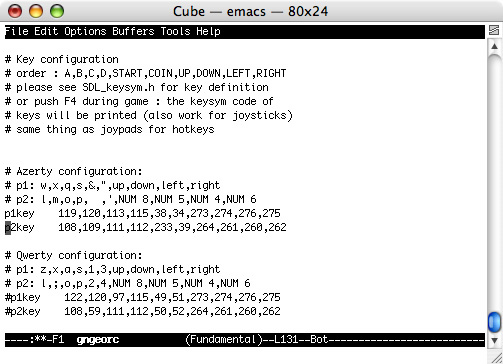
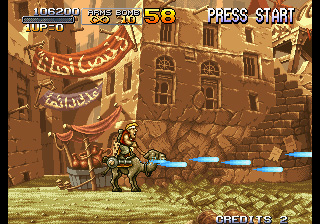
gngeo mslug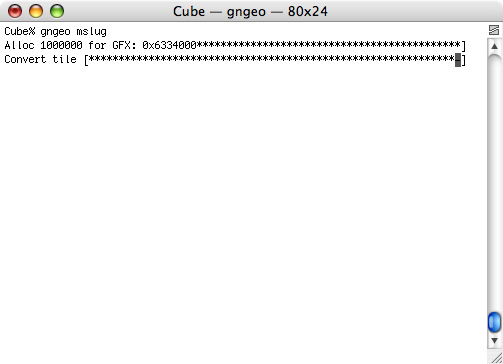
If you get the error:
Couldn't find romrcIt means you incorrectly specified the path to the `romrc` file.
If you get the error:
No valid romset found for mslug.zipIt means either you don’t have the requested ROM, or it doesn’t appear in the `romrc` and therefore isn’t compatible with GnGeo.
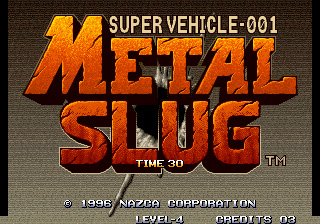
Otherwise, the game should launch and thus: Victory.
GnGeo works perfectly on your machine.As a final note, the keys are available in the configuration file at the end. They are configurable but this may not be straightforward. You might need to disable the QWERTY keyboard configuration version and enable the AZERTY keyboard version. You can also test the different supported graphical filters.
Have fun!
5. Acknowledgements
A big thank you to the author of this software for their invaluable help.


⚠️ This guide is flagged as obsolete.
Reply on the forum
A question or a hands-on report? Open the discussion on the forum.