Note: The disaster caused by using the terminal can be enormous. The authors of this article as well as the Mac-Emu.net site cannot be held responsible for any system malfunction resulting from improper terminal usage. All commands provided here have been tested and validated on at least one Mac and should normally be safe for your system's stability.
[Update] After several tests by some readers who attempted the installation of DeSmuME, here is an update to the article to complete it. The article in its first version was incomplete. To write this article, I tested it on two different machines to confirm the proper execution of the article. However, it appears that some necessary libraries were already installed. It was also necessary to run Fink in a different mode than the default one, and it was already set on both Macs. To update this article, we completely reset a machine, so it should be much more reliable. If you tried the article without success, start again from Chapter 2, and you should succeed this time. The changes are in Chapters 2 and 3. [/Update]
As with every command-line software installation, it will be easier to follow the content of this article if you have read the previous ones (GnGeo, Yabause…). Otherwise, follow the instructions to the letter and do not hesitate to read the article before starting. Note that an administrator password will likely be requested during installation. If you are not an administrator of the Mac you are using, unfortunately, it is useless to continue. Additionally, the installation may take several hours and requires a significant amount of disk space depending on the number of elements already installed.
DeSmuME offers 3 usage methods: 1 via the command line, and 2 with a graphical interface.
We will make sure all three work.
The compilation does not seem to work on MacPPC, the screen remains hopelessly blank, but we managed to launch some games (and even play!) on MacIntel.
1. Installation Preparation
Before proceeding with the actual installation of the emulator, you will need to install some development tools. If these elements are not already installed on your Mac, you will need to add them.
The first is Xcode, the complete development environment for macOS. Rest assured, you will not need to know all the tools contained in this package; everything will be explained in the article. You will find Xcode on your Mac's installation discs or in the downloads section of the Apple Developer Connection on Apple's website. You will need to create an Apple Developer Connection account (free) to download Xcode (980MB). Once downloaded, start the default installation.
Next, you will need X11, a terminal for macOS, slightly more advanced than the default terminal available in macOS. It is located on your Mac's installation disc. Once installed, open System Preferences, in the Software Update section, and launch the X11 update.
The last tool we will use is Fink, an extremely practical tool for installing libraries and command-line software:
Make sure to take the version that corresponds to your Mac (Intel or PPC). You will find more information about Fink on the official website.
2. Updating Fink
To install the necessary libraries, we must set Fink to "unstable" mode, which means that instead of installing a "stable" version of a library or software, it will install the latest available version. Despite the "unstable" name, the installations are still usable, and errors are very rare. There is a certain advantage to switching to "unstable" mode: you go from nearly 2000 available libraries and software to nearly 7000. Indeed, many software packages are never available in "stable" mode.
The negative effect is that you will no longer be able to return to stable mode, simply because you would have newer libraries than those available in "stable" mode. Additionally, mixing stable and unstable dependencies would have a harmful effect on your Fink installation. To return to stable mode, delete your Fink directory and reinstall it.
The mode change process takes time, so don’t worry if it doesn’t seem to progress.
Check your Fink version:
fink --version
On my G4, it responds with:
Package manager version: 0.26.3
Distribution version: 0.8.1.rsync powerpc
Which corresponds to version 0.26.3.
If you have a Fink version higher than 0.26, type:
fink configure
For the first three questions, simply press to keep your current configuration, then for the question:
The "unstable" tree contains many packages not present in the "stable" tree and
often has newer versions of those that are present. All package updates are
tested in "unstable" before being approved for "stable", so "unstable" gets new
versions and bug-fixes sooner. However, that means packages in "unstable" can
change rapidly and are occasionally broken temporarily. In addition, packages
from the "unstable" tree are less likely to be available from bindist servers
immediately (if at all). At least some of the "unstable" tree appears to be activated in your fink now. Do you want to keep it activated? [Y/n]
Answer 'Y' and confirm.
If you have a lower version, edit the file `/sw/etc/fink.conf`.
To do this:
You will find more information on the Fink website.
3. Installing the necessary libraries.
Several libraries are essential for the software to function properly. You may already have them installed. In that case, there is no need to reinstall them. If you are unsure, you can reinstall them; they will simply be updated.
Let's start by installing pkg-config. In a terminal, type:
fink install pkgconfig
Then install libSDL. In a terminal, type:
fink install sdl
and confirm. A fairly lengthy calculation will execute. We will now install the GTK libraries. For information, GTK refers to libraries for managing graphical user interfaces (a Linux equivalent of Aqua).
fink install gtk+2
Confirm. Let your Mac work; if it is the first time you are using fink, it may take more than an hour, not counting the approximately 150 MB of libraries that GTK depends on that must be downloaded.
Once finished, there is only one more part left to install: Glade. This is another library for managing graphical user interfaces.
Like GTK, its installation and the download of dependent libraries take some time.
fink install libglade2
This part is indeed the longest; if you and your Mac have survived, you can move on to the next step.
If you want to install everything without necessarily being in front of your machine, you can take the risk of running everything directly with the command:
Extract the software archive to the location of your choice; this location will have no impact on the final location of the application on your disk.
Still in a terminal, type cd followed by the path to the folder resulting from the extraction (you can drag and drop the folder into the terminal, it will retrieve the full path). With the folder on my desktop, I have:
cd /User/sky/Desktop/desmume-0.6.0/
Then type:
./configure
Normally, your password will be requested. Once again, let your Macintosh work on its own. This configuration phase should end with:
checking for GTK... yes
checking for LIBGLADE... yes
checking whether to enable maintainer-specific portions of Makefiles... no
configure: creating ./config.status
config.status: creating Makefile
config.status: creating src/Makefile
config.status: creating src/cli/Makefile
config.status: creating src/gtk/Makefile
config.status: creating src/gtk-glade/Makefile
config.status: creating src/windows/Makefile
config.status: creating autopackage/default.apspec
config.status: executing depfiles commands
The lines:
checking for GTK... yes
checking for LIBGLADE...
html
indicate that the GTK and Glade libraries have been found and will therefore be used for the final phase, the compilation of DeSmuME:
make
Your computer continues automatically. When everything is done, you normally have the three fully functional versions of DeSmuME.
5. Usage
Usage of the command-line version.
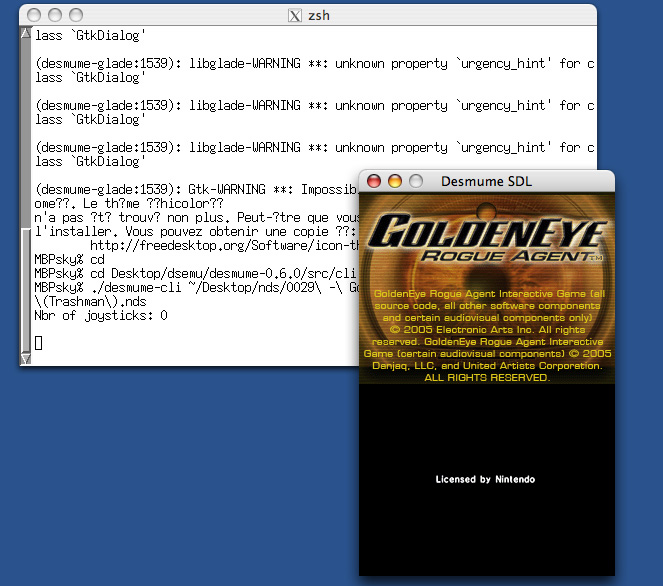
The application does not work in a standard terminal; you need to use X11 to run it. Open X11 and type the path to the folder where you compiled DeSmuME. For example, on my computer I have:
cd Desktop/desmume-0.6.0
The "binary" file (the application) is located in the src/cli folder and is named desmume-cli. Navigate to this folder:
cd src/cli/
To launch it, replace <rom> with the path to a Nintendo DS ROM:
./desmume-cli <rom>
Usage of the GTK graphical version.
The GTK version is located in the src/gtk folder.
Open X11 and type the path to the folder where you compiled DeSmuME followed by the folders where the GTK version is located. For example, on my computer I have:
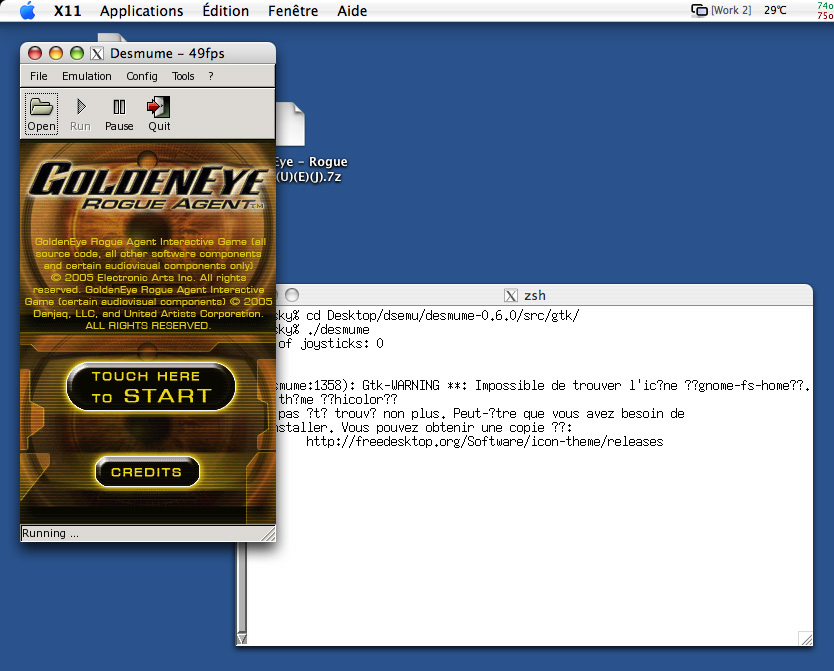
cd Desktop/desmume-0.6.0/src/gtk
Then type:
./desmume
The graphical interface should open after a few seconds.
You're all set to use it.
Using the GTK-Glade graphical version.
The GTK version is located in the src/gtk-glade folder.
Open X11 and type the path to the folder where you compiled DeSmuME, followed by the folders where the GTK version is located. For example, on my computer I have:
cd Desktop/desmume-0.6.0/src/gtk-glade
Then type:
./desmume-glade
The graphical interface should open after a few seconds. You're all set to use it.
6. Some mini-tests
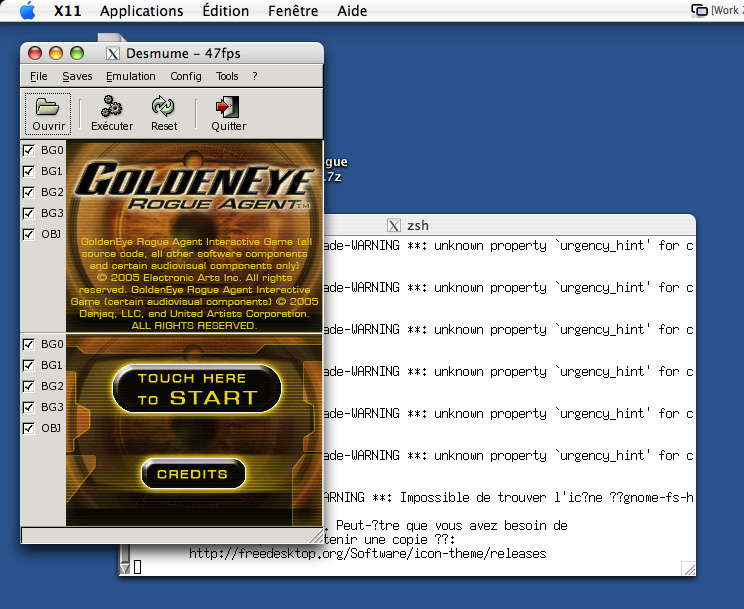
Unfortunately, out of all the tested games, only one was actually playable.
All the others would eventually crash or fail to display menus, etc. As we mentioned, DeSmuME is still in the development stage.
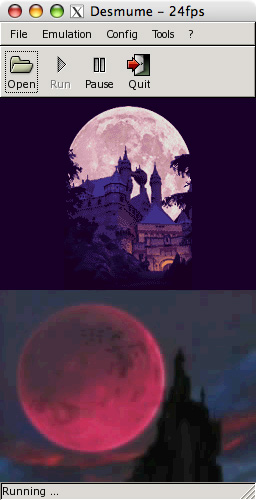
Castlevania - Down of Sorrow crashes after the introduction animation.
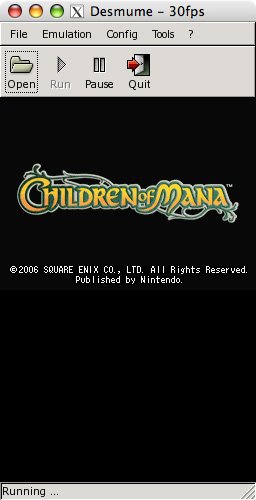
Children of Mana does not display the menu on the bottom screen.
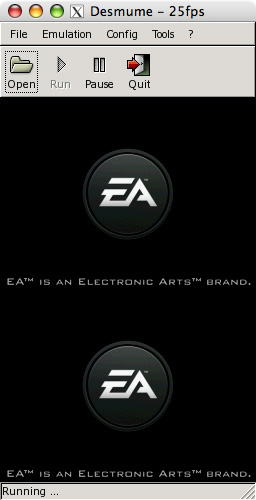
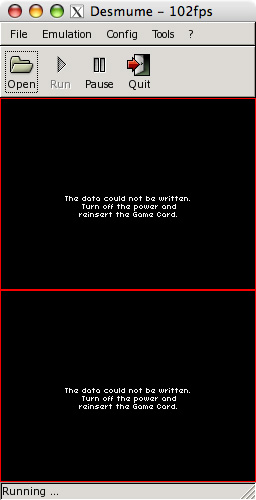
Need For Speed Carbon, which as shown in the second image, refuses to continue.
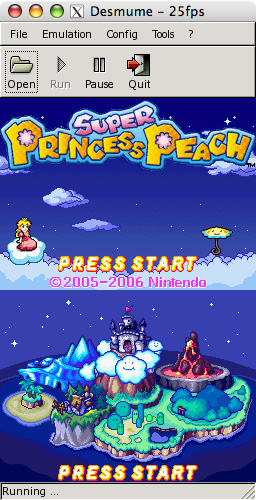
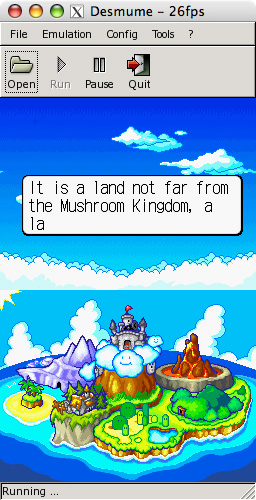
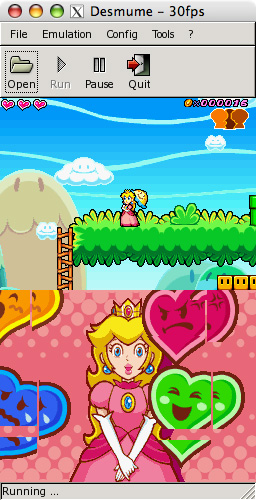
Super Princess Peach works quite well (compared to others), it is playable even if it is a bit slow on a MacBook Pro 1.83GHz.
7. Conclusion
Guillaume, one of the authors of this emulator, told me he would try, as soon as he had the time, to create a "Aqua" graphical interface for DeSmuME, now that he knows the emulator runs on Mac. Moreover, the PPC bug having been reported, the authors will try to fix it.