Attention: this article is aimed at advanced users only. It is absolutely not a step-by-step guide to make Qemu work.
If you followed the previous article on installing and launching Qemu, you have likely noticed the relative ease of running Mac OS 9. However, behind this simplicity lies a number of mechanisms that have been packaged via Brew.
In particular, for the emulator to function, it requires a ROM, a BIOS capable of responding to system calls from the virtual machine. While Sheepshaver, entirely dedicated to Mac OS 9, requires a ROM extracted from a Mac, Qemu, which can emulate many machines, relies on OpenBios.
What is OpenBios?
OpenBios is a virtual firmware that allows launching many systems in emulation. While machine firmwares are generally protected by manufacturers, the goal of OpenBios is to provide a free, accessible implementation for everyone and tailored to emulation to replace manufacturer ROMs when setting up virtual machines.
Why compile your own version of OpenBios?
During Qemu installation, it integrates a version of OpenBios. Thus, for a quick launch of the emulator, you don’t need to worry about it. In fact, three versions are available: a PPC version, the one we are interested in, but also a SPARC 32-bit and another SPARC 64-bit version.
While the provided version was relatively recent as of October 17, 2017, OpenBios is a living project that continues to evolve, for example enabling Mac OS X support on Qemu.
It can therefore be interesting to install the latest version from time to time to take advantage of the support for the most recent features.
Compiling your own version allows you to use the latest firmware version, and since the last compiled version available dates from May 2013, you will need to compile it yourself.
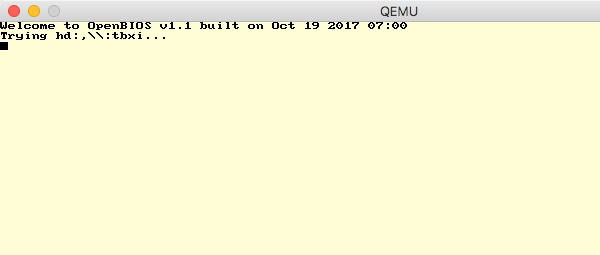
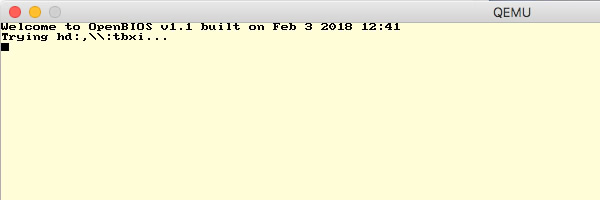
OpenBios version provided with Qemu 2.11 available on Brew
What are the difficulties in compiling the latest version of OpenBios?
In itself, there are no difficulties; it is simply a matter of compiling code. The difficulty lies in the fact that our Macs are now equipped with Intel x86 64-bit processors, and the BIOS, to run Mac OS 9, must be compiled in PowerPC code, the format of Apple's processors from that time.
You will need to have command-line development tools to compile the sources. Unfortunately, neither these tools nor the full Xcode allow cross-compiling code for PowerPC. You will therefore need to install a cross-compiler.
Compiling OpenBios
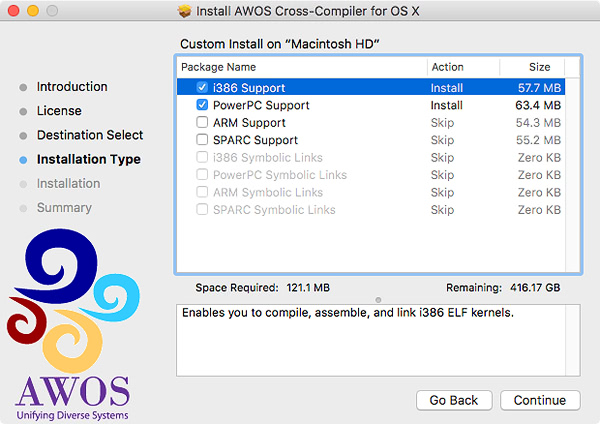
Finally, let's start compiling our OpenBios. Let's begin by installing a cross-compiler that will allow the creation of the PPC firmware.
Note that this cross-compiler is provided as-is, without support or guarantee of success, and it is up to you to use it responsibly.
but the installation location seems to vary depending on the machine, so it is preferable to manually locate the files to add them to the PATH. In my case, they are found in the folders
or permanently if you want to access them again in the future without worrying about the path.
You can type the following commands to verify that the installation was successful
i386-elf-gcc --version
ppc-elf-gcc --version
with the following response
sky@macpro % ppc-elf-gcc --version
ppc-elf-gcc (GCC) 4.2.3
Copyright (C) 2007 Free Software Foundation, Inc. This is free software; see the source for copying conditions. There is NO
warranty; not even for MERCHANTABILITY or FITNESS FOR A PARTICULAR PURPOSE.
if you get something like
sky@macpro % ppc-elf-gcc --version
zsh: command not found: ppc-elf-gcc
it means you need to review your paths.
We are almost ready to start compiling the BIOS:
Create a folder where you will download and then compile the source code.
For practical reasons, I chose to place this folder next to my QEMU virtual disks dedicated to Mac OS 9
cd ~/Documents/qemu/
mkdir openBios
cd openBios
then let's download fcode, a set of tools necessary for compiling our final target.
The sources are available on GitHub and thanks to the Git tool, the installation will be very simple
html
git clone https://github.com/openbios/fcode-utils.git
cd fcode-utils
make
make install
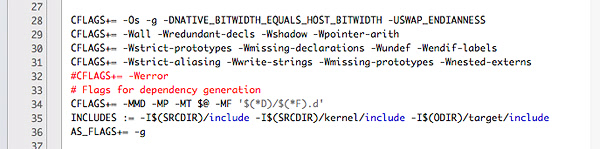
To proceed, you need to modify the Makefile using your preferred text editor, to comment out line 32
html
"CFLAGS+= -Werror"
by adding a `#` at the beginning of the line
html
#"CFLAGS+= -Werror"
Save and exit the editor.
Editing the Makefile to adapt it to compilation on macOS
Finally, launch the compilation of your firmware:
html
CROSS_COMPILE=ppc-elf- ./config/scripts/switch-arch ppc && make build-verbose
which should end with
html
LINK  openbios-qemu.elf
GEN   openbios-qemu.elf.syms
STRIP openbios-qemu.elf
Your freshly compiled firmware is located in the folder
html
obj-ppc/openbios-qemu.elf
Since I prefer not to interfere with Qemu’s automatic installation via Brew, and I simply want to have access to the BIOS if I compile new versions, I create an alias that I place in the main directory
html
cd ~/Documents/qemu/
ln -s
html
openBios/openbios/obj-ppc/openbios-qemu.elf
Now I can launch my Mac OS 9 on Qemu with the latest firmware version. To do this, you need to slightly modify the command to specify the BIOS you want to use