Connecting a Controller Wirelessly or via USB on macOS (Bluetooth, USB, PS3/PS4, Xbox/360/One, Wii)
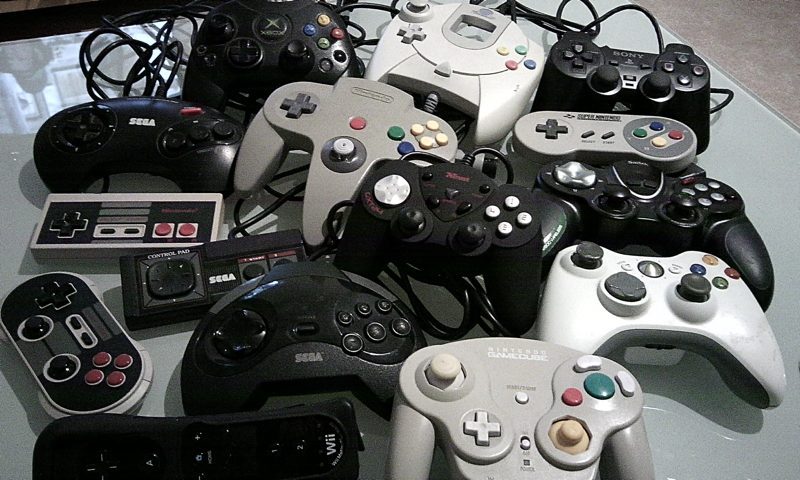
Here are some manipulations we performed to get our Mac to recognize various game controllers available on the market.

- USB Controllers
- Bluetooth Controllers
- Nintendo Wii Controllers
- Sony PlayStation Controllers
- Microsoft Xbox Controllers
- Controller Mapping
USB Controllers
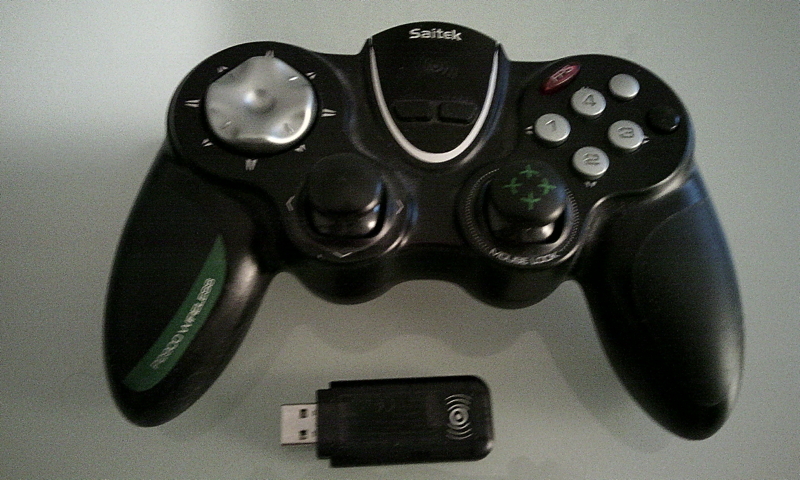
For most USB controllers, you will have no issues. macOS will recognize them normally. If you have fallen for the NeoGeo Arcade Stick Pro by SNK, this one deserves its review in this article.
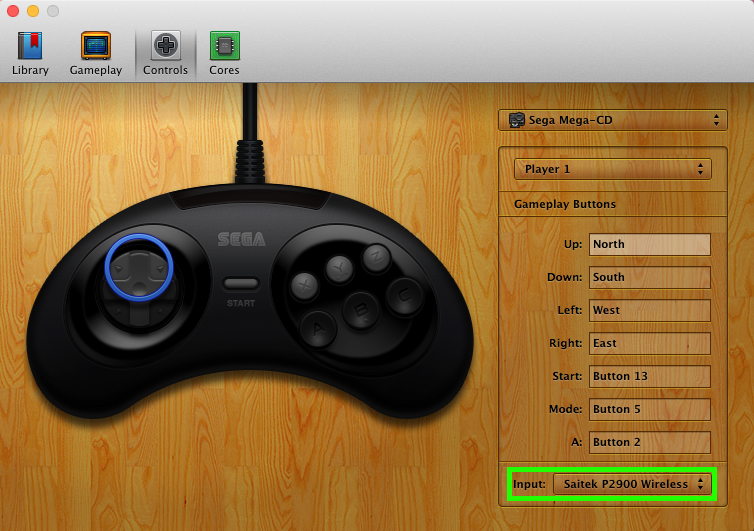
They will therefore be recognized natively.
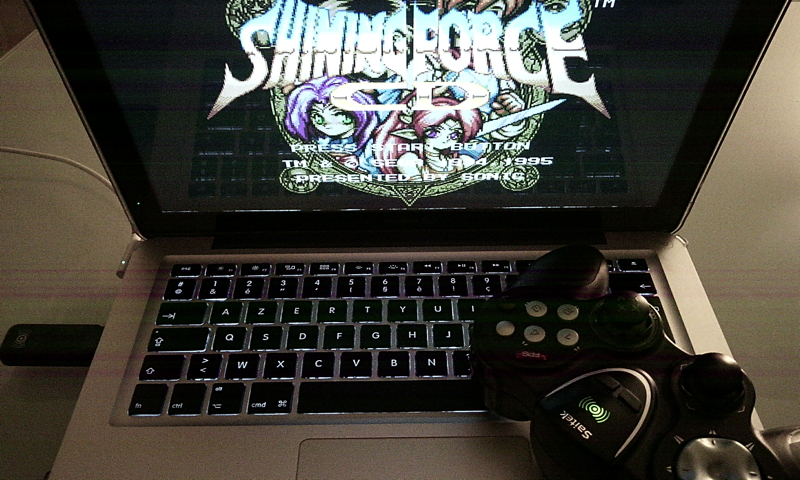
This means they will be usable directly by programs managing controllers via the system API.
Bluetooth Controllers
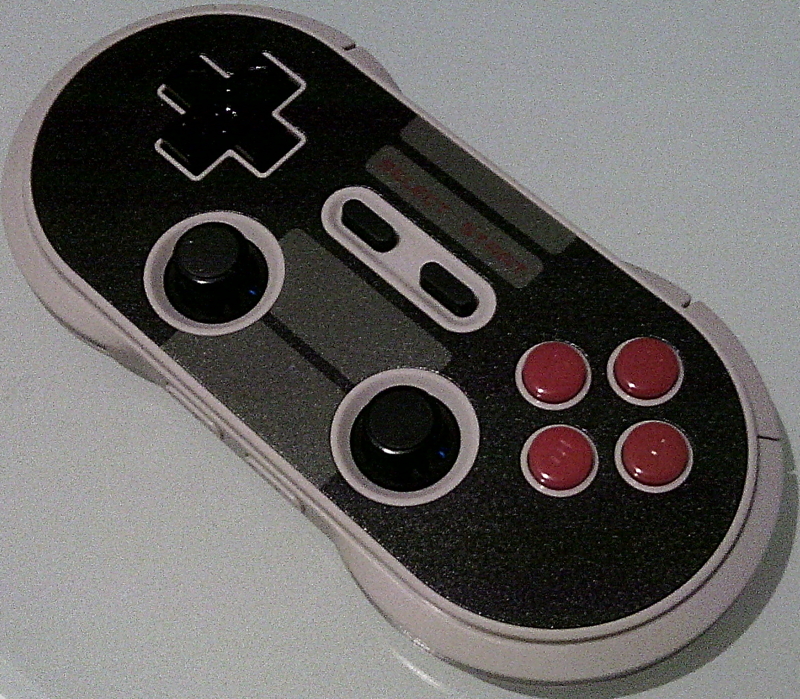
macOS should have no trouble recognizing your controller as long as you connect it properly.
To do this, simply open System Preferences.
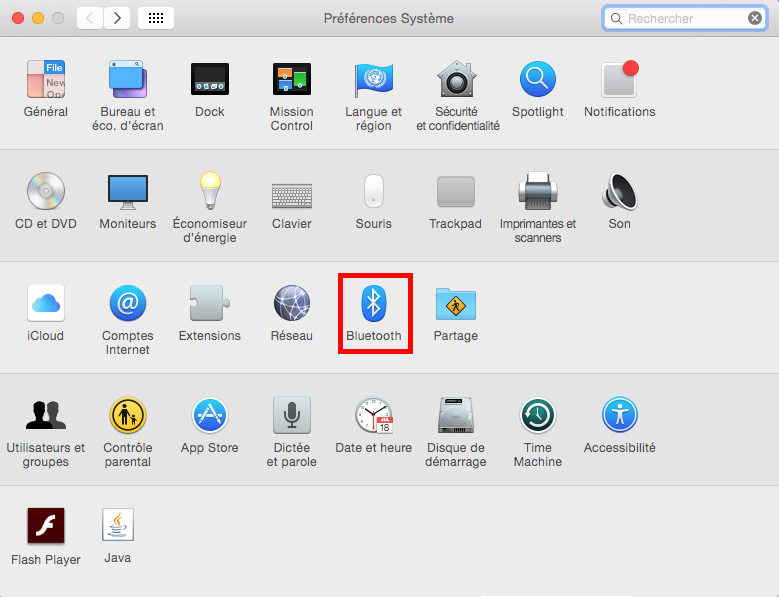
Then click on the icon representing the Bluetooth protocol and enable it if it is not already done.
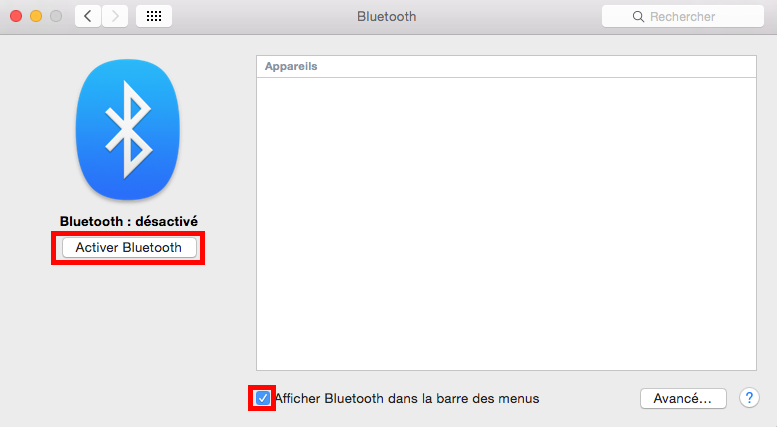
A search will then take place... Make sure you have turned on the Bluetooth on your controller. When it appears, you need to connect it.
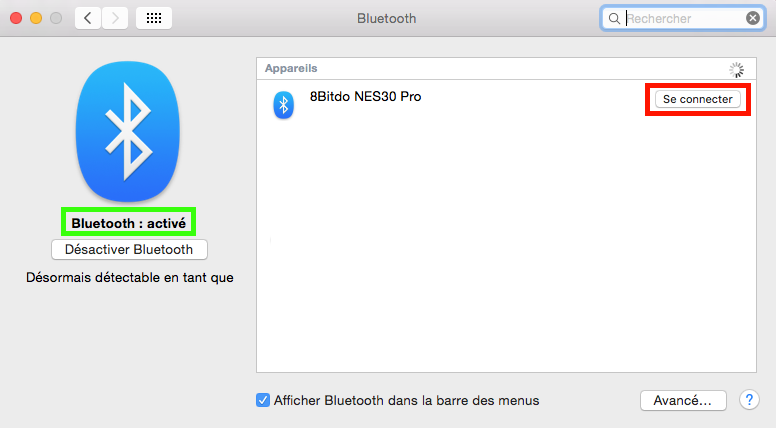
Here you have a functional controller.
Nintendo Wii Controllers
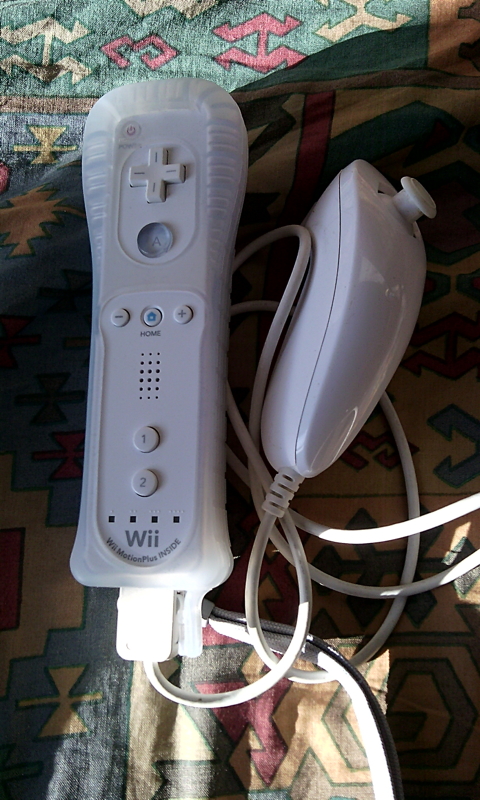
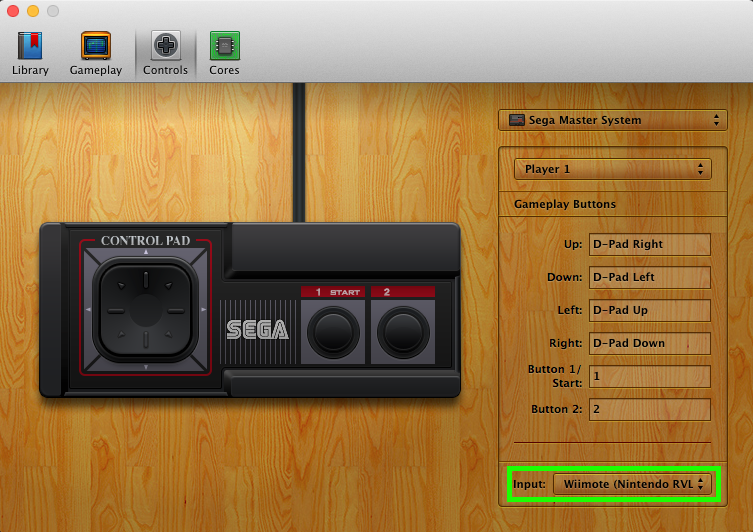
Like classic Bluetooth controllers, these connect almost as easily. You will still need to enable Bluetooth on your Mac and turn on your Wiimote, which should make the small blue LEDs blink...
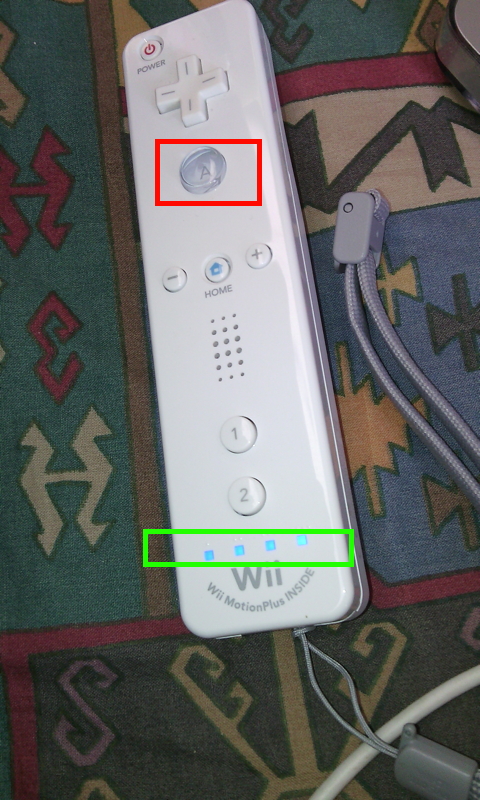
While pressing the small red button next to the batteries.
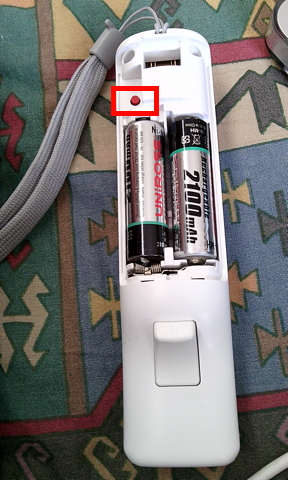
Normally, the connection works smoothly, but if a pairing code is requested during pairing, I recall entering 0000.
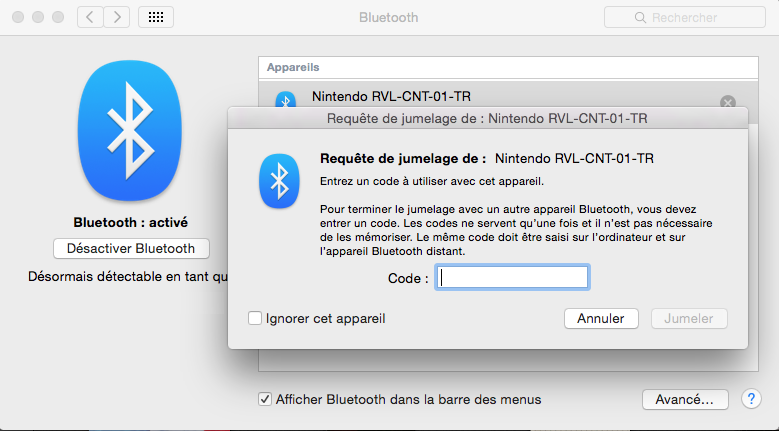
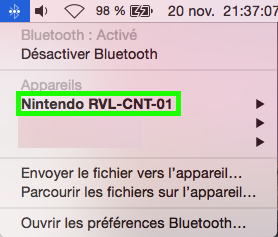
In case of complications, WJoy is a utility that facilitates the recognition of these controllers.
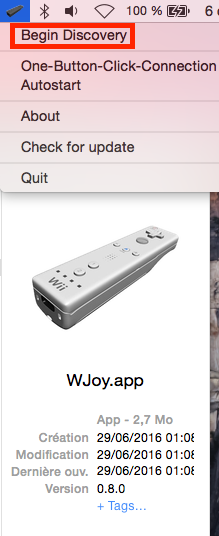
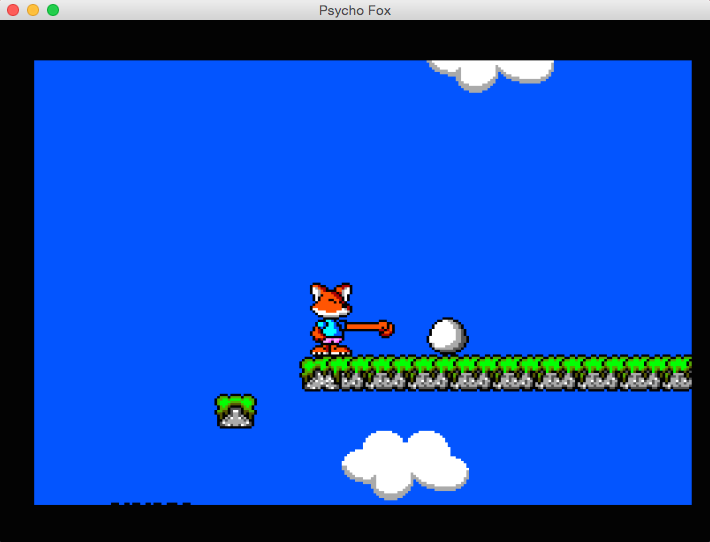
You might think that apart from 8-bit games, this type of controller has little interest. Yet, if you want to enjoy games on Dolphin that require a Wiimote with MotionPlus, you will have to use this controller with the emulator. But we also have a USB sensor bar, which we don’t have on hand and therefore couldn’t test.
PlayStation Controllers
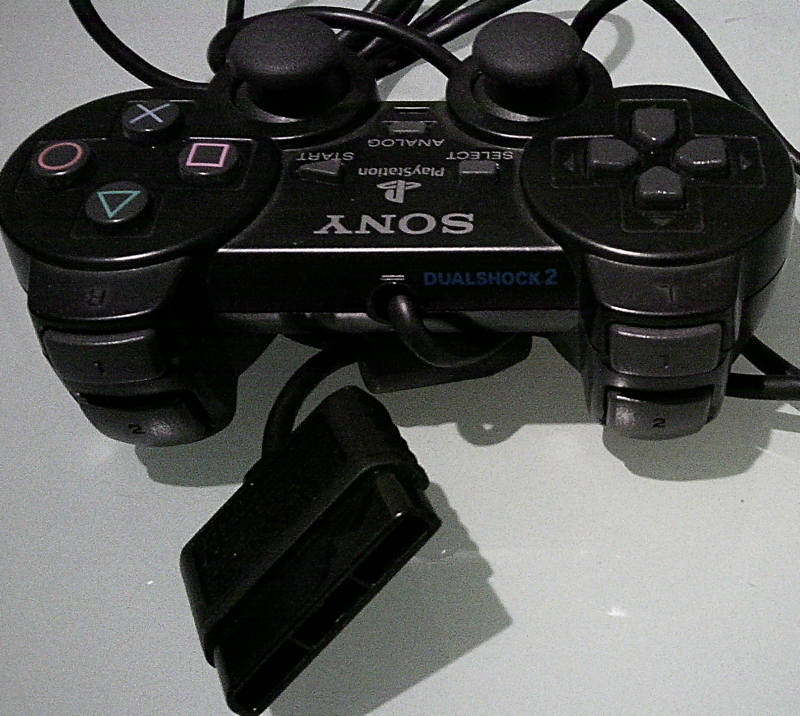
As for PlayStation 1 and PlayStation 2 controllers, there are USB adapters that have varying reputations online, since not all of them allow the controller to be natively recognized on a Mac, and it seems you may need to use a utility like those presented below—though there’s no guarantee of success.
The method to connect a PlayStation 3 controller to your Mac isn’t the most conventional, but it works.
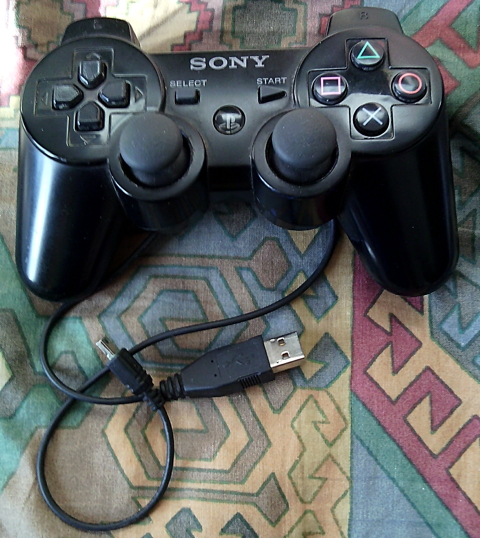
However, you first need to ensure Bluetooth is enabled on your Mac and connect your PS3 controller via USB to see the numbered LEDs from one to four flash.
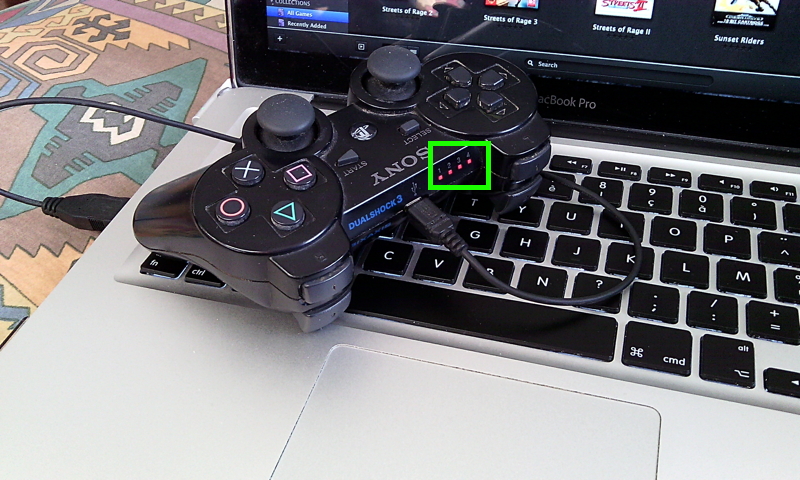
This is where your dexterity will be put to the test, as you must press the central button on the controller labeled PS while unplugging the controller from the cable.
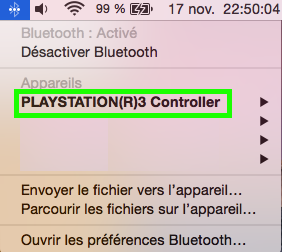
And there you go, the trick works—your controller is now recognized via Bluetooth.
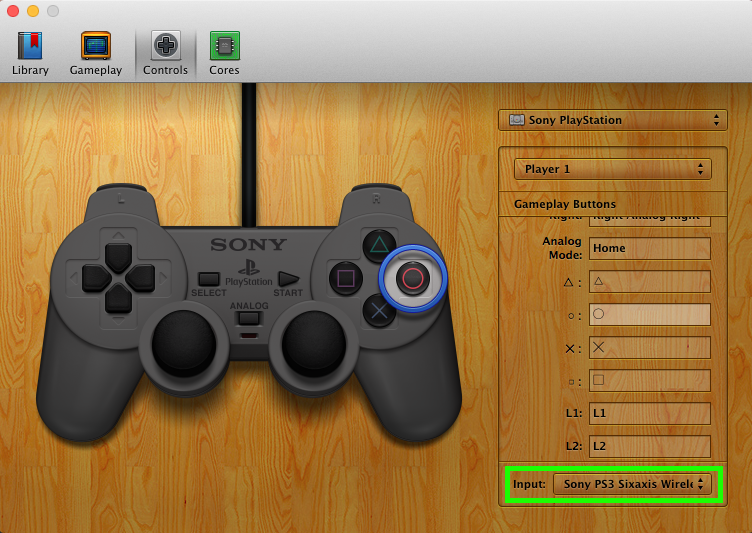
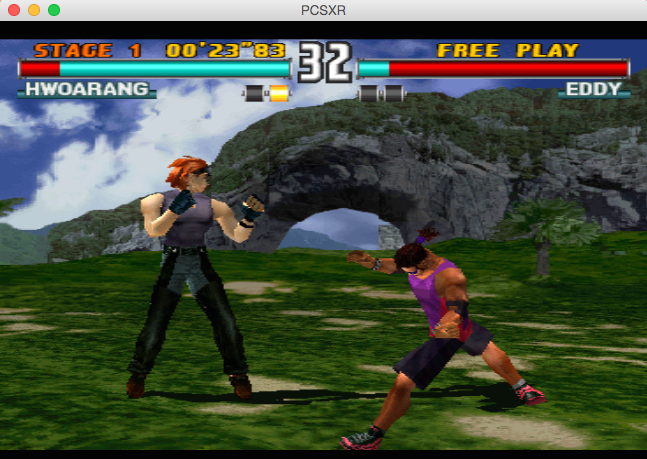
Unfortunately, we don’t have a PlayStation 4 controller, as we don’t own the console, so we can’t currently describe the exact steps for any connection.
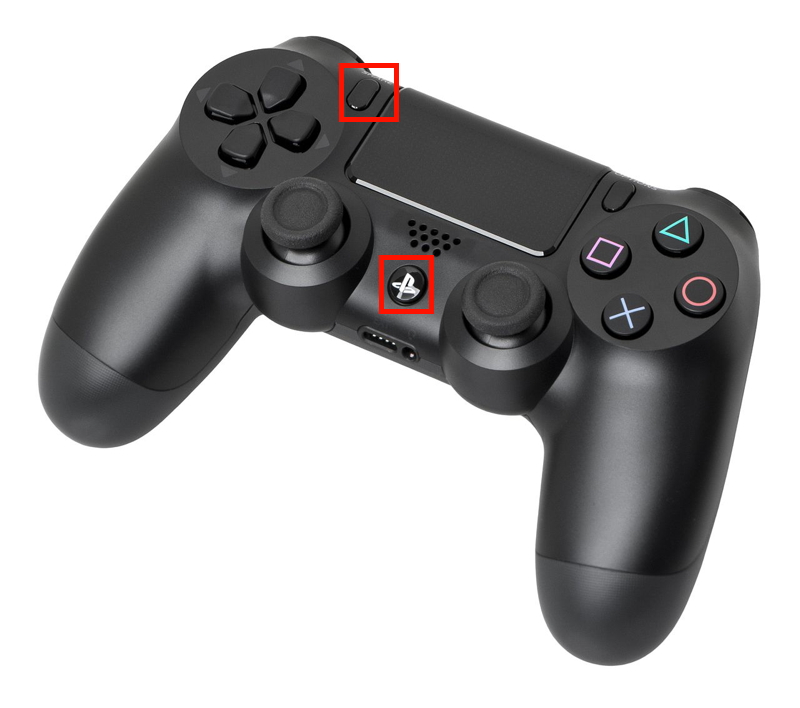
However, theoretically, these controllers should connect via Bluetooth quite simply.
All you need to do, after enabling the protocol on your Mac, is to turn on your controller by pressing the 'PS' button and press the small scan button located at the top left of it. Note once again that if a pairing code is requested, 0000 should work.
Microsoft Xbox Controllers
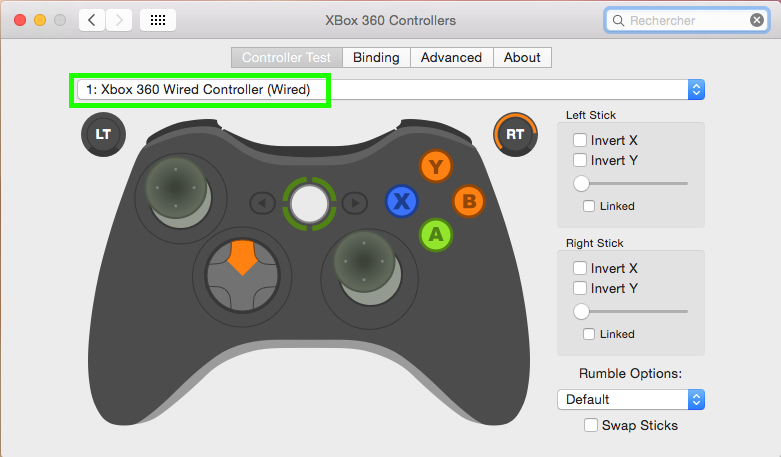
First, you need to install the macOS driver named XBox360Controller.
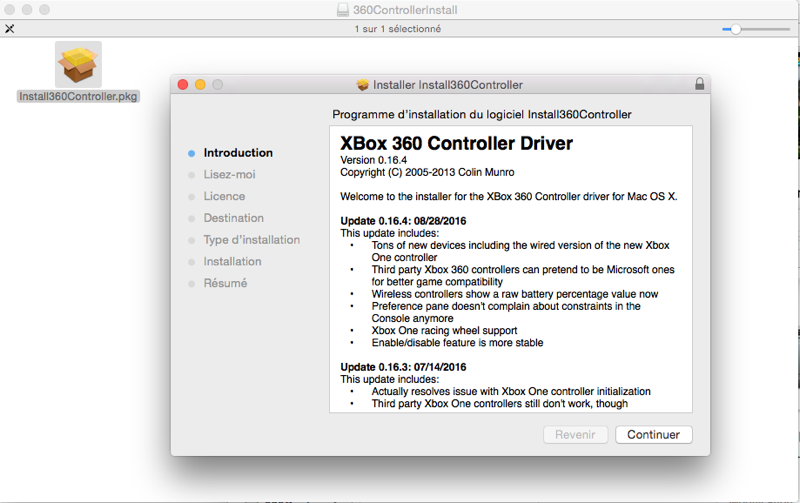
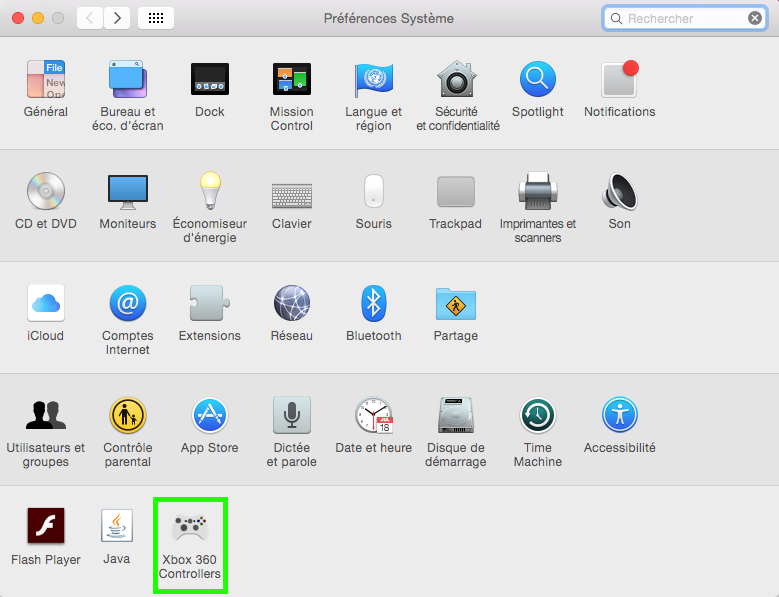
If everything goes well, the icon should be present in System Preferences.
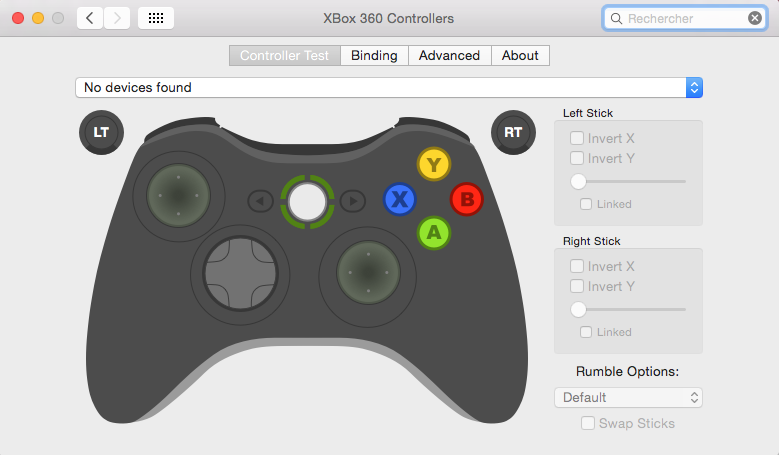
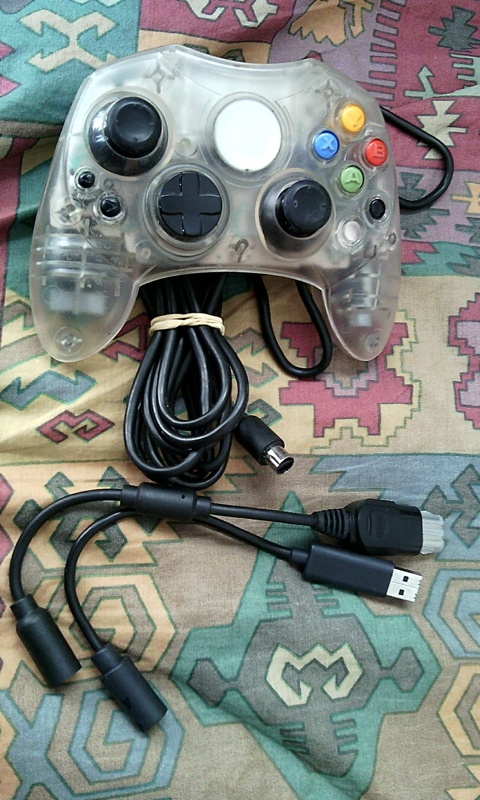
For first-generation Xbox controllers, you must connect them via USB using the appropriate adapter for them to be recognized.
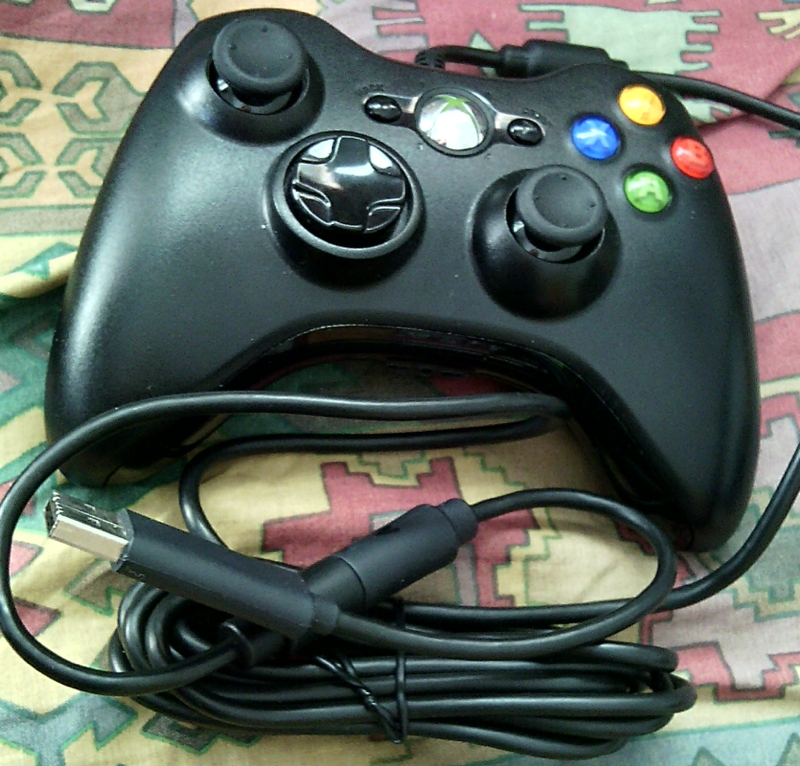
For the Xbox 360 controller, if you have a wired USB version (note: this is not the charging cable), it will be automatically recognized.
For wireless controllers, you must have the "PC Wireless Gaming Receiver".
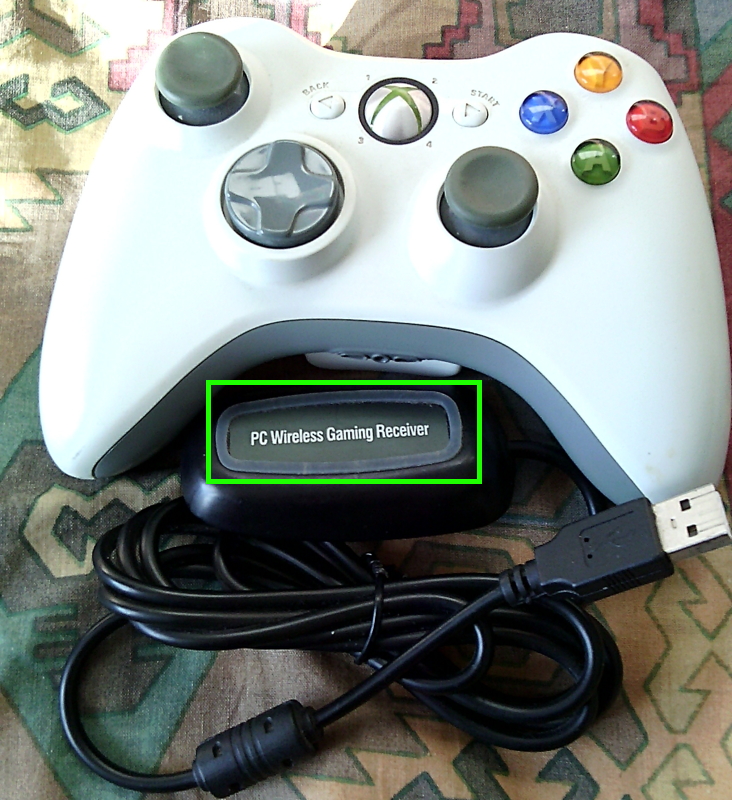
This device connects to your Mac via USB.
You then need to turn on your controller and press the signal search button. Regarding the receiver, press the scan button as well.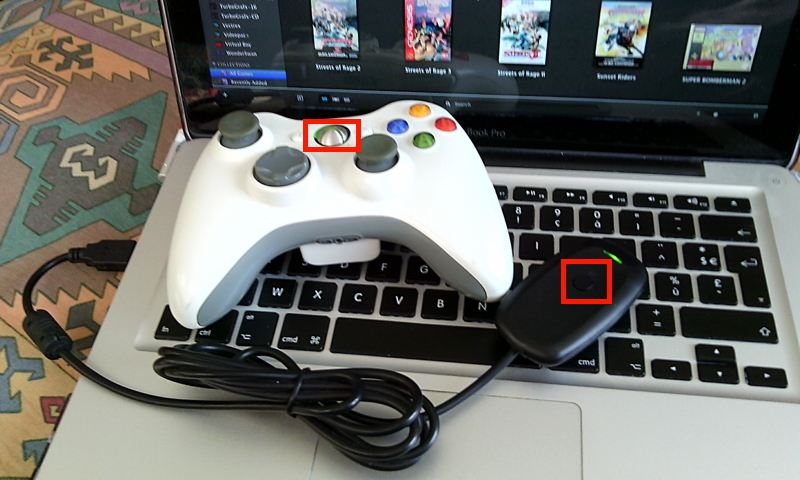
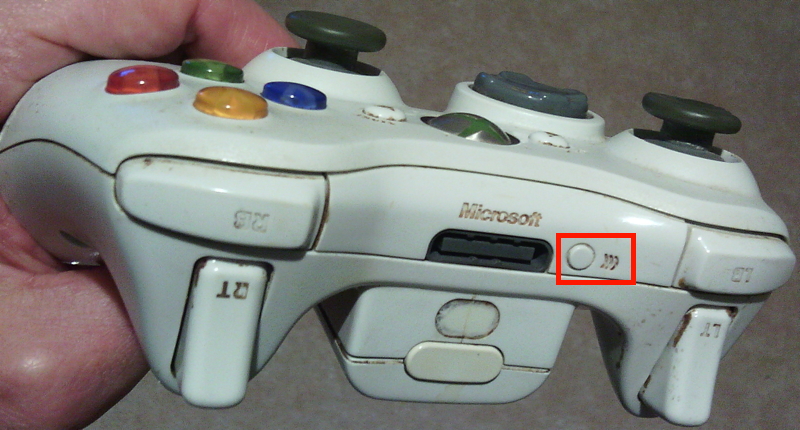
At this stage, everything should work normally.
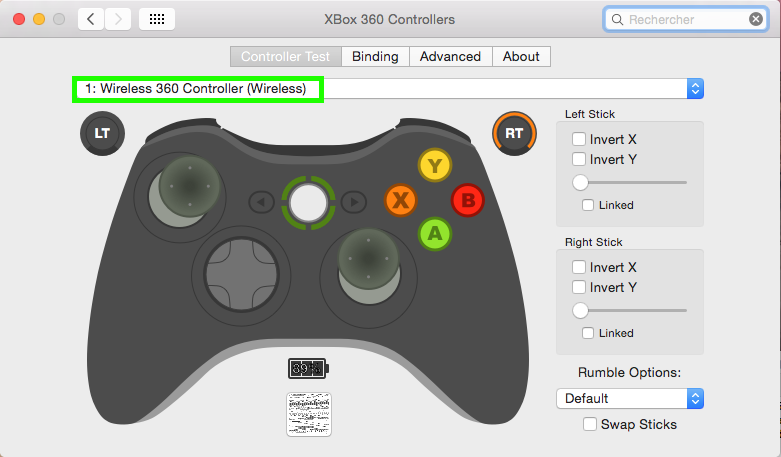
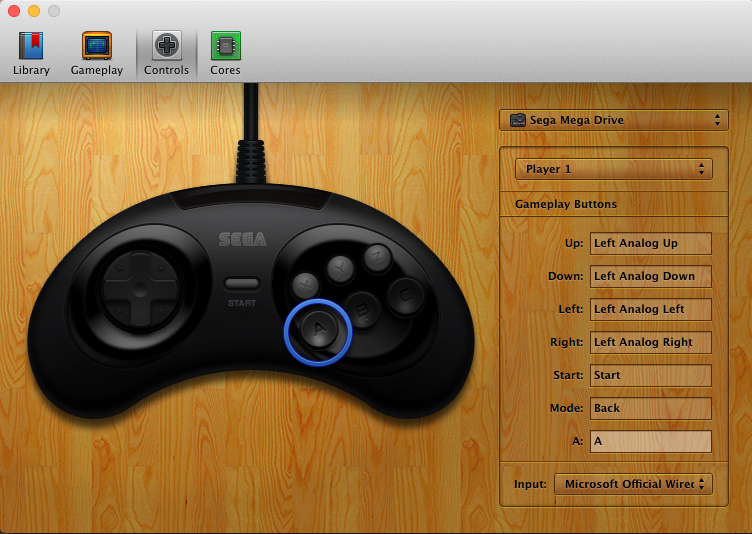
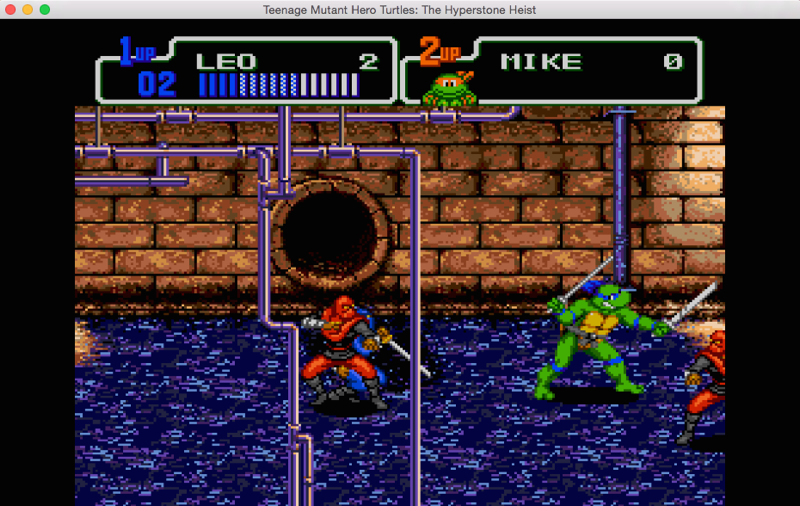
For those with an Xbox One controller, connecting it to the Mac using a micro-USB cable will allow you to use it like any wired controller.
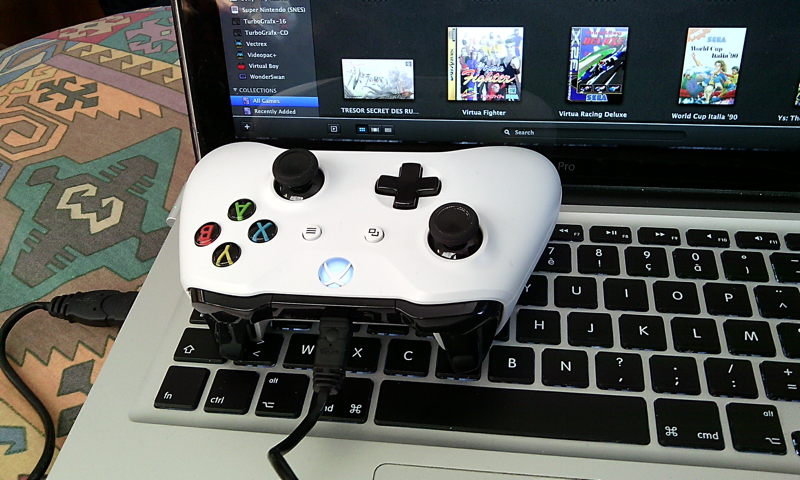
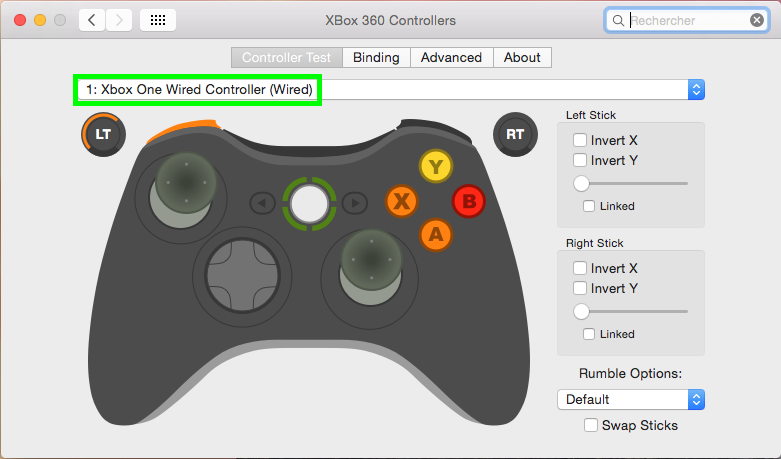
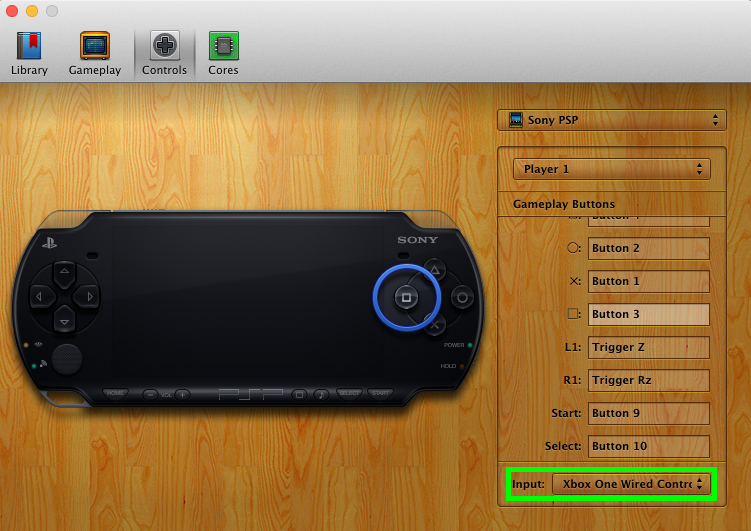
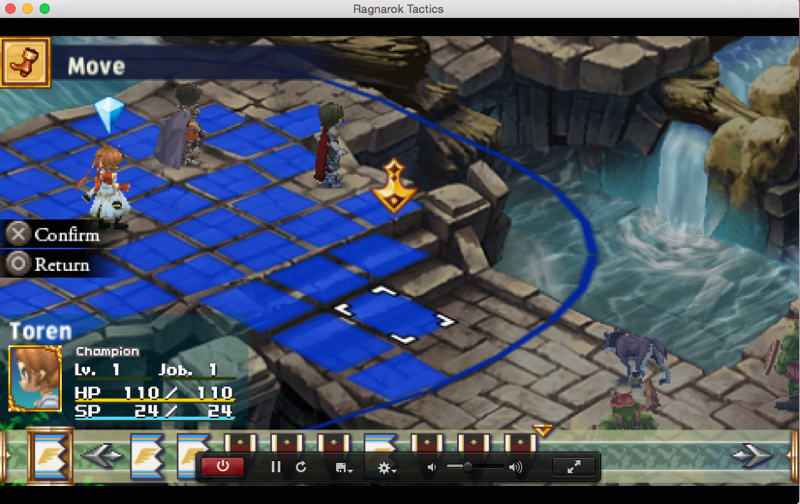
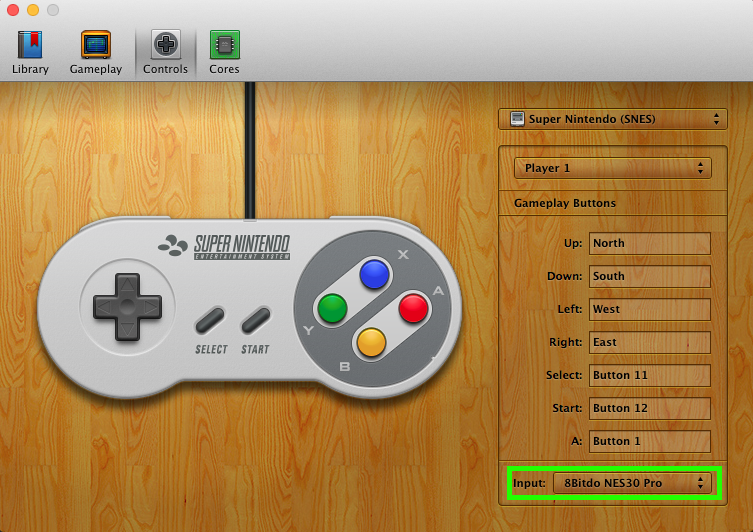
However, if you have a controller manufactured after August 2016, Bluetooth connection is handled natively and is done the same way as seen above with the 8bitdo.
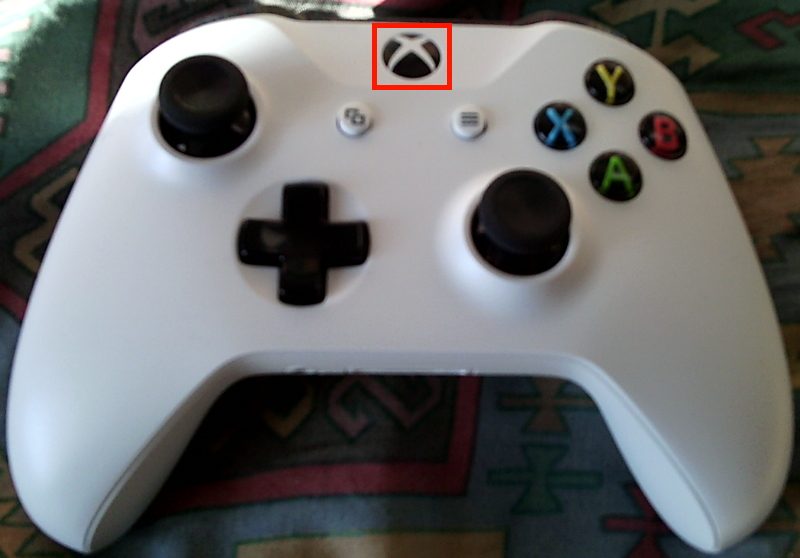
Press the button on the controller with the Xbox logo (highlighted in red above) and enable Bluetooth search on your Mac.
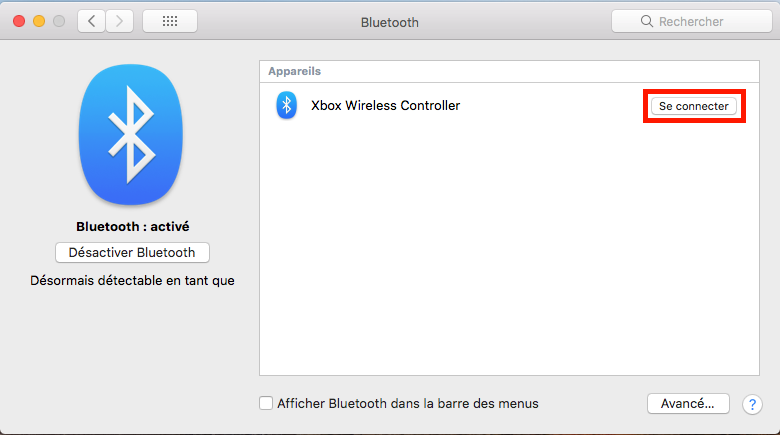
Then connect it.
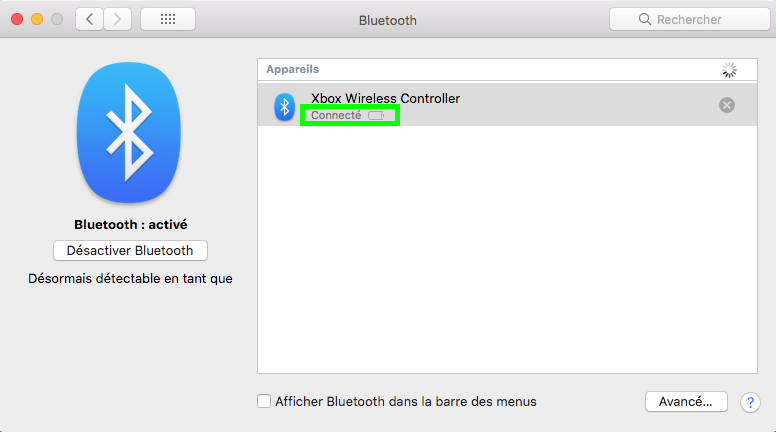
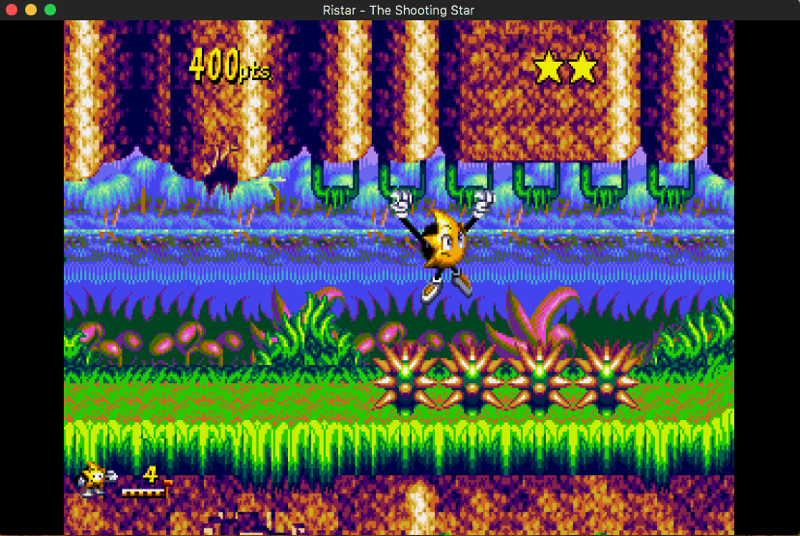
Your controller is now usable natively on your Mac.
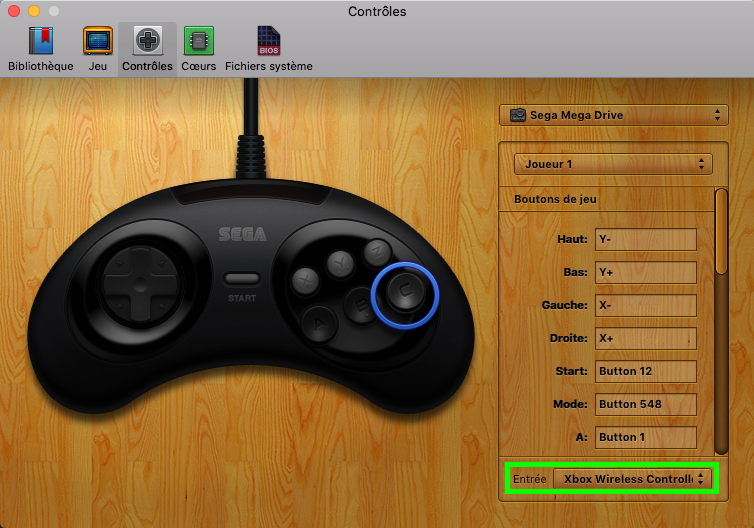
The Mapping
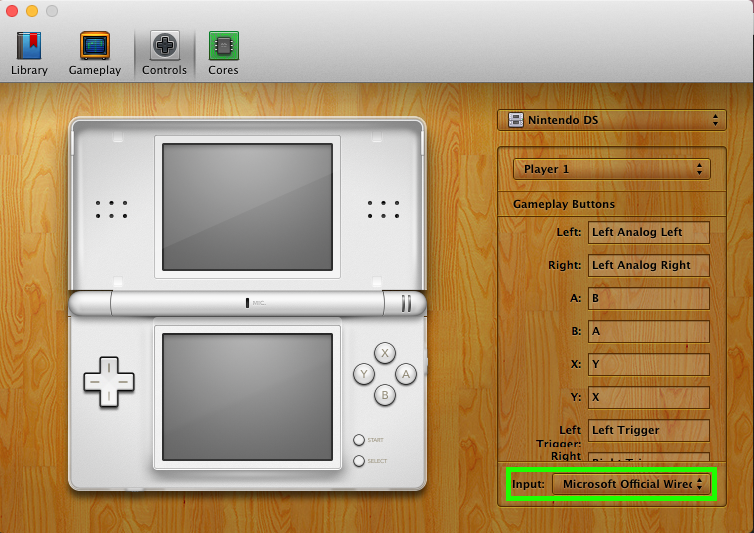
We have a controller connected to our Mac, but this does not guarantee that our game or emulator will
This device is not always recognized. That's why there are also software solutions that can be very useful in this case, allowing you to map a controller command to pressing a key on your keyboard.
There are paid options like Gamepad Companion or, as previously mentioned, in one of our articles dedicated to older macOS versions, even MacOS 9, USBOverdrive.
But let’s focus here on another completely free option, named Enjoyable.
Let’s take the example of the Yabause emulator, which unfortunately only recognizes keyboards.
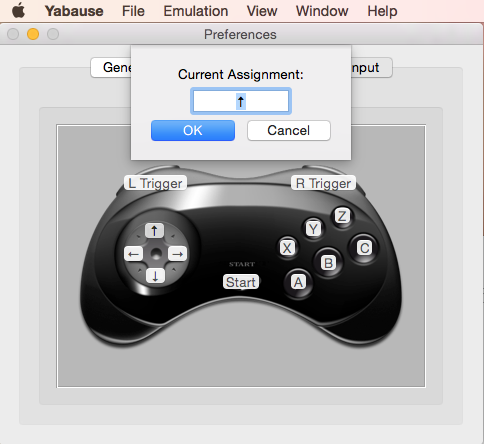
Let’s launch Enjoyable, which does recognize the connected Xbox360 controller.
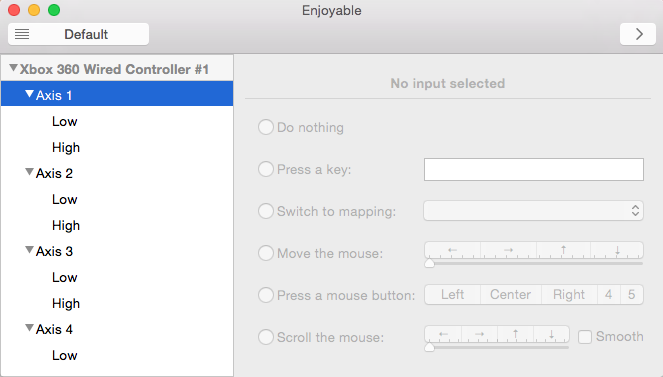
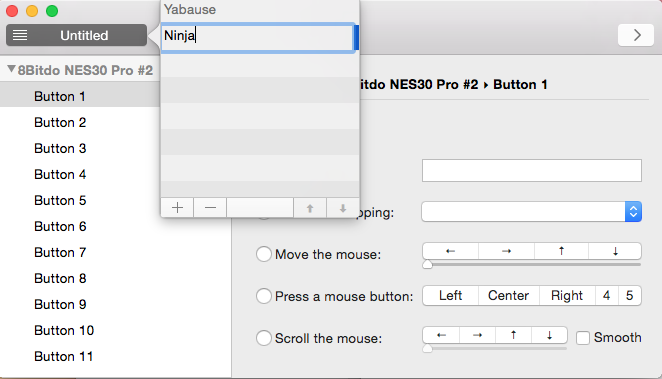
The best way to avoid confusion is to create a new profile named after your program.
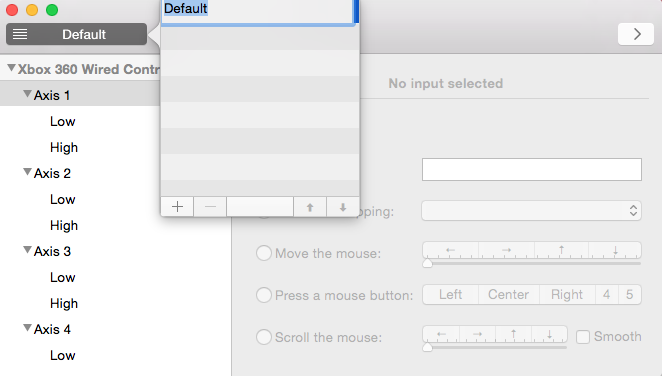
Now you just have to perform the "mapping".
Nothing complicated, as it only requires pressing the command on your device, here our Xbox360 controller, and then the keyboard key that will be translated.
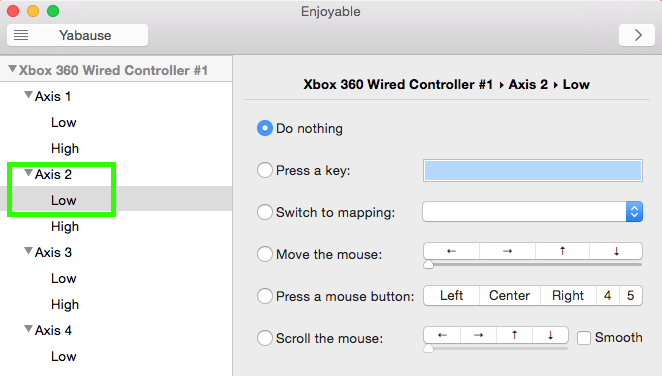
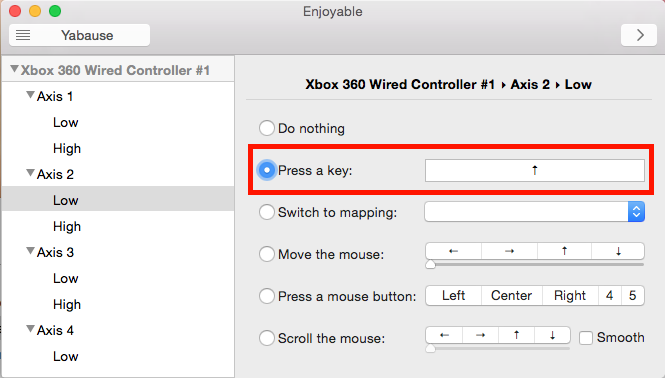
You can also simulate a mouse event.
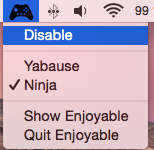
Once your configuration is complete, you just have to activate Enjoyable.
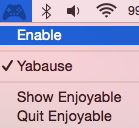
The menu bar icon is no longer grayed out, and the key mapping is now active, allowing Yabause to be playable with a controller.

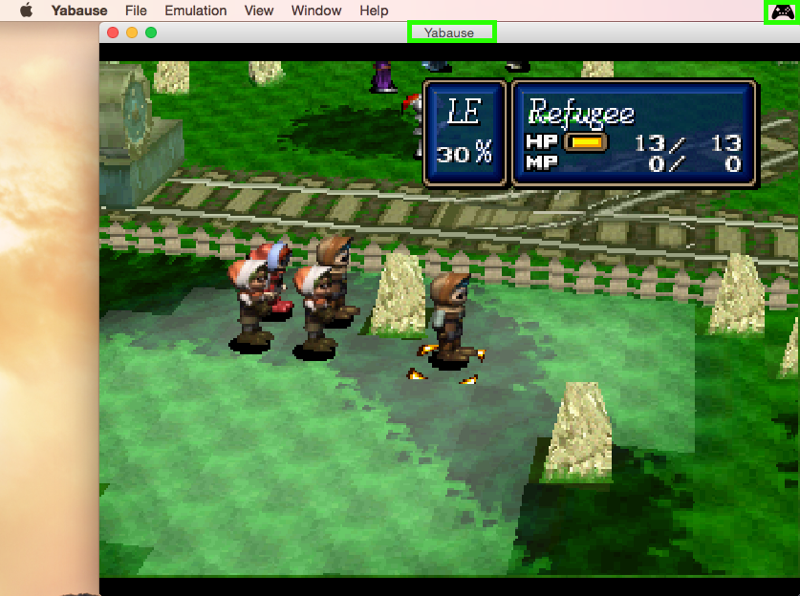
Keep in mind that it is preferable to configure a setup per game or application.
And don’t forget to disable the mapping once your gaming session is over.
This should allow you to best enjoy most gaming peripherals with your Mac.
Reply on the forum
A question or a hands-on report? Open the discussion on the forum.